
Every year when the leaves start turning, I get that familiar twinge of panic. Not about the holidays (okay, maybe a little about the holidays), but about my heating bill. I remember last winter when my thermostat hit 68°F and I still felt a draft creeping in from the basement. Turns out, my old fiberglass insulation in the attic was not doing its job,and neither was the gaping hole under my front door where my dog, Biscuit, had chewed through the weather stripping. (Yes, I did scold him. No, it didn’t help.)
Winterizing my home isn’t just about saving money (though that’s a huge perk). It’s about making sure my family isn’t huddled under blankets in February, pretending we’re “cozy” while secretly plotting to move to Arizona. The good news? Most of these fixes are shockingly simple,and some cost next to nothing. I’ve learned the hard way which tricks actually work (and which ones are just Pinterest fluff). Here’s what I do now, year after year, to keep my house warm without breaking the bank.
Why Winterizing Your Home Actually Matters
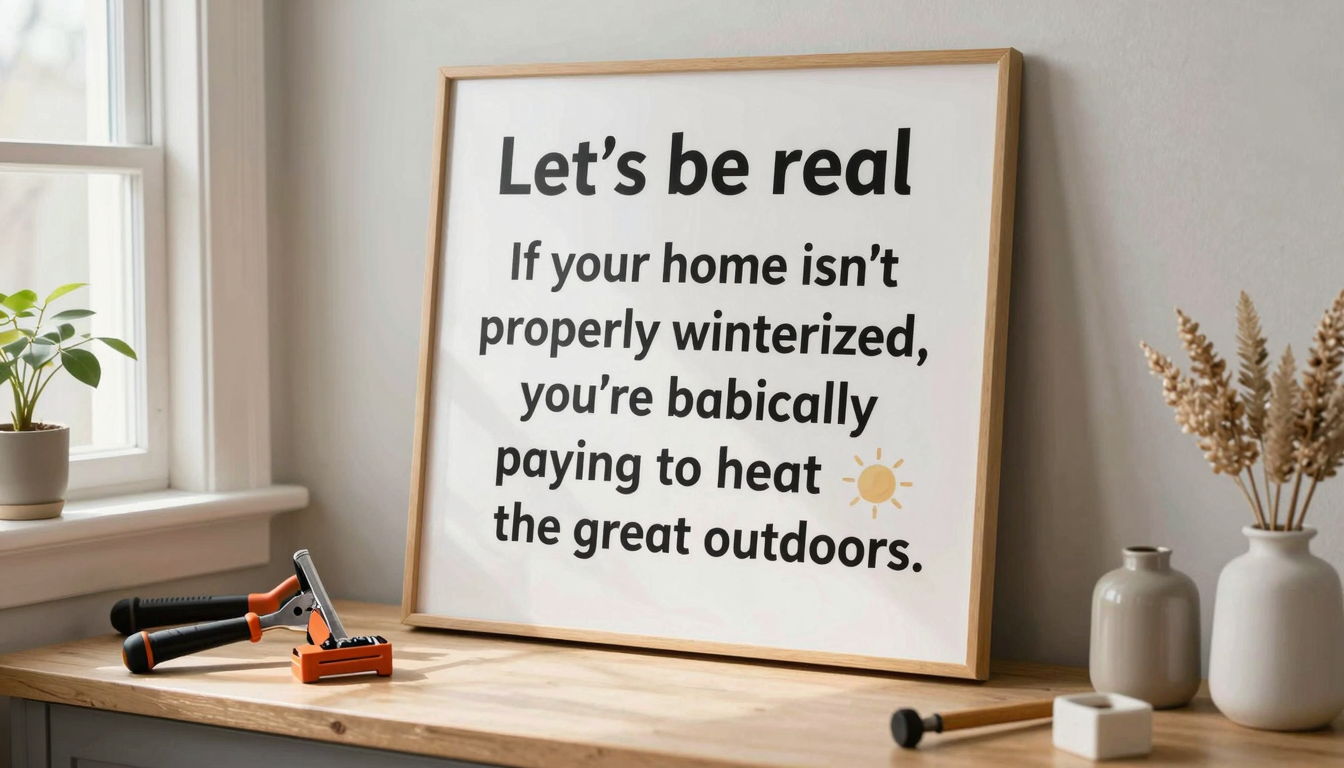
Let’s be real: If your home isn’t properly winterized, you’re basically paying to heat the great outdoors. I used to laugh at my neighbor who sealed every window with plastic sheeting in October,until I got my first energy bill after “forgetting” to caulk the gaps around my back door. The difference? $127 more than the year before. Ouch.
Here’s the deal: Every little crack, draft, or poorly insulated spot in your home is a money leak. And I don’t know about you, but I’d rather spend that cash on a fun weekend project than on my utility company. The key is tackling the biggest offenders first,doors, windows, attics, and basements,before moving on to the finer details.
Pro tip: Grab a incense stick (yes, the kind you burn for meditation) and light it near windows and doors on a still day. If the smoke wafts toward the gap, you’ve found a draft. No incense? A lit candle works too,just don’t set your curtains on fire. (I speak from experience. Ask me how I know.)
The 3 Things That Save Me the Most Money (And How to Do Them Right)
Not all winterizing hacks are created equal. Some are quick wins, while others require a little more elbow grease. Here’s where I focus my energy,and where I’ve seen the biggest payoff.
1. Seal Every Draft Like Your Heating Bill Depends on It (Because It Does)
Last winter, I spent $40 on weather stripping and saved $300 on my heating bill. Not bad for a weekend project. I used Frost King’s self-adhesive foam tape for my doors and 3M’s V-strip for windows. The foam tape is great for doors because it’s forgiving if you mess up the measurements (which I did,twice). The V-strip, though, is a game-changer for windows because it actually compresses when you close the window, creating a tighter seal.
Where to check for drafts:
- Around door frames (especially the bottom, where pets and kids tend to wear down the seal)
- Window sashes and tracks (those little grooves where the window slides)
- Baseboards and electrical outlets near exterior walls (yes, really,cold air sneaks in there too!)
- Where pipes or wires enter your home (like cable lines or plumbing)
For outlets, I use 3M’s outdoor-rated duct tape to seal the gaps. It’s not pretty, but it works,and I cover it with a simple DIY wainscoting project later if I’m feeling fancy.
2. Insulate Like You’re Wrapping a Burrito (No, Really)
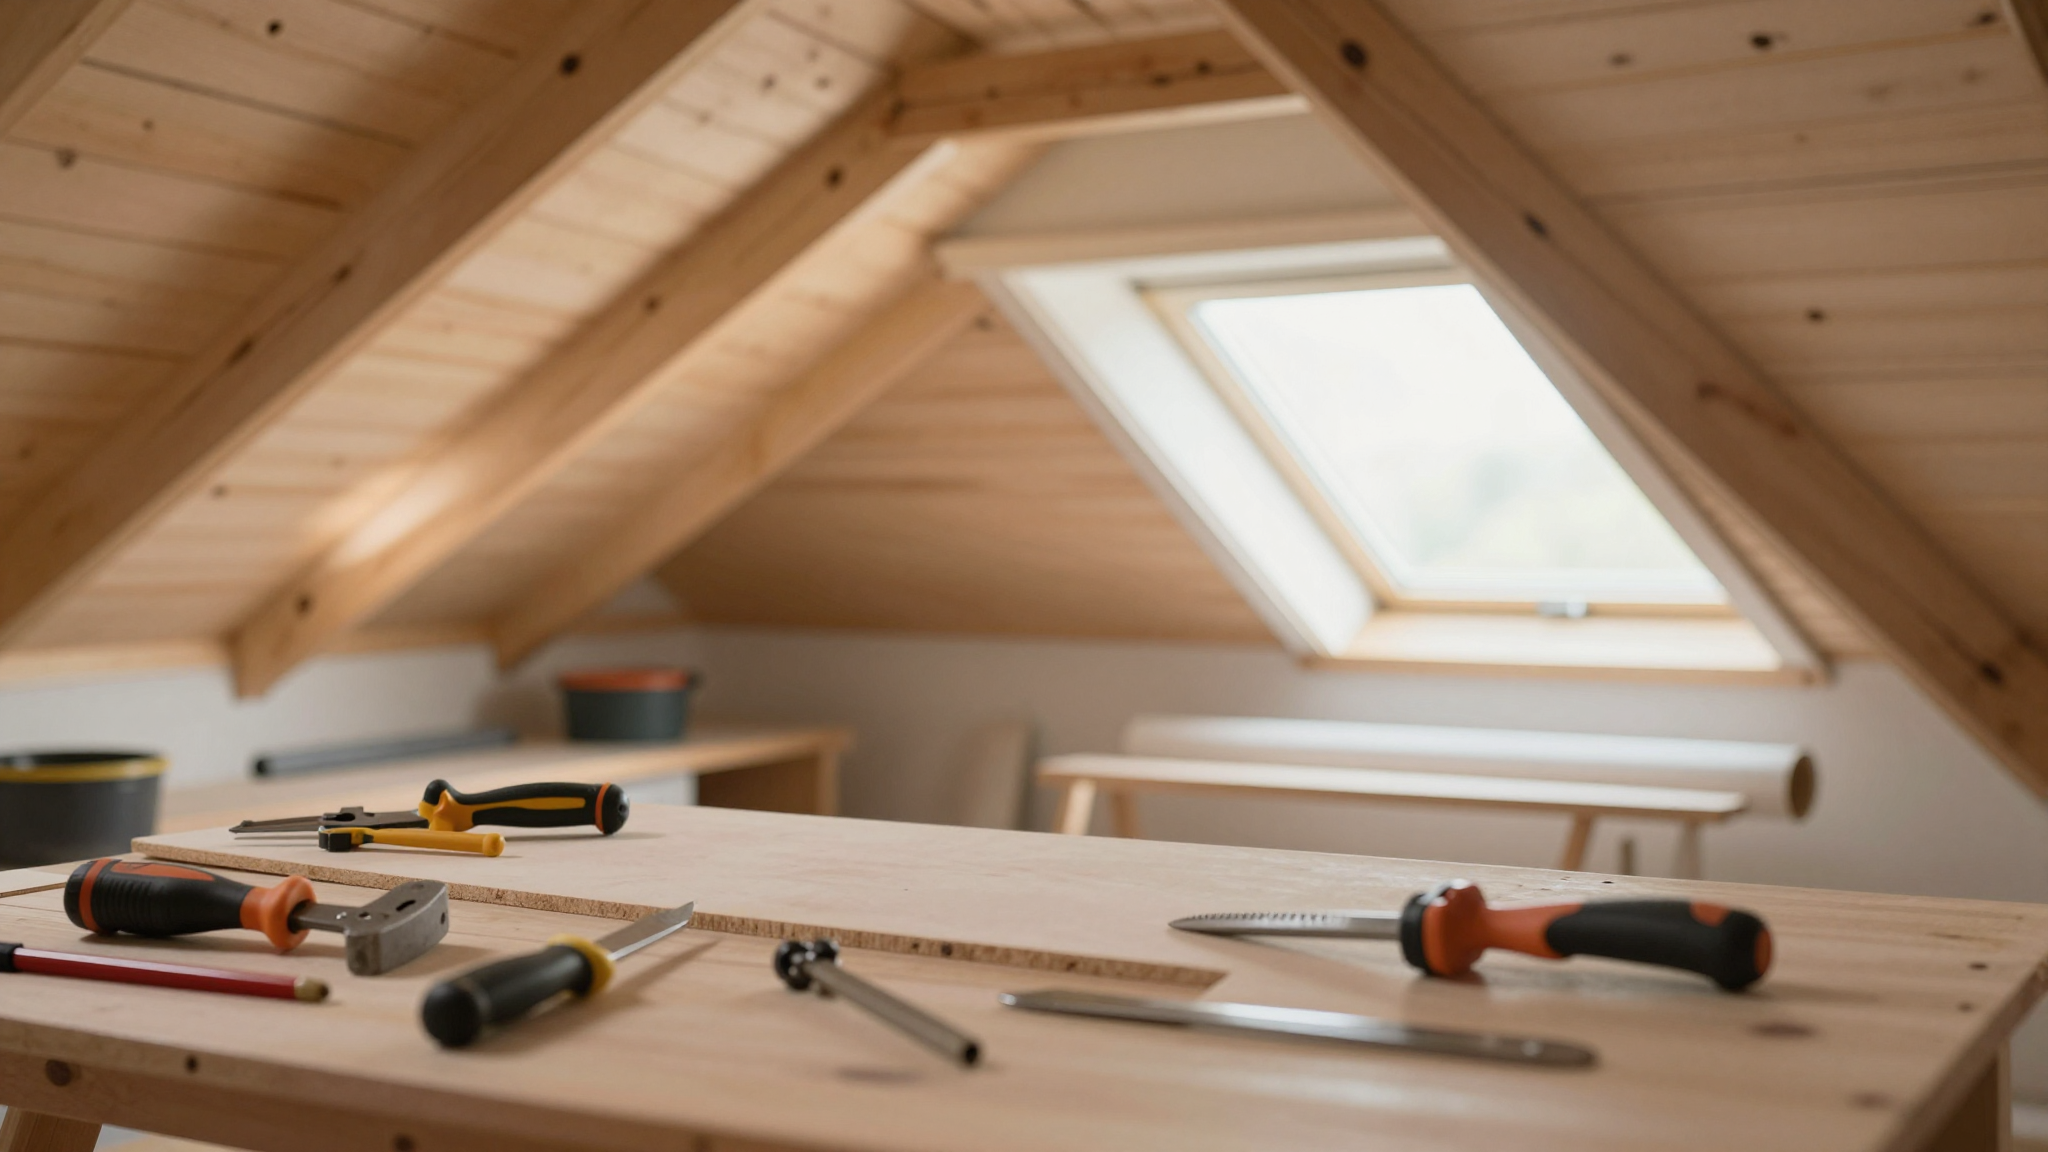
I used to think insulation was just something you did in new construction. Then I crawled into my attic last year and found bare plywood with nothing but a sad, thin layer of pink fiberglass that looked like it was installed in the 1980s. No wonder my upstairs bedroom felt like a walk-in freezer.
I added 12 inches of blown-in cellulose insulation (it’s made from recycled newspaper, so it’s eco-friendly and cheap) and saw an immediate difference. My heating bill dropped by 20%, and my upstairs finally stayed warm. If you’re DIYing this yourself, rent a blower machine from your local hardware store,it’s easier than trying to stuff rolls of fiberglass into tight spaces (trust me, I tried).
Where to insulate first:
- Attic (this is the #1 spot for heat loss,prioritize it!)
- Walls (if you’re opening them up for a project anyway, like a fireplace update, add insulation while you’re at it)
- Basement and crawl spaces (I used Frost King’s foam board insulation here because it’s easy to cut and fits snugly against concrete walls)
- Around pipes (use Arctic Foam pipe insulation to prevent freezing,and expensive plumbing disasters)
Pro tip: If your attic has recessed lighting, make sure the bulbs are LED and rated for insulation contact. I learned this the hard way when I nearly set my house on fire by covering old incandescent bulbs with fiberglass. (Yes, I called the fire department. No, I don’t want to talk about it.)
3. Upgrade Your Windows (Without Replacing Them)
Replacing all your windows is a $10,000+ project, and frankly, I’d rather spend that on a vacation. Instead, I focused on temporary fixes that make a huge difference:
- Shrink plastic window kits (I used 3M’s kit,it’s $20 and takes 20 minutes per window. Yes, it looks dorky, but it works.)
- Thermal curtains (I sewed mine from ULTRALUX blackout fabric and a simple rod pocket tutorial. They block drafts and keep the sun from heating up my house in the summer.)
- Magnetic window seals (I used these adhesive strips on my older, single-pane windows. They’re not perfect, but they cut drafts by about 50%.)
The One-Hour Projects That Save You the Most
Not every winterizing task requires a full weekend. Some of the best fixes take less than an hour and make an immediate difference. Here’s what I tackle first:

1. Check (and Replace) Your Weather Stripping
Grab a flashlight and run your hand along your door and window frames. If you feel even the slightest breeze, it’s time to reseal. I keep a roll of Frost King’s foam tape in my garage for quick fixes. It’s $5 and lasts for years.
2. Adjust Your Thermostat Like a Pro
I used to leave my thermostat at a steady 68°F, but that was wasting money. Now I set it to 65°F when I’m at work and 62°F at night (we bundle up!). I also installed a Nest Learning Thermostat a few years ago, and it automatically adjusts based on my habits. Last winter, it saved me $180.
3. Fix Drafty Doors
If your door sweeps are worn out (or missing, like mine were after Biscuit’s chewing spree), replace them with adjustable vinyl sweeps. They’re $10 and take 10 minutes to install. For a temporary fix, roll up a towel and place it along the bottom of the door,it’s surprising how well it works.
The Tools and Materials I Actually Use (No Fluff)
You don’t need a fancy toolbox to winterize your home. Here’s what I keep on hand:
- Caulk gun (I love the Oscillating model,it’s easier on my hands after hours of use.)
- Weather stripping (foam tape for doors, V-strip for windows)
- Shrink plastic window kits (for those old, drafty windows)
- Thermal curtains (blackout fabric + rod pockets)
- Door sweeps (adjustable vinyl ones last longer)
- Insulation (cellulose for attics, foam board for basements)
- Duct tape (the outdoor-rated kind for sealing outlets and gaps)
- Programmable thermostat (Nest or Ecobee,worth the investment)
Pro tip: If you’re insulating a basement or crawl space, wear a dust mask and gloves. Fiberglass is itchy, and cellulose can be messy. I learned this the hard way when I ended up with itchy arms for a week after my first DIY insulation project.
The Mistakes I Made (So You Don’t Have To)
Let’s be honest,DIY projects don’t always go as planned. Here’s what not to do:
1. Skipping the Attic
I once thought, “Eh, the attic isn’t a big deal.” Then I got a $400 heating bill in January. Lesson learned: Insulate the attic first. It’s the #1 spot for heat loss, and fixing it is one of the fastest ways to save money.
2. Using the Wrong Caulk
I grabbed the cheapest caulk at the hardware store once and spent two hours trying to smooth it out before it dried into a lumpy mess. Now I only use OSI Quad Max. It’s $10, dries clear, and stays flexible in cold weather.
3. Ignoring the Basement
I used to think basements didn’t matter because “no one spends time down there.” Then I realized my water heater and HVAC system were in the basement,and both were losing heat like crazy. Now I insulate basement walls and seal any gaps around pipes or ducts.
4. Forgetting About Vents
I once sealed a vent in my hallway because I thought it was a draft. Turns out, it was part of my HVAC system, and I ended up with a freezing cold upstairs and a sweltering hot downstairs. Always check with a quick HVAC check before sealing anything!
How to Keep Your Home Winter-Ready All Season Long
Winterizing your home isn’t a one-and-done deal. Here’s how I keep mine running smoothly:
1. Do a Monthly Draft Check
Every month, I grab my incense stick (or a candle) and check for new drafts. Kids, pets, and general wear and tear can create gaps over time. I also peek at my weather stripping to make sure it’s still sealed tightly.
2. Monitor Your Energy Bills
I compare my current bill to the same month last year. If it’s 10% higher, I know something’s wrong,usually a new draft or a failing seal. Last winter, I caught a hidden gap in my garage door this way and fixed it before my bill skyrocketed.
3. Upgrade as You Go
Not every fix has to happen at once. Last year, I only replaced the weather stripping. This year, I’m adding insulation to my basement. Next year? Maybe new windows. Breaking it into smaller projects makes it feel less overwhelming.
4. Don’t Forget the Little Things
Small habits add up:
- Close curtains at night to trap heat.
- Use a rug on cold floors (I love these jute rugs from IKEA,they’re cheap and effective).
- Reverse your ceiling fans to push warm air down (most have a little switch for this!).
- Keep vents and radiators clear of furniture or clutter.
Your Next Step: Start Small
You don’t have to do everything at once. Pick one thing from this list and tackle it this weekend. For me, it was sealing the gaps around my front door. For you, it might be checking your attic insulation or adding thermal curtains. Small changes add up,and before you know it, your home will be cozy, your heating bill will be lower, and you’ll be the hero of your household.
Need more inspiration? Check out my full winterizing guide or my post on fixing hidden energy drains (like that sneaky toilet that was running all night). And if you’re feeling ambitious, try a DIY accent wall to make your space feel extra cozy this winter.
Now, if you’ll excuse me, I’m off to caulk another gap before Biscuit finds it first.