
LED Recessed Lighting Upgrade: A Mom’s Honest Guide to Brighter Spaces
Let me tell you,our family room used to feel like a cave after 5 PM. I’d come home from work, flip the switch, and nothing. Just a sad, dim glow from those old recessed lights we’d had since the ‘90s. My husband kept saying, “Just get new bulbs,” but I knew better. After watching our heating bills climb every winter, I was ready for a real solution.
That’s how I ended up knee-deep in LED recessed lighting research,and why I’m sharing the real deal with you. No fluff, no “expert” jargon. Just what actually worked (and what didn’t) in our 1980s ranch house. Spoiler: The difference was night and day. Literally.
If you’re tired of:
- Blinding hot lights that turn your living room into a sauna
- Flickering bulbs that need replacing every six months
- That “hospital waiting room” glow from outdated fixtures
…then you’re in the right place. This isn’t about “transforming your space” (ugh, I hate that phrase). It’s about saving money, reducing headaches, and finally having lights that actually work,without calling an electrician every time a bulb burns out.
Why I Switched to LED Recessed Lighting (And Why You Should Too)
Here’s the thing: I’m not a lighting designer. I’m a mom who’s patched drywall more times than I can count, built a coffee table with a power drill and a prayer, and once accidentally turned our guest bathroom into a disco when I tried to “upgrade” the vanity lights. So when I tell you LED recessed lighting changed our home, I mean it.
The first time I walked into our family room after the install, my kids actually noticed. “Mom, it’s so bright in here!” my 10-year-old said,like it was some kind of miracle. (Parenting win: Making them aware of basic household functions.) The real win? Our electric bill dropped by $47 the first month. Not “maybe” or “slightly.” Forty-seven dollars. That’s enough for a weekend DIY project or, you know, groceries.
But here’s what no one tells you upfront:
- The heat difference is wild. Our old halogens turned the ceiling into a radiator. Now? I can actually touch the trim without burning my fingers.
- No more “popcorn ceiling” effect. The new fixtures are flush, so they don’t cast weird shadows or make the room feel smaller.
- My husband stopped complaining about “flickery lights” when he’s trying to watch TV. (Small victories.)
Now, I’ll be honest,the install wasn’t perfect. I thought I could DIY it like I do everything else, but our ceiling joists were not cooperating. After two failed attempts (and a very patient visit from my brother-in-law, who’s an electrician), I learned some hard lessons. That’s why I’m breaking it all down for you,so you don’t have to.
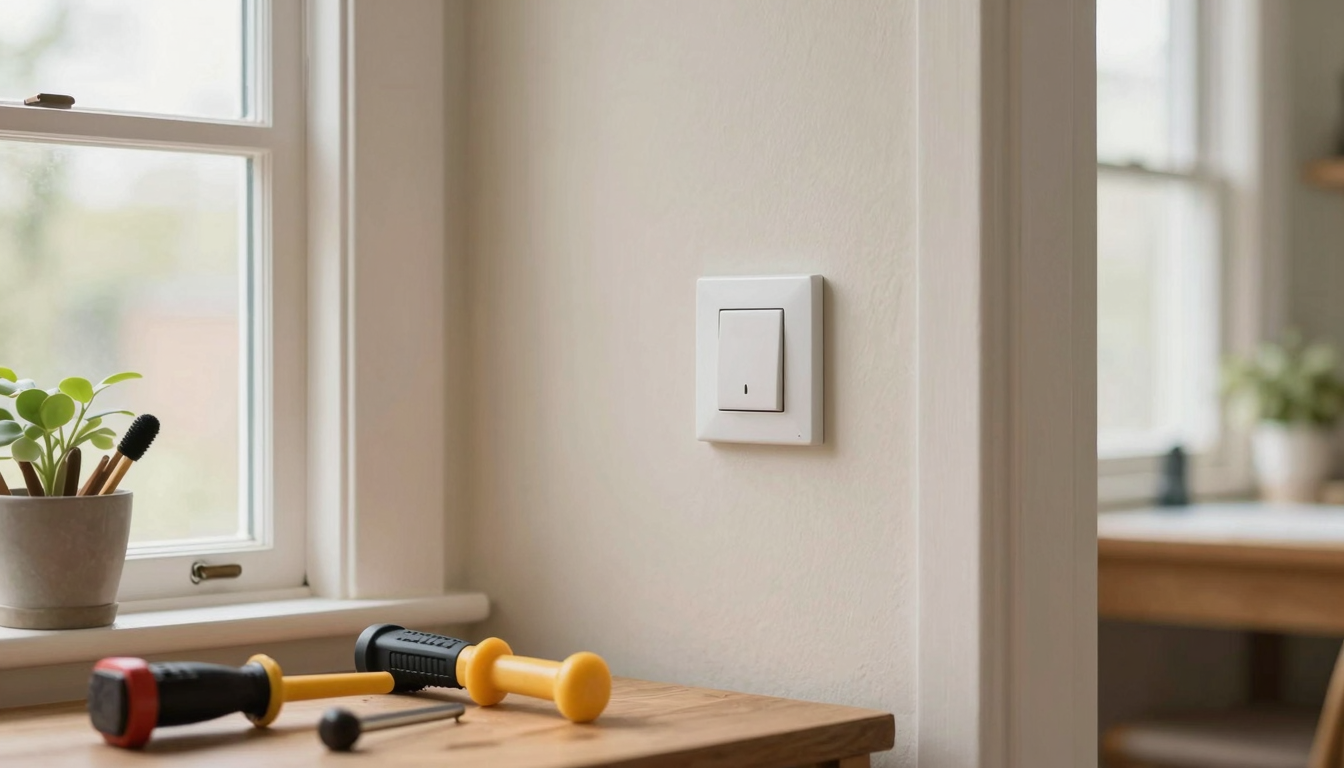
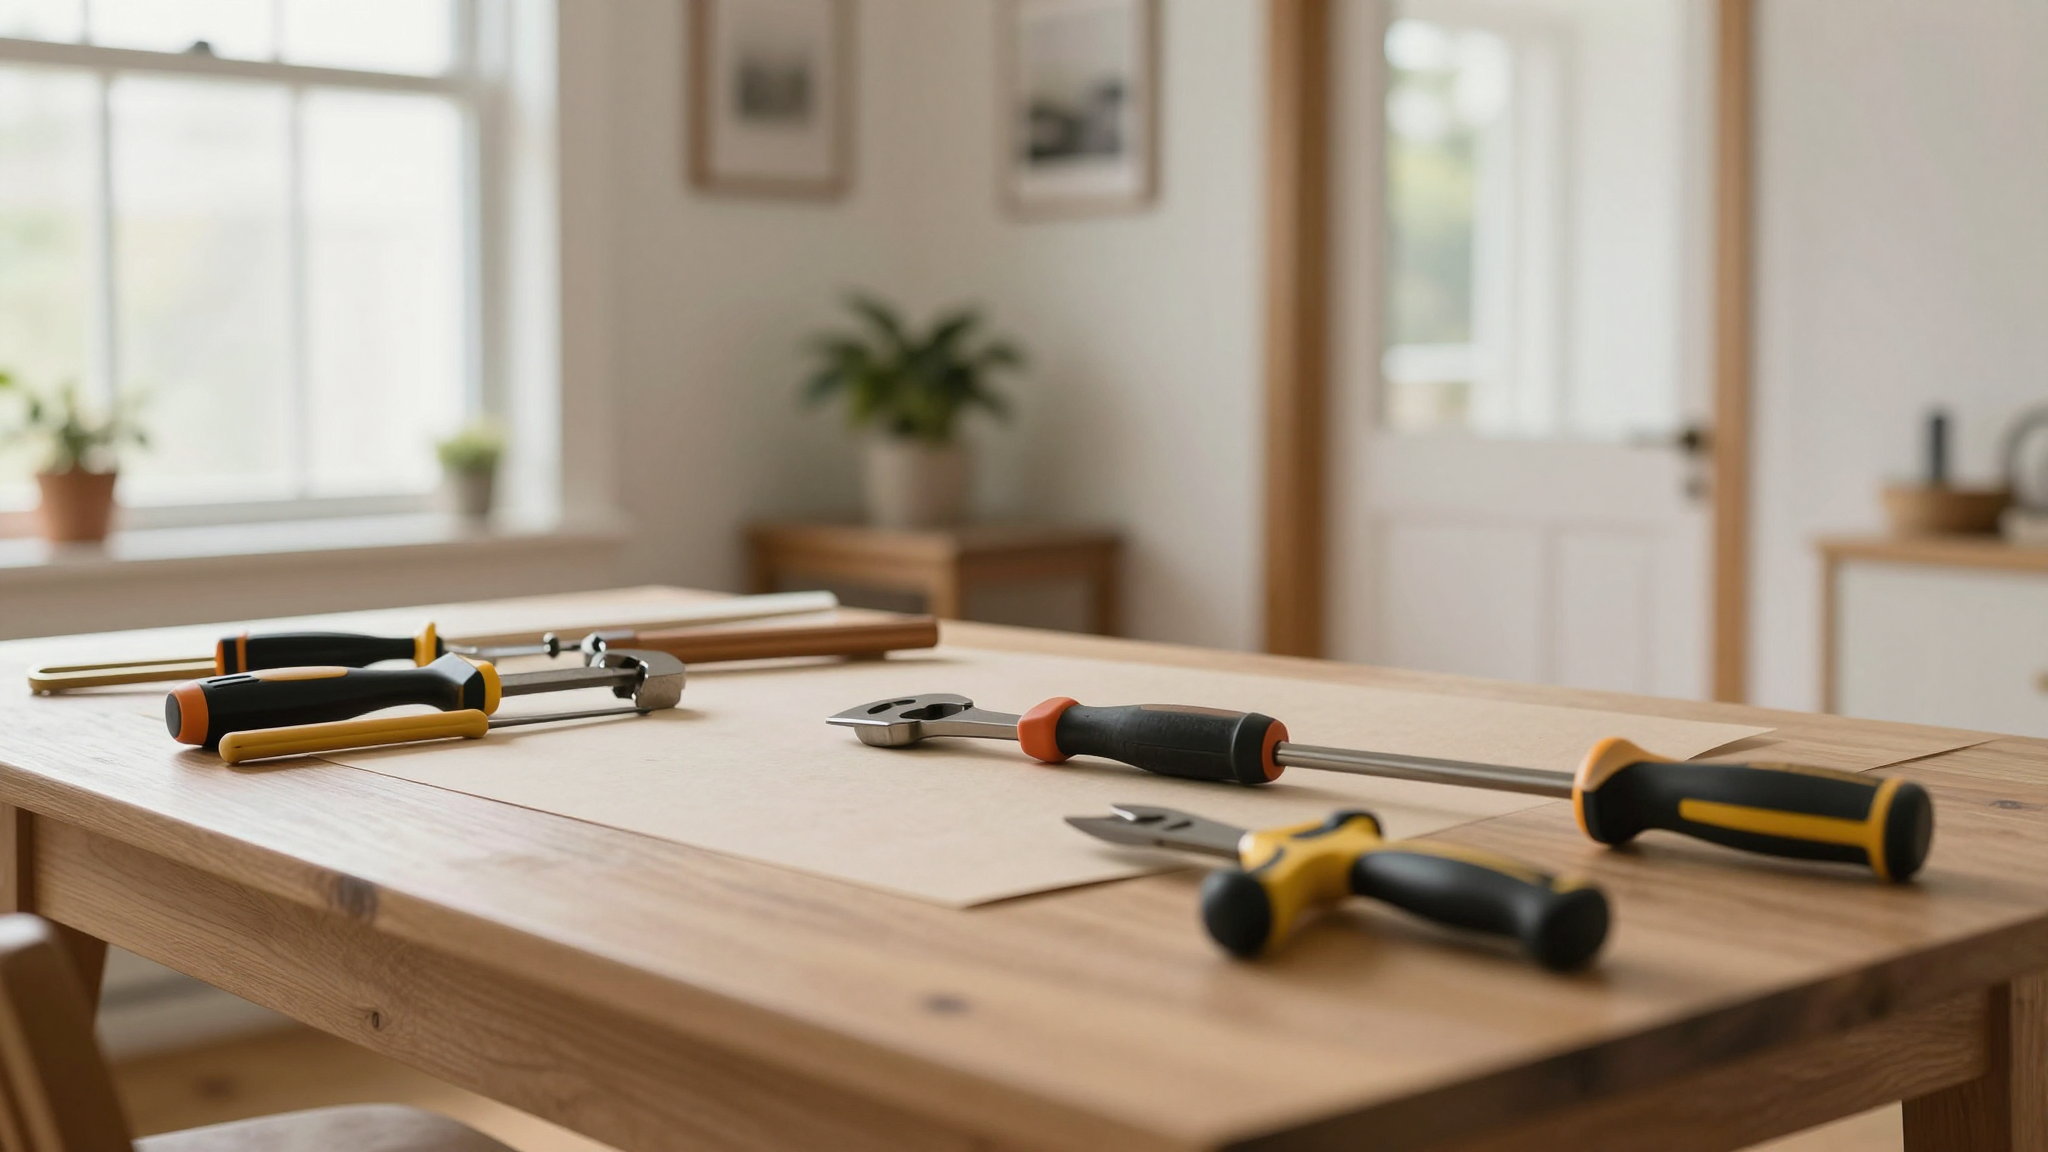
Tools You’ll Actually Need (No, a Hammer Isn’t Enough)
Before you start, grab these:
- A non-contact voltage tester (I used a Klein VT-V2,worth every penny. I zapped myself once with a cheap one. Never again.)
- A recessed lighting template (I made mine from cardboard after measuring our ceiling joists. Pro tip: Keep a tape measure on you at all times.)
- An LED dimmer switch (Not all dimmers work with LEDs! I learned this the hard way when our living room lights buzzed like a swarm of bees.)
- A stud finder (Unless you enjoy drywall surprises, like I did.)
And if you’re anything like me, you’ll also need:
- A spotlight (or your phone flashlight) to see what you’re doing in those dark ceiling cavities.
- Patience. And maybe a backup plan for when things go sideways.
LED vs. Old-School Recessed Lighting: The Real Differences
Let’s talk numbers, because I know you’re here for the practical stuff. Here’s what changed in our home after switching:
| What Changed | Old Halogen Lights | New LED Recessed Lights | Why It Matters |
|---|---|---|---|
| Energy Use | 65 watts each (x6 lights = 390W) | 9 watts each (x6 lights = 54W) | That’s 86% less power. Our electric bill dropped by $47 the first month. |
| Lifespan | ~2,000 hours (replaced every 6-12 months) | ~50,000 hours (lasts decades) | No more “Dad, the living room light’s out again” calls at 8 PM. |
| Heat Output | So hot I could fry an egg on the trim (I tried. It worked.) | Cooler than a regular light bulb | Our AC doesn’t have to work as hard. Big deal in summer. |
| Light Quality | Yellowish, dim, made everything look tired | Bright white (or warm white, your pick) | Our family room finally feels like a room, not a time capsule. |
| Install Complexity | Just swap bulbs (easy) | Requires wiring, but worth it | If you’re handy, it’s a weekend project. If not, hire an electrician for ~$200. |
Here’s the kicker: The LEDs cost $12 each, and the halogens were $3 each. But over five years? The LEDs paid for themselves in energy savings. And that’s not even counting the time I spent not repainting the walls because the old lights made everything look dingy.
Types of LED Recessed Lighting: What’s the Difference?
This is where I got confused at first. There are so many options, and the names don’t always make sense. Here’s what worked for us:
1. Retrofit vs. New Construction
We had existing holes in our ceiling, so I went with retrofit trims. These are like hats for your old light fixtures,they screw right onto the existing housing. No major rewiring, no cutting new holes. Just pop off the old trim, attach the new one, and boom, instant upgrade.
If you’re building a new house or gutting a room, new construction fixtures are the way to go. They’re installed before the drywall goes up, so they’re flush with the ceiling. No gaps, no ugly edges. But if you’re DIYing like me, retrofits are your friend.
My mistake: I assumed all retrofit trims would fit. Ours didn’t because the housing was too shallow. I had to buy slim-profile LEDs (more on those below) to make it work. Always measure first!
2. Can vs. Canless (The Big Debate)
This is where I had to call my brother-in-law. “Christina,” he said, “you don’t need cans.” Turns out, canless LEDs are the future. Here’s why:
- No separate housing: The “can” (the metal part that holds the bulb) is built into the fixture. This means less stuff in your ceiling cavity, which is great if you have shallow ceilings or a lot of wiring up there.
- Easier install: No need to fish wires through a separate can. Just mount the fixture directly to the joist.
- Slimmer profile: Our ceilings are low (thanks, 1980s builder), so the slim canless lights fit perfectly. The old cans made the room feel cramped.
That said, can-style LEDs are still useful if:
- You have deep ceiling cavities (6+ inches).
- You want easier access for future bulb changes (though LEDs last so long, this matters less).
- You’re retrofitting and already have cans in place.
What I ended up with: A mix! Our family room has canless LEDs (slim and bright), but the kitchen still has the old cans because the ceiling is deeper there. It works.
3. Trim Styles: Baffle vs. Gimbal vs. Smooth
This is where I got really picky. The trim is what you see, so it matters. Here’s what each does:
- Baffle trim: Has little “fins” inside that scatter the light, reducing glare. Great for living rooms or anywhere you don’t want harsh shadows. (We used this in our family room.)
- Gimbal trim: The light can swivel. Perfect for highlighting art, gallery walls, or our kids’ “masterpieces” on the fridge. (Yes, we put one over the fridge.)
- Smooth trim: No baffles, just a clean look. More light output, but can be brighter. We used this in the kitchen where we need task lighting.
Pro tip: If you’re unsure, get a baffle trim. It’s the most forgiving and looks good in almost any room.
How to Pick the Right LEDs for Your Space
This is where I almost messed up. I thought “brighter = better,” but that’s not always true. Here’s how to get it right:
1. Lumens: The Only Number That Matters
Forget watts. Lumens are what count. Here’s a quick guide for our home:
| Room | Lumens Needed (Total) | What We Used |
|---|---|---|
| Family Room | 2,500–3,500 | 4 x 6” baffle trims (800 lumens each) |
| Kitchen | 4,000–5,000 | 3 x 6” smooth trims (1,000 lumens each) + 1 gimbal over the island |
| Bedrooms | 1,500–2,000 | 2 x 4” baffle trims (600 lumens each) |
| Bathroom | 2,000–2,500 | 2 x 4” smooth trims (800 lumens each) + a vanity light |
How to calculate yours:
- Measure your room’s square footage.
- Decide how bright you want it (see table above).
- Divide the total lumens by the number of fixtures you want.
- Pick LEDs with that lumen output. (Example: 3,000 lumens / 3 fixtures = 1,000 lumens each.)
My mistake: I over-lit the kitchen at first. It was so bright, it gave me a headache. Now we use dimmable LEDs and keep them at 70% most of the time.
2. Color Temperature: Warm vs. Cool
This is where I learned the hard way that not all white light is the same. The “color temperature” (measured in Kelvins) changes the mood of the room:
- 2700K–3000K (Warm White): Like a cozy lamp. Great for bedrooms, living rooms, or anywhere you want to relax. (We used this in our family room.)
- 3500K–4100K (Cool White): Bright and clean. Perfect for kitchens, bathrooms, or task lighting. (This is what we put in the kitchen.)
- 5000K+ (Daylight): Super bright, like sunlight. Overkill for most homes, but useful in garages or workspaces.
Pro tip: If you can, get tunable LEDs (like the Lutron Caséta system). They let you adjust the color temperature with a remote or app. We use ours to switch from warm white in the evening to cool white in the morning,it’s a game-changer.
3. Size Matters (But Not How You Think)
You’ve got three main sizes to choose from:
- 4” fixtures: Best for small rooms, hallways, or anywhere you need subtle lighting. They put out 600–800 lumens and are great for accent lighting.
- 5” fixtures: The “Goldilocks” size,bright enough for most rooms but not overwhelming. We used these in the bedrooms.
- 6” fixtures: The heavy hitters. They output 800–1,500+ lumens and are perfect for kitchens, living rooms, or any large space.
What we did: Mixed sizes! The family room has two 6” fixtures (for brightness) and two 4” ones (for softer lighting near the couch). It gives us options depending on the time of day.
Installation: What I Wish I Knew Before Starting
Here’s the thing: I’m not an electrician. But I am stubborn, so I tried to DIY the install. Some parts went smoothly. Others? Not so much. Here’s what I learned:
Step 1: Turn Off the Power (Seriously)
I know, this seems obvious. But I swear, I’ve seen enough DIY horror stories to know: Double-check the circuit breaker. Then check it again. Then have your husband check it. Then use a non-contact voltage tester to be sure. (I zapped myself once. Once was enough.)
Step 2: Measure Twice, Cut Once (Literally)
Before you do anything, measure:
- The distance between your ceiling joists.
- The depth of your ceiling cavity (how much space you have between the drywall and the joists).
- The size of your existing light holes (if retrofitting).
My mistake: I assumed all our light holes were the same size. They weren’t. One was 5”, another was 6”. I had to buy two different sizes of retrofit trims. Always measure!
Step 3: Wiring 101 (Or: How Not to Fry Your House)
This is where I called my brother-in-law. Wiring isn’t as scary as it sounds, but if you’re not comfortable with it, hire an electrician. It’s worth the $200 to avoid:
- Short circuits (which can start fires).
- Overloading your circuit (which can trip breakers or, worse, damage your system).
- Voiding your warranty (most LEDs require professional installation for the warranty to cover you).
If you’re DIYing, here’s what you need to know:
- Most LEDs use low-voltage wiring (12V or 24V), not the standard 120V in your walls. You’ll need a transformer to step down the voltage.
- Run the wiring before you install the drywall if you’re doing new construction. Retrofitting is possible, but it’s a pain.
- Use staple-free wire connectors (like Wiremold) to hide the wires neatly.
Step 4: Spacing Your Lights (The Science of Not Having Dark Spots)
This is where I almost ruined everything. I thought, “More lights = brighter room!” Wrong. Too many lights too close together create hot spots (super bright areas) and dark patches. Here’s the rule of thumb:
| Ceiling Height | Recommended Spacing (Between Fixtures) |
|---|---|
| 8’ ceilings | 4.5–5’ apart |
| 9’ ceilings | 5–6’ apart |
| 10’+ ceilings | 6–7’ apart |
What we did: Our family room is 9’ tall, so we spaced the lights 5.5’ apart. It’s perfect,no dark corners, no blinding spots.
Step 5: Hanging the Drywall (Or: How to Avoid a Ceiling Disaster)
If you’re retrofitting, you’ll need to cut holes for the new fixtures. Here’s how to do it without turning your ceiling into Swiss cheese:
- Use a recessed light template (I made mine from cardboard). Trace the outline onto the drywall.
- Cut the hole with a drywall saw. Go slow,slow. If you rush, you’ll tear the drywall.
- Smooth the edges with a rasp or sanding block. No sharp edges!
- Install a light ring (the metal or plastic frame that holds the fixture) to reinforce the hole.
My mistake: I cut the hole too small. The fixture wouldn’t fit, so I had to widen it,and ended up with a ragged edge. I had to patch and repaint. Lesson learned: Measure three times.
Step 6: Testing and Troubleshooting
Before you close up the ceiling, test every light. Here’s what to check:
- Is the light turning on? (If not, check the wiring.)
- Is it dimmable? (If you’re using a dimmer switch, test it now.)
- Is the color temperature what you expected? (Some LEDs look different in person than in photos.)
- Are there any hot spots or dark areas? (Adjust spacing if needed.)
What went wrong for me: One of our kitchen lights flickered like a horror movie. Turns out, the dimmer switch wasn’t compatible with the LEDs. I had to replace it with a LED-compatible dimmer (like the Lutron Caséta).
Maintenance: Keeping Your Lights Bright for Years
Here’s the best part about LEDs: They’re low-maintenance. But they’re not no-maintenance. Here’s what I do to keep ours running smoothly:
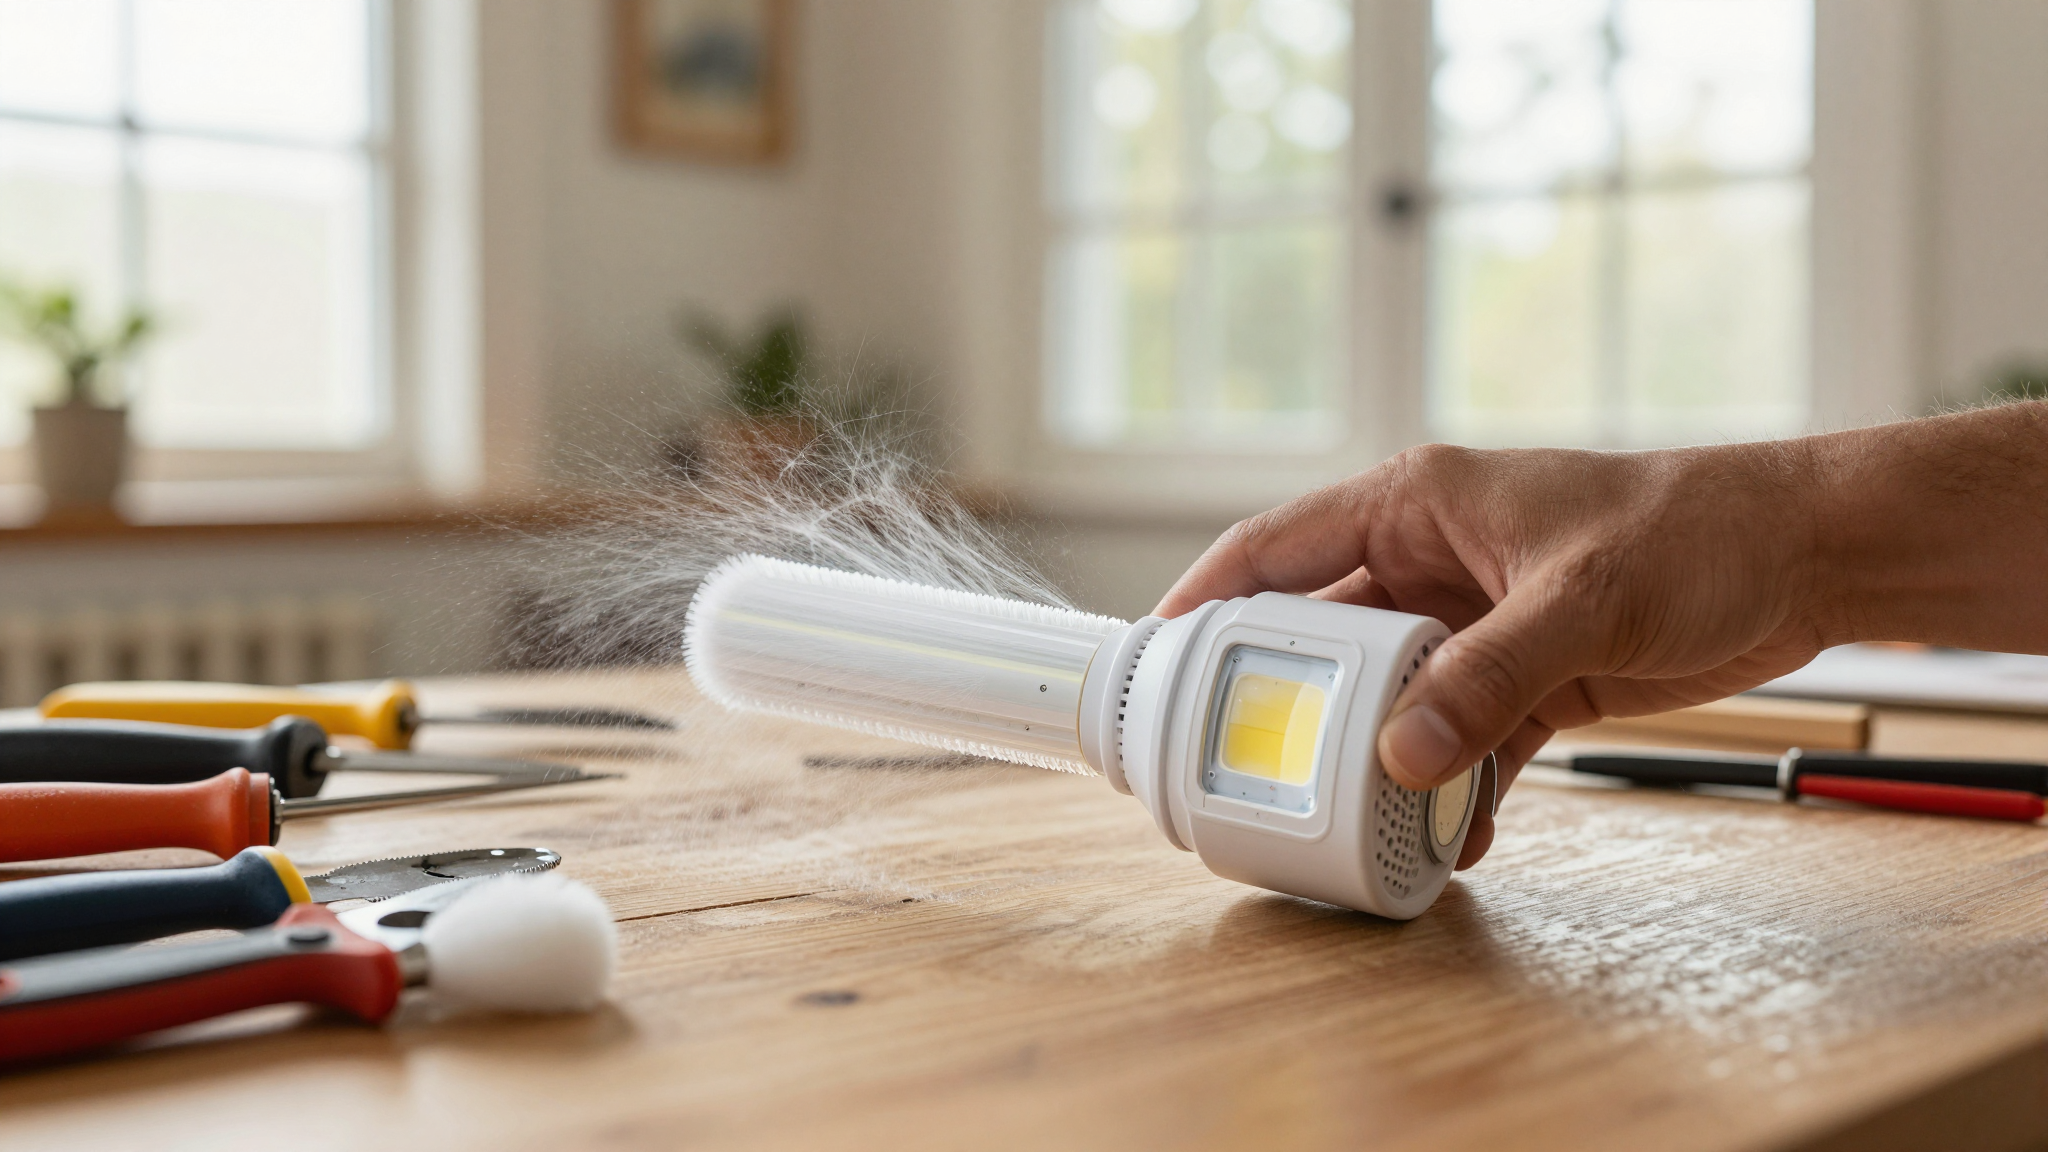
1. Dusting (Yes, Really)
Dust builds up on the trim and inside the fixture, blocking light. I clean ours:
- Every 6 months in the family room (where dust isn’t as bad).
- Every 3 months in the kitchen (because, hello, cooking splatters).
How? A microfiber cloth and a vacuum with a brush attachment. No harsh chemicals,just a little water if it’s really dusty.
2. Checking for Burnt-Out LEDs (Spoiler: They Don’t Burn Out)
LEDs last decades, so I don’t worry about this much. But if a light starts flickering or dimming, it’s usually a wiring issue, not the LED itself. In that case, I check:
- The connection to the transformer.
- The dimmer switch (if applicable).
- The fixture itself for loose wires.
3. Updating for the Future
Our LEDs are smart (they connect to our home automation system), so we can adjust them with our phones. But even if yours aren’t, you can still:
- Replace old trims with newer, brighter ones.
- Add motion sensors for hallways or closets.
- Upgrade to tunable white LEDs if you want more control over the color temperature.
Pro tip: If you’re like me and love a good project, consider adding RGB LEDs to a room for fun. Our kids’ playroom has them, and they go nuts when we turn them blue for “underwater mode.”
Final Thoughts (And What I’d Do Differently)
If you’ve made it this far, you’re either:
- Ready to tackle this project yourself, or
- Convinced you need to hire an electrician (both are valid).
Here’s what I’d do differently if I were starting over:
- Hire an electrician for the wiring. It’s not worth the risk (or the headache).
- Get tunable LEDs from the start. The ability to adjust the color temperature is a game-changer.
- Plan for smart lighting. Even if you don’t use it now, having Wi-Fi-enabled LEDs (like the Philips Hue system) makes future upgrades easier.
- Test the dimmer switch before buying. Not all dimmers work with LEDs! I had to return two before I found one that worked.
But here’s the thing: Even with the mistakes, this was one of the best home upgrades we’ve done. Our home is brighter, our energy bills are lower, and I don’t have to listen to my husband complain about “those dang flickering lights” anymore.
So if you’re on the fence, just do it. Start with one room,maybe the kitchen or the family room,and see the difference. And if you hit a snag? Grab the right tools, take a deep breath, and keep going. You’ve got this.
Now, if you’ll excuse me, I’ve got to go turn off the lights in the kids’ room. Again.
Frequently Asked Questions
What’s the biggest difference between LED and old halogen recessed lights?
The biggest differences are:
- Energy savings: LEDs use up to 80% less power.
- Lifespan: LEDs last 25+ times longer.
- Heat: Halogens turn ceilings into heaters; LEDs stay cool.
- Light quality: LEDs give brighter, more even light without the yellow tint.
In our home, the difference was night and day,literally. Our family room used to feel like a cave after 6 PM. Now? It’s bright and welcoming, even at night.
Can I install LED recessed lighting myself, or do I need an electrician?
It depends! If you’re comfortable with basic wiring and have a non-contact voltage tester, you can DIY the retrofit part. But if you’re rewiring or dealing with new construction, hire an electrician. I tried to DIY the wiring and ended up with a flickering light that drove my husband crazy. Not worth the stress.
What’s the difference between can and canless LED recessed lights?
Can lights have a separate metal housing (the “can”) that’s installed in the ceiling cavity. They’re great for retrofits because you can reuse the existing housing. Canless lights don’t need a separate can,they mount directly to the joist. They’re slimmer, easier to install, and perfect for shallow ceilings. We used canless lights in our family room because our ceilings are low, and they look cleaner.
How do I know if my dimmer switch is compatible with LED lights?
This is where I learned the hard way! Not all dimmer switches work with LEDs. Look for a dimmer labeled “LED-compatible” or “triac or trailing-edge dimming”. If you’re not sure, test it with one LED first. I had to replace two dimmer switches before I found one that worked with our lights.
What’s the best way to clean LED recessed lighting?
Dust is the enemy of bright lights! Here’s how I keep ours clean:
- Use a microfiber cloth for the trim (damp, not wet).
- Vacuum the inside of the fixture with a brush attachment every few months.
- For stubborn grime, a little mild soap and water works (but dry it thoroughly).
I clean our kitchen lights more often because, well, cooking splatters. The family room lights? Every six months or so.
How do I choose the right color temperature for my space?
It depends on the mood you want:
- 2700K–3000K (Warm White): Cozy, like a lamp. Perfect for bedrooms, living rooms, or anywhere you want to relax.
- 3500K–4100K (Cool White): Bright and clean. Great for kitchens, bathrooms, or task lighting.
- 5000K+ (Daylight): Super bright, like sunlight. Overkill for most homes, but useful in garages or workspaces.
We use warm white in the family room and cool white in the kitchen. If you can, get tunable LEDs,they let you adjust the temperature with a remote or app. It’s a game-changer.
What’s the best size for LED recessed lighting in a small room?
For small rooms, I recommend:
- 4” fixtures for subtle, ambient lighting (great for hallways or accent lighting).
- 5” fixtures for a balance of brightness and size (perfect for bedrooms or small living rooms).
Avoid 6” fixtures in small spaces,they can be too bright and overwhelming. In our kids’ bedrooms, we used 4” and 5” fixtures for a soft, even glow.
How often do I need to replace LED recessed lights?
Here’s the best part: You probably won’t. LEDs last 25,000–50,000 hours, which means:
- In a bedroom (used 4 hours a day): ~14 years.
- In a kitchen (used 8 hours a day): ~7 years.
- In a living room (used 6 hours a day): ~10 years.
That’s decades of use! The only reason you’d replace them is if the trim gets damaged or you want to upgrade to a newer model. We’ve had ours for three years, and they’re still going strong.