
Dollar Store DIY: How I Turned Cheap Finds into Luxe Decor (Without Losing My Mind)
Let me tell you something: I’ve spent way too much money on home decor over the years. One time, I bought a $200 vase because it “completed the aesthetic” of my living room. Then my toddler knocked it over. Lesson learned: If it’s not indestructible or at least under $10, I don’t trust it in my house.
That’s why I’ve become obsessed with turning dollar-store finds into pieces that look like they belong in a designer catalog. Spoiler: It’s easier than you think. I’ve ruined a few projects along the way (see: the time I used the wrong kind of glue on a wooden sign and it melted into a sad, sticky puddle), but now I’ve got a system. And today, I’m sharing it with you,no fluff, no fake “expert” quotes, just the real stuff that’s worked in my own home.
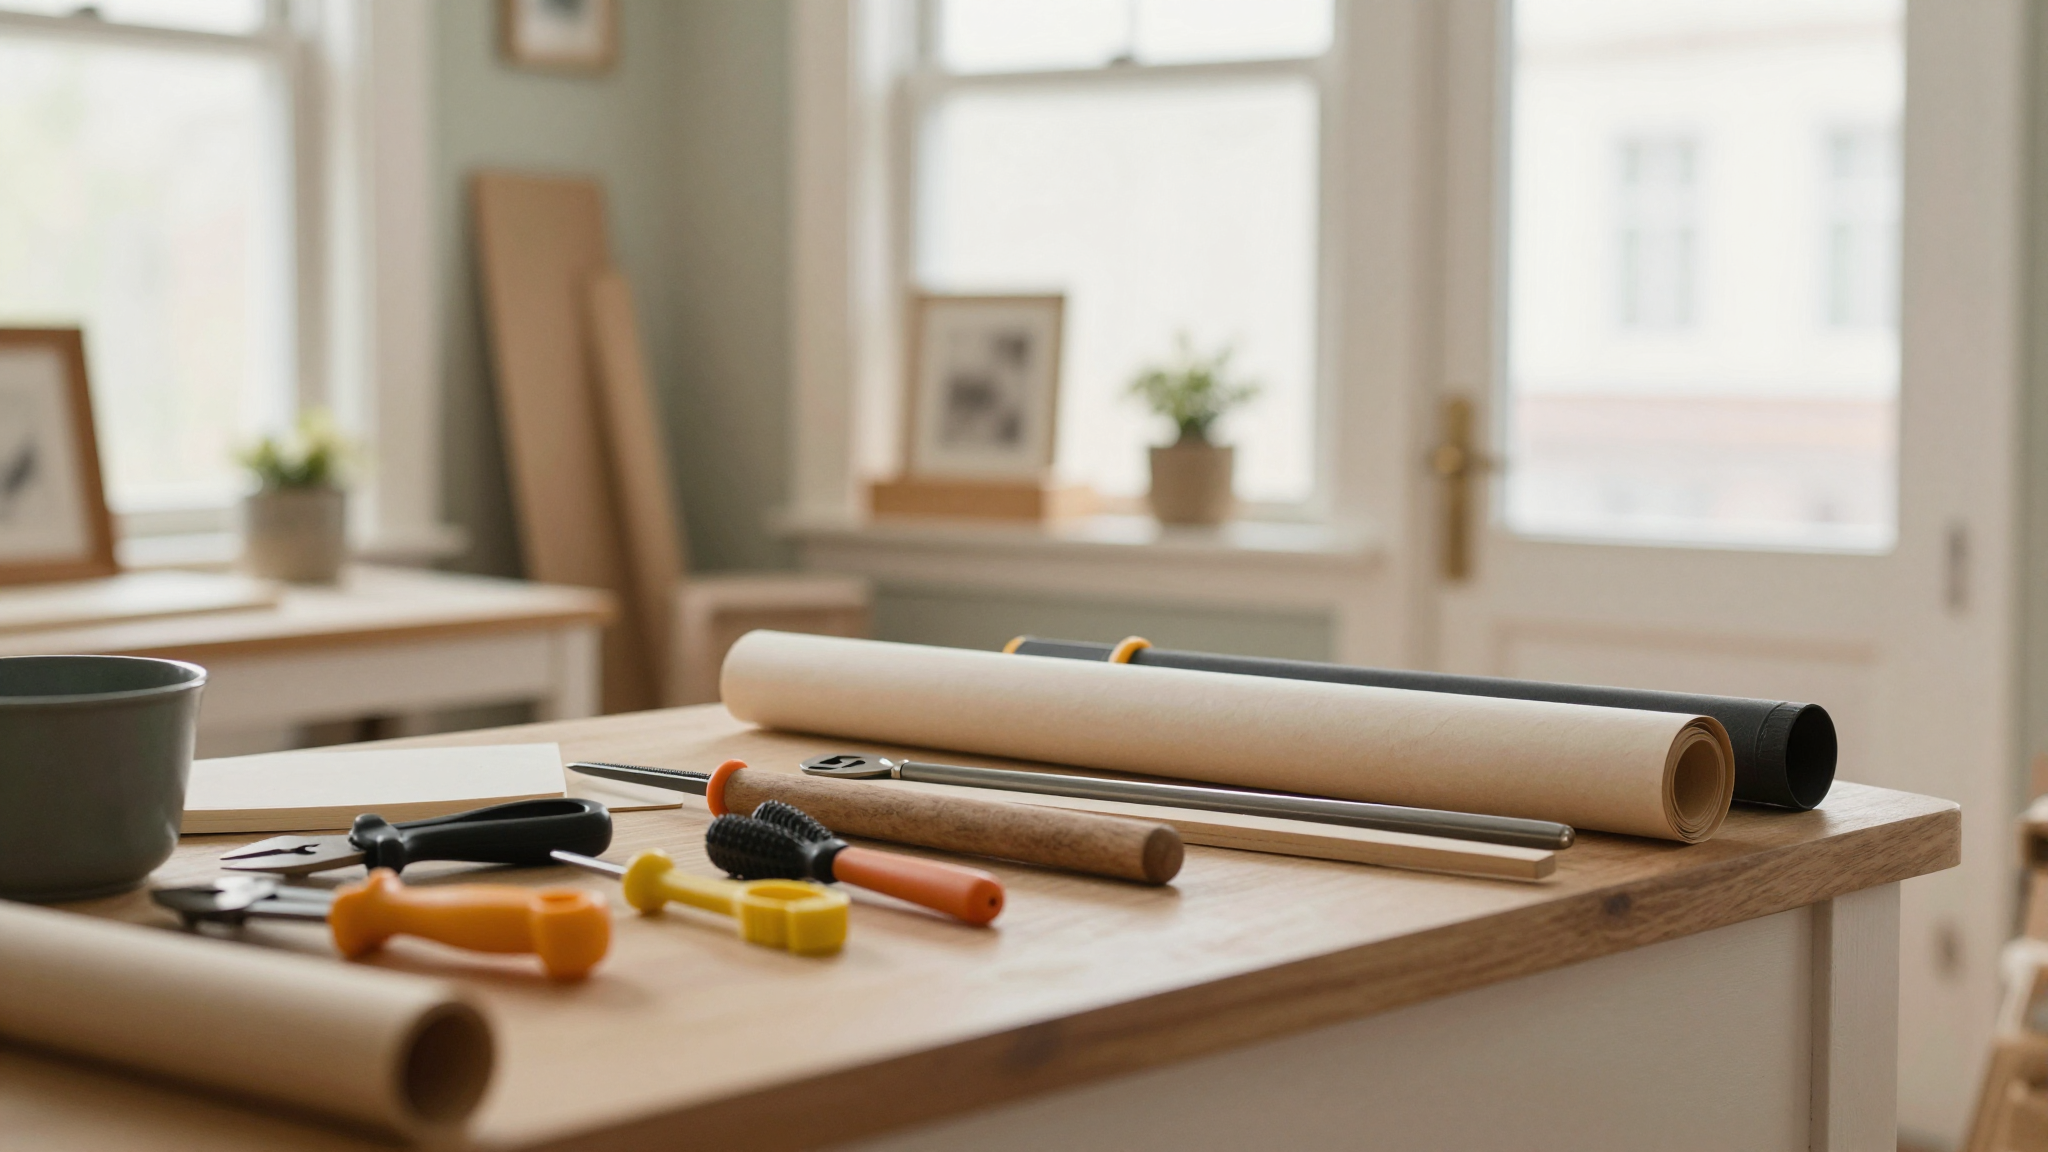
Here’s the thing: You don’t need a fancy workshop or a Pinterest-perfect life to make your space look expensive. You just need a little creativity, the right tools (more on that here), and the willingness to embrace “ugly middle” phases. Trust me, your first attempt won’t be perfect. Mine never are. But that’s half the fun.
What You’ll Learn in This Post
- How to spot hidden gems at the dollar store (and what to avoid,trust me, not all plastic trays are created equal).
- My go-to tricks for making cheap materials look high-end (including the one spray paint brand that actually doesn’t streak).
- Real-life examples of projects I’ve done in my own home,some successes, one major fail, and how I fixed it.
- Where to find inspiration without falling into the Pinterest comparison trap (because we’ve all been there).
- How to style your DIY pieces so they look intentional, not like a last-minute craft project (which, let’s be honest, most of them are).
Oh, and if you’re anything like me, you’ll also learn how to clean up a mess when your 7-year-old “helps” with the glitter. (Pro tip: Baby oil. Just… trust me.)
Dollar Store Gems: What to Buy (and What to Leave Behind)
I hit up the dollar store at least once a month, and I’ve learned the hard way which items are worth your time and which are just taking up space in your cart. Here’s my shopping list:
- Glass jars and votives: These are my holy grail. I’ve turned them into candle holders, pencil cups, and even tiny terrariums. The key? A good scrub with soapy water and a little elbow grease (yes, I’ve had to patch drywall after a jar-explosion incident,don’t ask).
- Plain wooden letters or frames: I spray-painted a set of wooden letters gold for my daughter’s bedroom. They looked like they cost $50, but the whole project was under $12. (I did learn the hard way that you have to sand them first,rough wood + spray paint = streaky disaster.)
- Plastic trays: These are my secret weapon for creating faux marble or wood-grain surfaces. I’ve used them as coasters, tray tables, and even a headboard for my guest bed. (More on that here.)
- Adhesive vinyl or contact paper: This stuff is magic. I used it to give my outdated kitchen drawers a modern update, and it held up for years. Just don’t skimp on the brand,Oracal is my favorite, and it’s worth the extra few bucks.
- Clear votives: A coat of Frosted Glass Spray (I like the Rust-Oleum version) turns them into elegant centerpieces. I used them for my daughter’s birthday party, and my sister-in-law asked where I bought them. (I just smiled and said, “Target.”)
Now, the items to avoid:
- Cheap plastic plants. They look sad within a week, and no amount of spray paint will fix that.
- Thin, flimsy baskets. They collapse under the weight of a single throw pillow.
- Anything labeled “disposable.” If it’s meant to be thrown away, it’s not worth your time.
Pro tip: Hit the dollar store right after a holiday. That’s when they clear out seasonal decor, and you can find goldmine items like faux greenery, ribbon, and even small mirrors for pennies.
My Top 3 Dollar Store Hacks (That Actually Work)
I’ve tested a lot of “life hacks” over the years, and most of them are a waste of time. But these three? They’ve saved me hundreds of dollars and look way more expensive than they are.
1. Faux Marble Trays (That Look Like They Cost $100)
I was scrolling through Pinterest one night, drooling over marble trays that cost more than my weekly grocery budget. Then I remembered the plastic trays I’d bought for my kids’ art projects. Game on.
Here’s how I did it:
- I cleaned the trays with soapy water and let them dry completely. (Skipping this step = sticky contact paper. Ask me how I know.)
- I cut a piece of marble contact paper (I like the Contact Paper brand) to fit the tray, leaving a little overhang.
- I used a credit card (yes, the one I never use) to smooth out any bubbles. A hairdryer on low heat helps, too.
- I trimmed the excess with a sharp utility knife and,voilà!,instant marble tray.
I used mine on my coffee table, and my husband actually noticed. (That’s high praise in our house.) If you want to take it up a notch, add a few brass cup hooks (also from the dollar store) to hang keys or jewelry.
2. Gold-Leaf Wooden Letters (That Didn’t End in Tears)
I wanted to spell out my daughter’s name for her bedroom wall, but the pre-painted letters at Michaels were way out of my budget. So I bought plain wooden letters at the dollar store and attempted to gold-leaf them. Disaster.
First try? I used the wrong kind of glue, and the gold leaf slid right off. Second try? I got impatient and skipped the sanding step. The paint bubbled like a science experiment gone wrong. But the third time? Perfection.
Here’s what I did right:
- I sanded the letters thoroughly with 120-grit sandpaper. No shortcuts.
- I used Mod Podge as a glue (it’s cheaper than gold-size adhesive and works just as well).
- I applied the gold leaf slowly, letting each piece adhere before adding the next. (Patience is key,trust me, I had to remind myself of this a lot.)
- I sealed it with clear acrylic spray to protect it from little hands (and my own clumsiness).
Now they hang in her room, and she thinks they’re “fancy.” Mission accomplished.
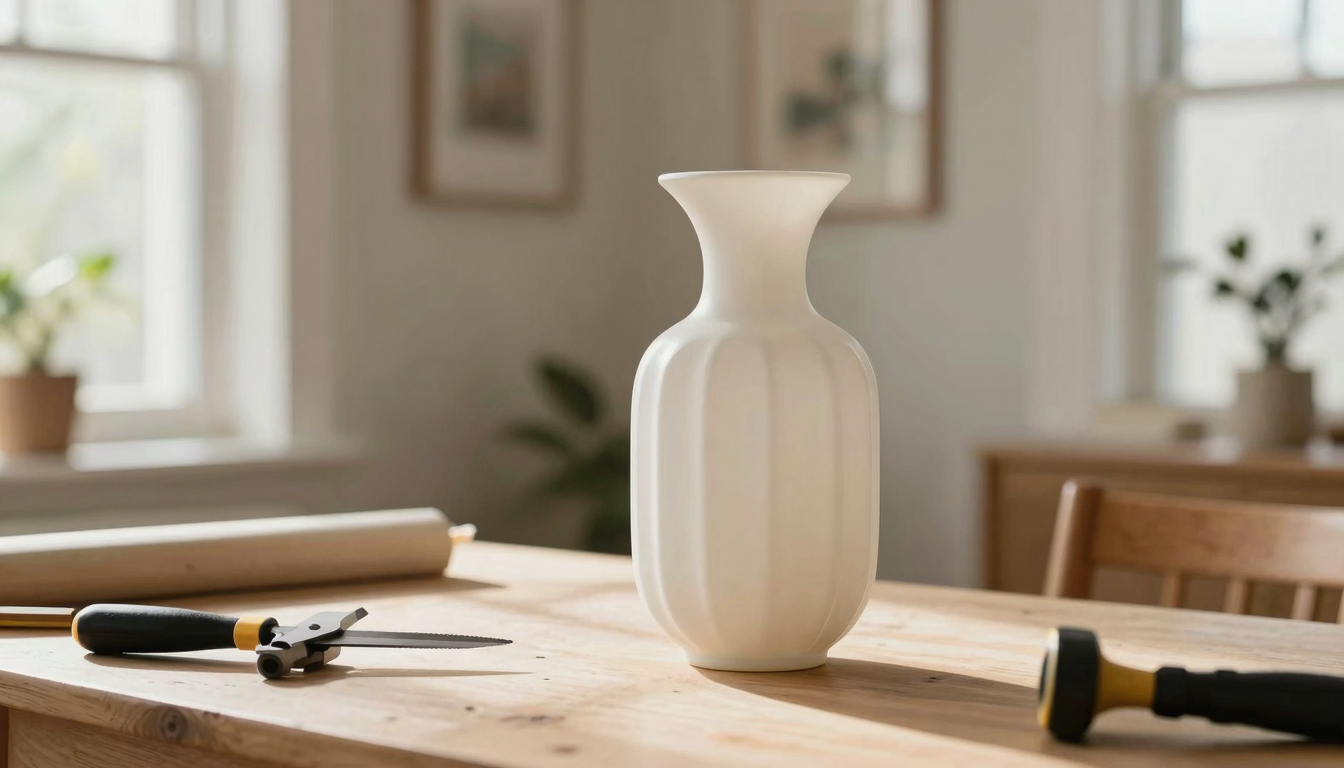
3. Frosted Glass Vases (That Look Like They’re From Anthropologie)
I have a thing for glass vases, but the nice ones break the bank. So I grabbed a bunch of clear votives from the dollar store and turned them into frosted glass centerpieces. Here’s the secret:
- I cleaned the votives with rubbing alcohol to remove any oils or fingerprints. (This step is critical,skip it, and the frost won’t stick evenly.)
- I sprayed them with Frosted Glass Spray in a well-ventilated area (I did this outside on the deck). I did two light coats, letting each dry for 10 minutes.
- I filled them with dried pampas grass (dollar store, again) and a few fairy lights for a cozy, expensive-looking centerpiece.
I used these for my Thanksgiving table, and my mom asked where I bought them. I just smiled and said, “Oh, you know, just a little something I picked up.” (She still doesn’t know.)
Where to Find Inspiration (Without Losing Your Mind)
Pinterest is great, but it’s also a rabbit hole of perfection that makes you feel like your home will never measure up. Here’s how I stay inspired without comparing myself to Instagram-perfect spaces:
- Save “real” homes, not staged ones. I follow accounts like Design*Sponge and Apartment Therapy because they show real people’s real homes. It’s way more relatable (and less intimidating).
- Look for “ugly” phases. I love searching for “before and after” DIY projects where the “before” looks just as messy as my own house. It’s weirdly comforting.
- Follow hashtags like #DollarStoreDIY or #BudgetDecor. You’ll find real people doing real projects with real imperfections. (And let’s be honest, those are the ones that feel the most inspiring.)
- Visit your local thrift stores and home goods sections. I get a lot of ideas just by wandering the aisles and seeing what catches my eye. (Pro tip: The “as-is” section at thrift stores is where the real gems hide.)
Oh, and if you’re feeling overwhelmed, just remember: Your home doesn’t have to be Pinterest-perfect to be beautiful. Mine is a mix of hand-me-downs, thrifted finds, and dollar-store hacks, and I love it. (Even if the throw pillows don’t always match.)
Styling Your DIY Pieces Like a Pro (Without Hiring a Designer)
Here’s the thing about DIY decor: It’s easy to spot when it’s been thrown together last-minute. But with a few simple tricks, you can make your dollar-store finds look like they belong in a magazine. Here’s how I do it:
1. Stick to a Color Palette
I used to grab whatever caught my eye at the dollar store, and my home looked like a rainbow exploded. Now? I stick to a neutral base (whites, beiges, grays) and add in one or two accent colors. It keeps everything cohesive.
For example, in my living room, I used:
- White and gray spray-painted frames
- A single pop of terracotta in a vase
- Natural wood tones in my DIY coffee table
It looks intentional, but it only cost me $20.
2. Mix Textures
Smooth + rough = instant sophistication. I pair:
- Smooth glass vases with woven baskets
- Rough wood signs with sleek metallic frames
- Faux leather pulls (from the dollar store!) with matte black trays
It adds depth and makes your space feel more put-together.
3. Group Things in Odd Numbers
This is a designer trick I stole (and it works every time). Instead of lining up three identical vases, I mix:
- One tall vase
- One short vase
- One odd-shaped bowl
It looks more intentional and way less “I bought this in a set.”
4. Don’t Be Afraid of “Ugly” Phases
I once spent an entire weekend working on a fireplace makeover, only to step back and think, This looks terrible. I almost tore it all down. But I left it for a few days, and you know what? It grew on me. Now, it’s one of my favorite projects.
Moral of the story? Give your projects time. What looks messy today might look amazing tomorrow.
Final Thoughts (And a Challenge for You)
I could keep rambling about dollar-store hacks all day, but I’ll wrap this up with a challenge: Grab one item from your dollar store this week and turn it into something “luxury.” It doesn’t have to be perfect. It just has to be yours.
Here’s what I’m doing this week: I’m turning a plain wooden box into a gallery wall frame for my daughter’s artwork. No fancy tools, just a little paint, some creativity, and maybe a few choice words when it doesn’t go as planned.
Now, I want to see what you create. Snap a photo of your project and tag me on Instagram @christinaprojects. And if it’s a disaster? Tag me anyway,I’ve been there, and I’ll help you fix it.
Happy crafting! And remember: The best homes aren’t the ones that look like a magazine. They’re the ones that tell a story,even if that story includes a few failed DIY attempts along the way.
FAQs (The Real Ones You Actually Want to Know)
What’s the easiest dollar-store item to upcycle?
How do I make my DIY projects look less “homemade”?
What’s the biggest mistake beginners make with dollar-store DIYs?
Can I really make my home look expensive on a budget?
FAQs (The Real Ones You Actually Want to Know)
What’s the easiest dollar-store item to upcycle?
Hands down, glass jars. They’re versatile, cheap, and a little spray paint or adhesive vinyl can turn them into anything from candle holders to pencil cups. I’ve even used them as planters for succulents. Just make sure to clean them really well first,dried-on food or glue is a nightmare to remove.
How do I make my DIY projects look less “homemade”?
Here’s my secret: Focus on the details.
- Sand edges smooth (rough edges scream “DIY”).
- Use a high-quality sealant (like Mod Podge) to protect your work.
- Style your pieces in groups of three (odd numbers look more intentional).
- Add a pop of color or texture to distract from imperfections.
And if all else fails? Embrace the imperfections. A little wear and tear gives your home character.
What’s the biggest mistake beginners make with dollar-store DIYs?
Skipping the prep work. I’ve ruined so many projects because I didn’t clean, sand, or prime properly. Take the extra 10 minutes to do it right the first time. Trust me, it’s worth it.
Can I really make my home look expensive on a budget?
Absolutely. It’s not about how much you spend,it’s about how you style what you have. I’ve turned dollar-store finds into pieces that get compliments all the time. The key? Confidence. If you love it, it’ll look expensive,even if it cost $1.29.
What’s your go-to tool for dollar-store DIYs?
My heat gun. It’s a game-changer for smoothing out adhesive vinyl, removing old paint, or even giving wood a quick distressed look. I use the Wagner HT1000, and it’s been a lifesaver. (Just don’t leave it unattended,my husband learned that the hard way.)
.29.