
How I Created Quiet Time Activity Boxes That Actually Work (And Saved My Sanity)
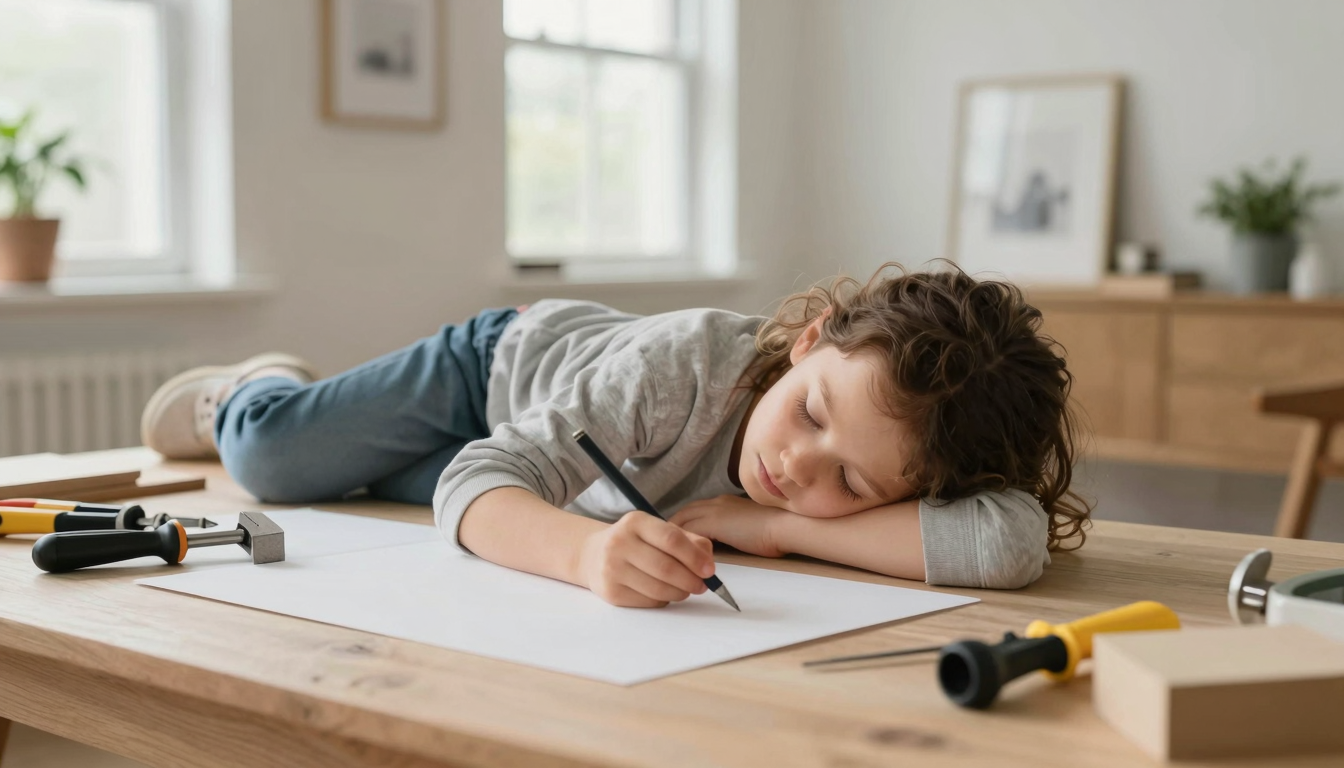
Let me tell you, the day my youngest outgrew naps was the day I realized I needed a miracle. Not because I missed the quiet (okay, maybe a little), but because suddenly, my afternoons turned into a three-ring circus of “Mom, watch this!” and “Mom, I’m boooored.” I’d tried everything,screen time, “just five more minutes of playtime,” even bribery with goldfish crackers,but nothing stuck. That’s when I stumbled upon the idea of quiet time activity boxes, and honestly? They’ve been a game-changer. Not the kind that makes you feel guilty for not being “present” every second, but the kind that gives you 45 glorious minutes to drink your coffee while it’s still hot.
These aren’t just random bins of toys tossed together. They’re curated, intentional, and,most importantly,effective. My kids now look forward to their “special time” just as much as I look forward to mine. And the best part? It didn’t cost a fortune, and I used stuff I already had (plus a few strategic Target runs). If you’re drowning in the post-nap transition or just need a way to keep your little one occupied while you winterize your HVAC or finally patch that hole in the drywall, this is for you.
Why Quiet Time Boxes Are a Lifesaver (And How They’re Different from Nap Time)
First, let’s clear up the confusion: quiet time is not the same as nap time. I learned this the hard way when my daughter, then 3, refused to lie down for her “nap” but also refused to play alone. She wanted me. All. The. Time. It was exhausting,for both of us.
Quiet time, on the other hand, is about structured independence. It’s a designated period (30-60 minutes) where your child stays in one space,usually their room or a designated corner,and engages in calm, self-directed activities. No screens, no constant supervision, just focused play. The goal? To give them a sense of autonomy while giving you a break to organize your toolbox, fold laundry, or just sit in silence.
Here’s the breakdown of how they differ:
| Aspect | Nap Time | Quiet Time |
|---|---|---|
| Primary Goal | Sleep (or at least trying to sleep, while your toddler turns into a ninja at 2 PM). | Mental relaxation + independent engagement. Think: “Mom, I’m busy!” instead of “Mom, watch me!” |
| Parental Expectations | Praying for 90 minutes of silence (good luck). | Your child plays alone while you actually get stuff done. Or nap. No judgment. |
| Duration | 1-2 hours (if you’re lucky). | 30-60 minutes,long enough to recharge, short enough to not feel like a prison sentence. |
| Activities | Sleep. Or, if they’re like my kid, “resting with their eyes open while plotting world domination.” | Books, puzzles, sensory bins, art supplies,anything that keeps them engaged without requiring you to be their personal entertainment director. |
Here’s the thing: Quiet time isn’t about forcing your child into solitude. It’s about teaching them how to entertain themselves. And trust me, once they get the hang of it, they’ll thank you (or at least, you’ll thank yourself).
How I Got My Kids to Actually Want Quiet Time (Spoiler: It Involves Themes and a Little Bribery)
Let’s be real,kids aren’t naturally inclined to sit quietly and “play nicely” by themselves. They need incentives. That’s where the activity boxes come in. These aren’t just random bins of toys; they’re carefully curated experiences that make quiet time feel like a treat, not a punishment.
I’ll admit, my first attempt was a disaster. I grabbed a shoebox, tossed in some old crayons, a puzzle missing half its pieces, and a doll missing an arm, and called it a day. My son took one look, sighed, and said, “This is boring.” Ouch. Lesson learned: If I wanted this to work, I had to put in the effort.
Step 1: The Container Matters (Yes, Really)
You’d think any old box would work, but here’s the thing: Kids are visual. If they can’t see what’s inside, they won’t be excited about it. My first mistake was using a deep plastic bin. My daughter couldn’t see the contents, so she lost interest before she even opened it.
Now? I use shallow scrapbook storage boxes from Michaels (they’re on sale all the time if you sign up for their emails). They’re clear, easy to access, and,most importantly,they look like they contain magic. I also love stackable bins with sliding drawers (like the ones from Target’s Dollar Spot). They keep everything organized, and my kids can pull out a bin without making a mess.
Pro tip: Label the bins with pictures or words so your child can “choose” their activity. Mine have labels like “Art Time,” “Puzzle Party,” and “Sensory Fun.” It gives them a sense of control, and honestly? It makes me feel like a slightly more organized mom.
Step 2: Rotate Like a Pro (Or at Least Like a Mom Who’s Trying)
Here’s the secret to keeping quiet time fresh: rotation. Kids get bored fast, and if they see the same bin every day, they’ll lose interest. I started with four bins and rotate them every 3-4 days. It’s not perfect,I’ve definitely reused a bin for a week straight when I was lazy,but it works.
How do I decide what goes in each bin? I think about:
- Skills: What does my child need to work on? Fine motor skills? Problem-solving? Creativity?
- Interests: What are they obsessed with right now? Dinosaurs? Unicorns? Trains?
- Sensory needs: Do they need something calming (like a fidget toy) or something active (like a building set)?
For example, one of my bins is all about sensory play. It’s got a small container of kinetic sand, a set of textured animal figures, and a magnifying glass (because every kid needs to feel like a scientist). Another bin is for creative time,washable markers, a watercolor set, and a sketchbook. The key is to mix it up so they’re not doing the same thing every day.
And yes, sometimes I cheat. If my son is really into dinosaurs, I’ll keep the dino bin out for an extra day. The goal isn’t perfection; it’s engagement.
Step 3: Themed Bins = Instant Excitement
Here’s where I get a little fancy. Themed bins take quiet time to the next level because they feel like a special event. My kids now ask, “What’s today’s theme?” like it’s a field trip.
Some of my favorite themes:
- Ocean Adventure: Blue sensory bin with “water” (I use rice dyed with food coloring), plastic sea animals, and a fishing game. I even added a small spray bottle for “splashing” (contained, of course).
- Space Explorer: Glow-in-the-dark stars, a DIY “rocket” (toilet paper roll + foil), and a book about astronauts. I taped black paper to the inside of the bin to make it feel like outer space.
- Art Studio: A mini easel (I made one from a repurposed picture frame), washable paints, and sticker books. I even added a “gallery wall” (a piece of poster board) where they can display their masterpieces.
- Construction Zone: Wooden blocks, a toy toolset (Melissa & Doug makes a great one), and a roll of “blueprints” (just printed coloring pages). My son loves pretending to build a house,even if it’s just a pile of blocks.
I swap out themes every few weeks, and honestly? It’s become a fun project for me too. I love hunting for dollar-store finds or upcycling old toys to fit a new theme. It’s like upcycling, but for kids’ playtime.
And yes, sometimes the themes flop. Remember the time I tried a “jungle safari” bin with plastic animals and a toy jeep? My daughter took one look and said, “Where’s the glitter?” Lesson learned: Know your audience.
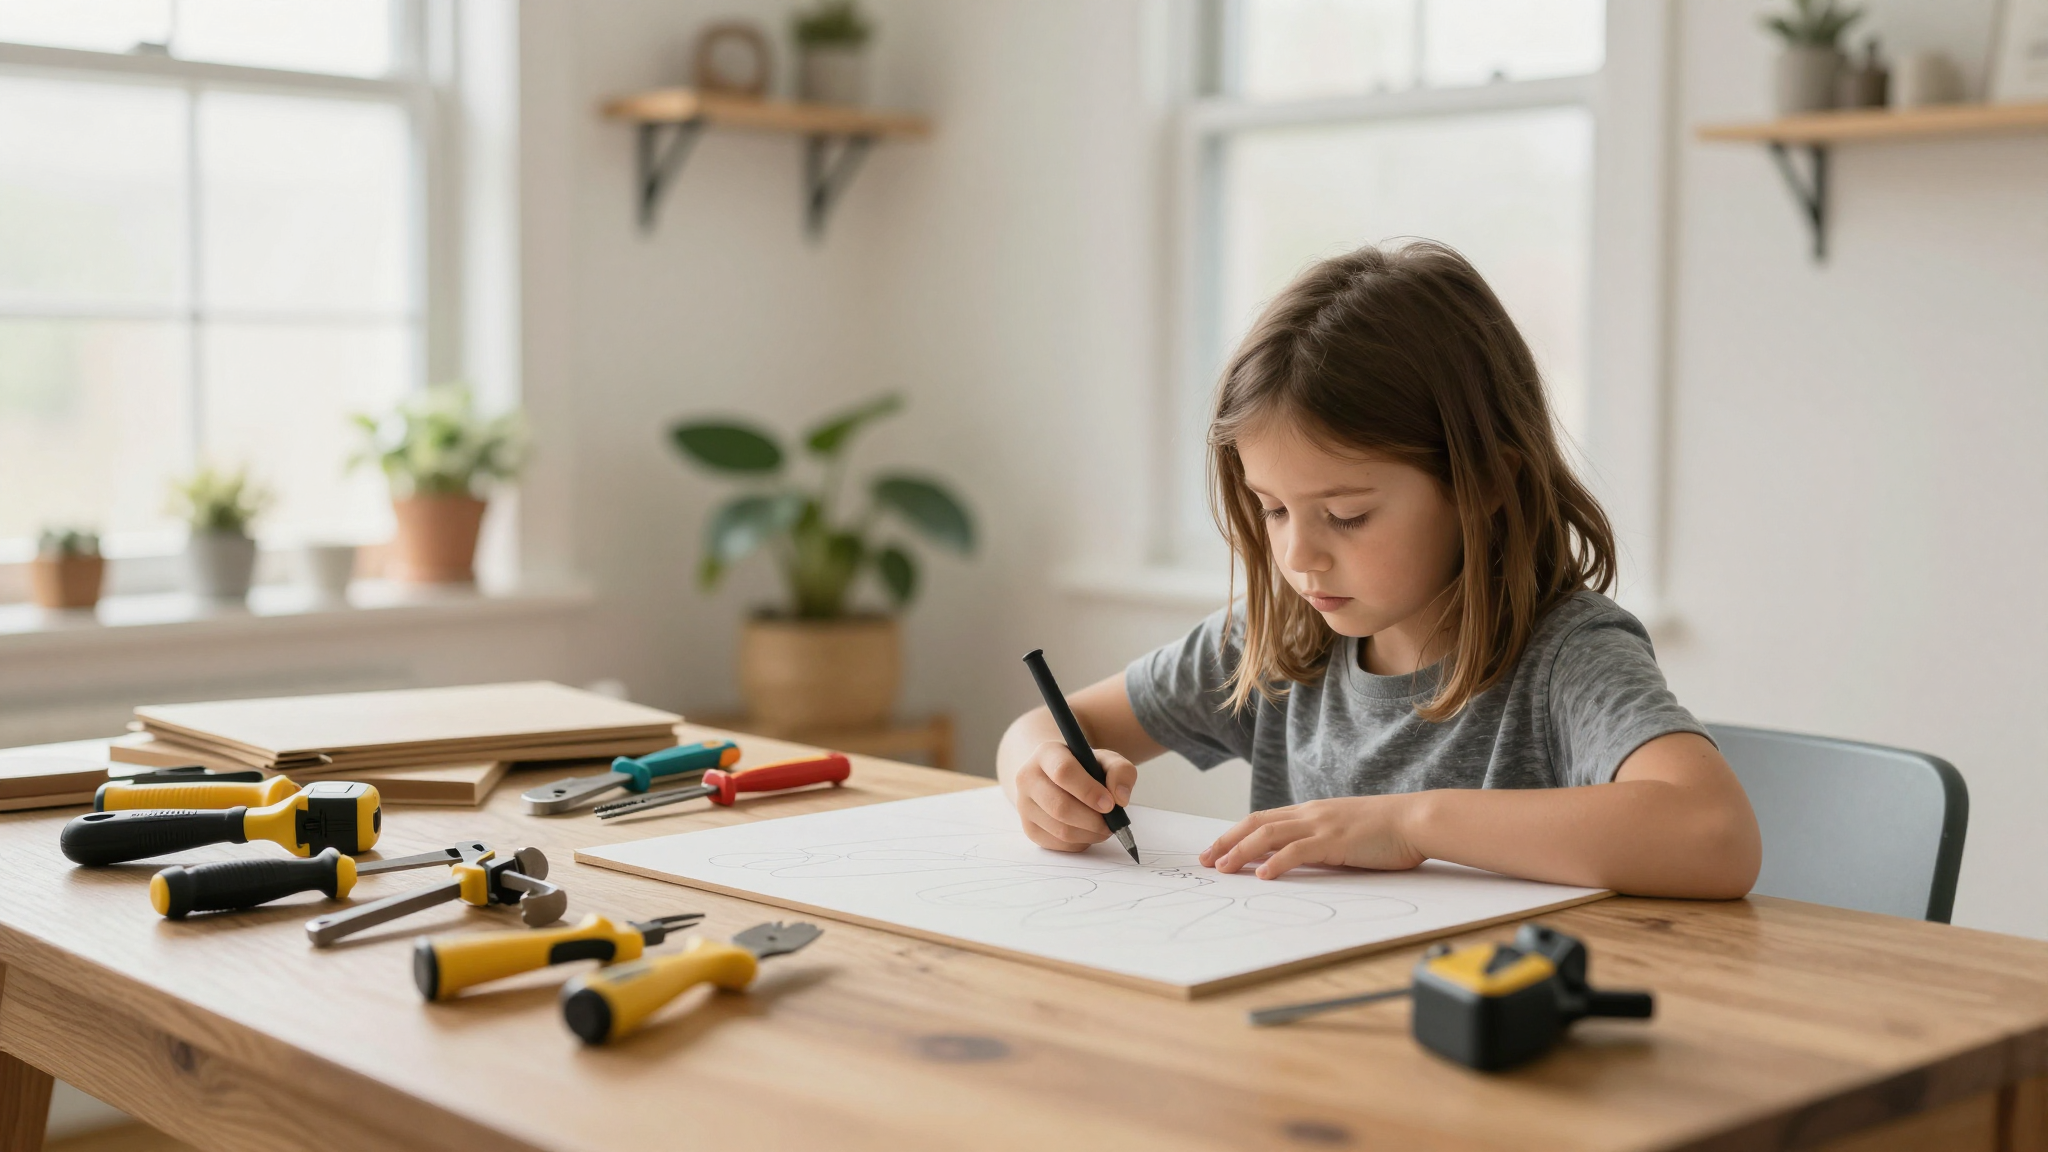
What Actually Goes in the Box? (Spoiler: You Probably Already Own Some of It)
You don’t need to buy a ton of new stuff to make this work. I started with what I already had, then added a few key items. Here’s what I keep in rotation:
For Toddlers (Ages 2-4)
- Soft books or board books (I love Target’s Dollar Spot for these).
- Chunky crayons and a coloring book (or just a blank sheet of paper,kids love “drawing” more than you’d think).
- Lacing cards or large-piece puzzles (Melissa & Doug is my go-to for these).
- Sensory bins (rice, beans, or kinetic sand in a small container with scoops or toys).
- Sticker books (the reusable kind so you’re not cleaning stickers off the floor).
- Play dough and cookie cutters (I keep it in a ziplock bag to avoid messes).
For Preschoolers (Ages 4-6)
- Beginner card games (Uno, Go Fish, or Exploding Kittens for the brave).
- Building sets (LEGO Duplo, Magna-Tiles, or even wooden blocks if you’re feeling fancy).
- Art supplies (washable markers, watercolor sets, or paint-by-sticker books).
- Science kits (magnets, a mini microscope, or even a “bug catcher” for outdoor exploration).
- Audiobooks or a small Bluetooth speaker for “storytime” (I use this when I need them to stay in their room for longer).
Pro tip: If you’re on a budget, check out Facebook Marketplace or thrift stores. I’ve found barely used Melissa & Doug puzzles for $3, and my kids never know the difference.
And if you’re anything like me, you’ll end up with a bin that’s half-empty because your kid “lost” three pieces of the puzzle. That’s okay! Just toss in a new activity to fill the gap.
How to Actually Make It Work (Without Losing Your Mind)
Let’s be real: The first few weeks of quiet time are rough. My daughter cried. My son bargained. I considered hiding in the closet. But here’s what worked for us:
1. Start Small
Don’t expect your child to suddenly love independent play. Start with 15-20 minutes and gradually increase the time. I used a timer (the kind with a loud “ding” so they know when it’s over) and made it a game: “Can you play quietly until the timer goes off?”
2. Set Clear Expectations
Before quiet time starts, I say, “You can play with the bin, read books, or build with your blocks. Stay in your room, and I’ll come check on you in 30 minutes.” Simple. Direct. No room for negotiation.
I also gave them a “quiet time basket” with a few extra books or toys they could choose from if they finished the bin. It’s like a backup plan for when they get restless.
3. Make It a Routine
We do quiet time at the same time every day (right after lunch, before their “second wind” hits). Consistency is key. My kids now know the drill: Lunch → Clean up → Quiet time → Snack. It’s predictable, and they actually like the structure.
And yes, there are still days when it fails. Like the time my son “accidentally” spilled his sensory bin all over the floor. Or when my daughter decided quiet time was the perfect opportunity to redecorate her room. But those days are fewer and farther between now.
4. Refresh the Bins Regularly
Every few weeks, I swap out a few items in the bins. Maybe I add a new book from the library or a small toy from the Dollar Tree. It keeps things fresh and exciting. I also ask my kids, “What do you want in your quiet time bin?” (Within reason, of course. No, we’re not adding a tablet.)
And if something isn’t working? I toss it. No guilt. If my son ignores the puzzle every time, it’s out. Life’s too short for unused toys.
Where to Put the Bins (And How to Keep Them from Becoming a Landmine)
You’ll want to store the bins in a place that’s easy to access but not so easy that your kid raids them at 6 AM. I keep ours on a low shelf in their bedrooms, labeled with their names. That way, they can grab one when it’s time for quiet time without me having to set it up.
I also keep a “master bin” in my closet with extra supplies (like backup crayons or a spare puzzle). That way, if something gets lost or broken, I can quickly replace it without a trip to the store.
And here’s a hack I learned the hard way: Use ziplock bags for small pieces. I lost count of how many puzzle pieces I’ve vacuumed up because they fell out of the bin. Now, I keep them in sealed bags inside the bin. It’s one less thing to clean up later.
Final Thought: It’s Okay If It’s Not Perfect
Look, some days quiet time is a resounding success. My kids play happily, I get to sip my coffee, and everyone’s content. Other days? It’s a disaster. But here’s the thing: It’s still worth it.
These bins have taught my kids how to entertain themselves, which is a skill they’ll use for the rest of their lives. And for me? It’s given me back a little sanity. I can finally fix that running toilet without a toddler “helping” or tackle a weekend DIY project without interruptions.
So if you’re on the fence, just try it. Start with one bin. See what works. And if your first attempt is a flop? That’s okay. Mine was too. The key is to keep tweaking until it clicks.
Now, if you’ll excuse me, I’ve got a quiet time bin to refresh. And maybe a nap to take.