
DIY Backpack & Coat Station That Actually Gets Used (No More Morning Chaos!)
Let me tell you about the morning I finally snapped. It was a Tuesday,because of course it was,and I was already running late for a meeting. My 10-year-old was frantically searching for her missing permission slip while my 7-year-old stood in just his socks because he couldn’t find his shoes. The front door looked like a tornado had hit it: backpacks spilled open, jackets draped over the banister, and a suspicious smell coming from somewhere near the shoe pile. That was the day I decided enough was enough.
What changed everything? A simple DIY backpack and coat station that actually works for real families (not just Pinterest-perfect homes). No more “I can’t find my shoes!” drama at 7:30 AM. No more permission slips lost in the abyss of backpacks. Just a system that contains the chaos so we can all start our days with less stress.
I’ve tested this setup with my own kids,through the messy first week when they “forgot” to hang up their coats, the phase where little brother kept stealing big sister’s hooks, and now, the glorious routine where everyone knows exactly where their things belong. The best part? It cost less than $100 and took me one weekend to build. If I can do it with two kids and a husband who “helps” by holding the flashlight, you can too.
Here’s exactly how we did it,including the mistakes I made along the way so you don’t have to repeat them.
Why This System Actually Works (Unlike My Failed Pinterest Experiments)
I’ll be honest,I’ve tried every “backpack station” idea out there. The over-the-door organizer that collapsed under the weight of winter coats. The cute little bins that my kids treated like trampolines. The elaborate system that looked amazing but required military-level discipline to maintain.
What finally worked? A combination of strategic placement, child-height accessibility, and realistic storage solutions that don’t require my kids to have PhDs in organization. The key was designing something that:
- Fits in our actual space (not some idealized 6-foot mudroom)
- Holds the things we actually use daily (not just what looks pretty)
- Is easy enough for my 7-year-old to maintain (because let’s be real, I’m not doing it all)
- Can handle the wear and tear of real family life (sticky fingers, lost mittens, etc.)
Our entryway is about 5 feet wide,nowhere near the spacious mudrooms you see in magazines. But by thinking vertically and using every inch of wall space, we created a system that actually works for our compact home. The best part? It took me less than $80 to build, and I used mostly things I already had or found at Target.
If you’re dealing with a similar space crunch, don’t worry,this solution works for apartments, small entryways, and even hallway corners. The secret is thinking in layers: shoes at the bottom, backpacks in the middle, and coats at the top, with hooks and bins to keep everything contained.
The 3 Biggest Mistakes I Made (So You Don’t Have To)
Before I share the step-by-step, let me save you some headaches with the lessons I learned the hard way:
1. Skimping on Hooks (And Regretting It Immediately)
My first attempt used those flimsy command hooks you can stick anywhere. They worked fine for lightweight items… until winter hit. One particularly snowy day, my daughter’s heavy winter coat plummeted to the floor when the hook gave way. Now I use screw-in hooks with drywall anchors for anything over 5 pounds. Trust me on this one.
2. Not Measuring First (A Rookie Error)
I bought these cute bins before measuring my cube organizer, only to realize they were 2 inches too big. Now I always measure twice and even bring my tape measure shopping. Pro tip: Most cube organizers have standard bin sizes (13×13 inches), but it’s worth double-checking.
3. Making It Too Complicated
I thought labeling everything would help. Big mistake. My kids ignored the labels within a week. Now I keep it simple: each child has their own cubby with hooks inside for their coat and a bin for shoes. No labels, no confusion.
Oh, and one more thing,don’t put anything breakable within reach. I learned this when my son “accidentally” knocked over a decorative vase I’d placed on top of the organizer. Now I keep that space clear or use unbreakable items.
What You’ll Need to Build Your Own
Here’s exactly what I used for our setup, with budget-friendly alternatives where possible:
Tools (Most of Which I Already Had)
- A power drill (my essential tool list has all the basics)
- A stud finder (non-negotiable for heavy hooks!)
- A pencil and measuring tape (duh, but I still forget sometimes)
- A level (so your hooks aren’t crooked,trust me, it matters)
- Basic screwdriver (for assembling the cube organizer)
Materials (With Price Ranges)
- Cube organizer – I used the Target Brightroom 6-cube organizer ($30). For a more durable option, the Better Homes & Gardens version runs about $50.
- Heavy-duty hooks – The Homedepot heavy-duty hooks ($5 for a pack of 4) are my go-to. They hold up to 10 pounds each.
- Command hooks – For lightweight items, the 3M Command Large Hooks ($8 for a 4-pack) work great.
- Storage bins – I used these plastic bins from Walmart ($3 each) that fit perfectly in the cube cubbies.
- Bulletin board – A 17×24 inch cork board ($12) from Michaels completes the system.
- Decorative touches – Optional, but I added chalkboard labels ($5) for each child’s name.
Total cost for our setup: $78. And yes, that includes the Target run where I had to return the wrong-sized bins first.
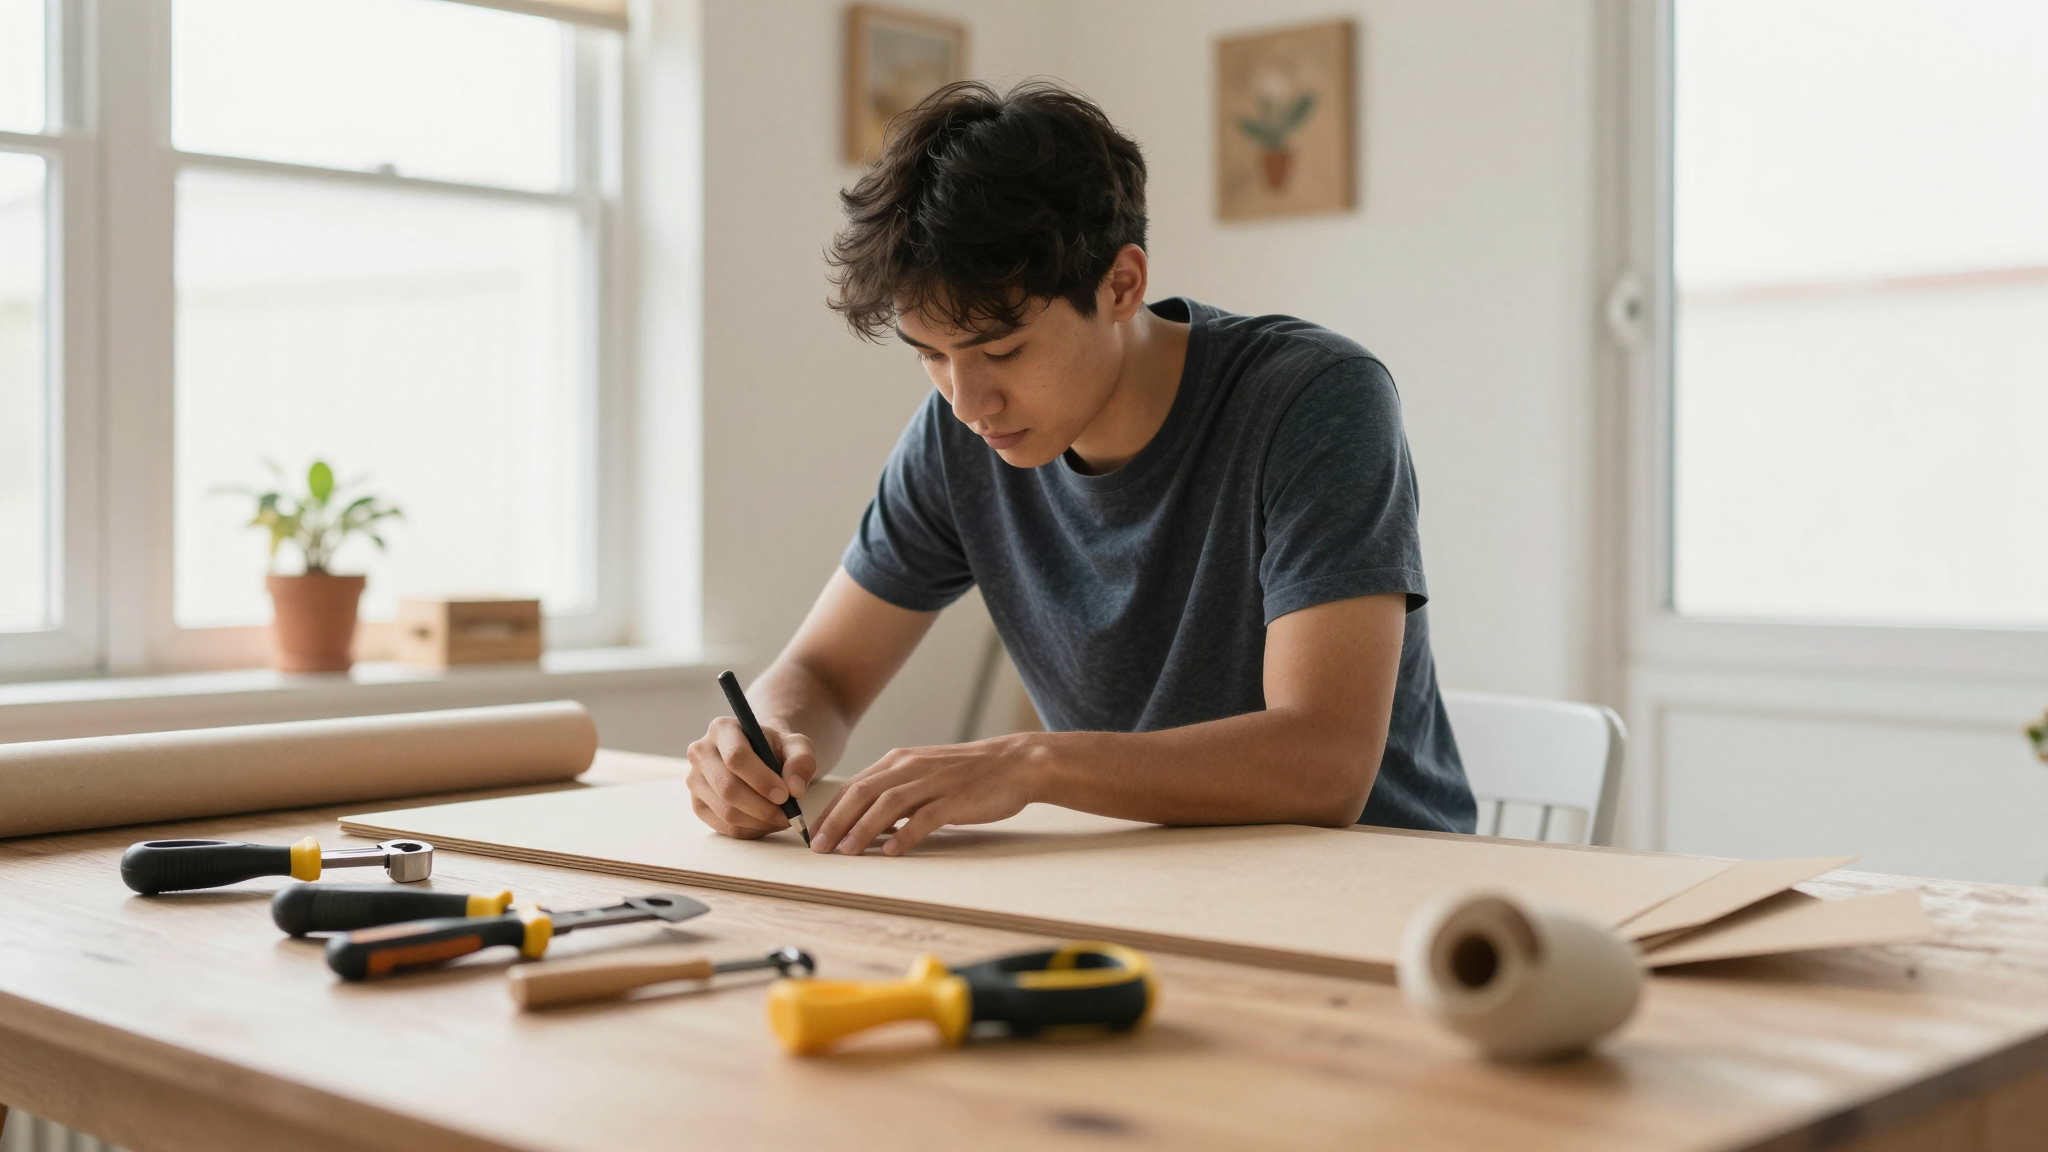
Step-by-Step: Building Your Backpack Station
Here’s exactly how I built ours in one weekend. I’ll walk you through each step with photos (if you’re reading this on my blog, you can see the progress shots in the gallery).
Step 1: Plan Your Layout (The Most Important Part!)
Before buying anything, measure your space and sketch a quick plan. Ask yourself:
- Where do my kids naturally drop their things when they come home?
- Is there a wall near the door that’s at least 3 feet wide?
- Do I have studs in the wall for anchoring heavy hooks?
Our entryway is 5 feet wide, so I placed the cube organizer against the left wall with hooks on either side. If your space is narrower, you might need to go vertical with more hooks and fewer bins.
Pro tip: If you don’t have studs, use drywall anchors rated for 25+ pounds. I learned this the hard way when a hook pulled out of the drywall (thankfully, no one was hurt!).
Step 2: Assemble the Cube Organizer (But Skip the Top Shelves!)
This is where I saved money by modifying a pre-made organizer instead of building from scratch. Here’s how:
- Follow the instructions to assemble the cube organizer but stop before adding the top three shelves. You want open cubbies for overhead storage.
- If you’re starting with an already-assembled unit, you’ll need to disassemble it and rebuild without the top panels. (Yes, this is annoying. Yes, it’s worth it.)
- Position the organizer against the wall where you want it. Use a pencil to mark the top of each cubby.
I made the mistake of assembling the full unit first, then realizing I needed to modify it. Save yourself the headache and plan this step carefully.
Step 3: Install the Hooks (The Heavy Lifting)
This is where most DIY projects fail,skipping proper anchoring. Don’t be that person. Here’s how to do it right:
- Use your stud finder to locate studs in the wall. Mark them with a pencil.
- For heavy items (backpacks, winter coats), use screw-in hooks with drywall anchors. I like the Homedepot heavy-duty hooks because they come with anchors included.
- For lightweight items (umbrellas, light jackets), use Command hooks. They’re easy to install and remove, but remember,they only hold up to 3 pounds!
- Space hooks about 18 inches apart for easy access. I put two hooks in each cubby,one for the backpack and one for the coat.
I used a level to make sure all hooks were straight. It’s a small detail, but it makes the whole system look more intentional (and less like a 7-year-old built it).
Step 4: Add Bins for Shoes (The Game Changer)
This is where the magic happens. Individual bins for each child solved 90% of our morning chaos. Here’s how to set it up:
- Measure the width of your cube cubbies. Standard bins are 13×13 inches, but check before buying!
- Place one bin in the bottom of each cubby. I used these plastic bins from Walmart because they fit perfectly and are easy to clean.
- Label each bin with your child’s name (or let them decorate it,my daughter used stickers).
- Teach your kids the “one in, one out” rule: if a bin is full, they have to donate or toss out a pair of shoes before adding a new one.
I initially bought bins that were too deep, and my kids would just shove everything in. Now I use shallower bins (about 8 inches deep) so they can actually see what’s inside.
Step 5: Create a Command Center for Papers
This is the part that turned our storage area into a full family command center. Here’s what I added:
- A cork bulletin board above the organizer for permission slips, schedules, and reminders.
- A small basket on top of the organizer for homework folders and lunch money.
- Individual pockets or bins for each child to hold their papers (I used these pencil pockets from Oriental Trading for $1 each).
I also added a chalkboard label above each child’s cubby with their name. It’s a small touch, but it makes them feel ownership over their space.
Step 6: Style It So You Actually Want to Use It
This is where most DIY projects fall apart,looking like a storage solution instead of part of your home. Here’s how I made ours look intentional:
- I painted the cube organizer the same color as our wall (Benjamin Moore “Chantilly Lace” for a clean, bright look).
- I used decorative bins in colors that match our entryway (I found these at Target for $5 each).
- I added a small plant on top of the organizer to bring in some life.
- I hung a framed print above the bulletin board to make it feel like part of the decor.
For more ideas on blending function with style, check out my post on adding charm to your home without breaking the bank.
How We Keep It Working (The Real Secret)
Here’s the part no one talks about,the system only works if you actually use it. And that takes some training. Here’s how we made it stick:
The 5-Minute Evening Routine That Saves Mornings
Every night before bed, we do a quick “reset” of the station. It takes less than 5 minutes and has saved us countless morning meltdowns:
- Empty backpacks completely. Trash any papers that don’t need to be kept.
- Check for permission slips or forms that need signatures.
- Pack lunches and put them in the fridge.
- Select outfits for the next day (hang them on hooks if possible).
- Do a quick shoe check,if they’re dirty, put them by the door to be cleaned.
I know, I know,getting kids to do this is easier said than done. Here’s how I made it happen:
- I turned it into a game. Whoever finishes their reset fastest gets to pick the bedtime story.
- I used a visual checklist with pictures for my younger son (he’s not great at reading yet).
- I made it non-negotiable. No reset = no screen time before bed.
It took about two weeks for it to become a habit, but now my kids do it without being asked. And the best part? Our mornings are 100% smoother.
The Weekly “Purge and Refresh” (10 Minutes, Once a Week)
Every Sunday, we do a quick purge of the station. It takes 10 minutes and prevents it from becoming a black hole of lost items:
- Go through backpacks and remove any trash or old papers.
- Check shoes,if they don’t fit or are falling apart, donate them.
- Wipe down hooks and bins with a damp cloth (kids are gross, trust me).
- Update the bulletin board with the week’s schedule.
- Restock any supplies we’re running low on (like lunchboxes or gloves).
I set a timer for 10 minutes and we race to see who can get their section done fastest. It’s amazing how much clutter disappears when you make it a challenge.
How We Handle the “But I Forgot!” Moments
Let’s be real,kids forget things. Here’s how we handle it without losing our minds:
- We keep a “forgotten items” bin in the station. If something gets left behind (like a permission slip), it goes in the bin until it’s dealt with.
- We have a “homework hotline”. If my daughter realizes she forgot her math homework, she calls me from school and I can bring it to her (this has saved us more times than I can count!).
- We use a whiteboard in the station to write down anything that needs to be remembered (like “Bring library book back on Friday”).
I also keep a small emergency kit in the station with:
- Extra pens
- Stapler and paper clips
- Band-aids (because kids are always losing them)
- Spare change for lunch money
It’s amazing how many morning crises can be averted with a little preparation.
Real-Life Solutions for Common Problems
I’ve fielded a lot of questions from other parents about making this work in their homes. Here are the most common challenges,and how we solved them:
“What if we don’t have a mudroom or entryway?”
We don’t either! Our solution lives in a hallway corner near the front door. Here’s how to make it work in tight spaces:
- Use a slim vertical organizer instead of a wide cube unit.
- Install wall hooks above the organizer for extra hanging space.
- Use over-the-door organizers if you have a door nearby.
- Think up! Vertical space is your friend in small areas.
For more ideas on maximizing small spaces, check out my post on creative space solutions.
“How do I keep my kids from just dumping everything on the floor?”
This was our biggest challenge at first. Here’s what finally worked:
- We made a “dumping rule”: if you don’t put your things in the station, you have to carry them around all day (no, they can’t leave them in the car).
- We used labeled bins so they know exactly where things go.
- We did a daily “inspection” for the first month. If their cubby was messy, they lost 5 minutes of screen time.
It took about three weeks, but now my kids actually use the station without being asked. (Mostly. There are still occasional dumping incidents, but they’re rare now.)
“What about off-season items like winter boots?”
Great question! Here’s how we handle seasonal items:
- We keep current-season items in the station (so winter boots and coats in the winter, lighter jackets in the fall).
- We store off-season items in a bin under the stairs or in the closet.
- We do a seasonal swap in October and March to transition between winter and summer gear.
I also keep a small bin in the station for “transition items” (like hats and gloves in the winter). That way, they’re not taking up space in the main cubbies but are still easy to grab.
Final Thoughts (And What I’d Do Differently Next Time)
If you’re on the fence about building this, let me make it easy for you: just start. You don’t need a perfect plan or a Pinterest-worthy space. You just need a place to contain the chaos.
Here’s what I’ve learned from doing this with my own kids:
- It doesn’t have to be pretty,it just has to work.
- Kids will resist at first, but consistency is key.
- Even a simple system is better than no system at all.
- You can always upgrade later, but start with what you have.
If I were to build this again, I’d make a few tweaks:
- I’d add a bench for sitting while putting on shoes (I saw this DIY bench plan from Ana White that would work perfectly).
- I’d include a small mirror so kids can check their outfits before leaving.
- I’d use more Command hooks for lightweight items to avoid drilling as many holes.
But honestly? Our current setup works great, and I’m not in a rush to rebuild it. The most important thing is that it actually gets used by my kids,and that’s what makes it worth it.
So if you’re ready to say goodbye to morning chaos, grab your measuring tape and get started. Your future self (and your kids) will thank you.
And if you’re looking for more DIY projects to organize your home, check out my posts on bedroom makeovers or upcycling furniture for more ideas!
Happy building! Let me know in the comments how your project goes,I’d love to see your setup.