
DIY Concrete Planters: Industrial Chic for Your Home
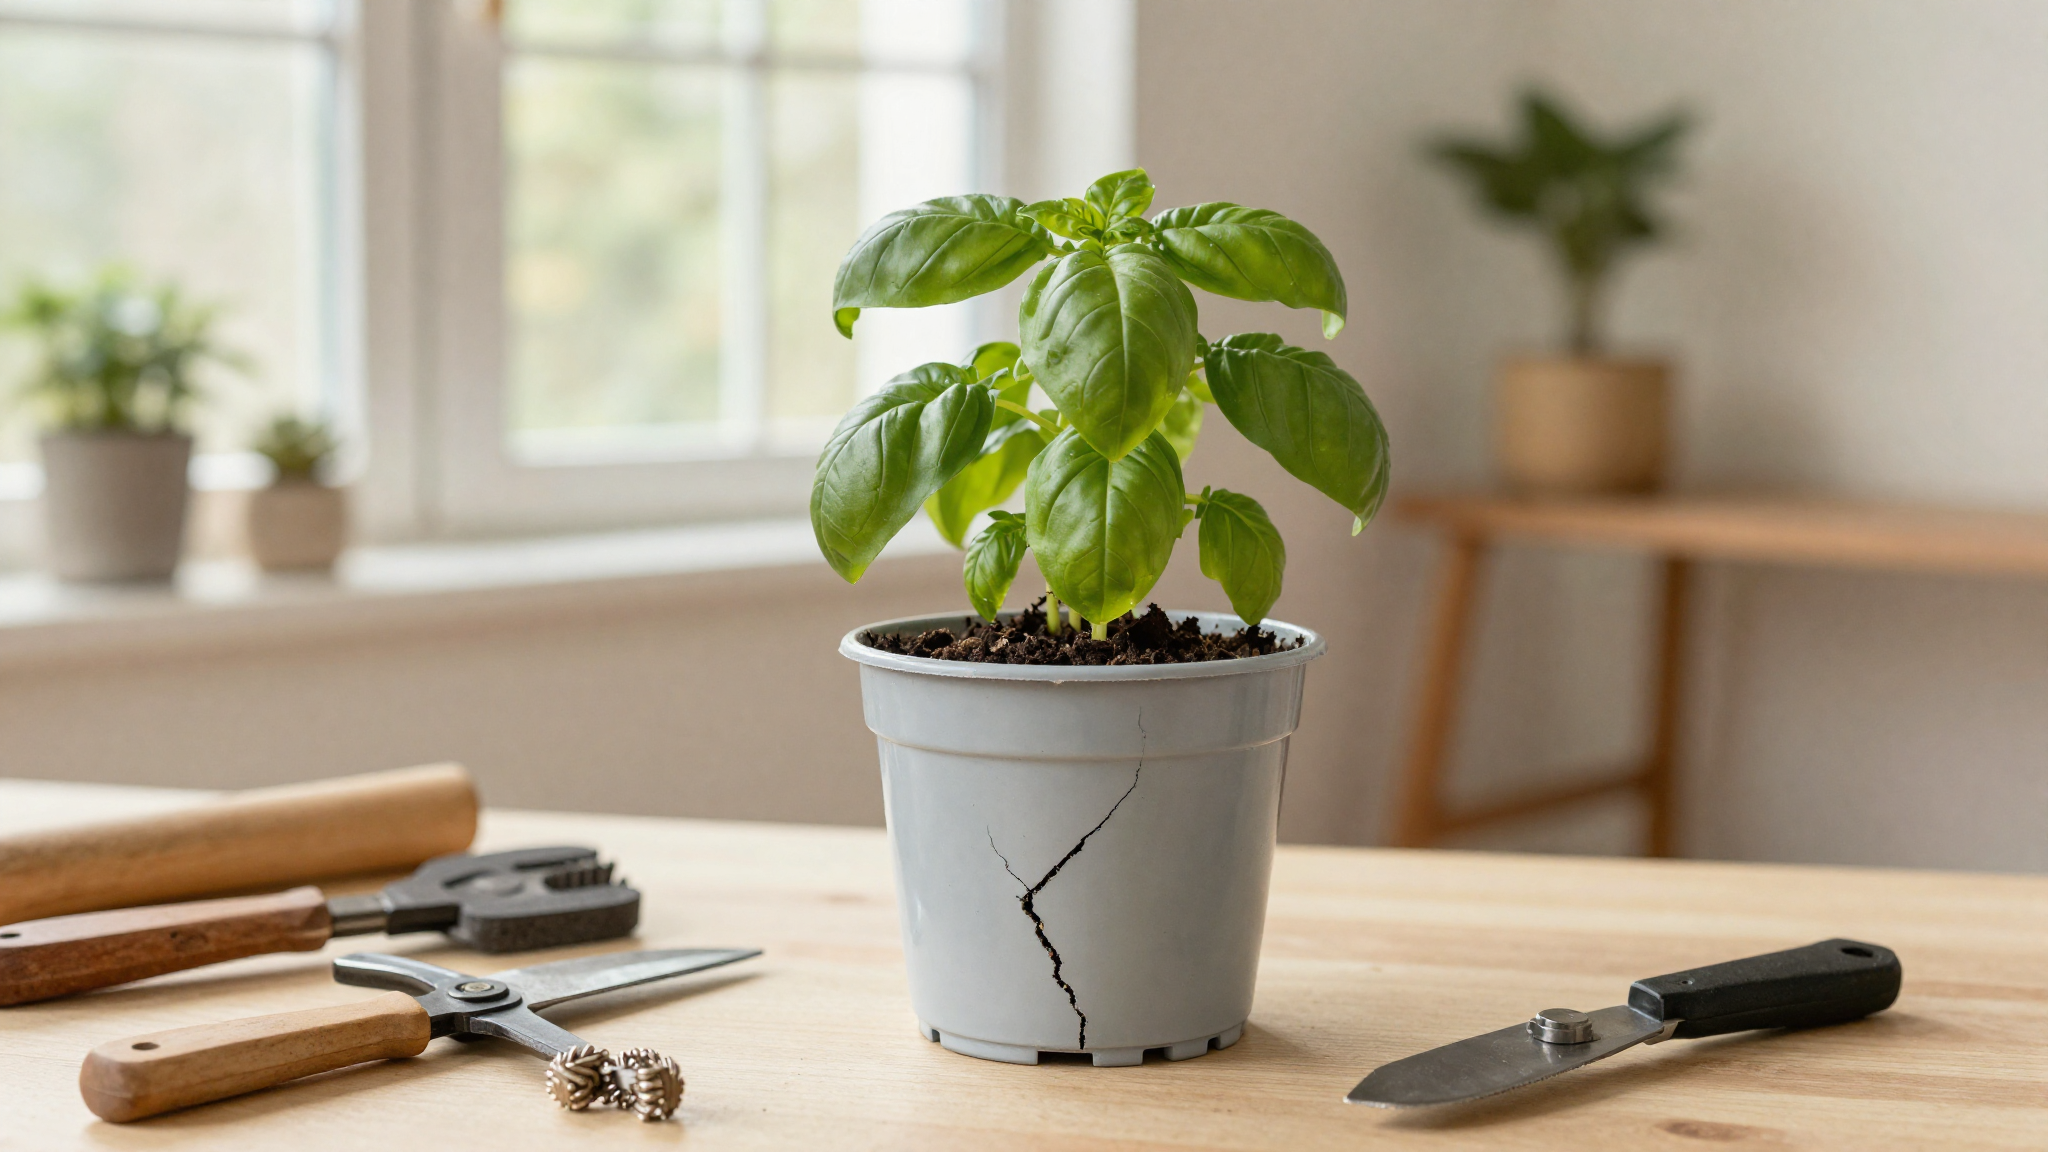
Let me tell you about the time I tried to grow a basil plant in a cheap plastic pot from the dollar store. Within three weeks, the pot cracked from the roots pushing against it, and the poor basil looked like it had been through a drought. That’s when I knew I needed something sturdier – something that could actually handle real plants and real life. Enter concrete planters.
I’ve been using these in my own home for the past five years, and they’ve become one of my favorite ways to add both function and style to my spaces. They’re not just pretty faces – they actually work better than most other planters I’ve tried. The first one I made was a simple rectangular planter for my patio, and I still use it every summer. It’s held up through freezing winters, scorching summers, and my kids “helping” with the watering (which usually means overwatering).
What I love most about concrete planters is how they blend durability with style. They’re not just another decorative piece – they actually make your plants happier and healthier. And the best part? You can make them yourself with just a few basic tools. I’ll walk you through everything I’ve learned from my own trial-and-error process, including the mistakes I made (like that first attempt where I didn’t account for proper drainage – lesson learned!).
Whether you’re looking to add some industrial chic to your patio, create a statement piece for your living room, or just need a planter that won’t fall apart after one season, concrete planters are a fantastic choice. They’re perfect for instantly adding charm to your home without breaking the bank.
Why I Fell in Love with Concrete Planters
I’ll be honest – my first concrete planter was a disaster. I bought a cheap concrete mix from the hardware store, threw it in a mold I found online, and ended up with something that looked more like a lumpy rock than a planter. The edges were uneven, the surface was rough, and it took me three tries to get it right. But that failure taught me more than any perfect first attempt would have.
What makes concrete such a great material for planters? First, it’s incredibly durable. My first successful planter has been outside for five years now, through snowstorms, heatwaves, and my kids’ enthusiastic “gardening help.” It hasn’t cracked, faded, or shown any signs of wear. Second, it’s porous enough to allow air to reach the roots of your plants, which is something plastic pots just can’t do as well. And third, it has this amazing industrial look that fits perfectly with modern and minimalist home styles.
I also love that concrete planters come in so many different shapes and sizes. For my patio, I made a long rectangular planter that fits perfectly along the railing. It’s deep enough for my tomato plants but not so heavy that I can’t move it when I need to. I’ve also made smaller round planters for my indoor spaces – they look great on my coffee table and hold my succulents beautifully.
One thing I wish I’d known when I started? The importance of proper drainage. My first few attempts either didn’t drain at all (leading to root rot) or drained too much (drying out my plants). Now I always add a layer of gravel at the bottom and drill small holes if I’m not using a pre-made mold with drainage. It makes all the difference.
Industrial Chic: Why This Style Works So Well
I never thought I’d be someone who loved the industrial look, but there’s something about the raw, honest materials that just feels right in my home. My house is a mix of old and new – we’ve got original hardwood floors from the 1920s but also modern stainless steel appliances. The concrete planters bridge that gap perfectly.
What I love most about industrial chic is how it takes something that’s purely functional and makes it beautiful. My concrete planters aren’t just holding my plants – they’re part of the decor. The gray tones blend seamlessly with my neutral color palette, and the textured surfaces add depth to my spaces. Plus, they’re so sturdy that I don’t have to worry about them tipping over when my kids run by or when I’m rearranging furniture.
I’ve seen this style in so many places now – from high-end design magazines to my neighbors’ patios. It’s not just a trend; it’s a look that’s here to stay. And the best part? It’s easy to DIY. You don’t need to be a professional to create something that looks like it belongs in a design magazine.
One of my favorite ways to use concrete planters is to create a focal point in a space. I’ve got a large rectangular planter at the end of my patio that’s filled with tall grasses and flowers. It draws the eye and makes the whole space feel more intentional. Inside, I’ve got a few smaller planters on my bookshelves that add height and texture to the room.
Choosing the Right Shape for Your Space
When I first started making concrete planters, I thought I’d just stick to simple round shapes. But then I realized how much variety there is, and how different shapes can completely change the look of a space.
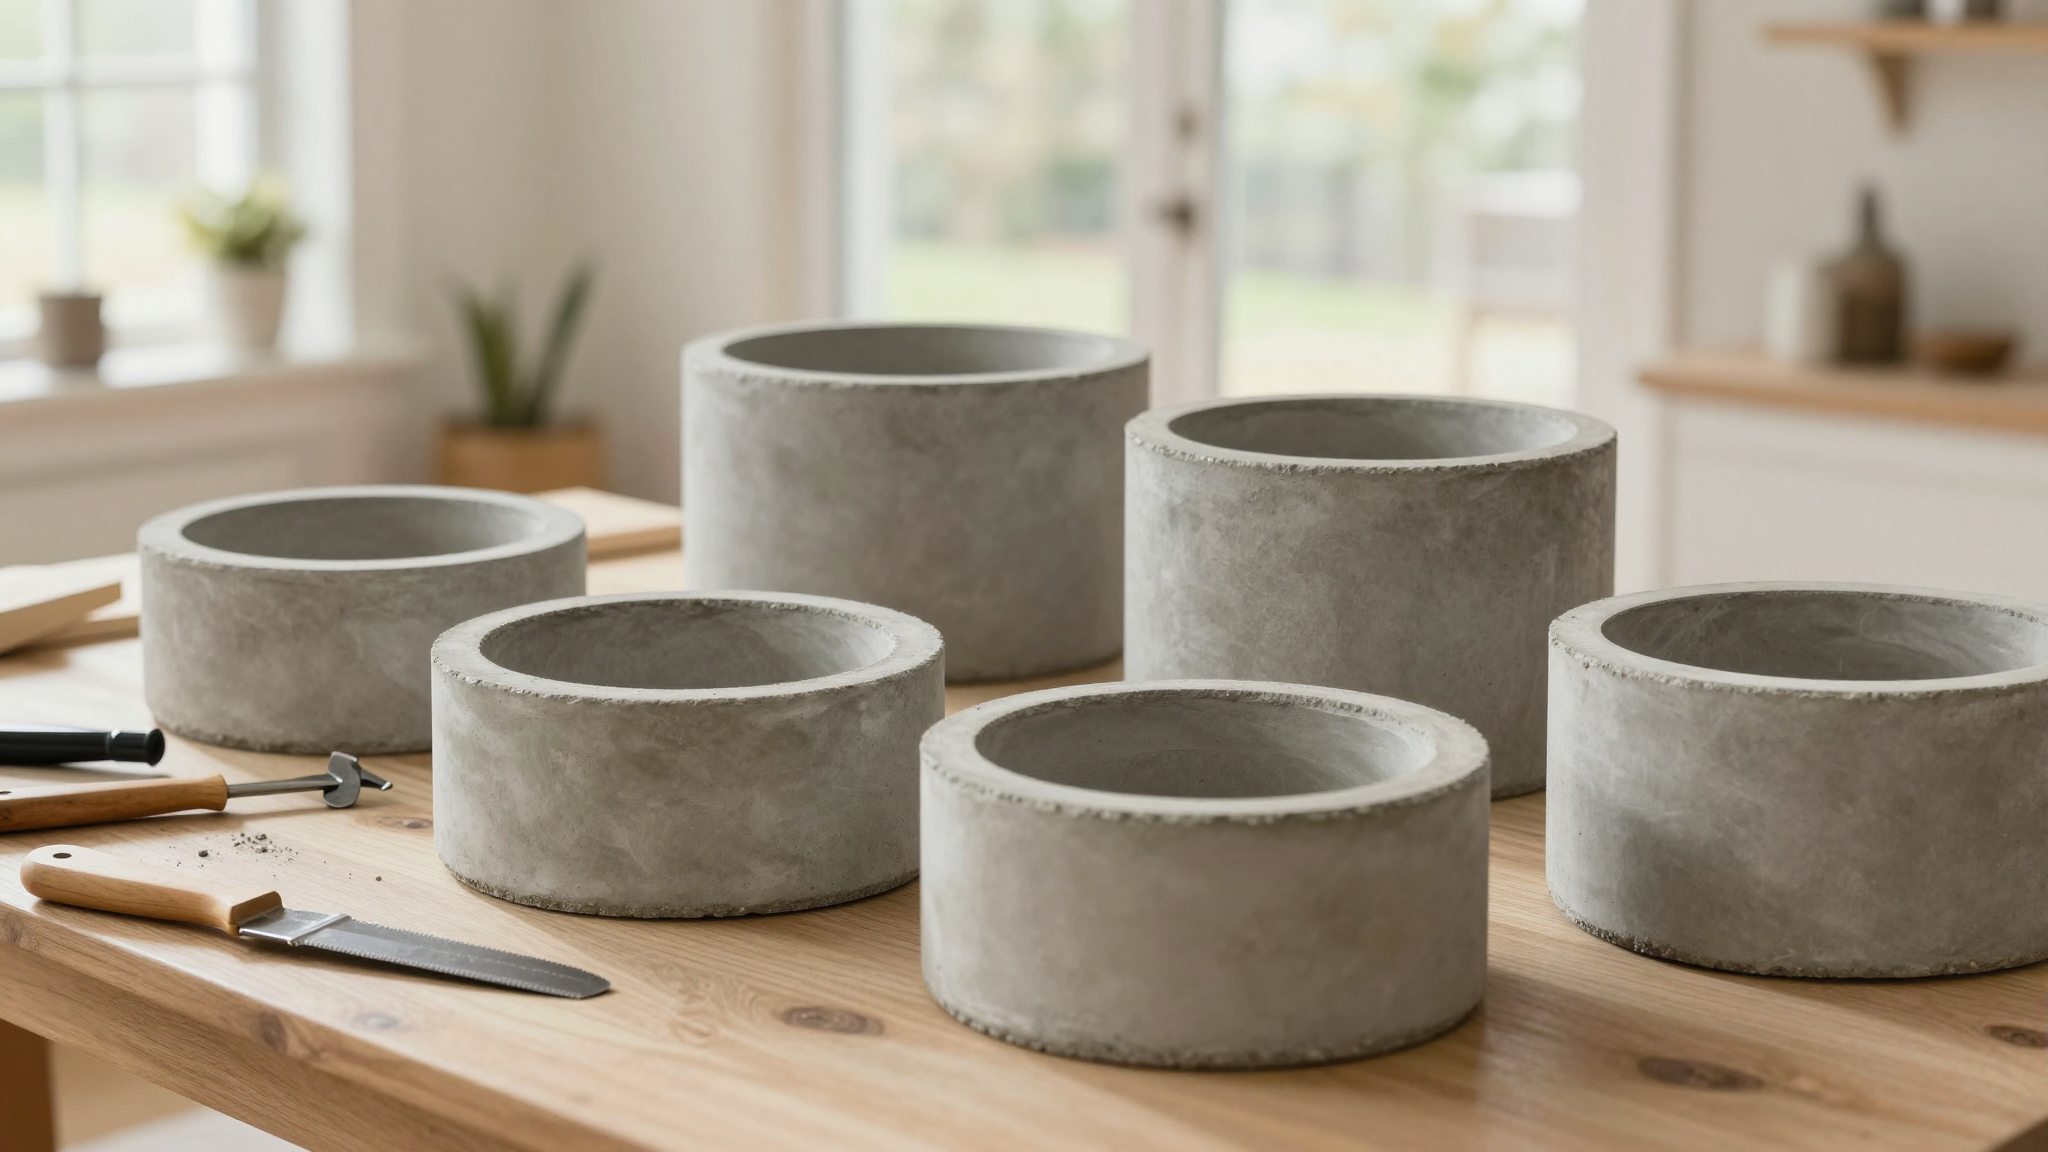
Round planters are great for softening angles and creating a more organic feel. I’ve got a few of these on my patio, and they work beautifully with the curved edges of my outdoor furniture. They’re also great for holding taller plants, like my favorite lavender bushes.
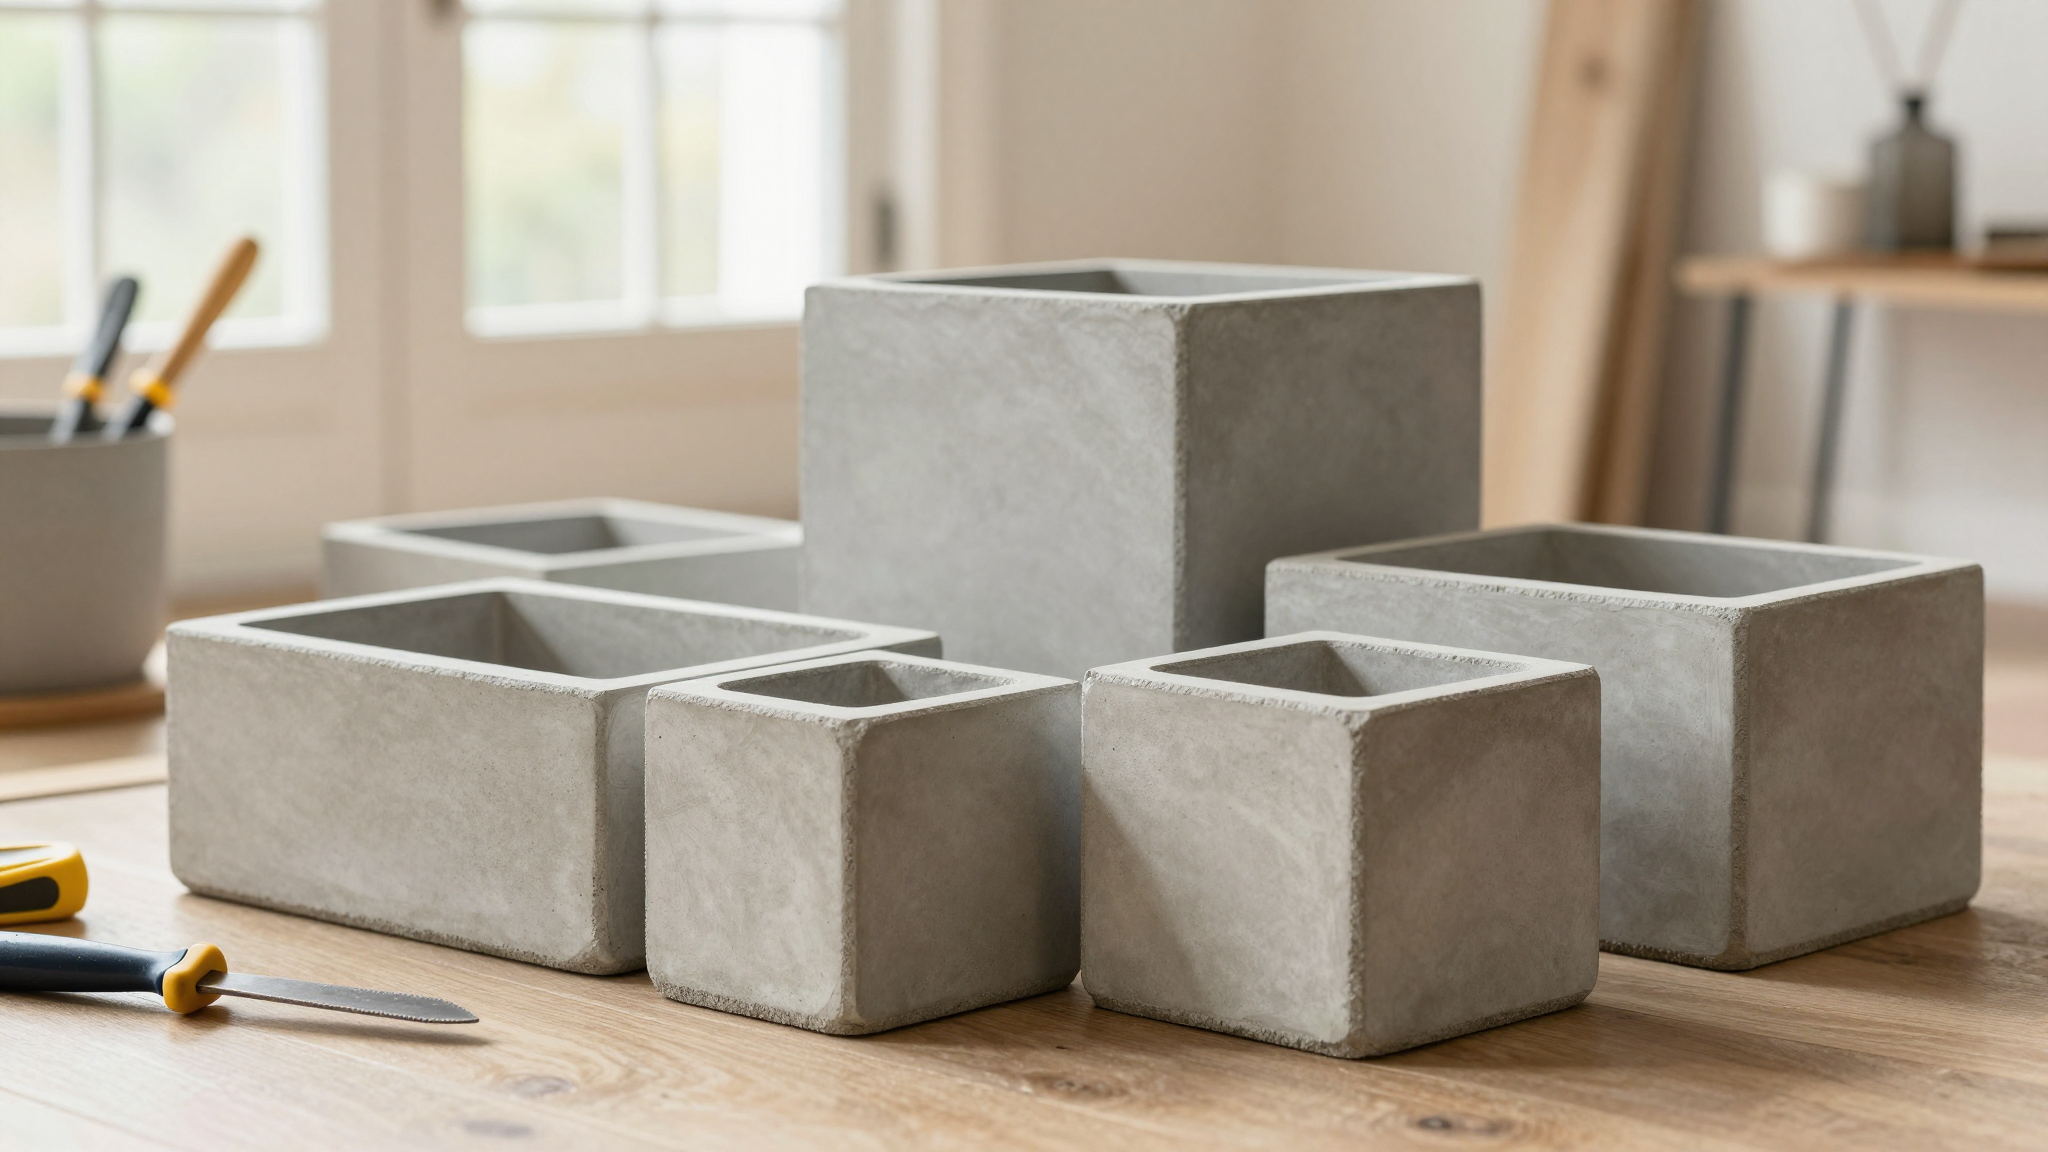
Rectangular planters, though, are where I’ve really fallen in love. They’re perfect for defining spaces – I’ve got one along the edge of my patio that creates a clear boundary between the dining area and the lounging area. They’re also great for maximizing space, which is important when you’ve got kids and pets running around. I can fit more plants in a rectangular planter than I can in a round one of the same size.
And then there are the bowl-style planters. These are my go-to for succulents and small plants. They’re shallow but wide, which gives the plants plenty of room to spread out. I’ve got a few of these on my kitchen windowsill, and they’re perfect for growing herbs. The wide opening makes it easy to water and care for the plants without having to dig around.
One thing I’ve learned is that mixing shapes can create a really dynamic look. I’ve got a combination of round, rectangular, and bowl-style planters on my patio, and it makes the whole space feel more intentional and put-together. It’s like creating a little garden gallery.
Customizing Your Concrete Planters
One of the things I love most about concrete planters is how customizable they are. You can choose the size, shape, color, and even the texture to match your space perfectly. And the best part? You can do a lot of this customization yourself at home.
When I made my first planter, I went with a simple gray color. But now I’ve experimented with different finishes, and I’ve found that the right finish can completely change the look of a planter. I’ve got one with a smooth, contemporary finish that I use in my living room, and another with a more rustic, textured look that’s perfect for my patio.
I also love that you can add little extras to make your planters even more functional. For my outdoor planters, I always add a layer of gravel at the bottom for drainage. And for my indoor planters, I’ve started using saucers to catch any excess water. It’s the little details that make all the difference.
One of my favorite customization tricks is adding a little bit of color. I’ve got a planter that I painted a soft blue – it’s not too bright, but it adds just a pop of color that ties in with my patio cushions. I used a special concrete paint that’s made for outdoor use, and it’s held up really well. If you’re not comfortable painting, you can also find concrete planters in a variety of colors at most home improvement stores.
I also can’t recommend enough investing in a good quality mold if you’re planning to make your own planters. My first attempt with a cheap plastic mold was a disaster – the edges were uneven, and the planter didn’t hold its shape. But when I upgraded to a silicone mold, everything changed. The planters came out smooth and even, and the mold was much easier to work with. It’s a small investment that makes a huge difference.
Durability: Why Concrete Planters Last
I’ll never forget the first time I moved one of my concrete planters. I thought it was going to be heavy, but I wasn’t prepared for just how heavy it was. I nearly threw my back out trying to lift it! But that weight is also what makes these planters so durable. They’re not going to tip over in a strong wind, and they’re not going to crack if my kids accidentally bump into them.
What really impressed me was how well these planters held up through our first winter. I was worried that the cold would crack them, but they stayed perfectly intact. And when summer came, they didn’t fade or discolor in the sun. They’ve really held up to everything I’ve thrown at them, which is more than I can say for the plastic planters I used to buy.
One thing I’ve learned is that not all concrete planters are created equal. The ones that are reinforced with fiber or rebar are going to last a lot longer than the ones that are just plain concrete. I’ve seen some cheap planters crack after just a few months, but my reinforced ones have been holding up for years. It’s worth it to spend a little extra on quality materials.
I also love that concrete planters are so low-maintenance. I don’t have to worry about painting them every few years or treating them for pests. All I have to do is give them a good clean every now and then, and they look as good as new. It’s one less thing to worry about, which is always a plus when you’ve got a busy household.
Where to Place Your Concrete Planters
One of the things I love most about concrete planters is how versatile they are. You can use them inside or outside, and they look great in just about any space. I’ve got planters on my patio, in my living room, and even in my bathroom (yes, really! – it’s a small space with great light, and my snake plant loves it there).
Outdoors, I love using concrete planters to define spaces. I’ve got a few along the edge of my patio that create a clear boundary between the dining area and the lounging area. They also work great for creating a pathway – I’ve got a few smaller planters leading up to my front door that guide visitors to the house.
Indoors, I’ve found that concrete planters work best in spaces where you want to add a little bit of texture and depth. I’ve got a few on my bookshelves that add height and interest to the room. I also love using them in my bathroom – the cool, smooth surface of the concrete looks great with the plants, and it’s easy to clean.
One thing I’ve learned is that the right planter can completely change the look of a space. For example, I’ve got a tall, narrow planter in my entryway that adds height and draws the eye upward. It makes the space feel more intentional and put-together. And in my living room, I’ve got a few smaller planters on my coffee table that add a little bit of greenery without overwhelming the space.
If you’re using concrete planters indoors, just make sure to use a saucer or tray to catch any excess water. I’ve learned that lesson the hard way – I had a planter on my wood floors that leaked, and it left a water stain that took forever to clean up. Now I always use a saucer, and I check it regularly to make sure there’s no excess water.
Comparing Different Styles of Concrete Planters
When I first started looking at concrete planters, I was overwhelmed by all the different styles and options. There are so many shapes, sizes, and finishes to choose from, and it can be hard to know where to start. But once I started making my own, I realized that the key is to choose something that fits your space and your style.
I love traditional-style planters for their timeless appeal. They’ve got a more ornate, classic look that works really well in formal gardens or with more traditional home styles. I’ve got a few urn-style planters that I use in my front garden, and they look like they’ve been there forever. They’re a little more decorative than my other planters, but I love how they add a touch of elegance to the space.
But if I’m being honest, my favorite style is the more modern, minimalist look. I love the clean lines and simple shapes – they just feel so contemporary and put-together. I’ve got a few rectangular planters that I use along my patio, and they look like they belong in a design magazine. They’re not too fussy, but they add just the right amount of style to the space.
I also love that you can mix and match different styles to create a really unique look. I’ve got a combination of traditional and modern planters on my patio, and it makes the whole space feel more eclectic and personal. It’s like creating a little gallery of different styles and shapes.
One thing I’ve learned is that the right planter can completely change the look of a space. For example, I’ve got a few planters with a more rustic, textured finish that I use in my garden. They look like they’ve been there for years, and they add a lot of character to the space. But in my living room, I’ve got a few planters with a smoother, more contemporary finish that fits in with the modern decor.
Final Tips for Using Concrete Planters
If there’s one thing I’ve learned from making and using concrete planters, it’s that they’re incredibly versatile. You can use them in just about any space, and they’ll look great. But there are a few tips that I’ve picked up along the way that can help you get the most out of your planters.
First, always make sure your planter has proper drainage. This is something I wish I’d known when I first started. I had a few planters that didn’t drain well, and it led to root rot and unhappy plants. Now I always add a layer of gravel at the bottom of my planters, and I drill small holes if I need to. It makes all the difference for my plants.
Second, don’t be afraid to mix and match different shapes and sizes. I’ve got a combination of round, rectangular, and bowl-style planters on my patio, and it makes the whole space feel more dynamic and put-together. It’s like creating a little garden gallery.
Third, think about the scale of your planter. A huge planter can overwhelm a small space, while a tiny planter can get lost in a large one. I’ve got a few different sizes of planters, and I use the larger ones in bigger spaces and the smaller ones in more intimate areas. It helps everything feel more balanced and intentional.
And finally, don’t be afraid to get creative! I’ve painted some of my planters, added little extras like lights or mirrors, and even used them as part of a larger decor scheme. The possibilities are endless, and it’s one of the things I love most about concrete planters. They’re not just functional – they’re fun to customize and make your own.
If you’re new to concrete planters, I’d recommend starting with a simple rectangular or round planter. They’re easy to make and use, and they’ll give you a good sense of what you like and don’t like. From there, you can experiment with different shapes, sizes, and finishes to create a look that’s uniquely yours.
And if you’re looking for more inspiration, be sure to check out some of my other posts. I’ve got a guide to adding charm to your home with DIY projects, as well as tips on updating your bedroom and upcycling furniture for a professional look. Happy planting!
FAQs About Concrete Planters
Why should I choose concrete planters over other materials?
Concrete planters are incredibly durable and can handle just about anything – from freezing winters to scorching summers. They’re also porous enough to allow air to reach the roots of your plants, which is something plastic pots just can’t do as well. Plus, they’ve got this amazing industrial look that fits perfectly with modern and minimalist home styles. I’ve had some of my concrete planters for over five years now, and they still look as good as new.
Can I make my own concrete planters at home?
Absolutely! I’ve made several of my own planters, and it’s easier than you might think. You’ll need a good quality concrete mix, a mold (I recommend silicone for best results), and some basic tools. It’s a great weekend project, and you can customize the size, shape, and finish to match your space. Just make sure to account for proper drainage – that’s something I learned the hard way!
How do I care for my concrete planters?
Concrete planters are incredibly low-maintenance. All you really need to do is give them a good clean every now and then to remove any dirt or debris. If you’re using them outdoors, you might want to apply a sealant every few years to protect them from the elements. And if you’re using them indoors, just make sure to use a saucer or tray to catch any excess water. It’s really that simple!
Where is the best place to put a concrete planter?
Concrete planters are so versatile that you can use them just about anywhere! I’ve got planters on my patio, in my living room, and even in my bathroom. Outdoors, they’re great for defining spaces, creating pathways, or adding a focal point to your garden. Indoors, they work well in just about any room – just make sure to use a saucer to catch any excess water if you’re placing them on wood or carpeted floors.
Can I paint my concrete planters?
Yes! I’ve painted a few of my planters, and it’s a great way to add a pop of color or match them to your decor. Just make sure to use a paint that’s specifically designed for concrete. I’ve had good results with acrylic paint and a concrete primer. If you’re painting an outdoor planter, you might want to use a paint with a UV protectant to help it last longer. And always make sure your planter is completely dry before painting.