
Building a Kids’ Workbench: Real-Life Lessons from My DIY Journey
Let me tell you about the time my 5-year-old, Jake, “helped” me build a bookshelf. By “helped,” I mean he handed me screws in the wrong order, dropped the drill battery twice, and somehow managed to get wood glue in his hair. But here’s the thing – he was thrilled. That moment of messy, imperfect collaboration is why I’m so passionate about creating a proper kids’ workbench.
I’ve learned the hard way that giving children their own workspace isn’t just about keeping them occupied. It’s about watching their little faces light up when they realize they can actually build something. My son now proudly refers to himself as “the helper” whenever I’m working on projects around the house. And honestly? That’s worth more than any perfectly sanded edge.
If you’re considering setting up a dedicated space for your little builders, I’ve put together everything I’ve learned from my own trials, errors, and triumphs. We’ll talk about what actually works (and what doesn’t), the tools that are safe but still satisfying, and how to make this space grow with your child. For a solid starting point, I recommend checking out this DIY kids workbench plan that I’ve adapted for my own workshop.
This isn’t about creating some perfect Pinterest-worthy space. It’s about making a real, functional area where your kids can get their hands dirty and their brains engaged. Because let’s be honest – the best learning happens when we’re actually doing, not just watching.
Why a Kids’ Workbench Changes Everything
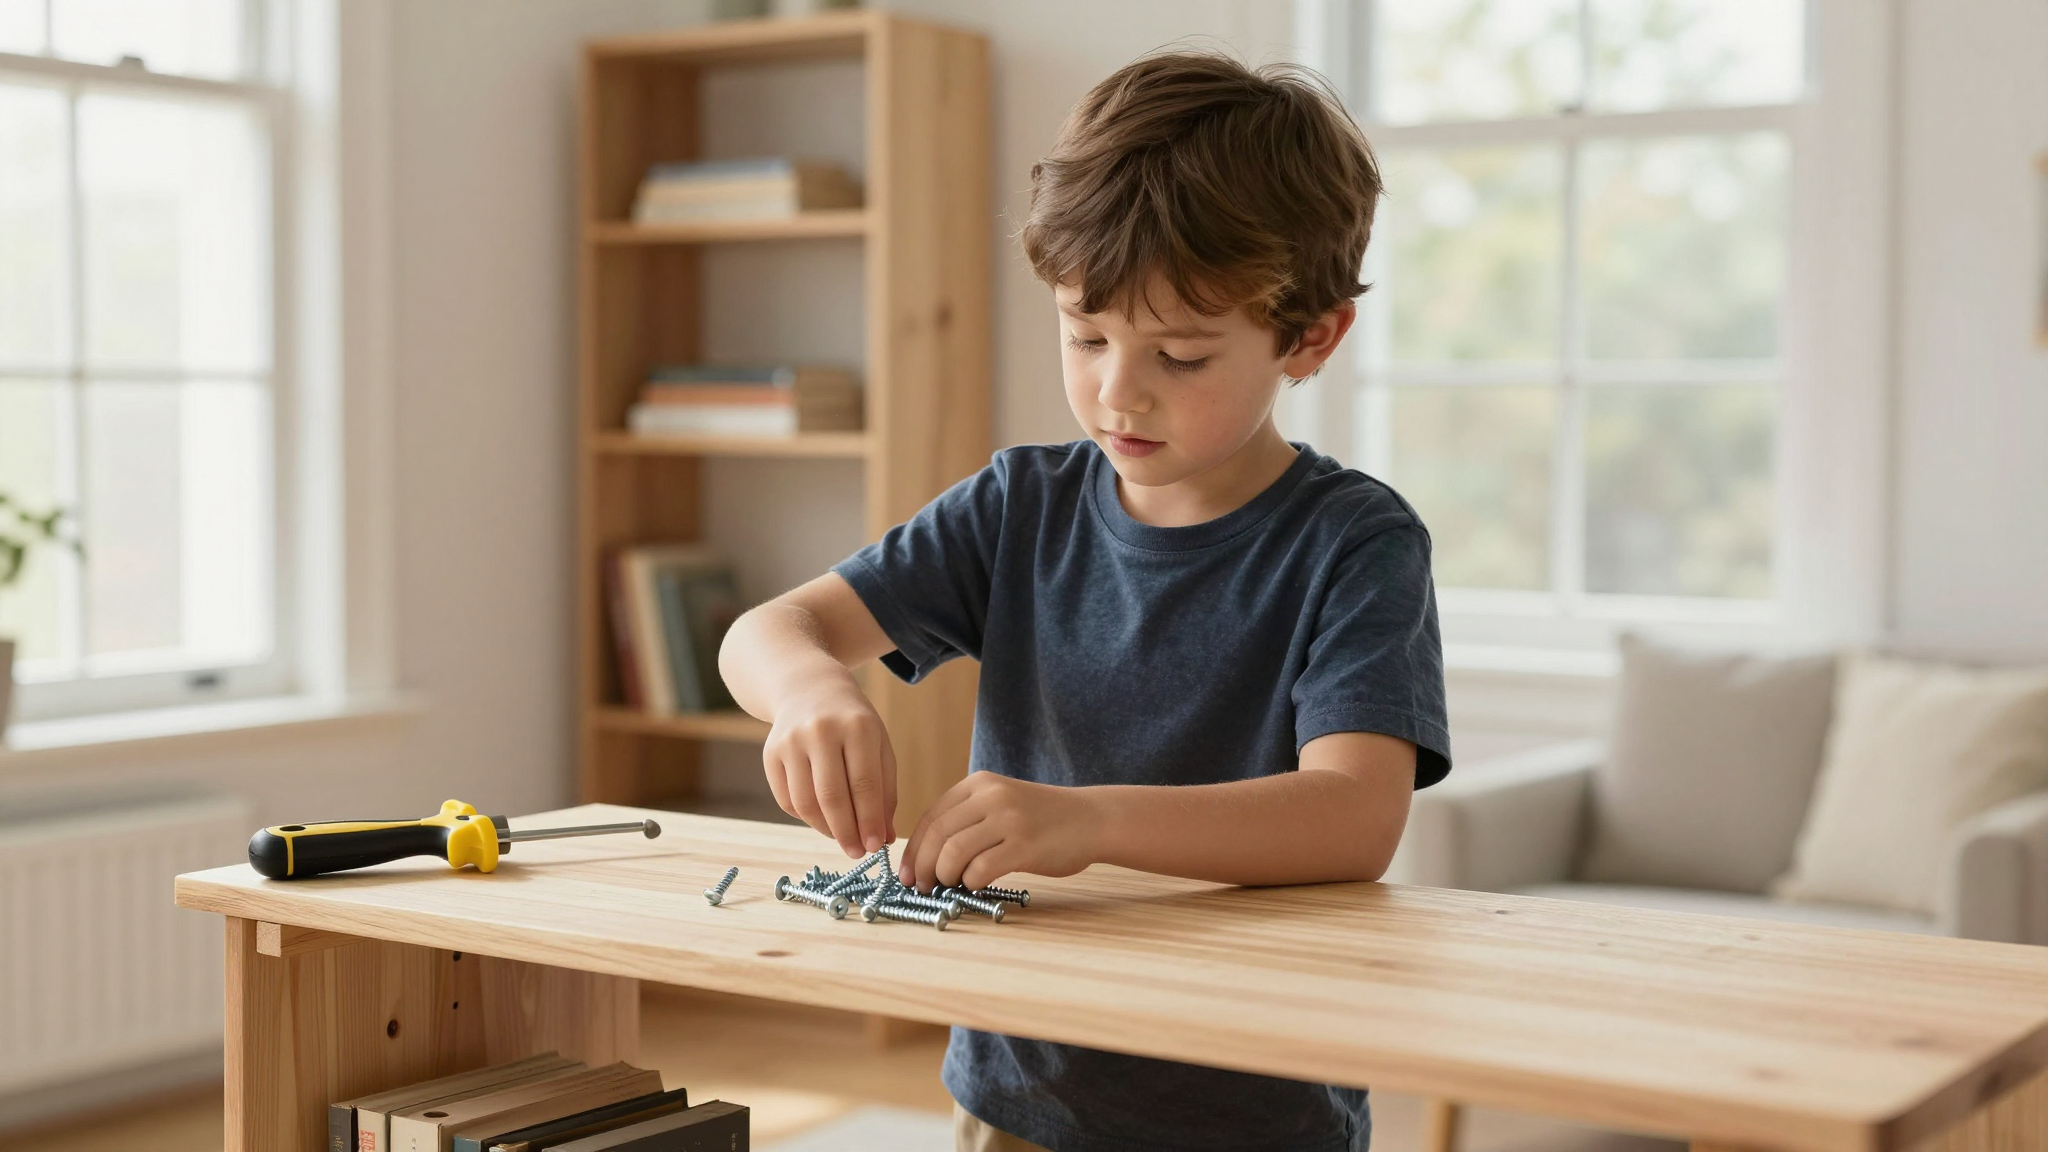
The first time I set up a proper workbench for Jake, I was amazed at how quickly he took to it. Within minutes, he was “building” a tower of foam blocks with my old hammer (the one with the bright yellow handle that’s impossible to lose). What started as simple play quickly turned into something more meaningful.
Here’s what I’ve noticed since we started this journey:
- Jake actually listens when I explain how things work – whether it’s why we pre-drill holes or how to measure twice
- He’s developed this incredible patience when something doesn’t work the first time (something I’m still working on myself!)
- His fine motor skills have improved noticeably – he can now thread a screw with surprising accuracy
- Best of all, he’s proud of what he creates. That sense of accomplishment is priceless
What I didn’t expect was how much I would learn from this process. Watching Jake approach problems differently has made me a better builder too. There’s something about seeing the world through a child’s eyes that reminds you to slow down and appreciate the process.
If you’re worried about the space taking up too much room, don’t be. Our workbench fits perfectly in the corner of our garage, and we’ve even added a pegboard above it for tool storage. I’ll share more about our setup in a bit, but first, let’s talk about why this simple addition has made such a big difference in our home.
More Than Just Play: The Real Benefits
I’ll admit, when I first started researching kids’ workbenches, I was skeptical. Would this really be more than just another toy? After months of using ours, I can confidently say yes – it’s so much more. Here’s what we’ve experienced:
Jake’s confidence has grown exponentially. There’s nothing like the feeling of completing a project, no matter how small. I still remember the first time he “built” a birdhouse (with a lot of help from me) and how he beamed when we hung it in the backyard.
We’ve also noticed his problem-solving skills improving. When his block tower kept falling over, he didn’t give up – he started experimenting with different configurations until he found one that worked. That persistence is something I’m trying to cultivate in myself!
Perhaps most importantly, this has become our special time together. While I work on my projects, Jake works on his. We talk, we problem-solve, we celebrate the small victories. It’s created a bond that goes beyond just parent-child relationship.
If you’re thinking about setting up a space like this, I’d encourage you to start small. You don’t need a fancy setup to begin. A simple table with a few safe tools can be the perfect starting point. As your child grows, you can add more sophisticated equipment.
What Actually Works (And What Doesn’t)
Let me save you some time and frustration by sharing what’s worked in our house – and what hasn’t. I’ve made my share of mistakes, and I’m happy to spare you from repeating them.
The Tools That Make the Difference
When we first started, I made the mistake of giving Jake my real tools. Big mistake. Not only was it unsafe, but he quickly lost interest in the heavy, adult-sized equipment. Now, we use a combination of:
- His kid-sized tool set from Harbor Freight (about $20 and worth every penny)
- Real tools that are appropriately sized for his hands (like this 18V drill that we use with supervision)
- Safe “practice” materials like foam wood blocks and plastic nails
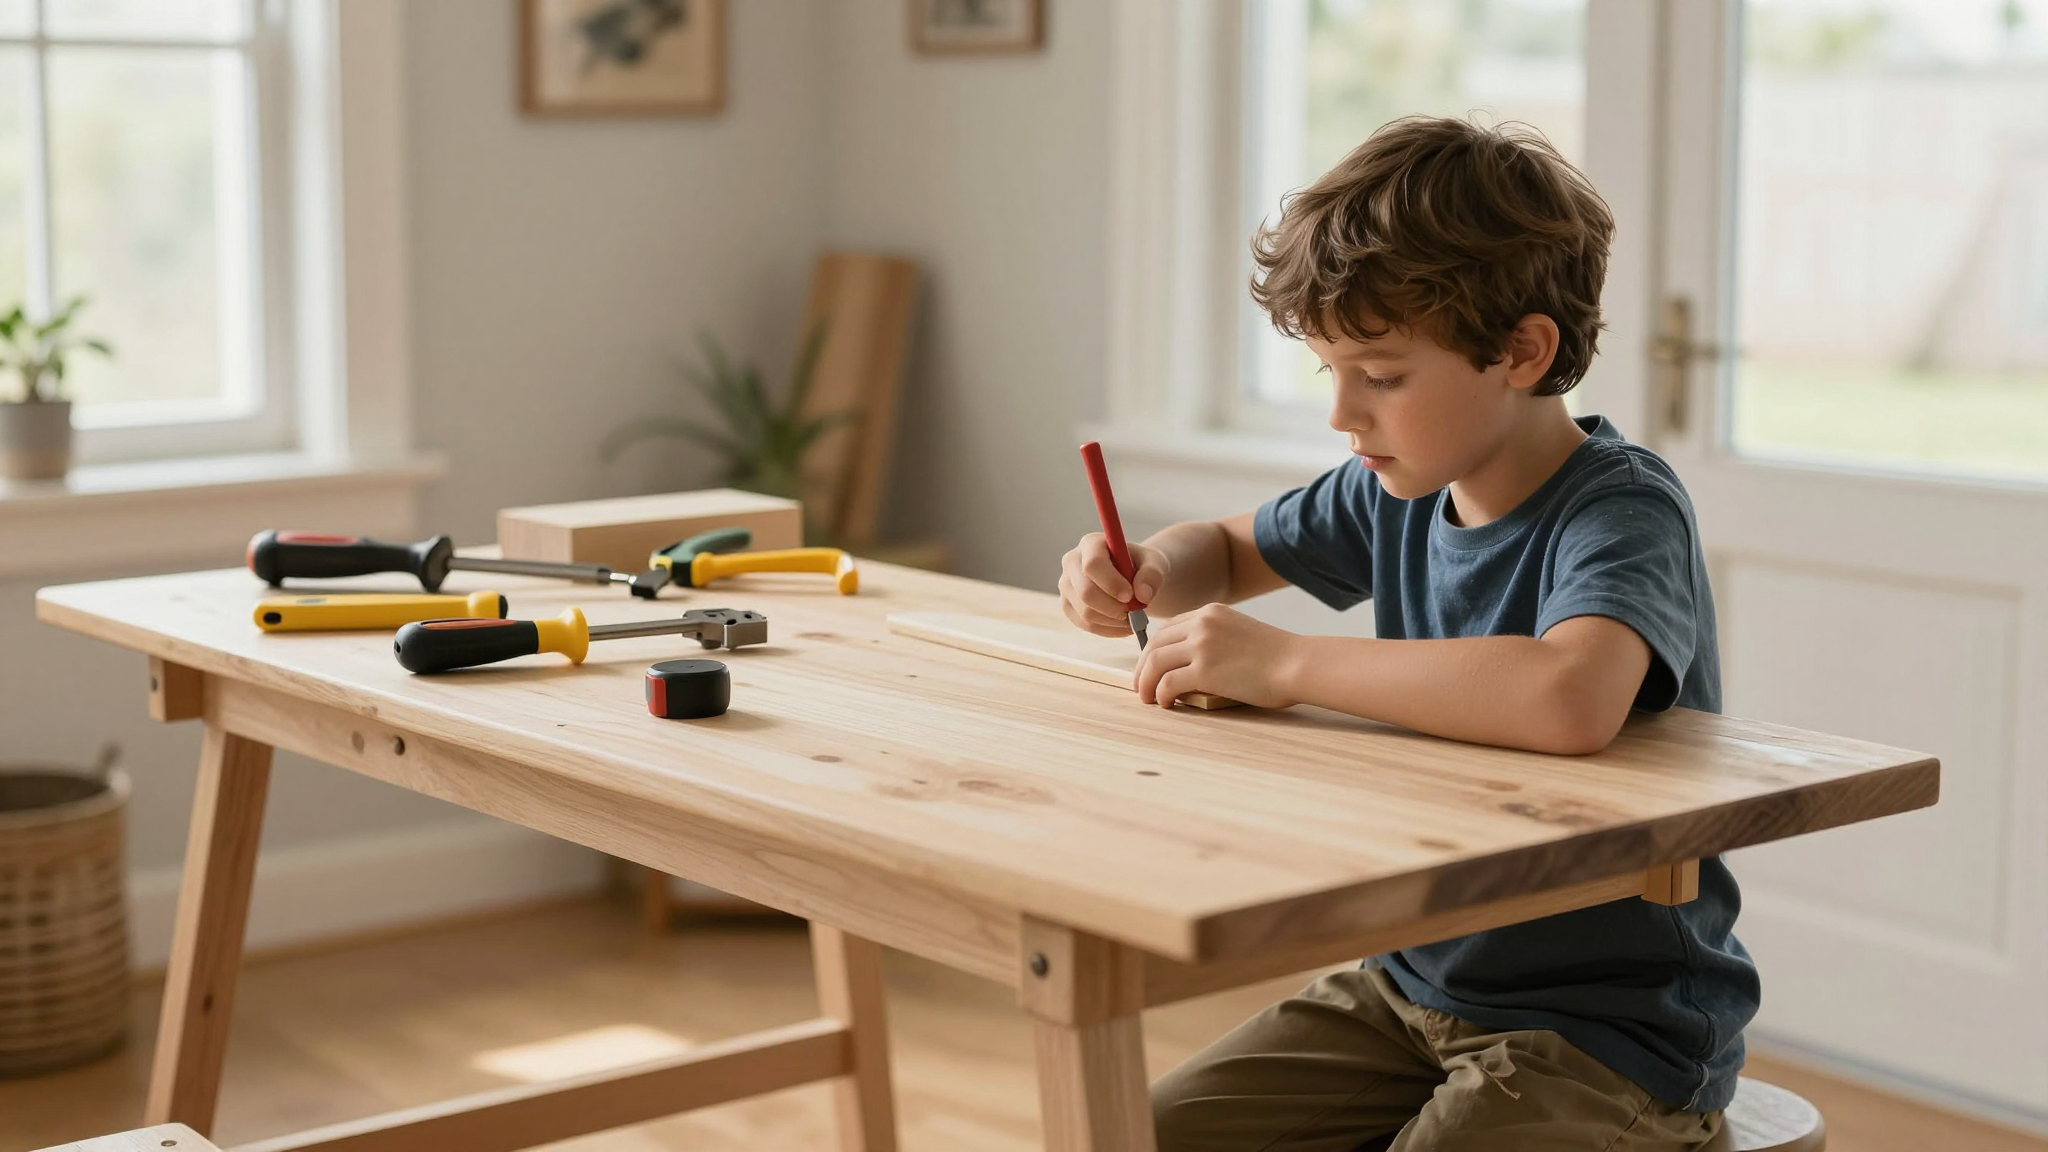
I also keep a sharpie and a measuring tape on his workbench. He loves marking measurements (even if they’re not always accurate!) and it gives him a sense of being “just like Mom.”
One thing I wish I’d known earlier? Start with real tools when possible. The transition from plastic to metal is easier when they’re younger. Jake was using my old clamps by age 6, and he takes so much pride in being able to use “grown-up” tools safely.
Materials That Last (And Ones to Avoid)
I learned this lesson the hard way when I bought a cheap plastic workbench from a big-box store. After two weeks, the legs wobbled, the surface cracked, and Jake lost interest. Now, we use:
- A solid wood workbench I built myself (plans here)
- Foam wood blocks for safe “building” practice
- Real wood scraps for his projects (he loves painting them)
If you’re not comfortable building your own, look for workbenches made from FSC-certified wood. Brands like Le Toy Van make beautiful, durable options that will last for years.
Pro tip: Add a pegboard above the workbench for tool storage. It keeps everything organized and makes cleanup easier. I use these hooks to hang Jake’s tools, and he loves being able to put everything away himself.
Setting Up Your Space: What We’ve Learned
Our kids’ workbench area has evolved over time. What started as a simple table in the corner of the garage is now a proper workspace with storage and organization. Here’s what we’ve found works best:
Location, Location, Location
I initially set up the workbench in the basement, thinking it would be out of the way. Big mistake. Jake would get excited about a project, then lose interest by the time he made it downstairs. Now, our workbench is in the garage where we park our cars. It’s convenient, well-lit, and part of our daily routine.
If you don’t have garage space, consider a corner of your living room or even a balcony. The key is making it accessible when inspiration strikes. I’ve seen Jake get an idea at bedtime and wake up excited to work on it the next morning.
Storage Solutions That Actually Work
One of the biggest challenges was keeping the space organized. I tried bins, drawers, and even a toolbox – nothing worked until I installed a pegboard. Now, every tool has a home, and Jake knows exactly where everything goes.
We also keep a small plastic bin under the workbench for his “in-progress” projects. It’s amazing how much more motivated he is when he can see his work and come back to it later.
For larger projects, I use these sawhorses that we can move around as needed. They’re sturdy enough for real woodworking but low enough for Jake to reach.
Making It Grow With Your Child
One of the best things about our workbench setup is that it’s grown with Jake. What started as a simple table for pretend play has evolved into a real workspace where he’s learning actual skills. Here’s how we’ve adapted it over the years:
Starting Simple
When Jake was 3, we began with:
- A low table (about 24″ high)
- Foam wood blocks and plastic tools
- Basic “projects” like building towers and simple structures
At this age, it’s all about imagination and fine motor skills. Jake would spend hours “building” his own worlds with the foam pieces. I’d occasionally join in with my own projects, and he’d watch with fascination.
Adding Real Tools
By age 5, we introduced:
- Real wood scraps (1x2s and 2x2s)
- Age-appropriate tools like a hammer and saw (with supervision)
- Simple projects like birdhouses and picture frames
This was when I noticed Jake’s confidence really starting to grow. He loved that he could actually build something real, even if it wasn’t perfect. I still have the first birdhouse he “built” hanging in our backyard – crooked and a little wobbly, but perfect in its imperfection.
Current Setup (Age 7)
Now, our workbench includes:
- A proper wood workbench at the right height
- Real hand tools (with safety guidelines)
- More complex projects like shelves and small furniture
- A pegboard with all his tools organized
Jake recently built his first coffee table (with a lot of help from me). It’s not perfect, but he’s so proud of it that it’s now in our living room. Seeing his face when we moved it in was one of those moments that makes all the mess and frustration worth it.
Common Questions (And My Honest Answers)
I get a lot of questions about our kids’ workbench setup. Here are the ones I hear most often, with my completely honest answers:
At What Age Should We Start?
We began when Jake was 3, but I’ve seen younger kids enjoy simple workbenches too. The key is using age-appropriate tools and materials. For toddlers, focus on:
- Large, easy-to-grip tools
- Soft materials like foam or cardboard
- Simple “projects” like stacking blocks
As they grow, you can introduce more complex tools and materials. The important thing is to match the challenge to their ability level.
How Do I Keep Them Interested?
This is where I’ve had the most learning experiences. Here’s what works for us:
- Follow their interests. If Jake is obsessed with dinosaurs, we build dinosaur habitats.
- Keep projects short. His attention span isn’t as long as mine!
- Celebrate the process, not just the result. A crooked birdhouse is still a success.
- Join in! Kids love working alongside their parents.
I’ll admit, there are days when Jake loses interest in his projects. That’s okay! The goal isn’t to force them to love building – it’s to give them the opportunity to explore and discover what they enjoy.
What About Safety?
Safety is my top priority, and I’ve made some mistakes along the way. Here’s what I’ve learned:
- Always supervise when using real tools
- Start with blunt, kid-sized tools before introducing sharper ones
- Teach proper tool handling from the beginning (how to hold a hammer, where to stand when using a saw, etc.)
- Keep a well-stocked first aid kit nearby (band-aids with dinosaurs help!)
I also recommend watching this great video on child-safe woodworking from a local maker I follow. It’s given me some great tips for keeping Jake safe while still letting him explore.
Can This Really Teach Them Skills?
Absolutely! Here’s what Jake has learned (and is still learning) from our workbench:
- Basic measuring and math skills
- Problem-solving and critical thinking
- Hand-eye coordination and fine motor skills
- Patience and persistence
- How to follow instructions (and when to improvise!)
What surprises me most is how these skills translate to other areas of his life. Jake is more patient when learning new things, more persistent when faced with challenges, and more confident in his abilities. That’s the real value of this setup.
What If We Don’t Have Space?
I hear this concern a lot, especially from city dwellers or those with small homes. Here are some space-saving ideas:
- Use a folding table that can be stored when not in use
- Set up in a corner of the living room or bedroom
- Create a “travel workbench” with a small toolkit that can go anywhere
- Use vertical space with pegboards or wall-mounted storage
Even in our small house, we’ve made it work. The key is being creative with your space and making the most of what you have.
Ready to Get Started?
If you’re feeling inspired to create a kids’ workbench in your home, here’s my advice:
Start small. You don’t need a fancy setup to begin. A simple table, some basic tools, and a willingness to make a mess is all you really need.
Let them lead. Follow their interests and let them explore at their own pace. Some days they’ll be eager to build, other days they’ll lose interest – and that’s okay.
Embrace the mess. There will be glue in hair, sawdust everywhere, and projects that don’t turn out as planned. But those are the moments that create the best memories.
Most importantly, enjoy the process. Watching your child discover their capabilities is one of the most rewarding experiences as a parent. And who knows? You might just discover a new hobby or skill yourself along the way.
If you’re looking for more inspiration, check out these other projects that have brought our family together:
- Building a coffee table together (with lots of laughter and a few tears)
- Upcycling old furniture (Jake’s favorite is our “paint splatter” dresser)
- Simple DIY projects that even kids can help with
Now, if you’ll excuse me, I need to go check on Jake. He’s currently “building” something in the garage, and I can already hear the hammering. Wish me luck!