
Decorative Painted Planters: How I Transformed Boring Pots into Stylish Home Accents
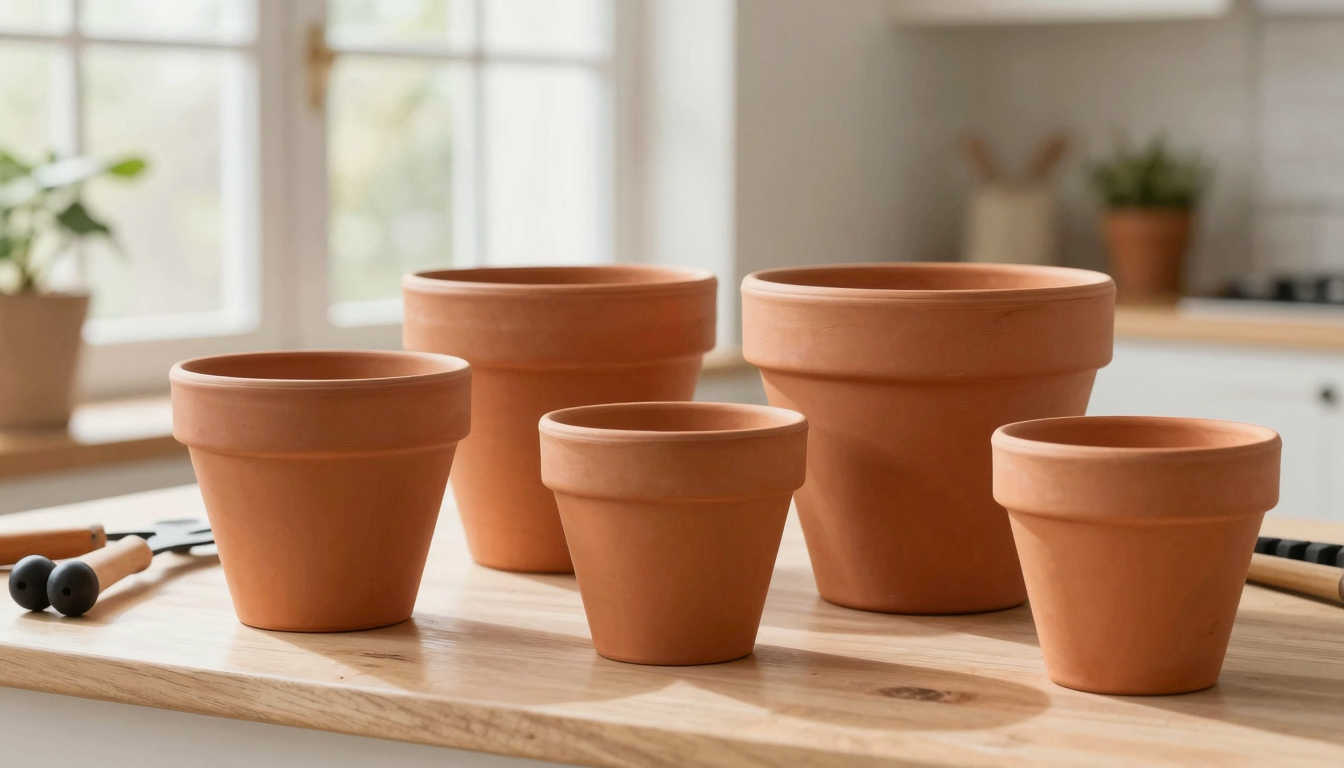
Let me tell you, I used to have a whole collection of those plain orange terracotta pots that came with my plants. They were functional, sure, but they looked like they belonged in my grandma’s basement,not in my cozy living room. Then one weekend, I decided to experiment with paint, and wow, what a difference it made! Now I’ve got pots that actually match my decor, and I’ve even given a few as gifts to plant-loving friends. If you’re ready to do the same, let me walk you through exactly how I did it,including the mistakes I made along the way so you don’t have to repeat them.
This isn’t about some fancy “elevate your space” trend. It’s about taking what you already have and making it work better for your home. I’ve painted dozens of pots over the years,some turned out great, others… well, let’s just say I learned a lot. The best part? This project is perfect for a lazy Sunday afternoon when the kids are occupied (or napping, if you’re lucky). You don’t need to be an artist or spend a fortune on supplies. Just a little patience and some basic tools will get you beautiful results.
I’ll be honest,my first attempt was a disaster. I skipped the primer because I was “too busy,” and the paint chipped off after just a few weeks. But I kept trying, and now I’ve got a system that works. In this guide, I’ll share everything I’ve learned: how to prep your pots properly, which paints and sealers actually last, and some easy design ideas that even beginners can pull off. By the end, you’ll have planters that look like they came from a boutique,without the boutique price tag.
Oh, and if you’re anything like me, you’ll probably end up with more painted pots than you know what to do with. That’s why I’ve also included some ideas for using them beyond just holding plants,like turning them into stylish storage for small items or even creating a fun centerpiece for your dining table. Check out some of my other projects if you want more ways to spruce up your space on a budget.
Why I Started Painting My Plant Pots (And Why You Should Too)
I’ll never forget the first time I walked into a home decor store and saw how much they wanted to charge for a single painted pot. I mean, seriously,$45 for something I could make myself in an hour? That’s when I decided to give it a try. My first project was a simple whitewash on some terracotta pots for my kitchen herbs. It looked so much better than the plain orange ones, and it only cost me a few dollars in paint.
The real game-changer, though, was when I realized how much this project could personalize my space. I painted a set of pots in my favorite colors to match my living room, and suddenly, my plants didn’t just look like they belonged,they looked like they were *part* of the decor. Plus, when I gave a painted pot to my sister for her birthday, she loved it so much she asked me to make one for her friend too. Now I’m basically the go-to person in my family for custom plant pots!
Here’s the thing: most of us already have a bunch of plain pots sitting around. Whether they came with your plants or you picked them up at a garden center, they’re probably just sitting there, looking boring. Painting them is a great way to:
- Match your decor without buying new pots
- Add a pop of color to a room
- Create unique gifts for plant-loving friends
- Give your plants a little extra personality (because let’s face it, they deserve it!)
And if you’re anything like me, you’ve probably got a few pots that are just *sitting there*, waiting for a makeover. I had a whole collection of mismatched pots that I never used because they didn’t go with anything. Now? They’re all painted and put to good use. It’s amazing how much better your plants can look when they’re in pots that actually match your home.
Understanding Terra Cotta: What Makes It So Great for Painting
I used to think all plant pots were basically the same, but after painting a bunch of them, I’ve learned that terracotta is actually one of the best materials for DIY projects. It’s affordable, easy to find, and,most importantly,it takes paint really well. I’ve got a whole shelf of terracotta pots in my garage, and I’m always grabbing one to paint for a new project.
The reason terracotta works so well is because of its porous surface. It’s like a sponge,it soaks up paint and primer, which means your designs will stick better and last longer. Plus, the natural orange color is a great base for a lot of different looks. I’ve painted terracotta pots in everything from bright whites to deep blacks, and they all turn out great.
One thing I love about terracotta is how versatile it is. You can find pots in all different sizes, from tiny ones for succulents to big ones for floor plants. I’ve even used terracotta pots to make planters for my kids’ rooms,we painted them in their favorite colors, and now they feel like the plants are really *theirs*. It’s a great way to get kids involved in DIY projects too!
Just a heads-up: terracotta can be a little fragile, especially if it’s thin. I learned that the hard way when I dropped a painted pot and it cracked. Now I’m more careful with them, and I usually reserve the really thin ones for display-only plants (like my fake ones) instead of real ones that need to go outside.
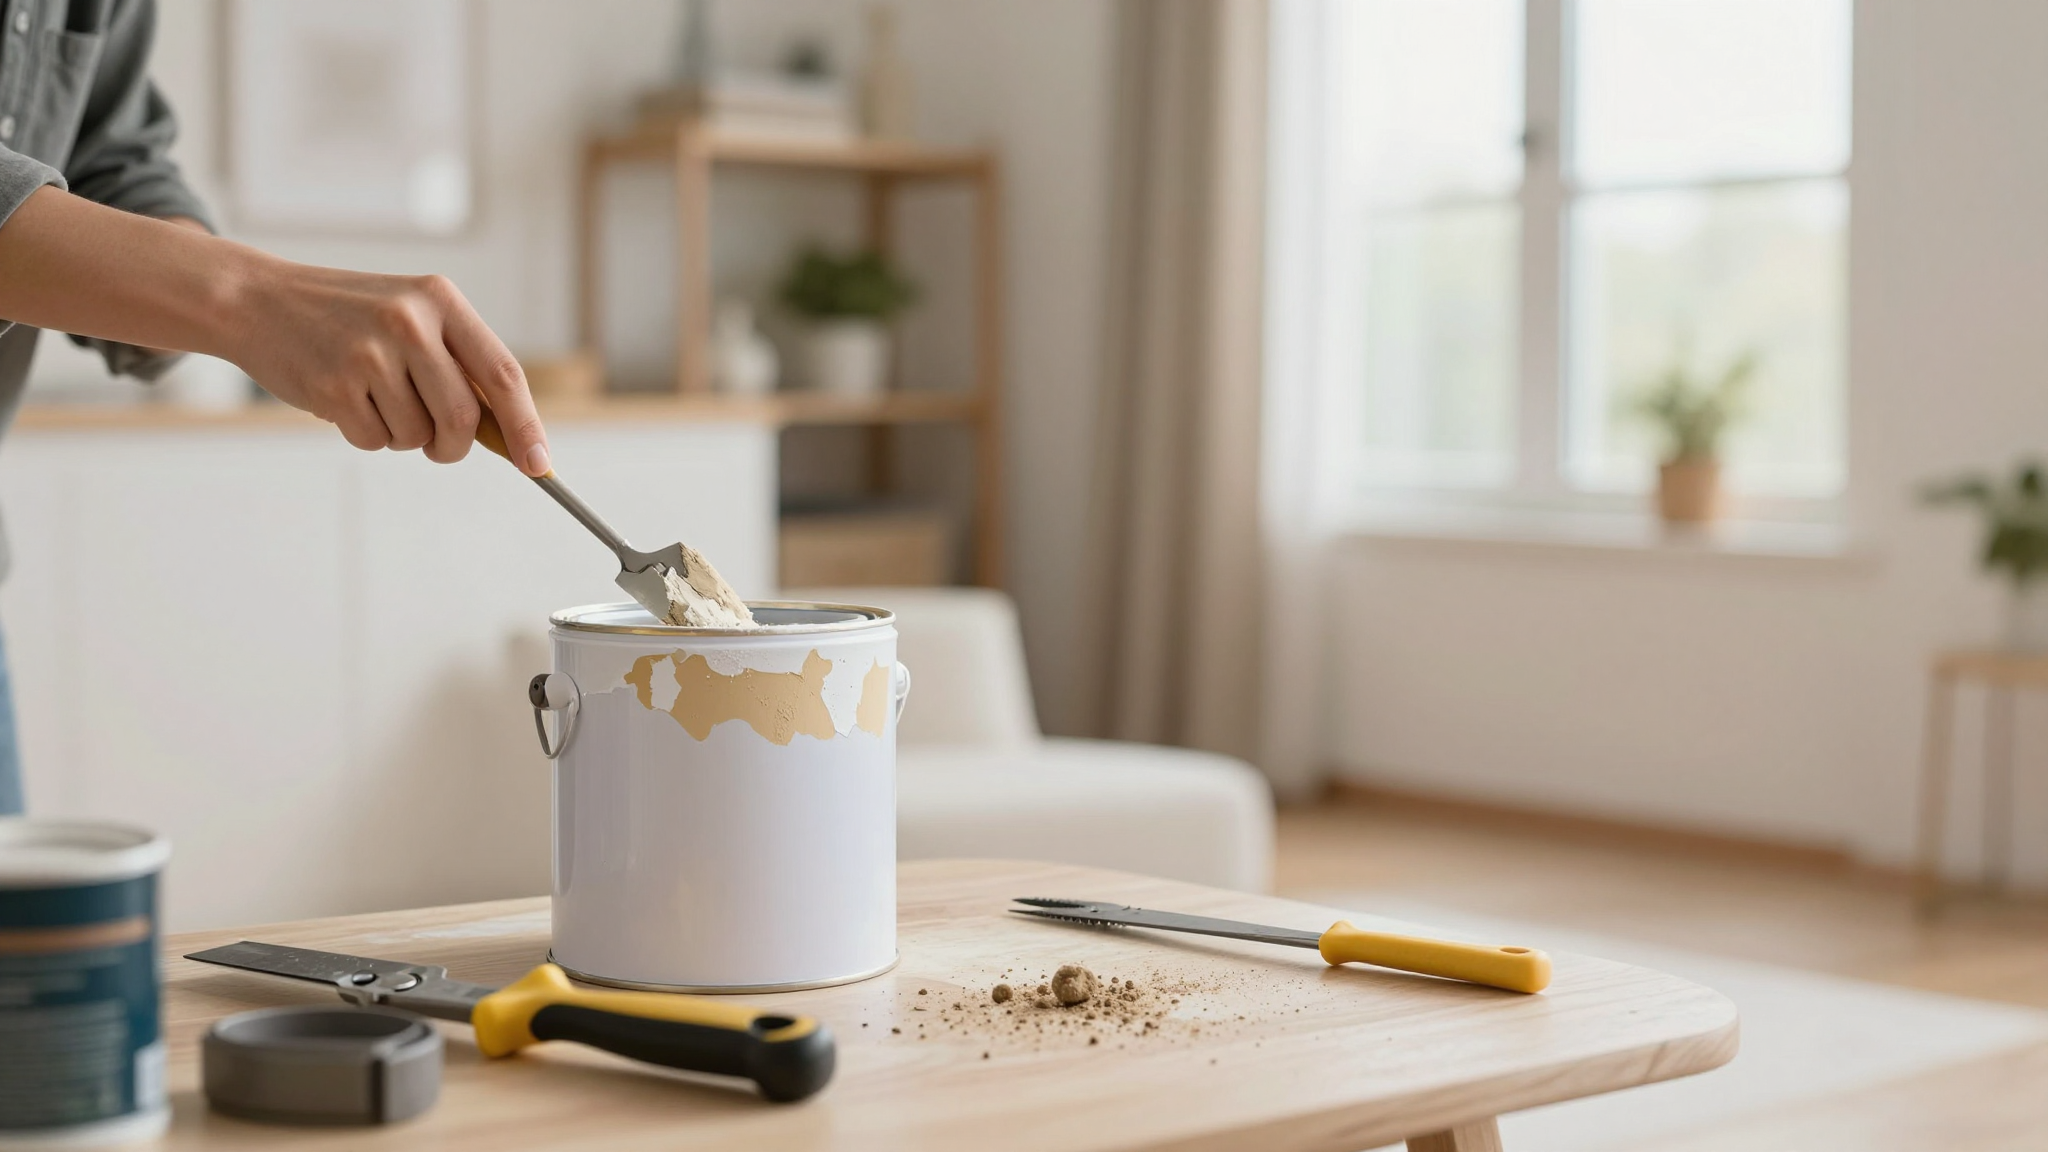
Prepping Your Pots: The Most Important Step (Seriously!)
Okay, I need to be honest here,this is the step I used to skip. I’d think, “Oh, it’s just a little dirt, it’ll be fine.” But then my paint would chip off after a few weeks, and I’d be frustrated. Now I know: prepping your pots properly is the difference between a project that lasts and one that falls apart. Trust me, take the time to do this right.
First, you’ve got to clean your pots. I like to soak them in warm, soapy water for about 10 minutes to loosen up any dirt or stickers. If there’s a stubborn sticker, I’ll let it soak a little longer and then scrape it off with an old credit card (it works way better than your fingernails, trust me). After that, I give them a good rinse and let them dry completely. I usually set them out in the sun for a few hours to make sure they’re bone dry before I start painting.
Here’s a little trick I learned: if your pots are really dirty, you can mix a little bit of vinegar into the soapy water. It helps break down the grime and makes them easier to clean. I keep a spray bottle of vinegar water in my garage just for this purpose.
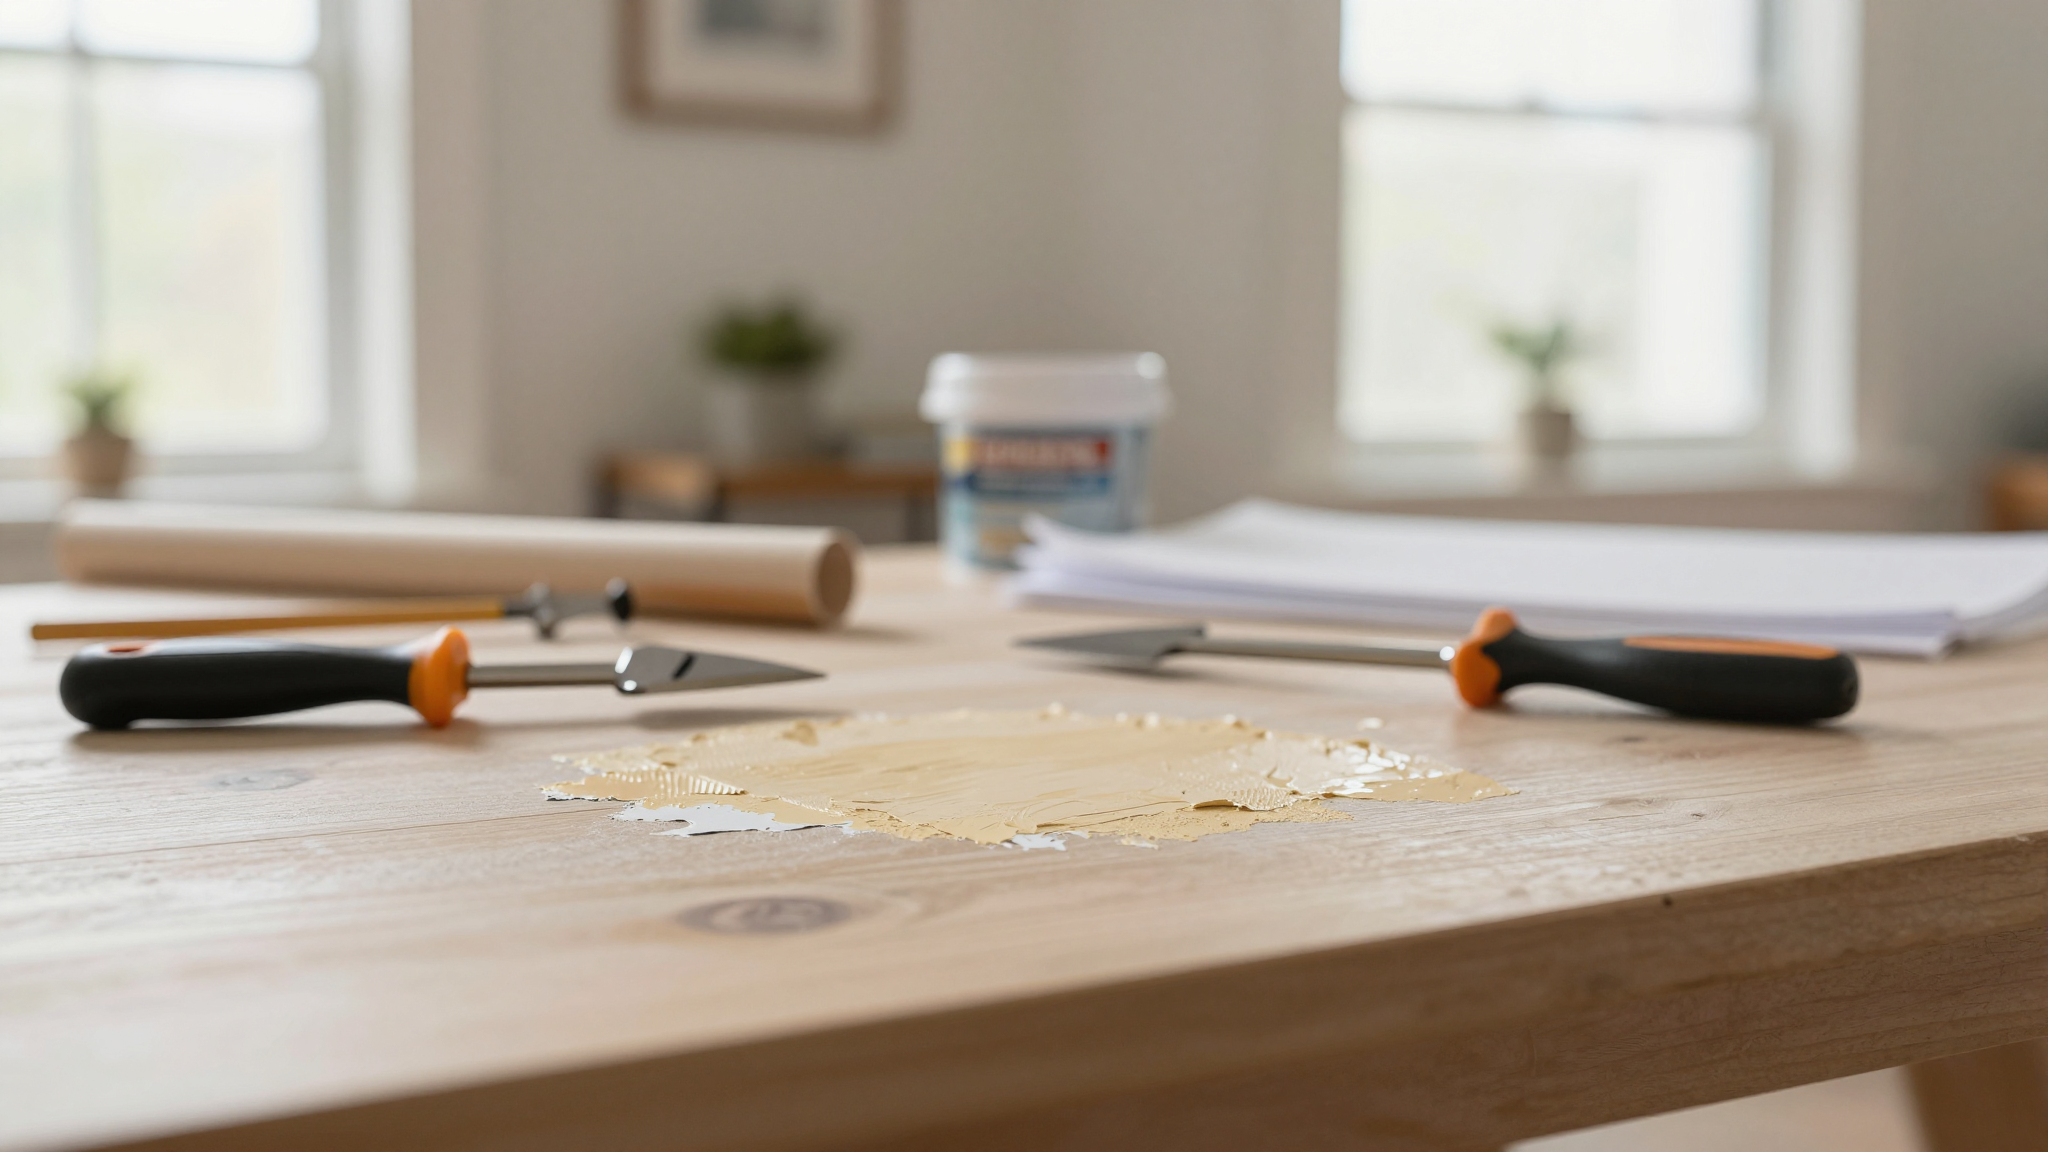
Once your pots are clean and dry, it’s time for primer. This is where I used to cut corners, and it always came back to bite me. Primer is what makes your paint stick, so don’t skip it! I like to use a spray primer because it’s fast and easy, but you can also use a brush-on primer if you prefer. Just make sure you’re working in a well-ventilated area,primer fumes are no joke.
Pro tip: If you’re painting a pot that’s going to hold a real plant, make sure you prime the inside too. I made this mistake once, and the paint started peeling after a few waterings. Now I always prime the entire pot, inside and out, to make sure it lasts.
Oh, and one more thing,if you’re painting a bunch of pots at once, label them with painter’s tape before you start. I’ve mixed up my colors more times than I’d like to admit, and labeling saves a lot of headaches. I usually write the color name on a piece of tape and stick it to the bottom of the pot.
Painting Your Pots: Techniques and Tips for a Flawless Finish
Now for the fun part,painting! I’ll be honest, my first few attempts were… well, let’s just say they looked like a kindergartener did them. But I kept practicing, and now I’ve got a few tricks up my sleeve to make the process easier. Here’s what I’ve learned:
First, choose your paint. I like to use acrylic paint because it’s affordable, easy to find, and comes in a ton of colors. I usually grab a few sample sizes from the craft store,they’re cheaper than full-size bottles, and you get plenty for a few pots. If you’re painting a lot of pots, though, it might be worth investing in a bigger bottle.
When it comes to brushes, I’ve tried a bunch of different types, and my favorite is a foam brush. They’re cheap, easy to clean, and they give a nice smooth finish. I also keep a small angled brush on hand for details. If you’re painting a lot, it might be worth investing in a good set of brushes,trust me, your results will be way better.
Here’s a little trick I learned from my mom: if you’re painting a pot and you’re having trouble getting an even coat, dip your brush in a little water and then into the paint. It helps thin the paint slightly and makes it easier to spread. Just don’t overdo it, or your paint will be too watery and won’t stick well.
One thing I wish I’d known when I started is that terracotta is super porous, so it’s going to soak up a lot of paint. That means your first coat is probably going to look a little streaky. Don’t worry,just let it dry and add another coat. I usually do two coats of paint, and that gives me a nice, even finish.
Oh, and if you’re painting a pot that’s going to hold a real plant, make sure you leave the bottom unpainted. I made this mistake once, and the paint started peeling after a few waterings. Now I always leave the bottom clear so water can drain properly.
Design Ideas: Easy Ways to Make Your Pots Look Amazing
Now for the best part,designing your pots! I’ve painted so many pots over the years, and I’ve come up with a few go-to designs that always turn out great. Here are some of my favorites:
1. Solid Color with a Contrasting Rim
This is my go-to design for beginners. It’s simple, elegant, and it looks great in any room. I usually start with a base coat of white or a light color, and then I paint the rim a contrasting color. For example, I might do a white pot with a black rim, or a light blue pot with a white rim. It’s a great way to add a little color to your space without going overboard.
Pro tip: If you’re painting a rim, use a small piece of painter’s tape to mark where you want the color to end. It’ll give you a nice, clean line and save you a lot of touch-up work.
2. Ombré Effect
I love an ombré pot because it looks so sophisticated, but it’s actually really easy to do. Start with a base coat of your lightest color, and then gradually darken the color as you move up the pot. I like to use a sponge to blend the colors together for a nice, gradual transition.
One thing to keep in mind: ombré pots look best when they’re viewed from the front. If you’re putting them on a shelf or a table where people will see them from all angles, you might want to stick with a simpler design.
3. Geometric Patterns
If you’re feeling a little more adventurous, try a geometric pattern. I like to use painter’s tape to create clean lines and shapes. For example, I might tape off a series of triangles or squares and paint them a contrasting color. It’s a great way to add a little modern flair to your pots.
Just a warning: geometric patterns can be a little tricky, so it might take a few tries to get it right. I’ve definitely had a few pots that ended up looking like a kindergartener did them, but I keep practicing, and I’m getting better!
4. Hand-Painted Designs
If you’re feeling really creative, try hand-painting a design on your pot. I like to do simple things like stripes, polka dots, or even little flowers. It’s a great way to personalize your pots and make them truly one-of-a-kind.
Pro tip: If you’re not confident in your freehand skills, use a pencil to sketch your design first. It’ll give you a guide to follow and make the painting process a lot easier.
Sealing Your Pots: The Secret to Making Them Last
Okay, I need to be honest,this is the step I used to skip because I was impatient. But then my paint would chip off after a few weeks, and I’d be frustrated. Now I know: sealing your pots is just as important as painting them. It’s what makes your hard work last.
I like to use a clear acrylic sealer because it’s easy to apply and it gives a nice matte finish. I usually spray it on in light coats, letting it dry between each coat. I do two coats, and that gives me a nice, durable finish that lasts for years.
One thing I learned the hard way: don’t seal your pots until the paint is completely dry. I made this mistake once, and the sealer made the paint bubble up. Now I always wait at least 24 hours after painting before I seal.
If you’re painting a pot that’s going to hold a real plant, make sure you use a sealer that’s safe for plants. I like to use a water-based sealer because it’s non-toxic and safe for my plants. Just make sure you let it dry completely before you add soil and a plant.
Oh, and one more thing,if you’re painting a pot that’s going to go outside, make sure you use a sealer that’s rated for outdoor use. I learned this the hard way when a pot I painted for my patio started peeling after a few weeks. Now I always use an outdoor-rated sealer for my outdoor pots.
Final Tips and Tricks from My Experience
I’ve painted a lot of pots over the years, and I’ve learned a few things that I wish I’d known when I started. Here are some of my best tips:
- Work in a well-ventilated area. I learned this the hard way when I painted a bunch of pots in my garage and then had a headache for the rest of the day. Now I always crack a window or work outside.
- Use a drop cloth. I’ve ruined more than one table by not using a drop cloth. Now I always lay one down before I start painting.
- Let your pots dry completely between coats. I used to be impatient and try to rush the process, but that just led to chipped paint and frustration. Now I let each coat dry completely before I add the next one.
- Don’t be afraid to experiment. I’ve had some of my best results when I’ve tried something new. Don’t be afraid to mix colors or try a new technique,you might be surprised at what you can create!
- Have fun with it! This is supposed to be a fun, creative project. Don’t stress too much about making everything perfect. Even if your pots don’t turn out exactly how you planned, they’ll still look great,and you’ll have a good story to tell!
Oh, and one more thing,if you’re ever stuck for inspiration, just look around your home. I’ve painted pots to match my throw pillows, my curtains, even my kids’ bedroom walls. It’s a great way to tie your decor together and make your space feel cohesive.
If you’re looking for more ways to spruce up your home on a budget, check out some of my other DIY projects. I’ve got everything from easy bedroom makeovers to creative ways to update your furniture. And if you’re feeling really ambitious, you can even learn how to upcycle old furniture for a fresh new look.
Happy painting! I’d love to see what you create. Snap a photo and tag me on social media,I’m always excited to see how other people are using their painted pots. And if you’ve got any tips or tricks of your own, I’d love to hear them. Let’s make our homes (and our plants) look their best!
FAQs: Your Painted Planter Questions Answered
What kind of paint works best for this DIY project?
I’ve tried a few different types of paint, and my favorite is acrylic paint. It’s affordable, easy to find, and comes in a ton of colors. I usually grab a few sample sizes from the craft store,they’re cheaper than full-size bottles, and you get plenty for a few pots. If you’re painting a lot of pots, though, it might be worth investing in a bigger bottle. I also like to use a good quality brush, like the ones I recommend in my tool guide, to get a smooth finish.
Do I need to seal my painted planters?
Yes, sealing is a crucial final step! I learned this the hard way when my first few attempts started chipping after just a few weeks. A good sealer protects your design from water, scratches, and UV rays. For indoor plants, I like to use a clear acrylic spray sealer because it’s easy to apply and gives a nice matte finish. For outdoor use, I switch to a waterproof, exterior-grade polyurethane sealant. It’s a little more expensive, but it’s worth it for the extra protection.
How do I prepare the surface before I start?
First, give your pot a good scrub with warm, soapy water to remove any dirt or debris. If there’s a sticker, peel it off and clean any sticky residue with a little vinegar. Let it dry completely,this is super important! Any moisture trapped in the clay will cause problems with the paint later. Then, apply a primer. I like to use a spray primer because it’s fast and easy, but you can also use a brush-on primer if you prefer. Just make sure you’re working in a well-ventilated area,primer fumes are no joke.
Can I use any brush for painting?
You can, but using the right tools makes a difference. I’ve tried a bunch of different brushes, and my favorite is a foam brush. They’re cheap, easy to clean, and they give a nice smooth finish. I also keep a small angled brush on hand for details. If you’re painting a lot, it might be worth investing in a good set of brushes,trust me, your results will be way better. Check out my guide to the best tools for DIY projects if you’re not sure where to start.
What are some easy design ideas for beginners?
If you’re new to painting pots, start with something simple. A solid color base with a contrasting rim is always a winner. You can also try a celestial look with a dark blue background and white dots for stars, or use painter’s tape to make clean stripes or geometric patterns. I’ve got a whole guide to creative designs if you want more inspiration. The key is to start simple and build up your skills as you go.
How long should I wait before planting in my newly decorated pot?
Patience is key! Let the final coat of paint dry completely, which usually takes a few hours. Then, after applying the sealer, wait at least 24-48 hours for it to fully cure before adding soil and your plant. This ensures the finish is hard and waterproof. I learned this the hard way when I planted a succulent in a freshly painted pot and the paint started peeling after a few waterings. Now I always wait the full 48 hours, and my pots stay looking great for years.