
How I Gave My Boring Mirror a Custom Frame Makeover (Without Buying New)
Let me tell you about the mirror I found at my grandma’s house last summer. It was one of those heavy, ornate things with a chipped gold frame that had seen better days,probably the 1980s. I knew it had potential, but honestly? I almost tossed it. Then I remembered that DIY projects don’t have to be perfect to be beautiful,they just need heart. And after three weekends of trial, error, and more than a few paint mishaps, I turned it into the statement piece in my living room.
Here’s the thing: most of us have at least one mirror in our homes that doesn’t quite fit the vibe anymore. Maybe it’s that dated brass finish from the ’90s, or the plain wooden frame that’s just… boring. Instead of dropping $200 on a replacement, I learned how to refresh it myself. And the best part? You can too. No fancy tools, no “expert” advice,just real tips from someone who’s actually done this (and messed up a few times along the way).
I’ll walk you through exactly how I did it, from prepping the frame to adding those little details that make it feel custom. Spoiler: the secret isn’t some magic technique,it’s patience and not being afraid to experiment. Oh, and I’ll also tell you about the time I accidentally glued a wooden flourish upside down. (Yes, I had to start over.)
Why I Chose to Refresh Instead of Replace
Before we dive in, let me save you some money and frustration. I used to think updating a mirror meant buying a new one. Then I realized how much cheaper,and more satisfying,it is to transform what you already have. Here’s why I went this route:
- Cost: A new mirror with a custom frame can run $150–$500, depending on size and style. My project cost me under $50, and that included a few “oops” moments (like when I bought the wrong shade of gold paint first).
- Sustainability: I hate throwing things away just because they’re not “trendy” anymore. This project gave an old piece new life,and kept it out of a landfill.
- Customization: Store-bought frames are limited. When you DIY, you can match your home’s exact aesthetic, whether that’s boho chic, farmhouse, or modern minimalist. My mirror now has a champagne gold frame with little wooden corner accents,something I never would’ve found in a store.
- The learning curve: I picked up skills I’ll use on future projects, like how to work with IOD clay (more on that later) and how to avoid brush strokes in my paint jobs.
And here’s a personal confession: I almost gave up after my first attempt. The paint didn’t cover evenly, and the frame looked streaky. But I took a break, watched a few YouTube videos (shoutout to The DIY Mom for her spray-painting tips), and tried again. That’s the thing about DIY,it’s not about perfection. It’s about progress.
Getting Started: What I Learned Before Lifting a Brush
Before I even touched paint, I spent an hour just looking at the mirror. I turned it around, inspected the back, and even took it apart (carefully!) to see how the frame was constructed. Here’s what I figured out,and what I wish I’d known sooner:

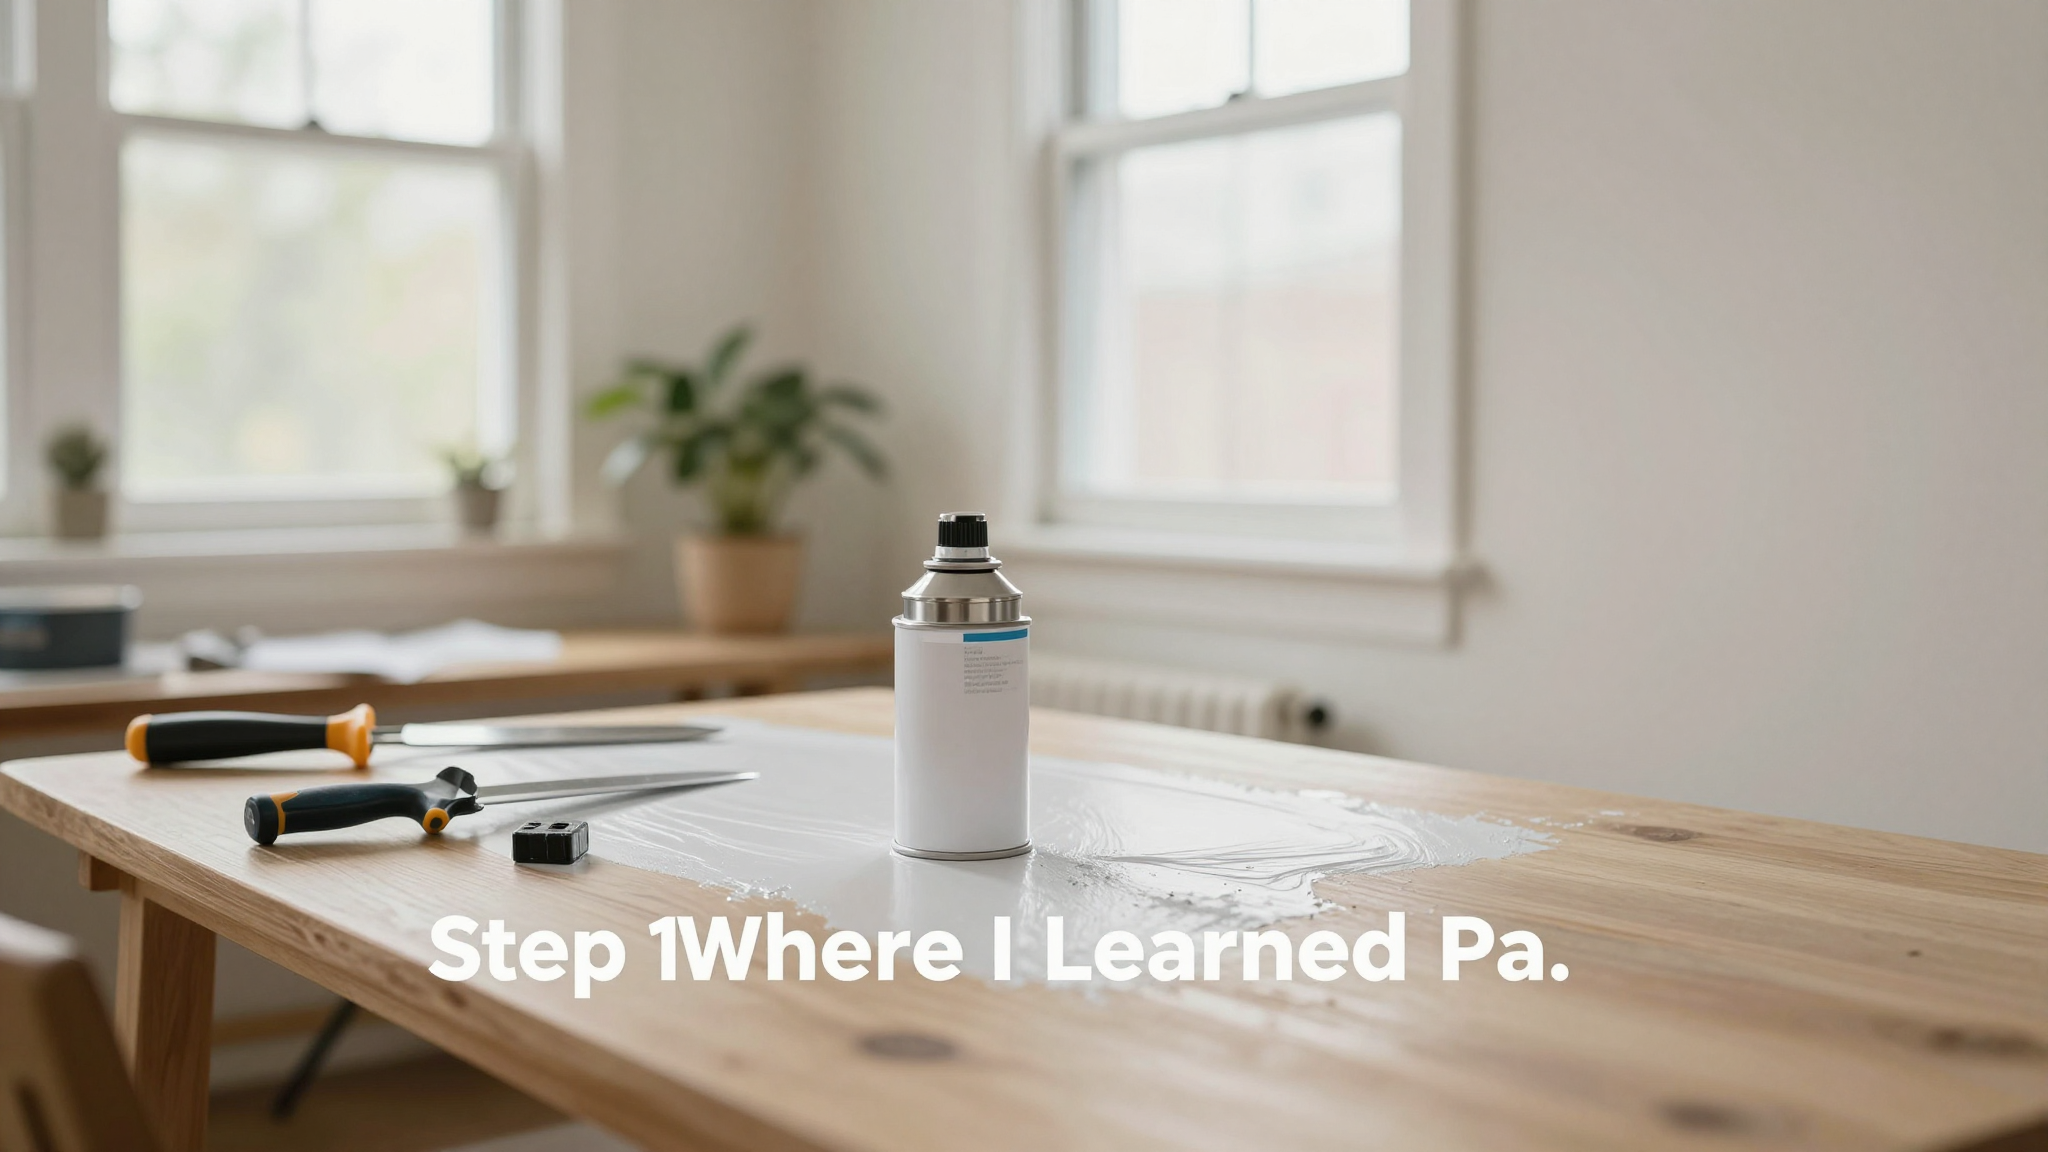
Step 1: Assess Your Mirror’s Current State
My mirror had a few issues:
– The gold paint was chipped in spots, especially around the corners.
– The wood underneath was dull and scratched.
– The glass had a thin layer of dust that I swear had been there since the ’80s.
I took photos of it from every angle (including a close-up of the chipped paint,trust me, you’ll want reference photos). Then I made a list of what I wanted to change:
– Update the color from brassy gold to a softer champagne tone.
– Add wooden corner accents for a traditional touch.
– Smooth out the rough edges where the paint had worn off.
Pro tip: If your mirror has a removable frame (like mine did), take it apart! It’s easier to paint the pieces separately, and you can sand or repair them more easily. I used a flathead screwdriver to gently pry mine apart,no force needed.
Step 2: Pick Your Transformation Style
I sat down with my bedroom mood board (yes, I’m that person) and decided I wanted a “soft vintage” look. That meant:
– A muted gold color instead of bright brass.
– Subtle texture from the wooden accents.
– A matte finish (no shiny paint,it would’ve clashed with my walls).
Here’s a quick guide to what works for different styles. I’ve included my real-life examples so you can see what I mean:
| Style Goal | What I Did | Time Commitment | Biggest Challenge |
|---|---|---|---|
| Modern Minimalist | Used Rust-Oleum Chalked Paint in “Agreeable Gray” for a matte, no-fuss look. Skipped the wooden accents,kept it clean. | 2 days (including drying time) | Getting an even coat without brush strokes. I had to thin the paint slightly with water and use a high-quality foam roller. |
| Traditional/Farmhouse | Sprayed Rust-Oleum Sunlit Brass as a base, then dusted Vintage Gold over it for depth. Added pre-cut wooden corner blocks (from Home Depot) glued with Titebond III. | 4 days (including drying and assembly) | Getting the wood glue to dry without shifting the blocks. I used painter’s tape to hold them in place while the glue set. |
| Boho/Maximalist | Used IOD Air Dry Clay to create custom floral motifs along the frame. Painted everything in “Antique White” chalk paint, then added gold leaf accents with gold gilding wax. | 5 days (clay takes time to dry and sand) | Not overworking the clay before it dried. I ruined my first attempt by trying to smooth it too much,it cracked. Second time, I let it set up a bit first. |
I went with the traditional route because, let’s be honest, my house is already packed with modern pieces. The mirror needed to ground the space. If you’re unsure what style to choose, grab inspiration from rooms you love and pick one element to mimic.
Step 3: Gather Your Supplies (And My Must-Haves)
Here’s what I actually used,not some generic “shopping list” from a blog. These are the tools and products that worked for me (and a few I regretted not buying sooner).
For Painting:
- Spray Paint: Rust-Oleum Sunlit Brass (my base color) and Vintage Gold (for layering). I bought these at Home Depot for under $15 each.
- Brushes: I used a Purdy X4000 2.5-inch oval brush for cutting in edges. It cost $12, but it was worth it,cheap brushes shed bristles everywhere.
- Painter’s Tape: FrogTape. It’s pricey, but it doesn’t bleed or rip the paint. I taped off the glass before spraying.
- Drop Cloth: I used an old bedsheet. Save your money,no need for fancy drop cloths unless you’re doing this professionally.
For Wooden Accents:
- Wood Blocks: I found pre-cut 2-inch square blocks at Home Depot in the “molding and trim” section. They were $3 for a pack of four.
- Wood Glue: Titebond III. It’s waterproof and dries clear. I used it to attach the wood blocks to the frame corners.
- Sandpaper: I used 120-grit to rough up the wood before gluing, and 220-grit to smooth the edges after painting.
For Clay Details (Optional):
- IOD Air Dry Clay: I bought a 2-pound block from Michaels for $10. It’s easy to work with and dries hard.
- Silicone Molds: I found floral molds on Etsy for $8. They came with a release agent, which made removing the clay pieces a breeze.
- Cornstarch: I dusted the molds with cornstarch to prevent the clay from sticking. It’s a cheap trick that works every time.
For Finishing Touches:
- Brown Wax: Annie Sloan Clear Wax. I used it to add a subtle aged look to the frame. It’s $12, but a little goes a long way.
- Gold Gilding Wax: I rubbed this onto the raised clay details for a luxe touch. It’s $15, but it makes everything look expensive.
- Shop Vac: I borrowed my husband’s DeWalt shop vac to clean up clay dust. If you don’t have one, a handheld vacuum works in a pinch.
Here’s what I wish I’d bought sooner:
– A heat gun to speed up drying time. I spent an extra day waiting for paint to dry because I was impatient.
– A paint edger roller for cutting in around the glass. It would’ve saved me from the shaky brush lines I got at first.
If you’re just starting out, don’t overthink your supply list. You can do this with basic tools,just be patient.
Prepping the Mirror: Where I Almost Ruined Everything
This is the step where most people give up. Prepping takes time, and it’s not glamorous. But trust me: skipping this part will cost you more time (and frustration) later. Here’s what I did,and what I learned the hard way.
Step 1: Deep Cleaning (The Gross Part)
I started by wiping down the entire frame with a damp cloth. Then I realized: that wasn’t enough. The frame had decades of grime in the crevices. So I grabbed:
– White Lightning Cleaner (the degreaser my dad swears by).
– An old toothbrush (for scrubbing tight spots).
– A microfiber cloth (to dry it without leaving lint).
I spent 20 minutes just scrubbing the ornate details. The toothbrush was a game-changer,it got into all the nooks where dust had settled. Pro tip: Work in small sections so you don’t accidentally miss a spot.
Here’s my mistake: I didn’t let the frame dry completely before moving to the next step. I was eager to start painting, so I rushed it. The result? The first coat of paint bubbled in a few spots because of trapped moisture. Lesson learned: Let it dry overnight.
Step 2: Sanding (The Messy Part)
I used 120-grit sandpaper to rough up the smooth areas where the old paint was chipped. This helps the new paint adhere better. I also sanded the back of the wood blocks I planned to glue on.
What I didn’t do: Wear a mask. Big mistake. Sanding old paint can release dust that’s not great to inhale. Next time, I’m grabbing a 3M respirator.
Step 3: Protecting the Glass (The Stressful Part)
This is where I panicked. I didn’t want to ruin the glass with overspray, but I also didn’t want to deal with peeling off liquid mask later. Here’s what I did:
Option 1: Painter’s Tape (My First Attempt)
I taped off the glass with FrogTape. It worked okay, but I had to be very careful when peeling it off. I left a few tiny bits of tape behind, which I had to scrape off with a razor blade.
Option 2: Liquid Mask (What I Should’ve Used First)
For my second attempt (after I messed up the first coat), I used Ultra Cover Liquid Masking Film. It’s a bit pricier ($15), but it’s worth it. Here’s how I did it:
- I brushed it on in thick, even layers. Thin spots peel off poorly.
- I let it dry completely (about 30 minutes).
- I sprayed the frame with no worries about the glass.
- When I was done, I peeled it off in one piece. No scraping, no mess.
If you’re nervous about liquid mask, start with a small section. It’s easier to remove than tape, and it gives a cleaner edge.
Step 4: Setting Up Your Workspace (Where I Saved Myself Headaches)
I set up in my garage because:
– It’s well-ventilated (spray paint fumes are no joke).
– I could lay down a plastic drop cloth (I used an old shower curtain).
– I had good lighting (I borrowed my husband’s headlamp to see details).
What I didn’t do: Cover the garage floor properly. I ended up with gold paint splatters everywhere. Next time, I’m using a heavy-duty drop cloth.
Painting the Frame: My Trial-and-Error Journey
This is where the magic happens,but also where I made my biggest mistakes. Here’s how I finally got it right.
Step 1: Spray Painting (Where I Learned Patience)
I started with Rust-Oleum Sunlit Brass as my base coat. Here’s what I did wrong (and how I fixed it):
- Mistake: I sprayed too close to the frame (about 6 inches away). This caused drips and an uneven coat.
Fix: I adjusted to 12 inches away and used light, even coats. I let each coat dry for 2 hours before adding another. - Mistake: I didn’t shake the can enough. The paint was uneven, with streaks of dark and light.
Fix: I shook the can for a full 2 minutes before each use. I also turned it upside down occasionally to mix the paint properly. - Mistake: I didn’t let the base coat dry completely before adding the second color.
Fix: I waited 24 hours. Patience is key with spray paint!
For the second color, I lightly dusted Vintage Gold over the Sunlit Brass. This gave it a softer, more antique look. I used a stencil brush to dab the gold in spots for a distressed effect.
Step 2: Brush Painting (Where I Almost Threw the Brush)
I used Purdy X4000 brushes with Annie Sloan Chalk Paint for the wooden accents. Here’s what I learned:
- I didn’t thin the paint. It was too thick and left brush strokes. I added a tiny bit of water (about 10% of the paint volume) to make it smoother.
- I used the “pouncing” technique: I dipped the brush in paint, then tapped it lightly on the side of the can to remove excess. Then I dabbed it onto the wood in small circles. This gave a smoother finish than brushing in straight lines.
- I let each coat dry for 4 hours before adding another. Chalk paint dries quickly, but rushing it leads to streaks.
Here’s a tip I wish I’d known sooner: If you’re painting a dark color over a light one (or vice versa), do a test coat on a scrap piece of wood first. It’ll show you how many layers you’ll need.
Adding the Finishing Touches: Where It All Came Together
This is the fun part,the details that make your mirror feel custom. Here’s how I added the wooden accents and clay flourishes (and why I almost gave up on the clay).
Step 1: Gluing Wooden Accents (Where I Learned to Measure Twice)
I wanted to add wooden corner blocks to give the frame a more traditional look. Here’s how I did it:
- I measured the inner corners of the frame where the wood would sit. I used a pencil to mark the exact spot.
- I roughened the back of the wood blocks with 120-grit sandpaper so the glue would stick better.
- I applied a thin layer of Titebond III to both the frame and the wood. Too much glue = mess. Too little = weak hold.
- I pressed the wood into place and held it for 30 seconds. Then I used painter’s tape to secure it while the glue dried.
- I let it dry for 24 hours before painting.
My mistake? I didn’t clamp the wood while the glue dried. The first block shifted slightly, so I had to sand it down and re-glue it. Lesson: Clamps are your friend. I borrowed my husband’s IRWIN Quick-Grip clamps for the next project.
Step 2: Creating Clay Flourishes (Where I Almost Quit)
I wanted to add clay rosettes to the center of each side of the frame. Here’s what happened:
- I bought a floral silicone mold from Etsy and dusted it with cornstarch.
- I warmed the IOD clay in my hands to make it pliable.
- I pressed the clay into the mold and scraped the back flat with a straightedge (I used an old ruler).
- I let it dry for 24 hours. Then I carefully popped it out of the mold.
Here’s where I almost gave up: The first rosette cracked as it dried. I was frustrated, but I kept going. The second one turned out perfect. Lesson: Clay cracking is normal,it adds character! If you want a smooth finish, paint it before it’s fully dry.
I attached the rosettes with Titebond Quick & Thick. It’s a thick glue that holds clay well. I pressed the rosettes into place and let them dry for 24 hours before painting.
Step 3: Waxing for a Luxe Finish (Where I Found My Favorite Trick)
After the paint dried, I used Annie Sloan Clear Wax to add a subtle sheen. Here’s how:
- I used a clean, dry brush to apply the wax in thin layers.
- I let it dry for 10 minutes, then buffed it with a soft cloth.
- For the gold accents, I rubbed gold gilding wax onto the raised clay details with my finger. It gave a gorgeous, metallic highlight.
My favorite trick? I used a dryer sheet to buff the wax. It gave a smooth, silky finish without streaks. Who knew?
Final Steps: Assembly and Cleanup (Where I Learned to Slow Down)
After all the painting and detailing, it was time to put it all together. Here’s how I did it,and what I’d do differently next time.
Step 1: Reassembling the Frame (Where I Almost Dropped It)
Since my mirror had a removable frame, I had to put it back together. Here’s what I did:
- I laid the frame pieces on a clean surface and matched them up with the glass.
- I used small screws (the ones that came with the mirror) to reattach it. I went slowly to avoid stripping the screws.
- I double-checked that the glass was completely covered and secure.
My mistake? I didn’t have a helper. The frame is heavy, and I almost dropped it. Lesson: Grab a friend or use a clamp to hold it steady.
Step 2: Cleaning Up (Where I Saved Time)
I used a razor blade scraper to remove any dried paint from the glass. Here’s how:
- I held the blade at a shallow angle (about 30 degrees) to avoid scratching the glass.
- I scraped in small sections, wiping the blade clean with a rag as I went.
- I used a shop vac to suck up the paint shavings.
- Finally, I wiped the glass with Windex and a microfiber cloth.
What I didn’t do: Use liquid mask. I skipped it this time and just taped off the glass. It worked fine, but liquid mask would’ve been easier for cleanup.
Step 3: Final Touches (Where I Added the Personal Touch)
Before hanging it up, I added one last detail: a small brass plaque on the bottom with the year (“2026”) engraved. It was a tiny thing, but it made the mirror feel like mine. Sometimes, those little personal touches are what make a project special.
I hung it in my living room above the sofa. The champagne gold frame ties in with the brass accents in the room, and the wooden corners add warmth. It’s not perfect,you can still see a few brush strokes if you look closely,but it’s ours. And that’s what matters.
FAQ: Answers to the Questions I Had (And You Probably Do Too)
What’s the best paint for a mirror frame makeover?
It depends on the look you want. For a smooth, durable finish, I recommend Rust-Oleum spray paint (like Sunlit Brass or Vintage Gold). If you prefer brushing, Annie Sloan Chalk Paint is my go-to for a matte, vintage look. For a high-gloss finish, try Minwax Polyurethane.
How do I protect the glass while painting the frame?
I’ve tried both painter’s tape and liquid mask, and here’s what I’ve learned:
– Painter’s tape (like FrogTape) is great for straight edges and quick projects. Just press it firmly to avoid paint bleed.
– Liquid mask (like Ultra Cover) is better for intricate frames or large surfaces. It peels off cleanly and gives a crisp edge.
Pro tip: If you’re using spray paint, always do a test spray on cardboard first to check for overspray.
Can I add decorative elements to my DIY mirror frame?
Absolutely! This is where you can get creative. Here are a few ideas I’ve tried (and what worked best):
– Wooden accents: I used pre-cut blocks from Home Depot and glued them to the corners with Titebond III. They add a traditional touch and are super easy for beginners.
– Clay details: I used IOD Air Dry Clay and silicone molds to create custom rosettes. It’s forgiving and dries hard, but it does crack slightly,embrace it for an aged look!
– Gold leaf or wax: For a luxe finish, I rubbed gold gilding wax onto raised details. It’s cheaper than gold leaf and just as beautiful.
If you’re nervous about clay or woodworking, start with pre-made trim pieces from a hardware store. They’re foolproof and still look custom.
How long should I let the paint dry before handling the mirror?
This is where I’ve learned patience the hard way. Here’s my rule of thumb:
– Spray paint: Let it dry to the touch (about 2 hours), then wait 24 hours before handling. This ensures the finish is fully cured and won’t smudge.
– Chalk paint: It dries to the touch in 30–60 minutes, but I wait 4 hours before adding another coat. For a durable finish, let it cure for 48 hours before handling.
– Wax finishes: They dry in about 20–30 minutes, but I wait at least 2 hours before touching the piece.
Pro tip: If you’re in a hurry (like I was), use a heat gun to speed up drying. Just keep it moving so you don’t melt the paint!
Where is the best place to work on this project?
I’ve tried the kitchen table, the garage, and even the backyard. Here’s what I’ve learned:
– Garage or shed: Best for spray paint because it’s well-ventilated. I laid down a plastic drop cloth and opened the door for airflow.
– Outdoors: Great for warm days, but watch for dust or debris. I set up a folding table and used clamps to secure the mirror.
– Basement or bathroom: Works for brush painting, but make sure it’s a non-carpeted area. I used an old shower curtain as a drop cloth.
No matter where you work, lighting is key. I borrowed my husband’s headlamp to see details up close. A clip-on LED work light is a game-changer too.
Now it’s your turn! Grab that mirror gathering dust in your closet (or the one you’ve been meaning to update) and give it a fresh look. It doesn’t have to be perfect,it just has to be yours.
If you’re feeling overwhelmed, start small. Maybe just paint the frame one color this weekend. Next weekend, add a wooden accent or two. And if you mess up? That’s okay. I’ve repainted sections more times than I can count. The key is to keep going.
Once you’re done, take a step back and admire your work. Then grab your phone and snap a photo. I’d love to see your transformation,tag me on Instagram @christinaprojects so I can cheer you on!
Happy DIY-ing! And remember: the best projects are the ones that tell a story,even if that story includes a few oops moments.