
Why I Built a Busy Board for My Toddler (And Why You Should Too)
Let me tell you about the day my 18-month-old discovered the joy of opening and closing cabinet doors. I walked into the kitchen to find her standing on a chair, happily slamming every cabinet door she could reach while singing to herself. That moment was equal parts adorable and terrifying,because I knew this was just the beginning of her “exploration phase.”
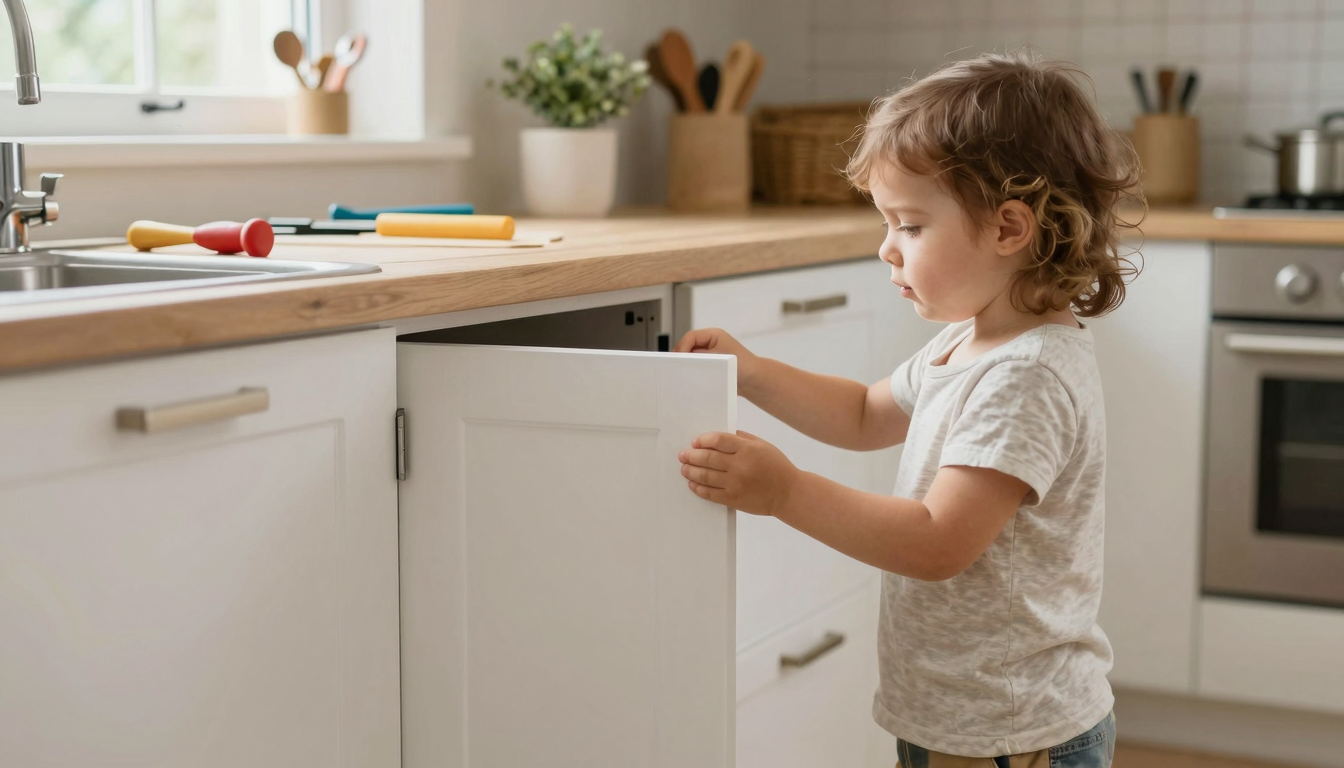
What I didn’t realize then was that this wasn’t just a phase,it was her brain’s way of learning how the world works. Those cabinet doors? They were her first “busy board.” And after months of watching her climb onto every surface to reach light switches, doorknobs, and laundry baskets, I decided to build her a safe version of what she was already obsessed with.
This isn’t just about keeping her busy (though, let’s be honest, that’s a huge bonus). It’s about giving her the tools to explore her curiosity in a way that actually helps her grow. No more climbing onto counters to play with the faucet. No more unplugging my phone charger because she’s fascinated by the way it clicks in and out. Just a contained, safe space where she can practice all those skills she’s been trying to master,on her own terms.
If you’ve got a little explorer at home, this guide will walk you through exactly how to create a busy board that’s perfect for your child. I’ll share what I’ve learned from building two different versions (one that survived exactly three days before my toddler “upgraded” it with a Sharpie, and one that’s still going strong), the safety mistakes I made along the way, and the simple tweaks that made all the difference.
Oh, and if you’re anything like me, you’ll want to know how to make this thing last. Because let’s be real,toddlers are hard on their toys. I’ll show you exactly which materials hold up to the test (and which ones don’t, so you don’t waste your time or money).
What Exactly Is a Busy Board?
At its core, a busy board is just a collection of everyday objects,door latches, zippers, switches, gears,mounted onto a board so your toddler can play with them safely. Think of it like a “choose your own adventure” for fine motor skills. Instead of climbing onto the counter to play with the faucet, she can twist a knob on the board. Instead of unplugging your phone charger, she can practice with a safe, mounted version.
I started with a simple wooden board from Home Depot (¾-inch plywood, because anything thinner and the screws poke through) and a handful of items I already had around the house. The first version was a disaster,literally. I used cheap Velcro that didn’t stick, and within a week, half the pieces were hanging by a thread. But the second time around? I learned my lesson. I used high-quality screws, reinforced the Velcro with fabric glue, and made sure every piece was secured with at least two screws. That board? Still in use two years later.
What My Toddler Learned (Without Even Realizing It)
Here’s the thing about busy boards: they’re not just busywork. They’re secretly packed with developmental benefits. My daughter didn’t know she was practicing fine motor skills when she was zipping and unzipping the little zipper I mounted. She didn’t realize she was working on hand-eye coordination when she was turning the gears. And she certainly didn’t know she was building problem-solving skills when she was figuring out how to open the tiny latch.
But I did. And watching her master each new challenge,first the big, easy knobs, then the smaller latches, and finally the tricky zipper,was one of the most rewarding parts of parenting. It was like seeing her brain grow right in front of me.
| Activity | Skill Developed | Why It Matters | When to Introduce It |
|---|---|---|---|
| Zippers and Snaps | Fine motor control, finger strength | Builds the muscles needed for writing, buttoning clothes, and tying shoes later on | 18+ months |
| Door Latches | Hand-eye coordination, problem-solving | Teaches cause and effect,when she lifts the latch, the door opens. Simple, but huge for her brain! | 24+ months |
| Gear Wheels | Causal reasoning, visual tracking | Helps her understand that her actions have direct results (turn the gear, watch the other one move) | 30+ months |
| Velcro Pulls | Grip strength, tactile exploration | The sound and resistance of Velcro are weirdly satisfying for toddlers (and oddly calming for parents) | 12+ months |
Pro tip: If you’re building your own, start with just 3-4 activities. Too many options can overwhelm a toddler. My first board had eight different things on it, and she ignored seven of them. The second one had four, and she used all of them,every single day.
How a Busy Board Helped My Toddler (And How It Can Help Yours)
I’ll be honest,I was skeptical at first. I thought, “She’s got toys. Why does she need a board full of random household items?” But then I saw the difference it made. Here’s what changed for us:
She Stopped Climbing onto Dangerous Surfaces
Before the busy board, my daughter would climb onto the counter to play with the faucet. She’d drag chairs over to the light switches. She’d unplug every cord she could reach. It was exhausting to childproof everything. But once she had her board? She stopped. She had a safe, contained space to explore all those same sensations,without the risk of falling or getting into something she shouldn’t.
I still remember the first time I saw her sit down at her board instead of climbing onto the couch to play with the remote. It was like a lightbulb went off: She doesn’t need to destroy the house to get the same satisfaction.
She Gained Confidence in Her Abilities
There’s nothing like the feeling of watching your child figure something out on her own. With the busy board, I saw it happen over and over. She’d struggle with a latch for a few minutes, get frustrated, and then,click,she’d get it. The look on her face? Pure pride. And that confidence? It spilled over into everything else she did.
I started noticing it in other areas too. She became more independent with dressing herself (thanks to all that zipper and button practice). She was better at stacking blocks (fine motor skills!). She even started solving simple puzzles on her own. It was like the busy board was a gateway to all these other skills.
She Learned to Play Independently
This might be the biggest win of all. Before the busy board, my daughter needed constant entertainment. If I was on the phone or cooking dinner, she’d whine, cry, or find something to get into. But now? She has her board. And when she’s at that board, she’s focused. She’s engaged. She’s happy.
It’s given me back little pockets of time,five minutes here, ten minutes there,to sip my coffee while it’s still hot, to answer an email without interruption, to just breathe. And that, my friends, is priceless.
How to Choose the Right Busy Board for Your Toddler
Not all busy boards are created equal. I learned that the hard way when I bought a cheap fabric version off Amazon. It lasted exactly two weeks before the Velcro gave out and the whole thing fell apart. So here’s what I wish I’d known before I spent $30 on a toy that lasted less than a month:
Start Simple
My first mistake was thinking more = better. I bought a board with 12 different activities, thinking she’d love the variety. She ignored 10 of them and focused on the two easiest ones. The second board I built had just four activities, and she used all of them,every single day.
Lesson learned: Less is more. Start with a board that has 3-5 activities, and add more as she masters the ones she has. It keeps her engaged longer and makes cleanup easier (because let’s be real,toddlers have a short attention span).
Match It to Her Interests
If your toddler is obsessed with zippers, include a zipper. If she loves buttons, add a few. My daughter was fascinated by door latches, so I made sure her board had at least two different types. It’s not about what you think is cool,it’s about what she loves.
Pro tip: If you’re not sure what she’ll like, start with a few basics (a latch, a zipper, a gear) and add more as you see what she gravitates toward. You can always upcycle old items to add new activities later.
Prioritize Safety (Seriously, This Is Non-Negotiable)
I cannot stress this enough: Safety first. I made the mistake of using small screws on my first board, and within a week, my daughter had managed to unscrew one of the knobs. (How? I have no idea. Toddlers are resourceful.)
Here’s what I do now to keep her safe:
- Use long screws (at least 1.5 inches) so they go all the way through the board and can be secured with a washer on the back.
- Avoid small parts. If it’s small enough to fit in a toilet paper roll, it’s too small for a toddler.
- Sand everything down. I spent an entire afternoon sanding the edges of my board until they were smooth as butter. No splinters allowed!
- Use non-toxic finishes. I varnished my board with a water-based polyurethane (like Minwax Polycrylic) to make it easy to wipe down,and safe if she decides to chew on it (which, let’s be honest, she probably will).
- Supervise, supervise, supervise. Even the safest board needs adult supervision. Toddlers are clever and determined.
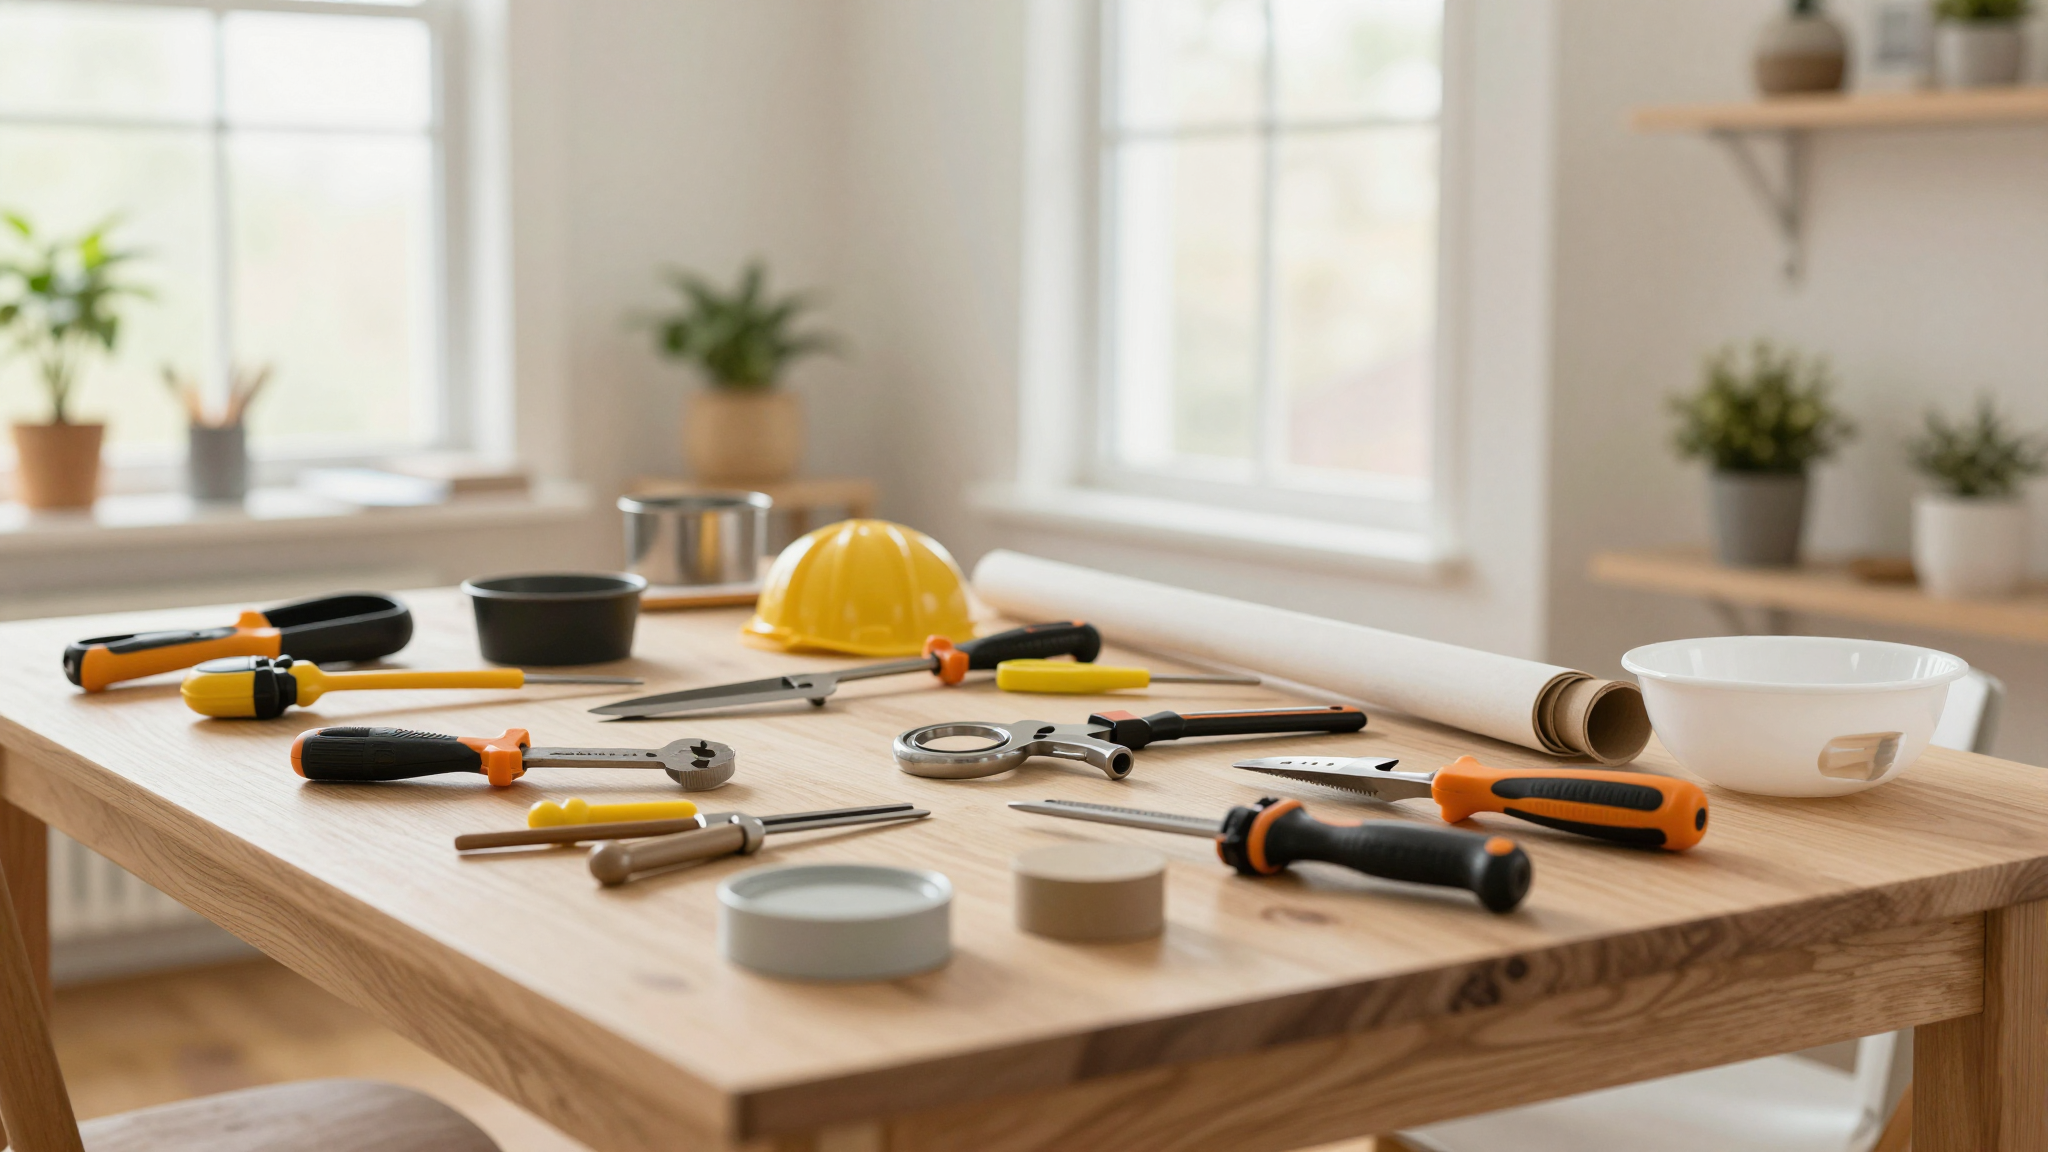
DIY Busy Board: What I Used (And What I’d Skip)
After two failed attempts, I finally landed on a design that works. Here’s exactly what I used,and what I’d never use again.
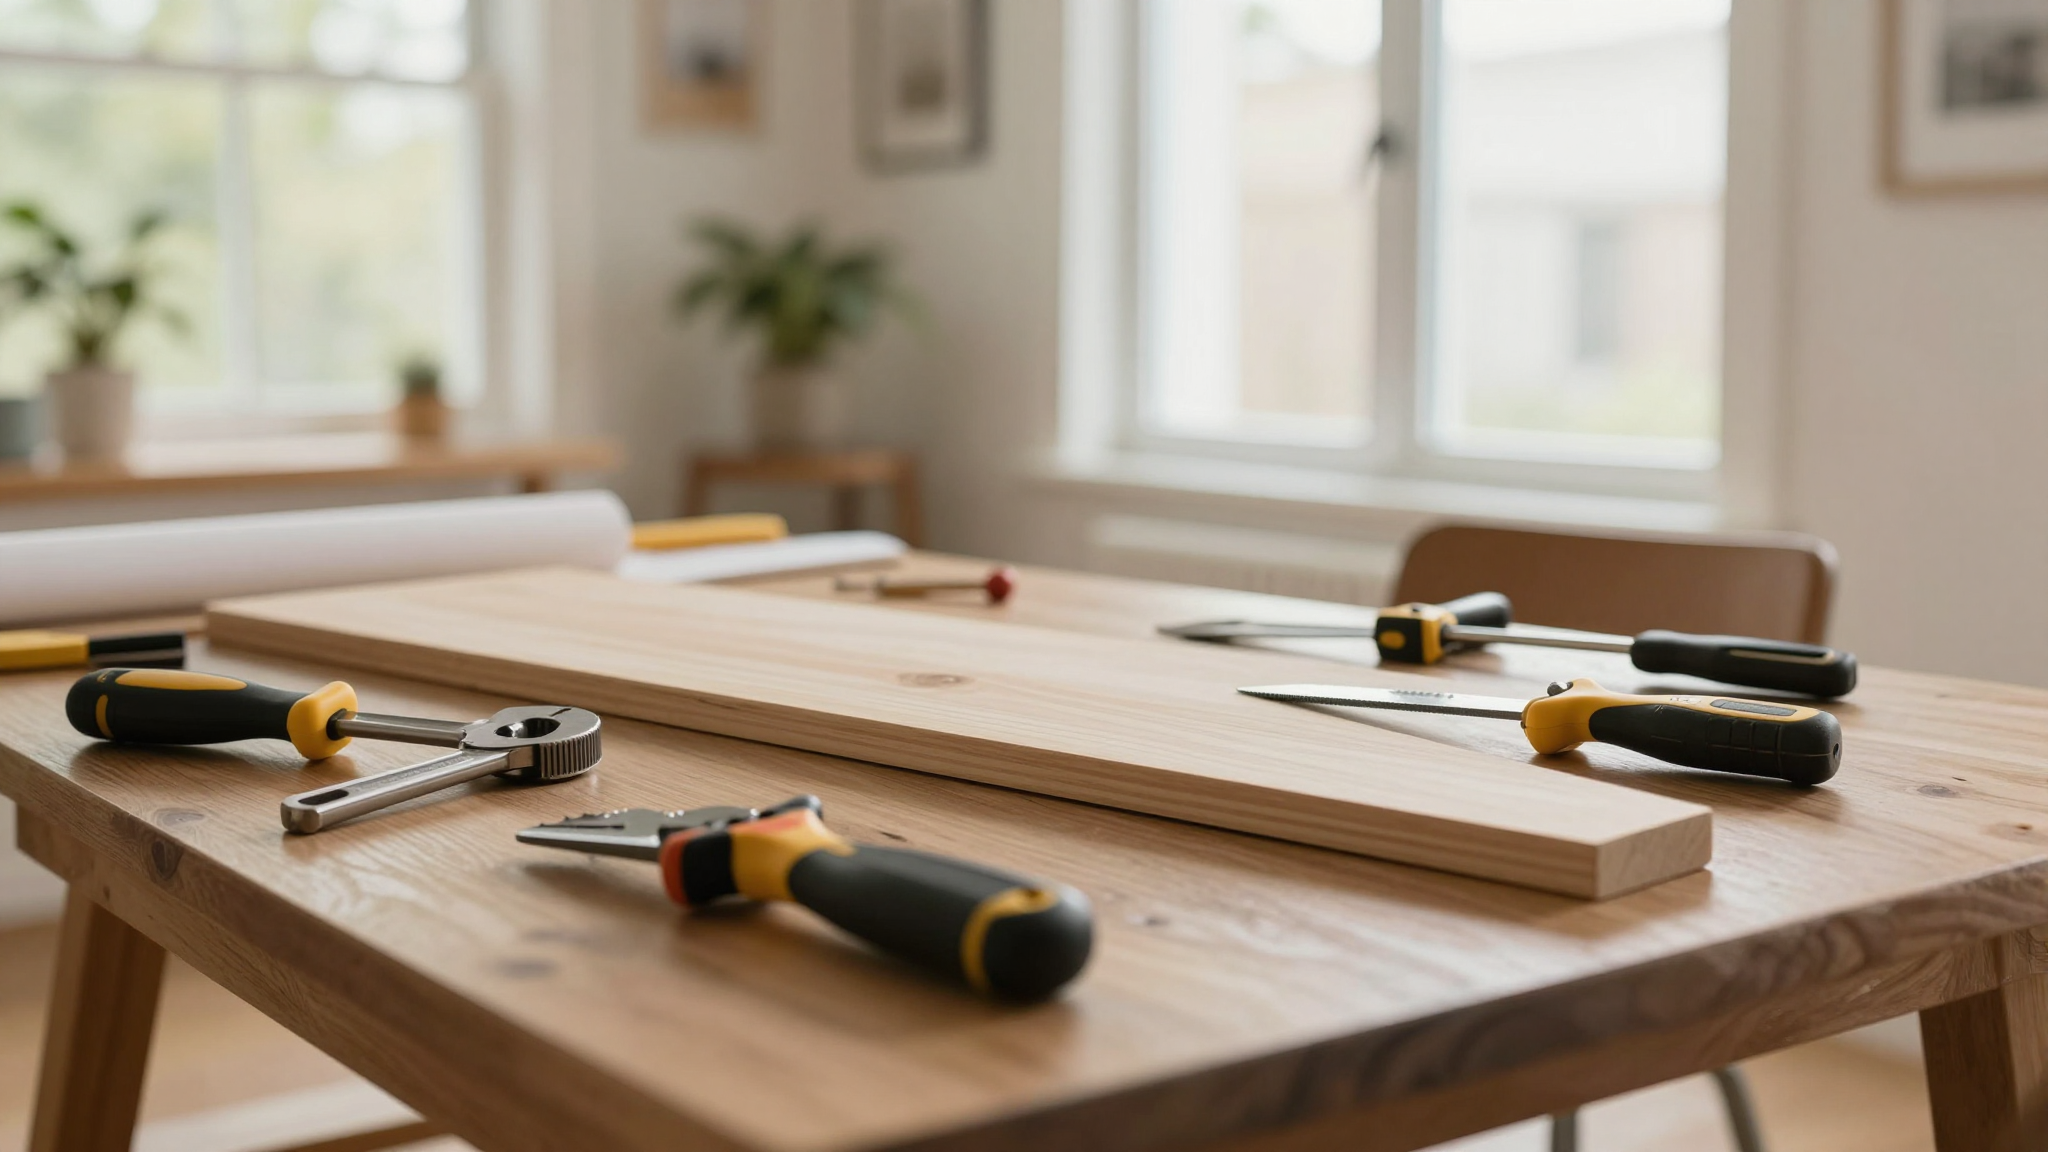
Materials That Worked
I started with a ¾-inch plywood board from Home Depot (24″ x 24″ was the perfect size for our space). I chose plywood because it’s sturdy, affordable, and easy to find. I also grabbed:
- A sandpaper set (I used 80, 120, and 220 grit to get it smooth).
- Wood screws (1.5 inches long, because short screws = disaster).
- Non-toxic wood varnish (I used Minwax Polycrylic in a satin finish).
- Command Strips (for mounting it to the wall without damaging the paint).
- Velcro dots (the heavy-duty kind, not the cheap fabric ones).
For the activities, I raided my junk drawer and a few old toys:
- A zipper from an old jacket (I sewed it onto a piece of felt first so it was easier to attach).
- A door latch from an old cabinet (I found one at a thrift store for $2).
- A gear set from a broken toy (I hot-glued the gears to the board so they’d spin freely).
- A light switch (I bought a new one at Home Depot and mounted it to the board).
- A Velcro strip (for practicing sticking and pulling).
What I’d Skip Next Time
Not everything I tried worked. Here’s what I’d do differently:
- No cheap fabric boards. They fall apart too easily. Stick with wood or a high-quality fabric with reinforced seams.
- No small, detachable parts. If it can come off, she will find a way to make it come off.
- No flimsy Velcro. The cheap stuff doesn’t hold up. Spend the extra $5 on the heavy-duty kind.
- No sharp edges. Even if you think you’ve sanded it enough, sand it more. Trust me.
My Final Design (And Why It Works)
Here’s what my current board looks like:
- A zipper (from an old jacket) for fine motor practice.
- A door latch (from a thrifted cabinet) for problem-solving.
- A gear set (from a broken toy) for causal reasoning.
- A light switch (new from Home Depot) for hand-eye coordination.
- A Velcro strip (for tactile exploration).
I mounted it to the wall in her playroom using Command Strips (so I can move it if needed) and added a chalkboard paint section on the side for drawing. It’s simple, sturdy, and,most importantly,she loves it.
How We Use Our Busy Board (And How You Can Too)
The busy board isn’t just a toy,it’s a tool. And like any tool, it’s most effective when you use it the right way. Here’s how we’ve incorporated it into our daily routine:
Morning “Busy Time”
Every morning after breakfast, my daughter has “busy time” at her board. It’s a chance for her to play independently while I get ready for the day. She knows the routine: after breakfast, she goes to her board for 10-15 minutes while I shower or answer emails.
Pro tip: Set a timer. Toddlers thrive on routine, and a visual timer (like the Time Timer) helps her understand when “busy time” is over.
Quiet Time Savior
When I need a few minutes of quiet,whether it’s to make a phone call, fold laundry, or just breathe,the busy board is my secret weapon. She’ll sit there for 20-30 minutes, completely absorbed in her activities, while I get a little me-time.
I also keep a small basket of quiet toys nearby (like these sensory bottles I made) for when she’s done with the board but still needs to play quietly.
Travel Companion
We have a portable fabric version (yes, I finally found one that doesn’t fall apart) for car rides and airplane trips. It’s saved my sanity on more than one long drive. I keep it in her diaper bag, along with a few snacks and a small water bottle, so we’re always prepared.
Pro tip: If you’re flying, bring a small blanket or towel to lay the board on. It gives her a defined space to play with it and keeps it from sliding around.
Learning Tool
I’ve started using the busy board to teach her new skills. For example, when she was learning to tie her shoes, I added a shoe lace to the board so she could practice the motions. Now she can tie her own shoes,because she’s been practicing on her board for months!
I also use it to introduce new concepts. When we were learning about colors, I added colored Velcro dots and had her match them. When we were working on shapes, I added a shape sorter (I found one at a thrift store for $3). It’s a sneaky way to turn playtime into learning time.
Final Thoughts (And What to Do Next)
If you’re on the fence about building a busy board, let me make it easy for you: Just start. You don’t need a Pinterest-perfect design. You don’t need to spend a fortune. You just need a board, a few screws, and a willingness to let your toddler explore.
Here’s what I’d do if I were you:
- Grab a piece of plywood from Home Depot (or raid your garage for an old shelf or tabletop).
- Sand it smooth (trust me, this step is worth it).
- Pick 3-4 activities that your toddler loves (zippers, latches, gears,whatever she’s into).
- Mount them securely (long screws, no small parts, supervise always).
- Let her play,and watch her grow.
And if you’re not sure where to start, check out my guide to essential tools for a list of everything you’ll need (and a few I wish I’d known about sooner).
Now, if you’ll excuse me, I need to go rescue my busy board from my toddler. She’s currently trying to “upgrade” it with a Sharpie. Again.
Frequently Asked Questions
What is a busy board, and why do toddlers love them?
A busy board is a panel with different interactive elements like latches, zippers, and gears. Toddlers love them because they’re packed with sensory experiences,textures to touch, sounds to hear, and problems to solve. It’s like a “choose your own adventure” for their little hands and brains.
How can a busy board help my child’s development?
Busy boards are secretly packed with developmental benefits. They help toddlers build fine motor skills (like zipping and unzipping), hand-eye coordination (like turning gears), and problem-solving skills (like figuring out how a latch works). Plus, they encourage independent play, which is a game-changer for parents!
Are busy boards safe for young children?
They can be! The key is choosing the right materials and supervising playtime. Look for boards with securely fastened parts, no small, detachable pieces, and smooth, sanded edges. I always supervise my daughter when she’s using hers,toddlers are clever and determined!
What are some good items to include on a DIY busy board?
Great items for a DIY board include:
- Zippers (from old jackets or bags)
- Door latches (from thrifted cabinets or old furniture)
- Gears (from broken toys or hardware stores)
- Light switches (new from Home Depot)
- Velcro strips (for sticking and pulling practice)
- Buckles (from old belts or shoes)
The best part? You can often find these items for free or cheap at thrift stores, garage sales, or even in your own junk drawer!
Can a busy board be used as a travel toy?
Absolutely! I have a fabric version that we bring on car rides and airplane trips. It’s lightweight, easy to pack, and keeps my daughter entertained for hours. Just make sure to bring a small blanket or towel to lay it on,it keeps it from sliding around and gives her a defined space to play.
How is a Montessori busy board different from a regular one?
Montessori-aligned busy boards focus on real-world, practical life activities with simple, purposeful components. They often avoid bright colors or electronic features to encourage concentration and mastery of a single skill. A regular busy board, on the other hand, might include more varied activities (like gears or music boxes) that aren’t necessarily tied to real-life tasks.
What should I look for when buying a busy board as a gift?
When choosing a busy board as a gift, consider the child’s age and interests. For a younger toddler, look for options with larger, simpler items like knobs and buttons. For an older toddler, you can go for more complex latches or zippers. Personalization is also a lovely touch,many companies offer name engraving or custom activity selection.