
Summer Backyard DIYs That Actually Work (I Tried Them All)
Every year when the weather warms up, I get this itch to transform my backyard into something straight out of a magazine. Last summer, I tried to tackle too many projects at once and ended up with a half-finished pallet sofa and a pile of leftover string lights. This year? I’m being smarter about it.
My backyard isn’t huge,just a modest suburban plot with a patio that gets too much afternoon sun and a shady corner where nothing seems to grow. But I’ve learned that even small changes can make a big difference. The key is focusing on projects that add both beauty and function, without breaking the bank or requiring advanced carpentry skills (because let’s be honest, my miter saw skills are still… developing).
Here’s what I’m planning this season, along with the lessons I’ve learned the hard way. Some of these projects took me a weekend, others I’m still working on, but all of them have made my outdoor space feel more like a retreat and less like an afterthought.
Where to Start: Assessing Your Space
Before I buy any materials or start sawing wood, I always take a good hard look at what I already have. Last year I wasted $80 on new patio cushions before realizing my old ones just needed a good washing and some sun to dry out. Now I make a list:
- What works: My wrought-iron table is still solid, but the chairs need new cushions (I’m eyeing these Sunbrella outdoor cushions that actually stay clean).
- What needs fixing: The wooden planter boxes are rotting at the bottom,time to replace them with cedar or composite lumber.
- What’s missing: Shade! I’m adding a DIY pergola this year to break up that harsh sun.
Pro tip: Grab a tape measure and sketch your space on graph paper. I did this last year and realized my “cozy seating area” was actually too cramped for more than two people. Redesigning the layout made all the difference.
Easy Summer Backyard DIYs Anyone Can Try
Not every project needs to be Pinterest-perfect. Some of my favorite backyard upgrades are the simple ones that don’t require power tools or advanced skills. Here’s what I’m focusing on this year:
1. Instant Color with Container Gardens
I bought these EarthBox planters on sale last spring and filled them with petunias and geraniums. They’re still going strong, and I love that I can move them around to follow the sun. This year I’m adding some drought-tolerant succulents to mix in,less watering for me!
2. A DIY Gravel Pathway
My backyard has this awkward gap between the patio and the garden. Instead of paying a landscaper, I laid down landscape fabric (to keep weeds down) and covered it with polished river rock. It cost me about $50 and took a Saturday afternoon. Now I don’t have to worry about muddy shoes after rain.
3. Upcycled Pallet Projects (That Actually Look Good)
I’ll admit it,I went through a pallet furniture phase. My first attempt was a disaster (splinters everywhere), but I’ve since learned how to sand them properly and stain them with Minwax Helmsman for a weathered look. This year I’m building a simple pallet sofa with cushions from my favorite outdoor fabric. I’ll share the full tutorial once it’s done!
Lighting That Makes Your Backyard Feel Magical
Good lighting is what turns a backyard into a gathering spot. I learned this the hard way when I hosted a dinner party last summer and realized how dark it got after sunset. Now I’m layering different types of lights:
1. String Lights for Ambiance
I fell in love with these solar-powered string lights from Amazon. They’re bright enough to see by but not so harsh that they ruin the mood. I hung them along the fence and around the pergola. Pro tip: Use a heavy-duty staple gun to attach them to wood,regular staples won’t hold up in wind.
2. Mason Jar Lanterns
These were my kids’ favorite project. We painted mason jars with Rust-Oleum paint markers, added battery-operated tea lights, and hung them from the tree branches. They look like fireflies at night! I’ll share the full tutorial here once I get photos.
3. Pathway Lights for Safety
I installed these solar pathway lights along the gravel path. They’re not fancy, but they make it so much easier to walk around after dark. I also added one near the outdoor faucet so I can see when I’m watering plants at night.
Budget-Friendly Landscaping That Doesn’t Look Cheap
I used to think landscaping meant spending hundreds on plants and professional design. Then I discovered that some of the best backyard upgrades come from thrift stores, repurposed materials, and a little creativity.
1. DIY Garden Borders
Instead of buying expensive stone borders, I used leftover bricks from a neighbor’s demolition project. I laid them in a herringbone pattern around my flower beds. It took me a weekend, but now my garden looks intentional instead of haphazard.
2. Upcycled Planters
I found these old wooden crates at a flea market for $5 each. I sanded them down, painted them with Behr Masonry Paint (it’s waterproof!), and now they’re my go-to planters. I even drilled holes in the bottom for drainage. No more root-bound plants!
3. Natural Mulch Alternatives
Instead of buying bagged mulch, I collected pine cones and leaves from our property and spread them around my plants. It looks rustic and natural, and it’s free! Just make sure to remove any leaves that might harbor pests.
Creating an Outdoor Entertainment Zone
My backyard is where we spend most of our summer evenings, so I wanted to make it as functional as possible. Here’s what I’ve learned:
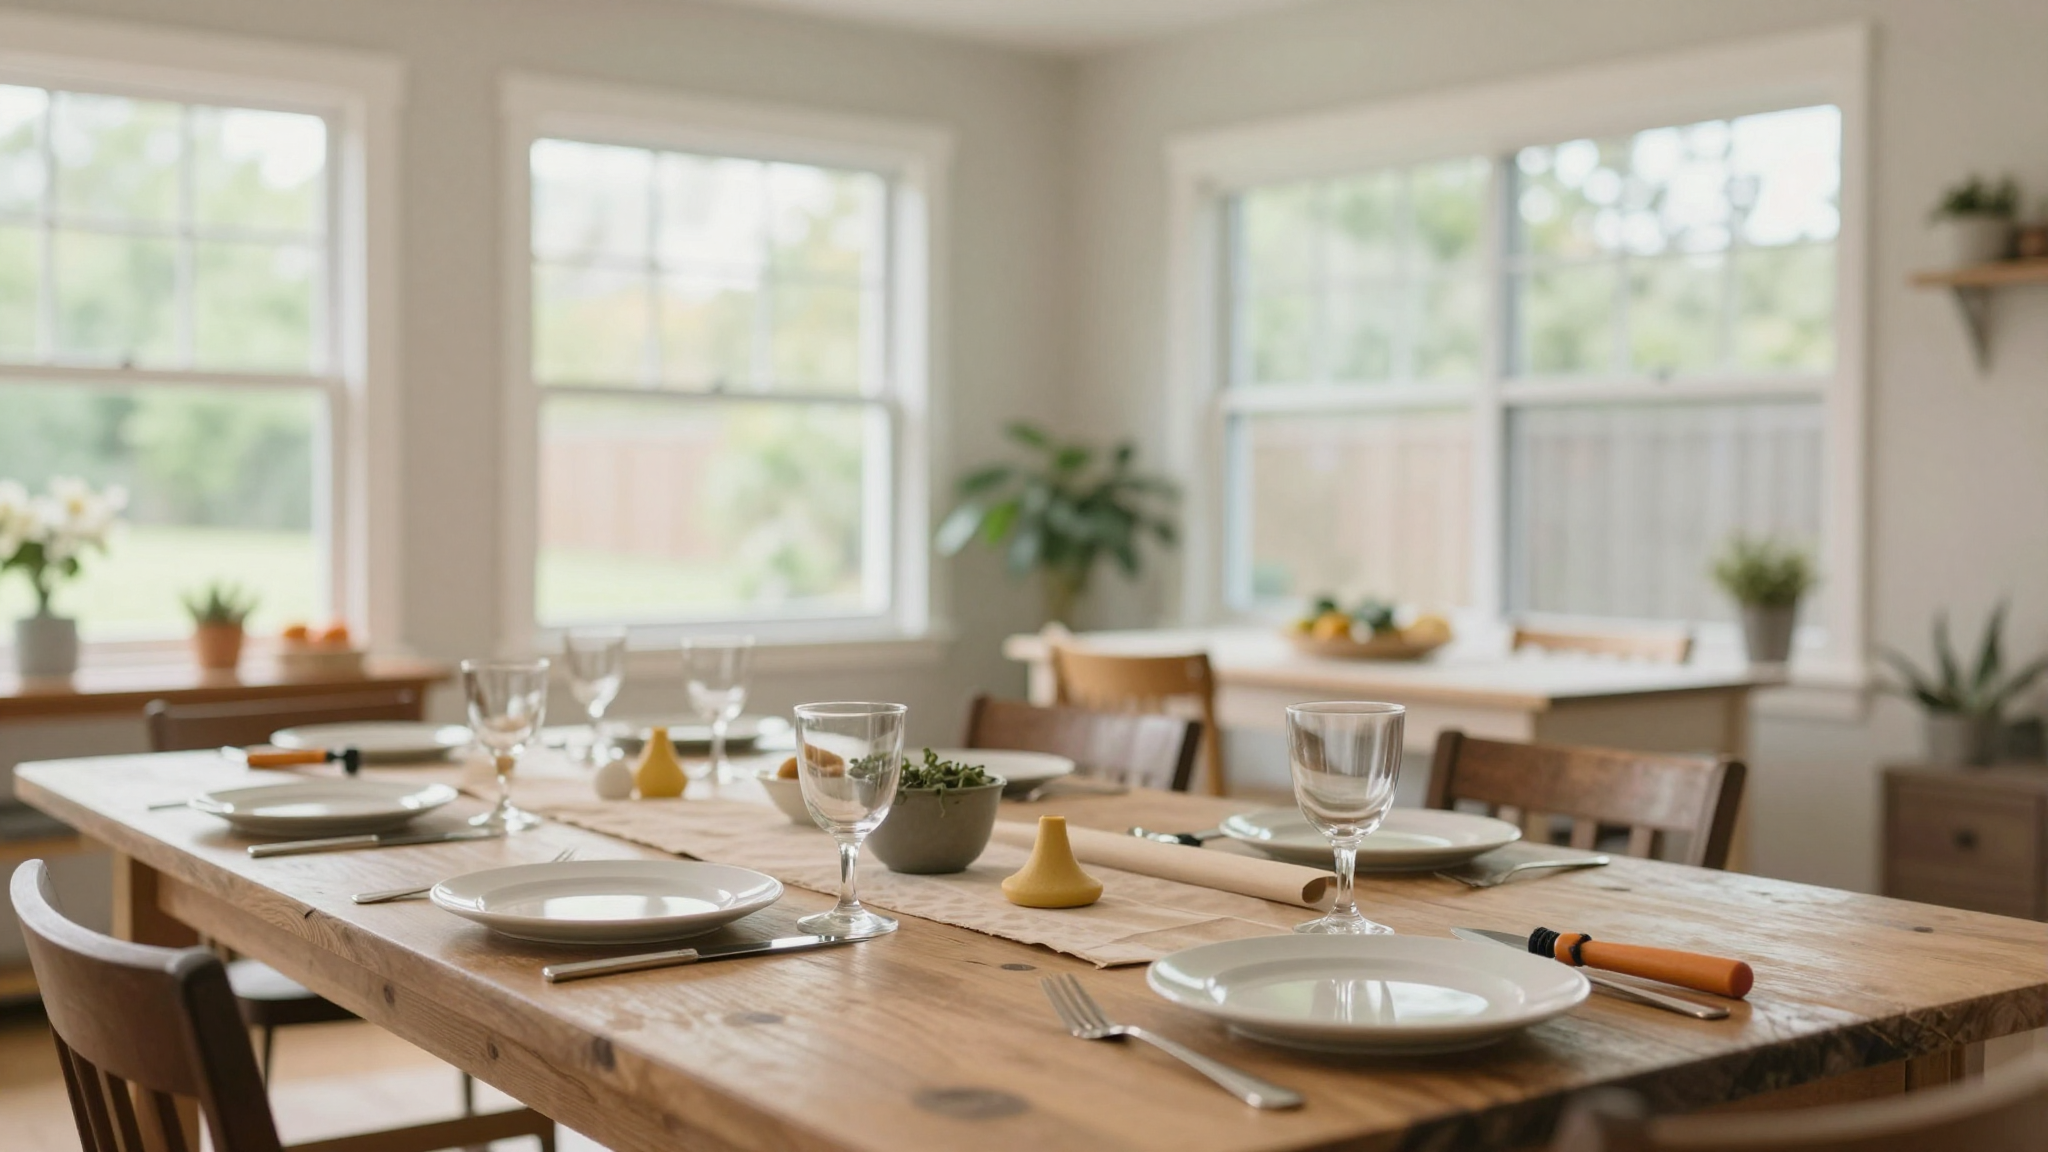
1. Define Your Zones
I divided my backyard into three areas:
- Dining area: A table with an umbrella for shade, plus a DIY farmhouse side table for drinks.
- Lounge area: A sectional sofa with weatherproof cushions and a fire pit (I got this Tiki brand fire pit,it’s huge and heats up the whole space!).
- Activity area: A corn hole set and some Adirondack chairs for games.
2. Add Weatherproof Storage
I bought this outdoor storage bench from Home Depot to hide all our extra cushions, blankets, and games. It’s waterproof and has a lock, so I don’t have to worry about raccoons getting into our stuff.
3. Sound System for Ambience
I set up a Sonos outdoor speaker near the lounge area. It’s weatherproof and connects to my phone, so I can play music or a podcast while we’re outside. It’s one of those small upgrades that makes a big difference!
Weather-Resistant DIYs That Last
I’ve learned the hard way that not all outdoor projects are created equal. My first attempt at a wooden bench lasted exactly one rainy season before it started warping. Now I know to use the right materials:
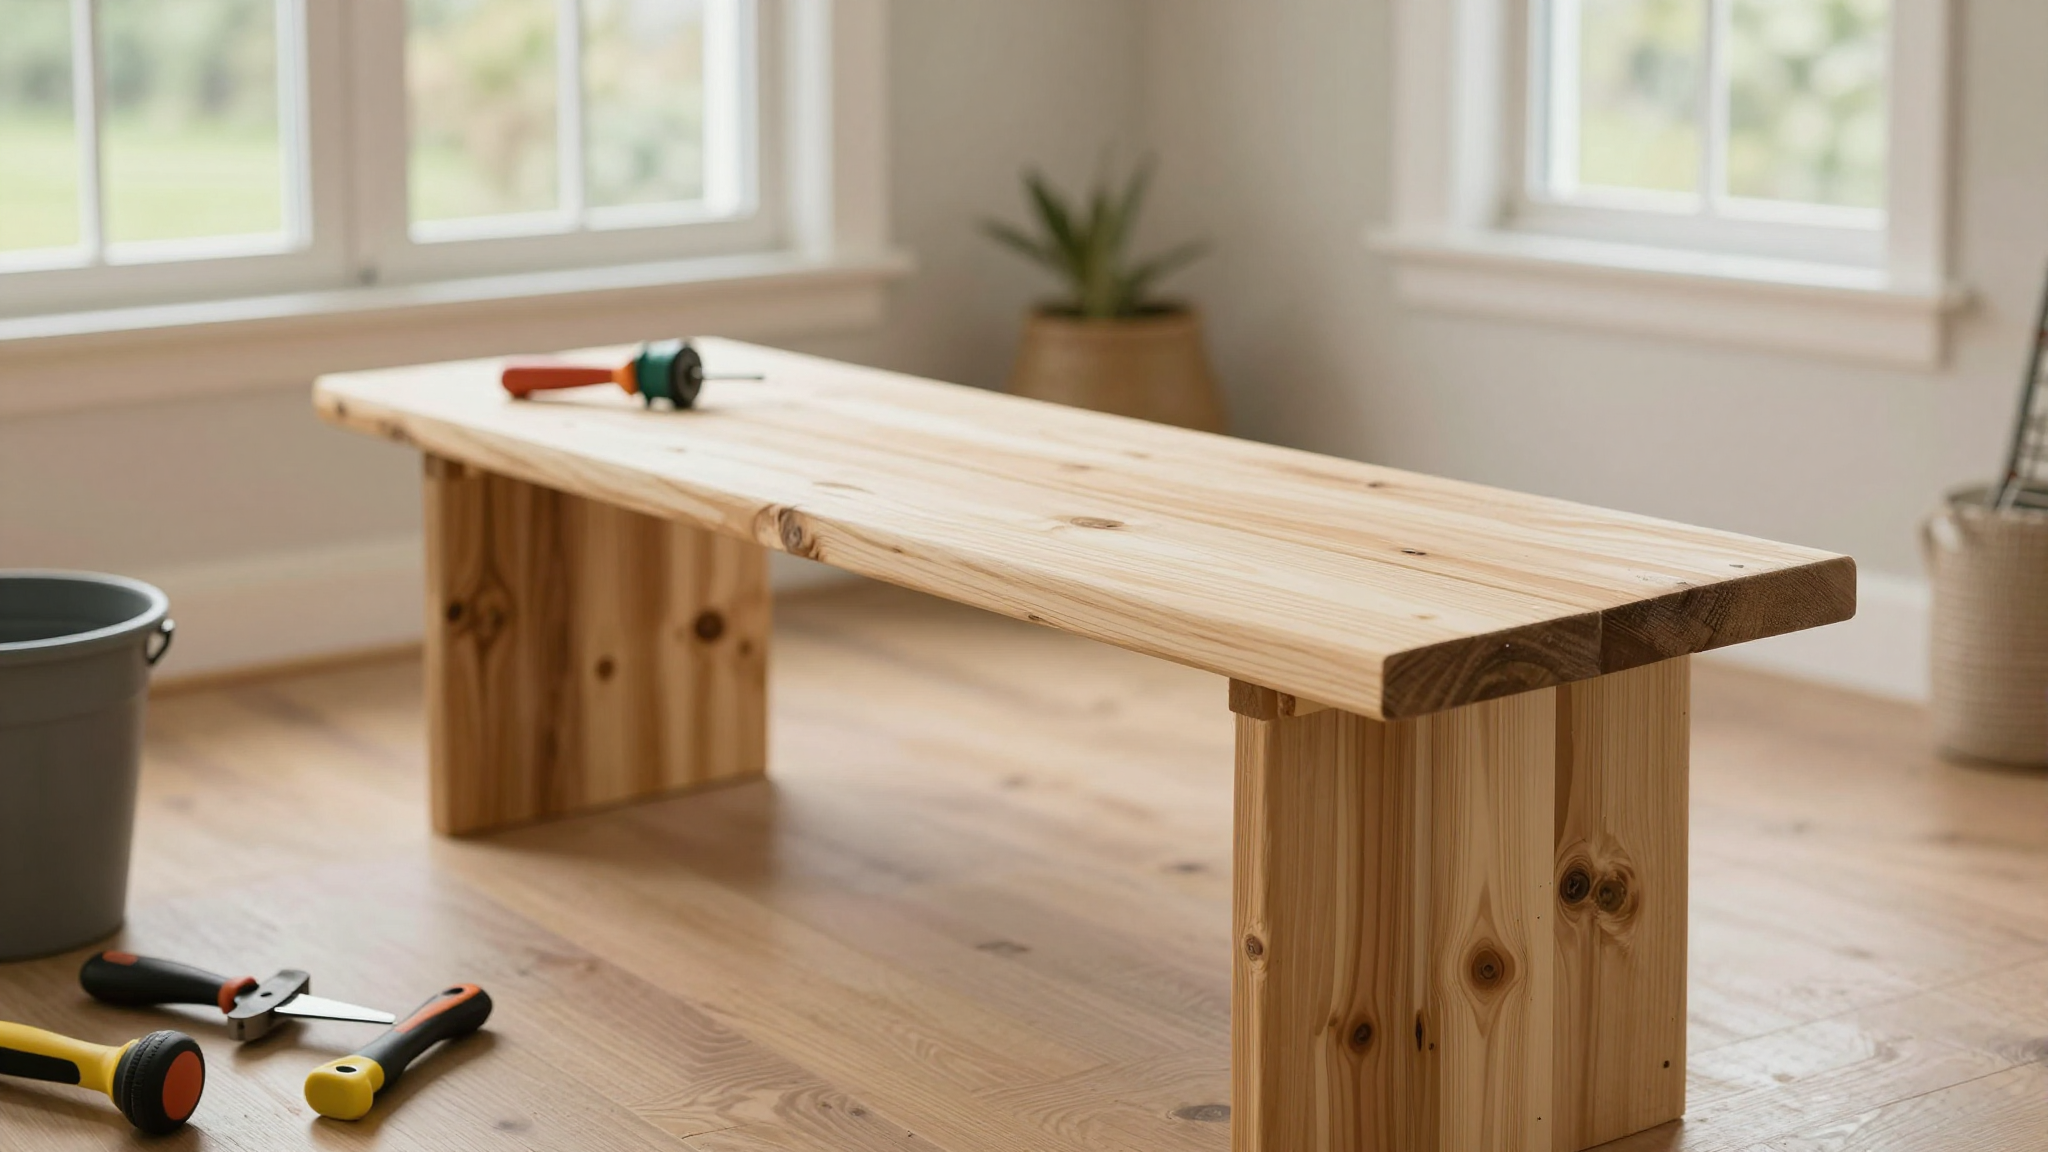
1. Choose the Right Wood
Cedar and redwood are naturally resistant to rot and insects. I used cedar for my new planter boxes, and I love that they’ve stayed looking great after a year of sun and rain. If you’re on a budget, composite lumber is a great alternative,it won’t warp or splinter.
2. Seal Everything
I made the mistake of skipping the sealant on my first DIY projects. Now I always use Minwax Helmsman for wood and Rust-Oleum outdoor paint for metal. It’s worth the extra step!
3. Think About Drainage
Last year, my DIY pallet table developed a puddle problem every time it rained. This year, I drilled small holes in the bottom of my projects to allow water to drain through. It’s a simple fix that makes a big difference.
Vertical Gardens for Small Spaces
I don’t have a huge backyard, so I’m making the most of my vertical space. Here’s what I’ve tried:
1. Hanging Planters
I bought these macramé planters and hung them from the pergola. They’re perfect for trailing plants like ivy or string of pearls. I water them from the top, and the excess drains out the bottom.
2. Pallet Vertical Garden
I sanded down a pallet and attached landscape fabric to the back. Then I filled the gaps with soil and planted succulents. It’s a great way to add greenery without taking up floor space. I’ll share the full tutorial once it’s done!
3. Trellis for Climbing Plants
I installed a DIY trellis along the fence and planted morning glories. They’ve taken off this year and added so much color to the space. Plus, they attract butterflies!
Building an Outdoor Kitchen (On a Budget)
This is my dream project for next summer. I’ve been researching and here’s what I’ve learned so far:
1. Start Small
I don’t need a full outdoor kitchen right away. I’m starting with a DIY grill station this year. I’ll add a sink and countertop next summer.
2. Use Durable Materials
I’m planning to use concrete countertops (they’re low-maintenance and heat-resistant) and stainless steel for the grill. I’ll seal everything with a weatherproof sealant to protect it from the elements.
3. Don’t Forget Ventilation
I made the mistake of not considering airflow in my first DIY projects. This time, I’m adding a small exhaust fan to keep smoke away from the house.
Final Thoughts (And What I’m Tackling Next)
My backyard is still a work in progress, but it’s already so much more than it was a year ago. I’m proud of what I’ve created, even if it’s not perfect. The key is to start small, learn from your mistakes, and most importantly, have fun with it.
This year, I’m focusing on:
- Finishing the pergola (I’ve got the posts in, but the roof is still a work in progress).
- Adding a DIY wooden deck to the patio.
- Planting a small herb garden in those upcycled crates.
What about you? What’s your biggest backyard DIY challenge this summer? Let me know in the comments,I’m always looking for new ideas!
Happy building,
Christina