
Quick Wall Touch-Ups: How I Fix Scuffs Without Repainting the Whole Room
Let me tell you,living with three kids, a golden retriever, and a husband who insists on moving furniture “just one more time” means my walls take a beating. But I’ve learned that not every mark needs a full repaint. A well-done touch-up can make those little dings and scuffs disappear when viewed from a normal distance. The key? Matching the color, sheen, and texture so well that no one (not even my mom) can tell where the repair starts and ends.
I’ll walk you through my exact process,what tools I use, the mistakes I’ve made (yes, including that time I accidentally used the wrong sheen and had to repaint the whole hallway), and how to make those touch-ups look seamless. Oh, and I’ll also share why I always keep leftover paint cans labeled in my garage. Trust me, you’ll thank me later.
When to Do a Touch-Up vs. Repainting the Whole Wall
Deciding whether to do a quick fix or bite the bullet and repaint the whole wall can save you time, money, and a lot of frustration. Here’s how I figure it out:
If the damage is recent and limited to a small area,like a tiny chip from moving the couch or a scuff from my son’s soccer cleats,I grab my touch-up kit. But if the paint is peeling, faded, or the damage covers a large section? That’s when I break out the rollers and repaint the whole wall. High-sheen finishes are especially tricky because they show every little imperfection, so I usually repaint those entire sections to avoid a patchy look.
I learned this the hard way when I tried to touch up a glossy accent wall in my dining room. The repair stood out like a sore thumb under the chandelier light, and I ended up repainting the whole thing anyway. Now, I always check the sheen first,if it’s anything above eggshell, I repaint.
Good for a Spot Fix
Small hairline scratches, single dents, or chips under a few inches are perfect for touch-ups. The surrounding paint usually matches well enough that a little spackle and a fresh coat of paint does the trick.
When to Repaint Instead
If the paint is peeling, stained, or faded (especially if it’s been more than five years), repainting is the way to go. Same goes for high-sheen finishes,those show every little difference, so a full repaint gives you a uniform look. And if you’ve got multiple spots on the same wall? Repainting that whole section is often faster and looks better in the end.
Pro tip: I keep a small roller and a quart of leftover paint in my garage for emergencies. It’s saved me more than once when my kids decide to redecorate with their crayons.
Tools and Materials I Actually Use (No Fancy Stuff)
You don’t need a ton of expensive tools to do a good touch-up. Here’s what I keep in my DIY kit:
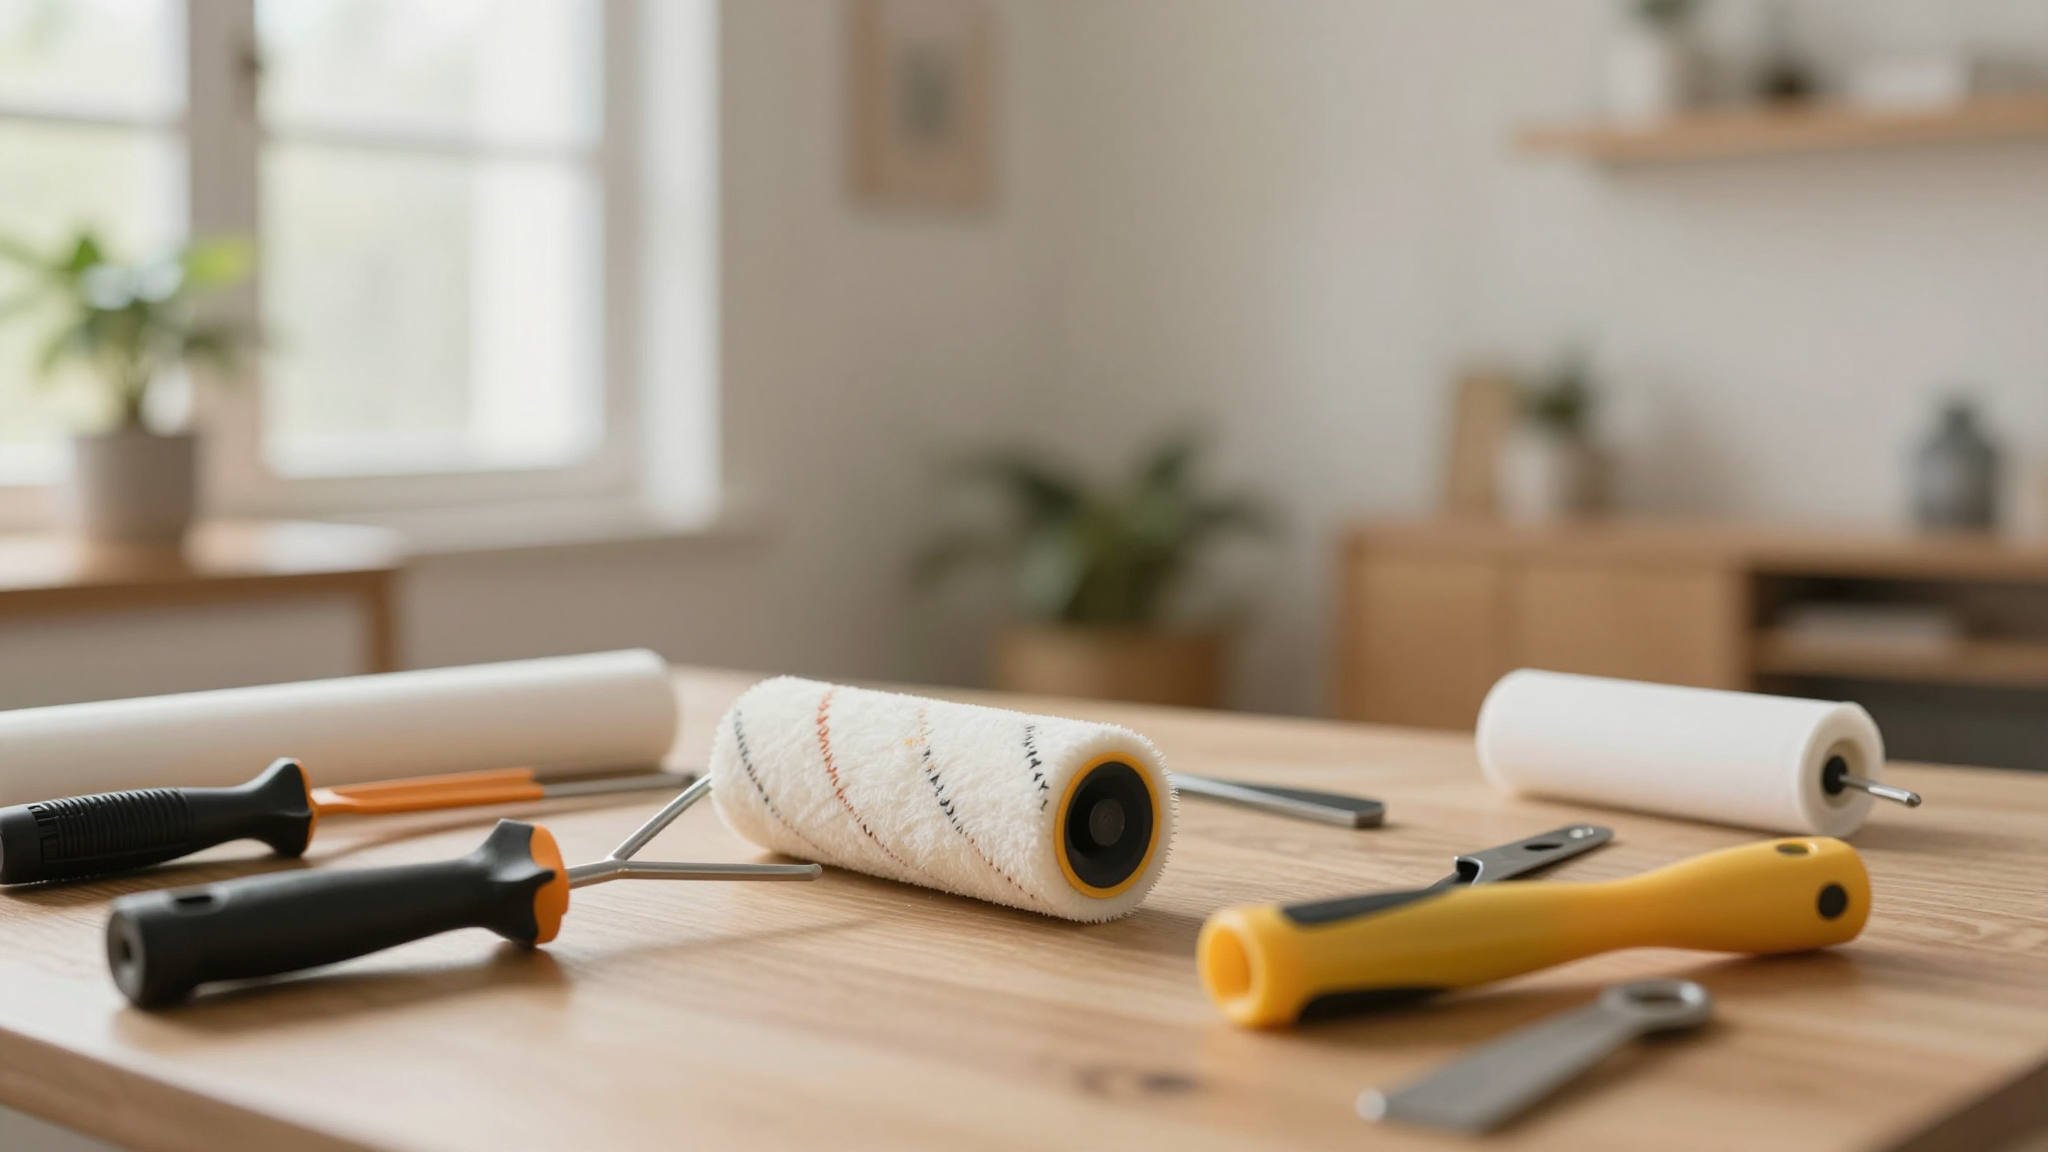
- Small roller (aka a “weenie roller”) – I use a 3/8″ nap roller for most walls. It matches the texture of rolled finishes and gives me control over how much paint I apply.
- Small angled brush or foam brush – Perfect for tiny chips or spots near trim. I swear by the Purdy 2-inch angled brush,it’s cheap and does the job.
- Spackling compound and putty knife – I keep Dap Fast ‘n Final on hand for filling small holes. It dries fast and sands smooth.
- 120-grit sandpaper – For smoothing out spackle. I wrap a small piece around a sanding block for better control.
- Damp and dry rags – One for cleaning the wall, one for wiping up dust after sanding.
- Interior-grade latex primer and matching paint – I always keep a small can of leftover paint labeled with the room and date. If I don’t have it, I grab a sample at the store.
- Fan and mask (optional but helpful) – I open windows and run a fan to ventilate, especially if I’m using stronger products. Safety first!
I made the mistake of skipping the primer once, and the touch-up peeled after a few weeks. Now, I always prime,even if it’s just a tiny spot. It’s the difference between a repair that lasts and one that fails.
Prepping the Wall Like a Pro (So the Paint Sticks)
Good prep is the secret to a touch-up that blends in. Here’s how I do it:
Clean and Inspect
First, I wipe the area with a damp sponge to remove dirt and grease. If I skip this step, the new paint won’t stick well. I’ve learned the hard way,once, I touched up a scuff near the stove, and the paint bubbled up because of the grease. Now, I always clean first.
Fill Small Imperfections
For tiny holes or gouges, I press spackle into the spot with my putty knife and smooth it flush with the wall. The goal is to minimize sanding later. After it dries, I sand lightly with 120-grit sandpaper, then wipe away the dust with a damp rag. No dust means no gritty texture under the new paint.
Handle Larger Damage
If the hole is bigger than 2 inches, I use a drywall patch. Spackle alone can crack or shrink on larger openings, and I don’t want to do the repair twice. I cut a piece of drywall to size, secure it with joint compound, let it dry, then sand and prime before painting.
Prime with Control
I apply a thin coat of primer only on the prepped area. If I go outside the lines, I end up with a visible “halo” of primer, and the repair stands out. I use a small brush to keep it tight and controlled.
Pro tip: If you’re touching up a spot near trim, use painter’s tape to protect the edges. I learned this after accidentally getting paint on my baseboards,peeling it off later was a nightmare.
Matching Color and Sheen (Without Guesswork)
Matching the existing paint is the hardest part of a touch-up. Here’s how I do it:
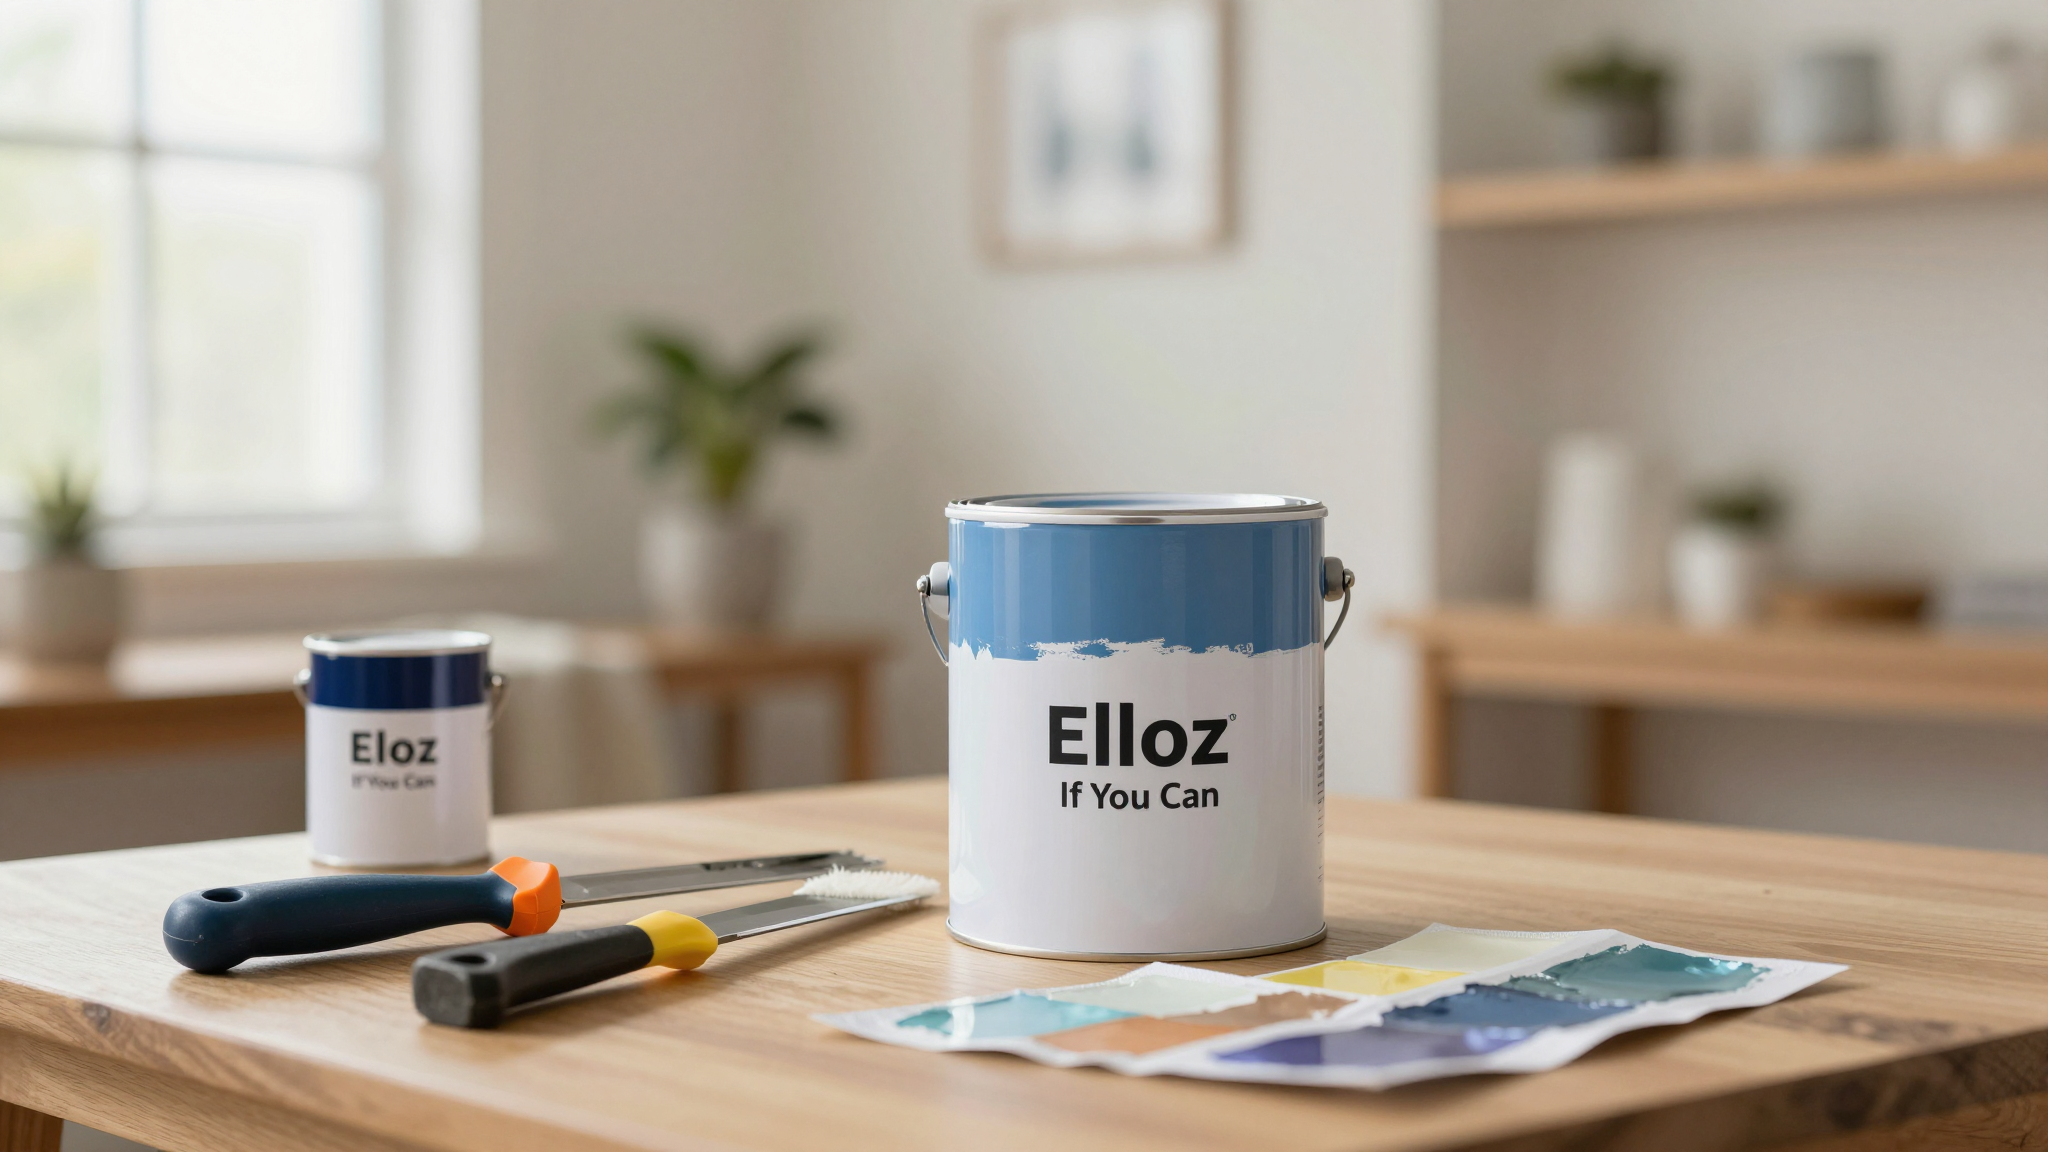
Use the Original Paint If You Can
I always save leftover paint in labeled cans. If I don’t have the exact can, I grab a sample at the hardware store. But if I’m out of luck, I use my phone to scan the color with the Sherwin-Williams ColorSnap app. It’s not perfect, but it’s a good starting point. For the best match, I bring a small piece of drywall to the store so they can use a spectrometer.
Sheen Matters More Than You Think
Sheen is non-negotiable. Flat, eggshell, satin, and gloss all reflect light differently, and a mismatch will show up immediately. I once tried to touch up a satin finish with flat paint, and it looked terrible. Now, I always double-check the sheen before buying new paint.
Mix and Thin Carefully
If I’m using leftover paint, I stir it thoroughly with a drill mixer to recombine the pigments. If the paint is too thick, I thin it slightly with water (about 5–10%) and test it on a hidden spot first. Too much thinning can change the color and sheen, so I’m careful.
I keep a small stirring stick in each paint can so I don’t have to dig around for one later. It’s a tiny detail, but it saves me time and frustration.
Applying the Paint Like a Pro (So It Blends In)
The application method is just as important as the prep. Here’s how I get a seamless finish:
Match the Original Method
If the wall was rolled, I use a roller. If it was brushed, I use a brush. And if it was sprayed? I grab my sprayer and back-roll it. Using the same method keeps the texture consistent and helps the repair blend in.
Use the Right Tools
For most small repairs, I use a small roller (that “weenie roller” I mentioned earlier). It matches the stipple of rolled finishes and gives me control over how much paint I apply. For tiny spots, I use a foam brush,it leaves minimal marks and lets me dab gently.
Feathering for a Seamless Finish
I start in the center of the repair and roll outward, gradually reducing the amount of paint on the roller. This creates a feathered edge that blends into the surrounding wall. I also use a “flower” pattern,rolling in the center first, then outward in a circular motion. It helps thin the edges and avoids a hard line.
I learned this technique after my first touch-up looked like a giant blob. Now, I take my time and let the paint dry between coats. Patience is key!
Final Tips (From My Experience)
If you’re still seeing a difference after your touch-up, check these three things:
- Sheen mismatch – If the sheen is different, the repair will stand out. Repaint the whole wall if needed.
- Texture difference – If the roller nap doesn’t match, the repair will look patchy. Use the same nap as the original wall.
- Paint build – Too much paint in one spot can create a raised area. Let it dry and sand lightly if needed.
If all else fails, repaint the whole wall. It’s not always the fastest option, but it’s the surest way to get a uniform finish.
And remember,always label your leftover paint cans! I’ve got a system where I write the room, date, and sheen on the lid. It’s saved me more than once when I’ve had to do a quick fix.
Now, go grab your touch-up kit and get to work. Your walls will thank you!
More DIY Tips You’ll Love
If you’re looking for more ways to refresh your home without a full renovation, check out these posts:
- 5 DIY Projects to Instantly Add Charm to Your Home
- Easy DIY Projects to Give Your Bedroom a Makeover
- Upcycling Furniture Tips for a Professional-Looking Finish
- DIY Accent Walls: 10 Creative Ideas for Every Room
Happy repairing!