
Printable Home Organization Labels That Actually Work (And Save You Time)
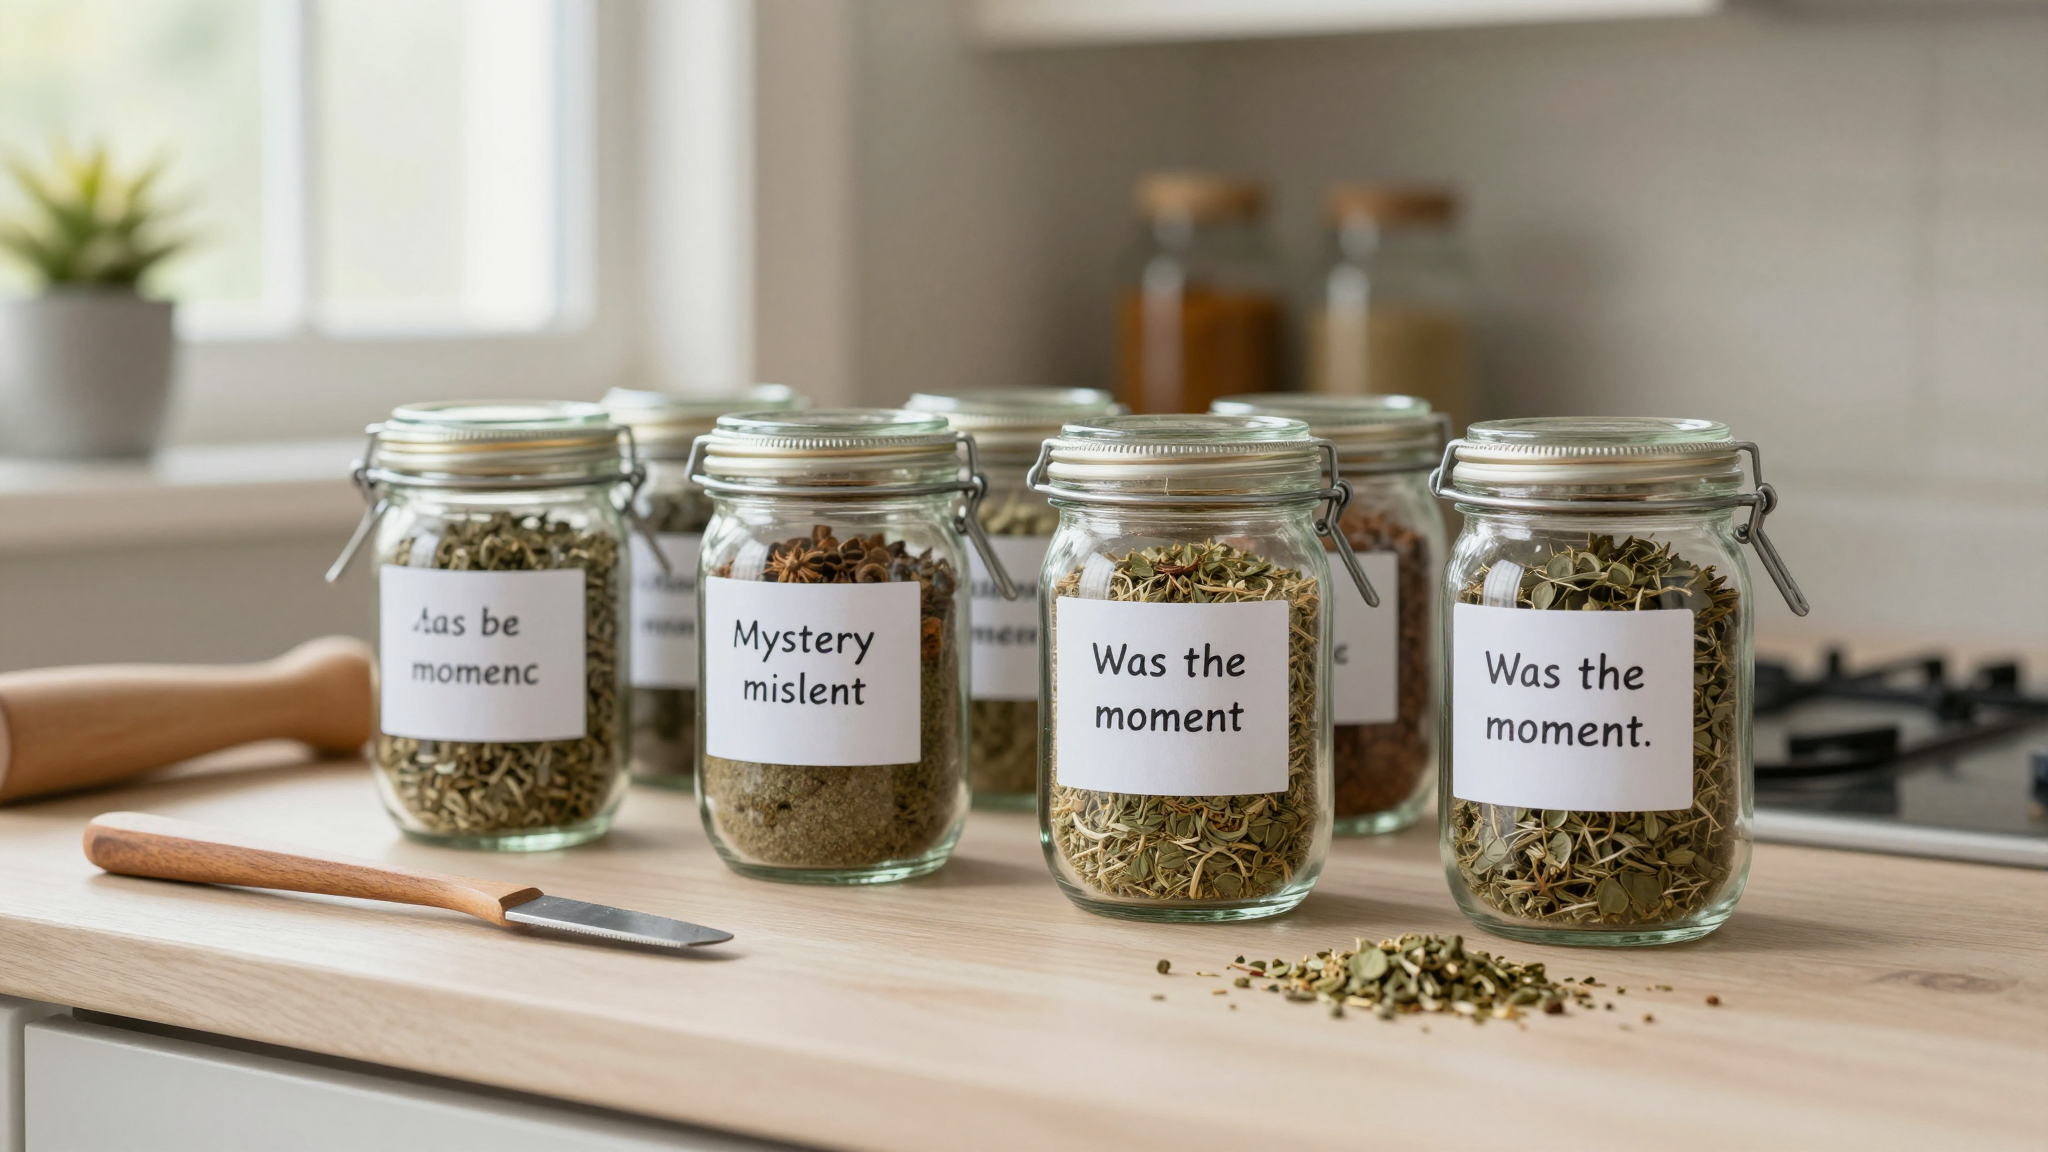
I’ll never forget the day I opened my pantry and found a jar of “mystery spices” that had been mislabeled as “oregano” for two years. That was the moment I swore off chaos and embraced the power of clear, custom labels,the kind that turn a cluttered mess into a space where you can actually find what you need.
Labels aren’t just about aesthetics (though, let’s be honest, a well-organized shelf does make your home feel more put-together). They’re about function. No more digging through bins of random toys or squinting at handwritten scribbles on jars. With the right labels, you’ll spend less time searching and more time actually using your space.
Whether you’re labeling kitchen jars, toy bins, or linen closets, the key is personalization. And the best part? You don’t need to be a designer,or spend a fortune,to make it happen. I’ve tried everything from basic sticker sheets to a Cricut Joy, and I’ll walk you through what actually works (and what’s overrated).
Why I Switched to Printable Labels (And Why You Should Too)
Before I got serious about labeling, my home looked like a Pinterest fail. I had intentions,oh, the intentions,but no follow-through. Then I discovered printable labels, and everything changed. Here’s why they’re a game-changer:
- They’re customizable. Need labels for your spice rack? A matching set for your linen closet? Printable templates let you adjust fonts, colors, and sizes to fit your exact needs. (Pro tip: I use Canva for quick, free designs,no graphic skills required.)
- They’re budget-friendly. A pack of sticker paper costs a fraction of pre-made labels, and you can reprint as many times as you need. I once relabeled my entire pantry for under $10.
- They’re durable (if you pick the right materials). Vinyl labels stick through spills, chalkboard tags let you update them seasonally, and washi tape adds a pop of color without breaking the bank.
- They actually work. No more peeling stickers or faded ink. When I switched to vinyl for my kitchen jars, I finally stopped mixing up cinnamon and sugar. (Yes, that happened. More than once.)
And here’s the kicker: They make your life easier. No more asking your kids, “Where did you put the scissors?” (Answer: In the toy bin. Again.) No more staring blankly at a shelf of identical bins. Labels give everything a home,and your sanity a break.
How to Choose the Right Labels for Your Space
Not all labels are created equal. I’ve learned this the hard way,like the time I used regular sticker paper for my outdoor toolbox and watched it curl up into a sad, useless mess after one rainy weekend. Here’s what actually works in different areas of my home:
For the Kitchen: Vinyl or Chalkboard
My kitchen is the heart of the chaos in our house, so I need labels that can handle everything. That’s why I swear by adhesive vinyl for my spice jars and chalkboard labels for my baking supplies.
I use a Cricut Joy to cut vinyl labels for my glass jars,it’s a game-changer for crisp, clean edges. And for my baking bins? Chalkboard tags let me update them seasonally. One minute it’s “Pumpkin Spice Mix,” the next it’s “Gingerbread Cookies.” No more mislabeled jars!
If you don’t have a cutting machine, don’t worry,sticker paper works great for quick updates. Just print your labels, cut them out with scissors, and stick them on. (I keep a pair of sharp scissors in my junk drawer for this exact purpose.)
For Kids’ Rooms: Chalkboard or Removable Vinyl
Labeling my kids’ rooms is a moving target. One week, the toy bins are organized by color. The next, it’s by “favorite vs. not favorite.” That’s why I love chalkboard labels,I can rewrite them as often as my kids change their minds.
For bins that stay put (like art supplies or books), I use removable vinyl. It sticks well but won’t ruin the bin if we need to rearrange. And if my kids ever outgrow a bin? No residue left behind.
For the Linen Closet: Washi Tape or Fabric Tags
My linen closet used to be a mystery. Was that stack of towels clean or dirty? Who even knows. Now, I use washi tape to label shelves,it’s cute, functional, and easy to switch out when I redecorate.
For hanging bins, I sew simple fabric tags and tie them to the handles. (Yes, I sewed them. And yes, they’re not perfect,but they work, and that’s what matters.) If you’re not into sewing, iron-on labels are a great alternative.
Step-by-Step: How to Make Your Own Labels (Without the Stress)
Ready to dive in? Here’s exactly how I create labels that actually last,no design degree required.
Step 1: Pick Your Materials
You don’t need a ton of fancy supplies. Here’s what I keep on hand:
- Sticker paper (for quick, temporary labels,great for pantry jars or desk drawers). I use Avery templates in Microsoft Word for perfect alignment.
- Vinyl sheets (for durable, long-lasting labels,perfect for outdoor bins or toolboxes). Pair these with a Cricut Joy or Silhouette Cameo for clean cuts.
- Chalkboard paint or tape (for reusable labels,ideal for kids’ rooms or seasonal storage).
- Washi tape (for a quick, decorative touch,great for linen closets or baskets).
- Transfer tape (if you’re using vinyl,it helps you move labels without smudging).
Pro tip: Test your materials first. I once spent an hour cutting vinyl labels, only to realize they wouldn’t stick to my glass jars. (Lesson learned: Always test on a small area first!)
Step 2: Design Your Labels
This is the fun part! I use two tools for designing:
- Microsoft Word (for quick, no-frills labels). Go to the Mailings tab, select Labels, and choose a template. Adjust the font, size, and color to match your decor. I like using bold, simple fonts for pantry jars so they’re easy to read from a distance.
- Canva (for cute, custom designs). Search for “home label templates,” and you’ll find tons of free options. I love adding little icons,like a spoon for baking supplies or a toy car for my kids’ bins.
If you’re feeling fancy, you can even add borders or backgrounds to make your labels pop. (I once used a subtle floral border for my linen closet labels, and it made the whole space feel more cohesive.)
Step 3: Print and Cut
Here’s where I’ve made so many mistakes,and learned from them.
- Print a test page first. I can’t tell you how many times I’ve printed a full sheet of labels, only to realize the text is crooked or the spacing is off. Always print on regular paper first!
- Use sharp scissors or a paper trimmer. For small batches, scissors work fine. But if you’re cutting 20+ labels, a paper trimmer is a lifesaver. (I keep mine in my craft drawer alongside my essential tools.)
- Peel slowly. When you’re ready to apply your labels, take your time peeling the backing. I once ripped a label in half because I was in a hurry. (Now I go painfully slow.)
Step 4: Apply and Enjoy
This is the easiest part,just stick your labels where they belong! A few extra tips:
- For glass jars, position labels at eye level so you can read them without picking them up.
- For baskets or bins, apply labels to the front or side, depending on how they’re stored.
- If a label starts to peel, wipe the surface with rubbing alcohol before reapplying.
And that’s it! No more mystery jars, no more digging through bins. Just clear, organized storage that actually works.
Labeling Hacks That Save Time and Money
You don’t need to spend a fortune to get great labels. Here are my favorite budget-friendly tricks:

1. Use Masking Tape for Quick Labels
I keep a roll of masking tape in my kitchen drawer for emergency labeling. Need to mark a jar of homemade jam? Just write on the tape with a Sharpie. It’s not pretty, but it works in a pinch,and it peels off easily when you’re ready to update.
2. Repurpose Old Gift Tags
Got leftover gift tags from Christmas? Cover them with clear packing tape to make them waterproof, then write on them with a permanent marker. I’ve used these for labeling bins in my garage, and they’ve lasted for years.
3. Layer Washi Tape for a Polished Look
Washi tape is my secret weapon for instantly upgrading plain labels. Cut a strip, stick it to a bin or basket, and write the label directly on the tape with a fine-tip marker. It’s cute, functional, and costs pennies.
I once used washi tape to label my kids’ art supplies, and it made their craft area look so much more put-together. (Even if the actual art supplies were still a mess.)
4. Use Chalkboard Paint for Reusable Labels
If you have wooden bins or jars, chalkboard paint is a game-changer. I painted the lids of my spice jars, and now I can update the labels anytime I reorganize. (Yes, I do reorganize my spice rack. Don’t judge.)
For a quicker option, use chalkboard vinyl,it sticks to almost any surface and lets you rewrite labels as needed.
5. Laminate Handwritten Labels
Don’t have a printer? No problem. Write your labels on index cards, then laminate them with clear contact paper. I’ve done this for my kids’ toy bins, and the labels have held up beautifully.
Final Thoughts (And Your Next Step)
Labels aren’t just about making your home look pretty,they’re about making your life easier. No more wasted time searching for things. No more frustration when you can’t find what you need. Just clear, organized storage that actually works.
So, what’s your first project? Are you tackling the pantry, the kids’ rooms, or maybe your linen closet? Start small,pick one area to label this weekend, and you’ll see the difference immediately.
And if you’re feeling overwhelmed, remember: perfect is the enemy of done. My first labels weren’t pretty, but they worked. And that’s what matters.
Now, go grab some sticker paper and get labeling! Your future self will thank you.