
How I Turned Trash into Treasure: Making Custom Art with Stuff I Already Own
Let me tell you about the time I turned my kids’ old art projects, a broken coffee table, and a pile of fabric scraps into wall art that now gets more compliments than my famous chocolate chip cookies. That’s the magic of custom artwork,it’s not about being a professional artist, it’s about seeing potential where others see junk.
I’ve spent years figuring out how to create DIY art that actually looks intentional (and not like a kindergartener’s finger-painting session). The best part? Most of my supplies came from my garage, craft drawer, or the recycling bin. If I can do it, so can you,no art degree required.
This isn’t about following some perfect Pinterest tutorial. It’s about the messy, wonderful process of making art that tells your story. Whether you’re looking to add charm to your home or just want a creative outlet that doesn’t break the bank, I’ll show you exactly how I do it,including the mistakes that taught me the most.
Why Custom Art Is Easier (and More Fun) Than You Think
I used to think making art required expensive supplies and some secret artistic gene I clearly didn’t inherit. Then I tried my first DIY canvas project using an old picture frame, some leftover paint, and a fork (yes, a fork,more on that later). The result wasn’t museum-worthy, but it was mine. That’s when I realized: custom art isn’t about perfection. It’s about playing with what you have.
Here’s what I’ve learned after years of happy accidents in my craft room:
- You don’t need fancy supplies. My first “canvas” was the back of a thrift store mirror I found for $3. I sanded it down, painted it with my trusty Farrow & Ball paint (yes, I splurged on that one), and now it’s the focal point of my living room.
- Mistakes become your signature style. I once accidentally dripped Mod Podge all over a collage I was making. Instead of scrapping it, I turned it into a “drip art” piece. Now people ask if I meant to do that!
- Kids’ “art” is your goldmine. I save every crayon masterpiece, macaroni necklace, and finger-painted paper. Last Christmas, I turned my daughter’s kindergarten self-portrait into a framed piece with gold leaf accents. She cried happy tears when she saw it on our wall.
The key is to start small. Don’t pressure yourself to create a masterpiece on your first try. My first attempt at mixed media art looked like a kindergarten class exploded on it. But that’s okay,it’s all part of the process. The more you create, the more you’ll discover what you love (and what you don’t).
What’s Already in Your House That Can Become Art?
I keep a “creative stash” bin in my craft room where I toss anything that might be useful for art. Here’s what’s usually in there:
- Paper of all kinds: Old book pages, magazine cutouts (I love Vogue and National Geographic for textures), wrapping paper, even junk mail. That stack of IKEA catalogs from 2022? Perfect for collage backgrounds.
- Fabric scraps: I save old T-shirts, scarves, and even the fabric from pillowcases that wore out. That floral tablecloth your grandma gave you? It’s begging to be turned into a fireplace surround or wall hanging.
- Household items as tools: My fork trick (swear by it!): Dip the tines in paint and drag them across canvas for texture. A plastic container makes a great paint palette. Even a spoon can create interesting patterns if you’re not afraid to get messy.
- Nature’s free art supplies: Pressed leaves, twigs, and stones add organic texture. I once made a whole gallery wall using branches I collected on a hike, spray-painted gold, and arranged in driftwood frames.
Pro tip: Keep a small bin in your kitchen or garage too. I found my best “art supplies” while cleaning out the junk drawer,old keys, bottle caps, even a broken necklace clasp became part of a mixed media piece.
Setting Up a Workspace That Actually Gets Used
For years, I tried to be one of those people with a perfectly organized craft room. Spoiler: I’m not. My “workspace” is currently a folding table in the corner of my laundry room, but it works because I’ve learned what actually makes creating enjoyable.
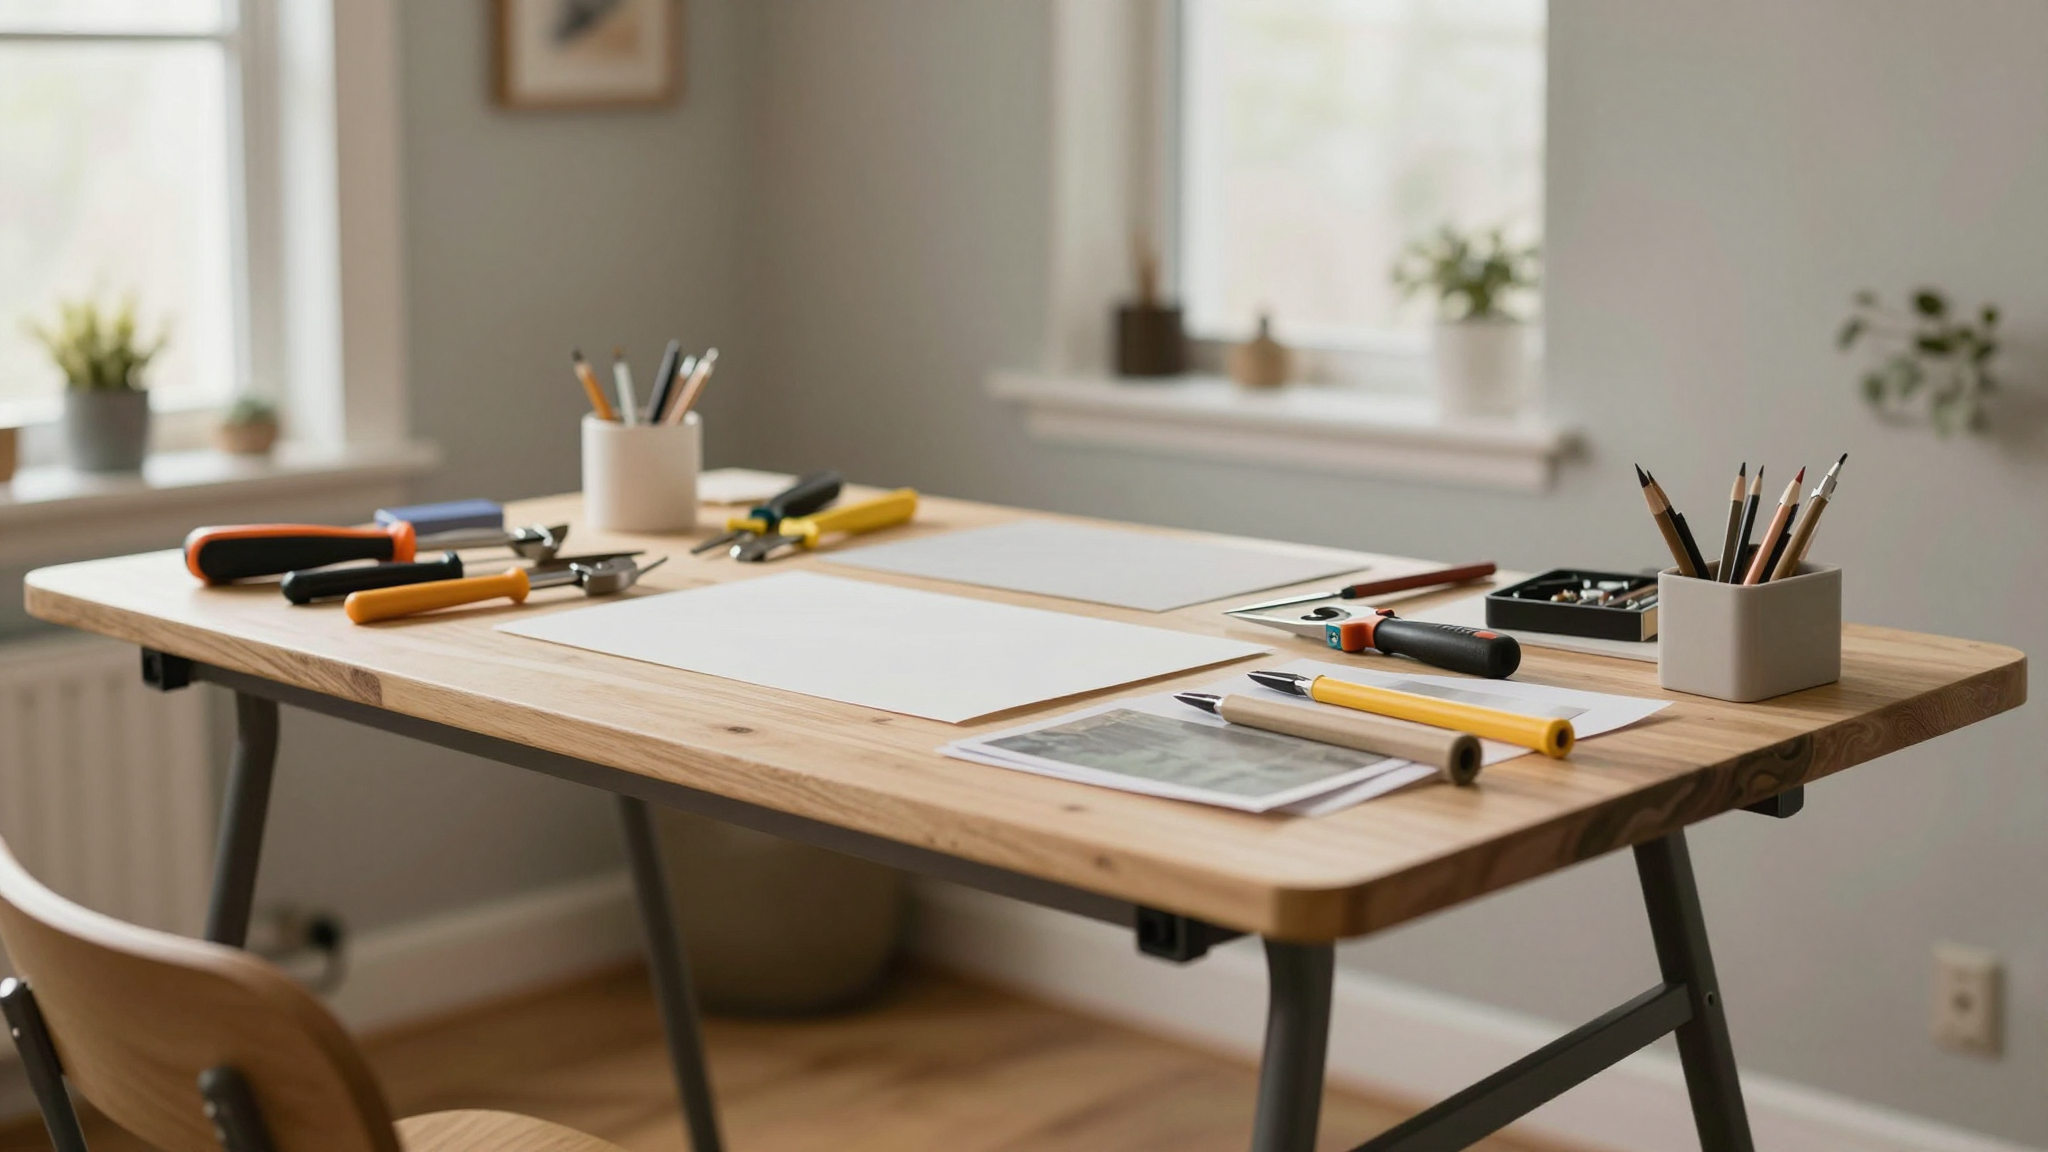
Here’s what I’ve found essential (and what I can live without):
- Natural light is non-negotiable. I used to think I needed fancy task lighting, but nothing beats sunlight. My current setup is right next to a south-facing window. On cloudy days, I supplement with a daylight bulb lamp I got from IKEA for $15.
- Comfort over aesthetics. I spent $80 on an ergonomic chair from Herman Miller (yes, the big-budget one) after developing back pain from hunching over my projects. Worth every penny. If you can’t swing that, a floor cushion or even a kneeling chair works too.
- Containers that actually contain. I use:
- Clear plastic shoeboxes for small items like beads and buttons (label them!)
- Mason jars for brushes and pens (they stack nicely)
- A pegboard for tools I use often (scissors, glue guns, etc.)
- Inspiration within arm’s reach. I keep a bulletin board above my table with:
- Fabric swatches I love
- Color palettes I’m testing
- Photos of art I admire (even if I’ll never be that good!)
What I don’t do: Try to keep it perfectly clean. Some days my workspace looks like a tornado hit it. That’s okay,creativity thrives in mess sometimes. I do a quick reset every Sunday night so I’m not overwhelmed when I want to create.
Basic Techniques That Work Every Time
I’ve tried so many art techniques over the years, but these are the ones that consistently work for me (even when I’m having an off day):
- Layering for depth. Start with a base (paper, canvas, or even cardboard), then build up with paint, fabric, or found objects. My favorite combination? A watercolor wash as the base, then mod podge to seal, followed by pressed flowers or lace for texture.
- Texture is your friend. Don’t be afraid to mix materials. That denim jacket you never wear? Cut off the buttons and sew them onto a canvas for a cool 3D effect. I once made a whole piece using old book pages, twine, and coffee stains (yes, I intentionally stained it with coffee,it looked amazing!).
- Embrace “happy accidents.” I was working on a piece last winter and accidentally knocked over a cup of red wine. Instead of crying, I let it dry and turned it into a “wine-stain abstract” piece. It’s now one of my favorite conversation starters.
Here’s a simple project to try if you’re new to this:
- Grab an old wooden frame (I found mine at a thrift store for $2).
- Spray paint it black or white (I use Rust-Oleum because it covers everything).
- Cut out words or images from old magazines or books. I like using vintage cookbooks for this,they have beautiful illustrations.
- Arrange them on the frame, then Mod Podge them down. Seal with a top coat.
- Hang it up and admire your one-of-a-kind art!
This project took me less than 2 hours and cost me $5. Not bad for something that gets compliments every time someone visits.
Turning Your Home into an Art Studio (Without Losing Your Mind)
I’ll be honest,my house has seen some questionable art experiments. There was the time I tried to make a staircase mural with chalk paint and it looked like a kindergarten class had a field day. (I had to patch and repaint that one.)
But here’s what I’ve learned about making art at home without driving yourself (or your family) crazy:
- Protect your surfaces. I keep a plastic tablecloth under my projects and always have paper towels and rubbing alcohol nearby for quick cleanups. Trust me, acrylic paint on hardwood is not your friend.
- Involve the kids (when you’re feeling brave). My son “helped” with a project last year by gluing googly eyes to everything. It was a disaster… but now it’s his favorite piece of art in the house. Sometimes you just have to lean into the chaos.
- Rotate your workspace. If you’re like me and get bored easily, switch up where you create. I’ve made art at:
- The kitchen table (great for small projects)
- The back porch (natural light + fresh air = winning)
- A folding table in the garage (when I need space)
- Embrace the “ugly” phase. Every artist has projects they’re not proud of. Mine includes a failed abstract painting that now lives in my craft room as a reminder that not every piece has to be a masterpiece.
Displaying Your Art Like a Pro (Even If It’s Not Perfect)
One of the best parts of making custom art? Showing it off. Here’s how I display my pieces so they look intentional (even when they’re not):
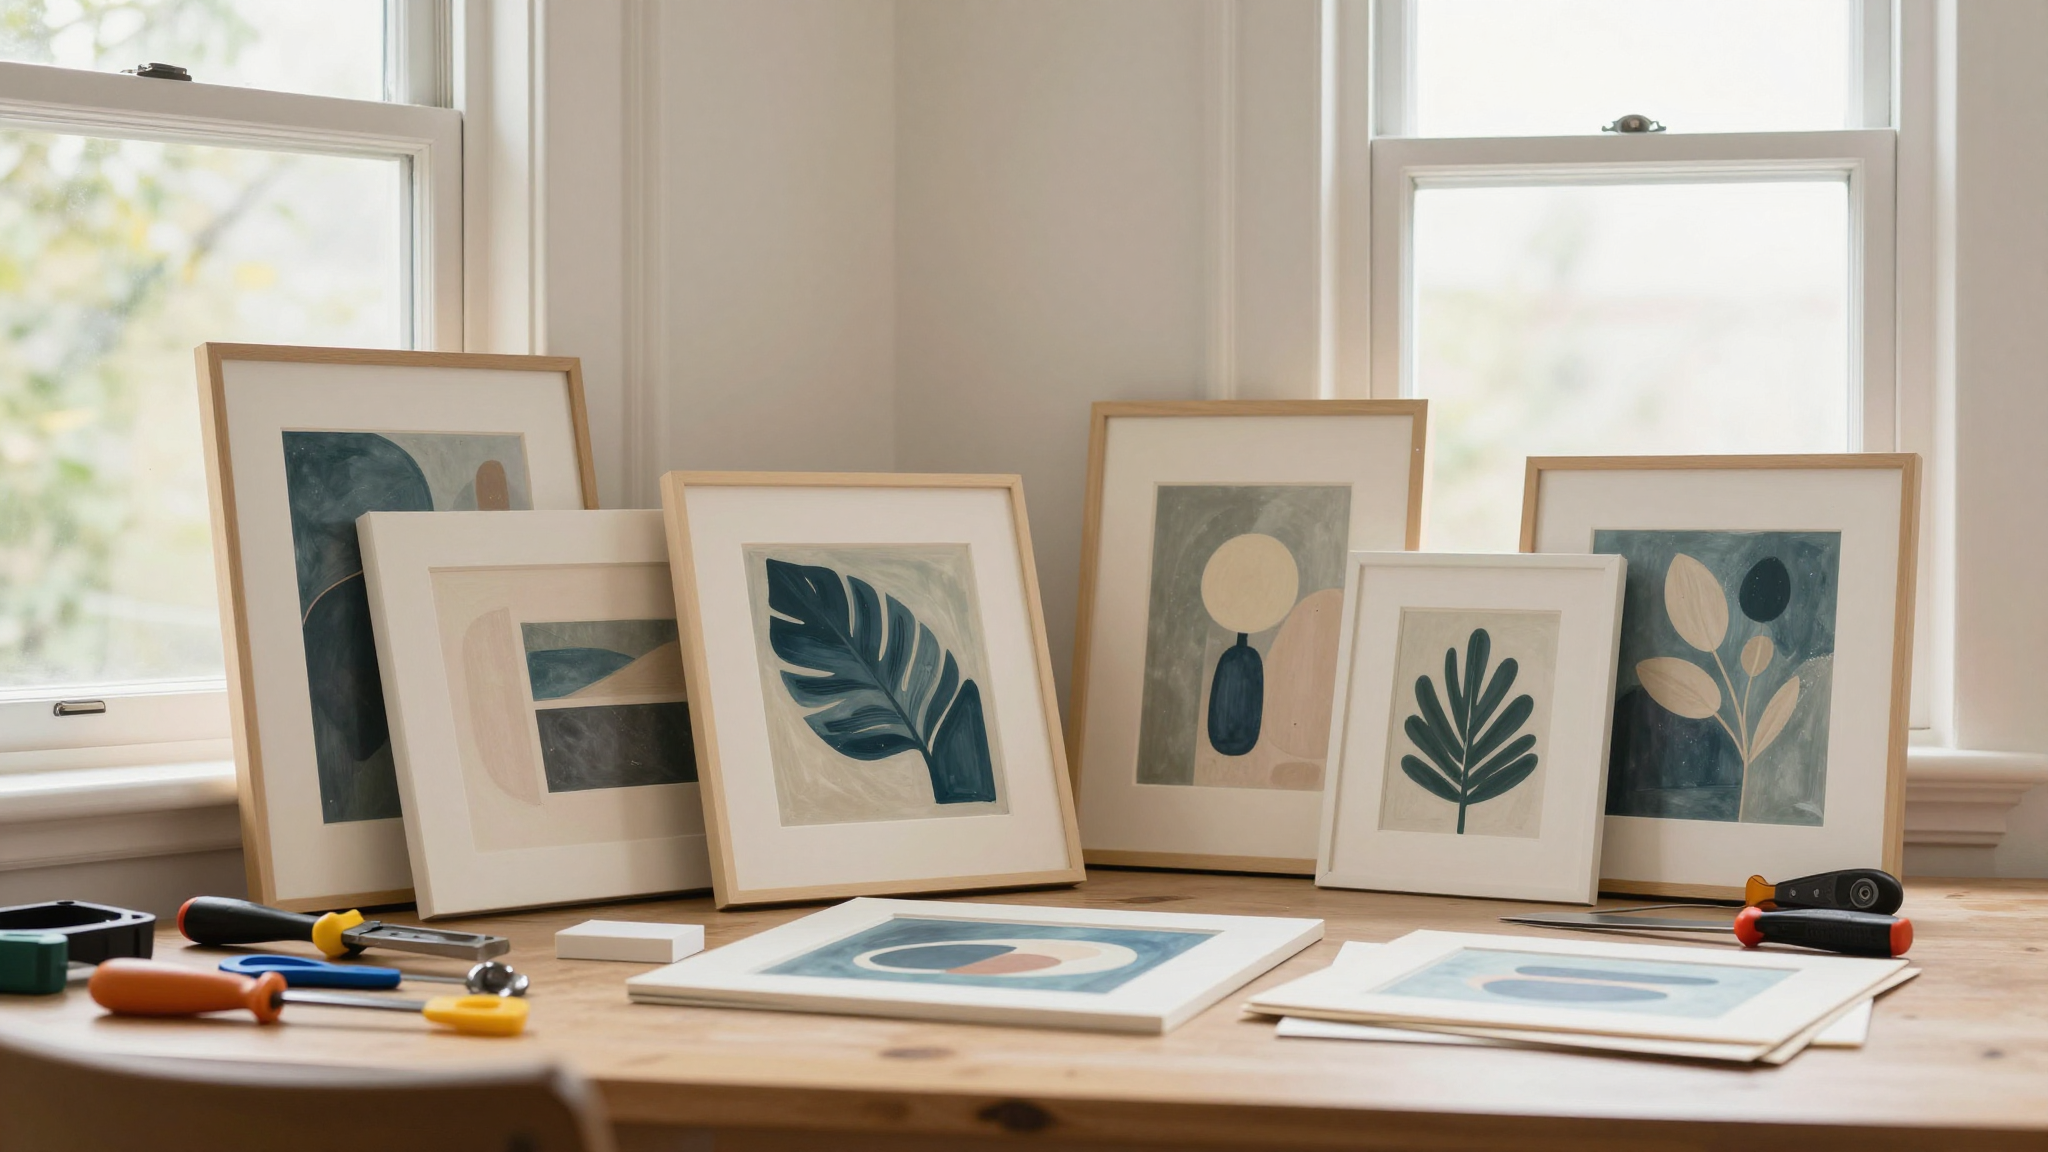
- Group odd numbers together. I have three mixed media pieces in my hallway that don’t match, but the odd number makes them feel like they belong together. I used thrifted frames in different finishes to tie them together.
- Play with lighting. A picture light can make even the simplest piece look sophisticated. I have one over my gallery wall that makes the colors pop.
- Change it up seasonally. I swap out art in my living room every few months. Right now, I have winter-themed pieces with frosted glass and silver accents. In summer, I switch to bright, beachy colors.
- Don’t overcrowd. I made this mistake early on and ended up with a cluttered wall that felt overwhelming. Now I leave negative space between pieces so each one can breathe.
My favorite display trick? Floating shelves. I have a set in my bedroom that holds:
- A small canvas I painted during a winter storm (it’s my favorite because it reminds me of that cozy day)
- A shadow box with pressed flowers from my wedding
- A mini gallery of my kids’ art (yes, even the crayon masterpieces)
It’s not fancy, but it’s me. That’s what custom art is all about.
How to Develop Your Own Style (Without Overthinking It)
For the longest time, I tried to copy the artists I admired. Then I realized: my style wasn’t developing because I wasn’t being myself. Here’s how I finally found what works for me:
- Steal like an artist (then make it your own). I love mid-century modern art, so I started incorporating geometric shapes and bold colors into my work. But instead of copying, I added my own twist,like using vintage botanical prints as a base.
- Keep a “style journal.” I have a sketchbook where I:
- Tear out images I love from magazines
- Doodle color combinations I like
- Jot down ideas when they pop into my head
- Embrace the “ugly” phase. My first few pieces were terrible. But I kept making them, and slowly, I started seeing patterns in what I liked. Now I recognize my style when I see it.
- Limit your materials. I used to buy every craft supply I saw. Now I stick to:
- Acrylic paint (my go-to: Liquitex Basics)
- Mod Podge (for sealing)
- Fabric scraps (from old clothes)
- Natural elements (leaves, twigs, etc.)
Here’s the truth: your style will evolve. Mine has changed dramatically over the years. What I thought I loved in my 20s isn’t what I’m drawn to now. And that’s okay! The goal isn’t to have a “perfect” style,it’s to make art that feels like you.
What to Do When You’re Stuck (Because It Happens to Everyone)
I hit creative blocks all the time. Here’s what I do when I’m staring at a blank canvas (or a half-finished project I’ve lost interest in):
- Change your materials. If I’m painting and feeling stuck, I switch to collage or fabric. Different materials spark new ideas. That failed painting I mentioned earlier? I turned it into a textured collage by adding lace, buttons, and old book pages.
- Set a timer for 10 minutes. I force myself to just start, even if it’s messy. Often, I end up liking what I create in that short time.
- Look outside your usual inspiration. I once got stuck on a project and ended up flipping through my old cookbooks for inspiration. The vintage illustrations gave me ideas for colors and textures I wouldn’t have thought of otherwise.
- Remember: Done is better than perfect. I have dozens of “almost finished” projects in my craft room. Last year, I finally finished a piece I’d been avoiding for six months. It turned out better than I expected because I’d had time to think about it.
And if all else fails? Walk away. I’ve had projects “retire” to my craft room for months (or years) before I came back to them with fresh eyes. That half-painted canvas in the corner? It’s been there for eight months. But I know I’ll finish it someday,and it’ll be exactly what I needed at that moment.
Your First Project: Let’s Make Something Together
Ready to try this yourself? Let’s start with a simple, no-fail project that uses stuff you probably already have:
Upcycled Jar Wall Art
This was my first successful custom art project, and it’s still one of my favorites. Here’s how to make it:
- Gather your supplies:
- 3-5 glass jars (pasta sauce jars, jelly jars, etc.) – clean them well!
- Spray paint in your favorite color (I used Rust-Oleum Painter’s Touch in matte black)
- Twine or string (I used jute twine from Michaels)
- Hot glue gun and glue sticks
- Decorative elements (buttons, fabric scraps, pressed flowers, etc.)
- Spray paint your jars. Lay them on newspaper and spray in thin, even coats. Let dry completely (this is where I usually get impatient and end up with streaks,patience is key!).
- Add your decorative elements. Use hot glue to attach:
- Fabric strips wrapped around the jar
- Buttons glued in a pattern
- Pressed flowers (I used dried lavender from my garden)
- Create hanging hooks. Cut pieces of twine, fold them in half, and hot glue the loop to the inside of the jar lid.
- Hang them up! I arranged mine in a cluster on my kitchen wall. They catch the light beautifully and give me a little handmade joy every time I walk by.
This project took me about an hour and cost me less than $10. Plus, it’s completely customizable,next time, I might try metallic paint or glitter for a different look.
Now it’s your turn. Grab those jars (or whatever you have lying around) and start creating. And when you’re done, tell me how it went,I’d love to see what you make!
FAQ: Your Custom Art Questions, Answered
What are some budget-friendly art materials I can use to create custom artwork?
Honestly? Almost anything. Here’s what I keep on hand:
- Paper – old books, magazines, junk mail (I save the pretty envelopes from birthday cards!)
- Fabric – old clothes, scarves, even bedsheets that wore out
- Household items – forks (for texture), plastic containers (as palettes), keys (as embellishments)
- Nature – leaves, twigs, stones (I press leaves between books to flatten them)
Pro tip: Check your recycling bin before taking it out. I’ve found perfectly good cardboard, glass jars, and even wine corks that became part of art projects.
How can I get started with custom artwork creation if I have no prior experience?
You don’t need experience,you just need curiosity. Start with:
- A simple base (canvas, wood, even cardboard)
- One or two colors you love (I started with navy blue and white)
- Found objects to add texture (buttons, fabric, leaves)
And most importantly: Give yourself permission to make “ugly” art. Some of my favorite pieces started as happy accidents.
What are some essential tips for setting up a creative workspace?
My workspace has evolved over the years. Here’s what I’ve learned:
- Lighting is everything. I have a south-facing window in my craft room, but if you don’t, invest in a daylight bulb lamp.
- Contain the chaos. I use clear shoeboxes for small items and a pegboard for tools. Label everything!
- Make it inspiring. I have a bulletin board with fabric swatches, color palettes, and photos of art I admire.
- Comfort matters. I spent $80 on an ergonomic chair from Herman Miller after developing back pain. Don’t skimp on this!
And remember: Your workspace doesn’t have to be Pinterest-perfect. Mine is currently a folding table in my laundry room, and it works just fine.
How can I transform household items into unique art tools?
This is where the magic happens! Here’s how I repurpose everyday items:
- Forks – Dip the tines in paint and drag them across canvas for texture.
- Plastic containers – Use as paint palettes or stencils.
- Old keys – Glue them onto canvas for a vintage look.
- Cardboard tubes – Cut them into rings for wreaths or wall art.
- Leaves and twigs – Press them for textured collages or arrange them in resin.
I once made a whole gallery wall using branches I collected on a hike. Spray-painted gold, they looked amazing in driftwood frames.
What are some common challenges I may face when creating custom artwork, and how can I overcome them?
Every artist faces challenges. Here’s how I deal with mine:
- Creative blocks – I switch materials or take a walk outside for inspiration.
- Technical difficulties – I watch YouTube tutorials (my go-to: The Wood Whisperer for wood projects).
- Lack of motivation – I set a timer for 10 minutes and just start. Often, I get in the zone.
And remember: every artist has “failed” projects. Mine includes a painting I accidentally set on fire (long story). Now it’s my favorite conversation piece!
How can I display my custom artwork in a way that showcases its beauty and impact?
Displaying art is just as important as making it! Here’s what works for me:
- Group odd numbers – I have three pieces in my hallway that don’t match but look great together.
- Use lighting – A picture light makes even simple pieces look sophisticated.
- Rotate seasonally – I swap out art in my living room every few months.
- Leave negative space – Don’t overcrowd! Let each piece breathe.
My favorite display? Floating shelves. They hold my small canvases, shadow boxes, and even my kids’ art. It’s not fancy, but it’s me.
What are some tips for building my own unique artistic style?
Finding your style takes time. Here’s how I did it:
- Steal (then make it your own) – I love mid-century modern art, so I incorporated geometric shapes into my work.
- Keep a style journal – I tear out images I love and doodle color combinations.
- Embrace the “ugly” phase – My first pieces were terrible, but I kept making them.
- Limit your materials – I stick to acrylic paint, Mod Podge, and fabric scraps to keep my style cohesive.
The key? Make what you love. Your style will emerge naturally over time.