
How I Created Stunning Geometric Accent Walls with Painter’s Tape
I’ll never forget the first time I saw a geometric accent wall in person. It was at my friend Sarah’s house – she had transformed her boring beige living room with these bold black and white triangles that made the whole space feel modern and intentional. I knew I had to try it myself, but I was terrified of messing up our bedroom wall. Turns out, with the right tape and a little patience, anyone can create professional-looking geometric designs at home.
The best part? Unlike wallpaper, this method is completely reversible. When we redecorated our guest room last year, I was able to paint over the geometric pattern we’d done two years earlier with no issues. That flexibility is what sold me on this technique – it lets you experiment without permanent commitment.
In this post, I’ll walk you through exactly how I created our bedroom accent wall (and the mistakes I made along the way that you can avoid). I’ll share the specific tools I use, how I plan my designs, and the little tricks that make all the difference between a DIY project that looks homemade and one that looks like it was done by a designer.
This isn’t just about creating a focal point – it’s about adding personality to your space in a way that feels intentional and well-executed. Whether you’re looking to refresh your bedroom, add character to your living room, or create a statement in your home office, geometric patterns can transform any room.
Why I Love Geometric Accent Walls (And Why You Will Too)
When we first moved into our house, our master bedroom felt so generic. The walls were this boring off-white that made the whole room feel flat and uninspired. I wanted something that would make the space feel more dynamic without requiring a full renovation.
That’s when I discovered geometric accent walls. What I love most about them is how they can completely change the vibe of a room with just paint and tape. Our bedroom used to feel small and closed-in, but after adding the geometric pattern, it suddenly felt more open and modern. The angles create visual interest that draws your eye upward, making the ceiling feel higher.
I’ve tried different patterns over the years – the chevron in our guest room, the hexagons in our hallway, and the bold triangles in our bedroom. Each one gives a completely different feel. The triangles feel more modern and dramatic, while the hexagons add a touch of whimsy. The best part? They’re all completely customizable to match your personal style.
If you’re anything like me, you love projects that give you that “wow” factor without breaking the bank. Geometric accent walls deliver exactly that. For under $50 in materials, you can create a focal point that makes your room feel like it was designed by a professional.
And here’s a secret I’ve learned: these patterns work in almost any room. I’ve seen them in living rooms, home offices, kids’ bedrooms, and even bathrooms. They add character to spaces that might otherwise feel plain or forgettable.
One thing I’ve noticed is that geometric patterns make a space feel more intentional. When guests come over, they always comment on how “put together” our home feels. It’s amazing how something as simple as paint and tape can create that impression.
Everything You’ll Need (And What I Actually Use)
Before we dive into the how-to, let me save you some time and frustration by telling you exactly what I use for my projects. I’ve tried different brands over the years, and these are the ones that consistently give me the best results.
Painter’s Tape and Your Color Palette
This is where most people go wrong. You cannot skimp on your painter’s tape. I learned this the hard way when I tried using some cheap tape from the dollar store for our first project. The edges were messy, and the tape peeled the paint when I tried to remove it. Now I only use FrogTape – specifically their Deluxe Painter’s Tape. It’s a bit more expensive, but it’s worth every penny for those crisp, clean lines.
For most patterns, I use 2-inch tape. It gives me enough width to create bold separations between colors while still being narrow enough to create intricate designs. I keep a few rolls on hand because once you open them, they start to lose their stickiness after a few weeks.
Color selection is where the fun begins. For our bedroom, I chose a deep navy blue and a soft cream. The contrast creates that dramatic look I wanted, but the cream keeps it from feeling too dark. I always test my colors on a small section of wall first – light changes throughout the day, and what looks great in the store might not work in your space.
Pro tip: If you’re using more than two colors, buy a little extra paint. You’ll need it for touch-ups, and you might want to do a second coat in some areas for even coverage.
My Must-Have Tools (And What I Wish I Knew Earlier)
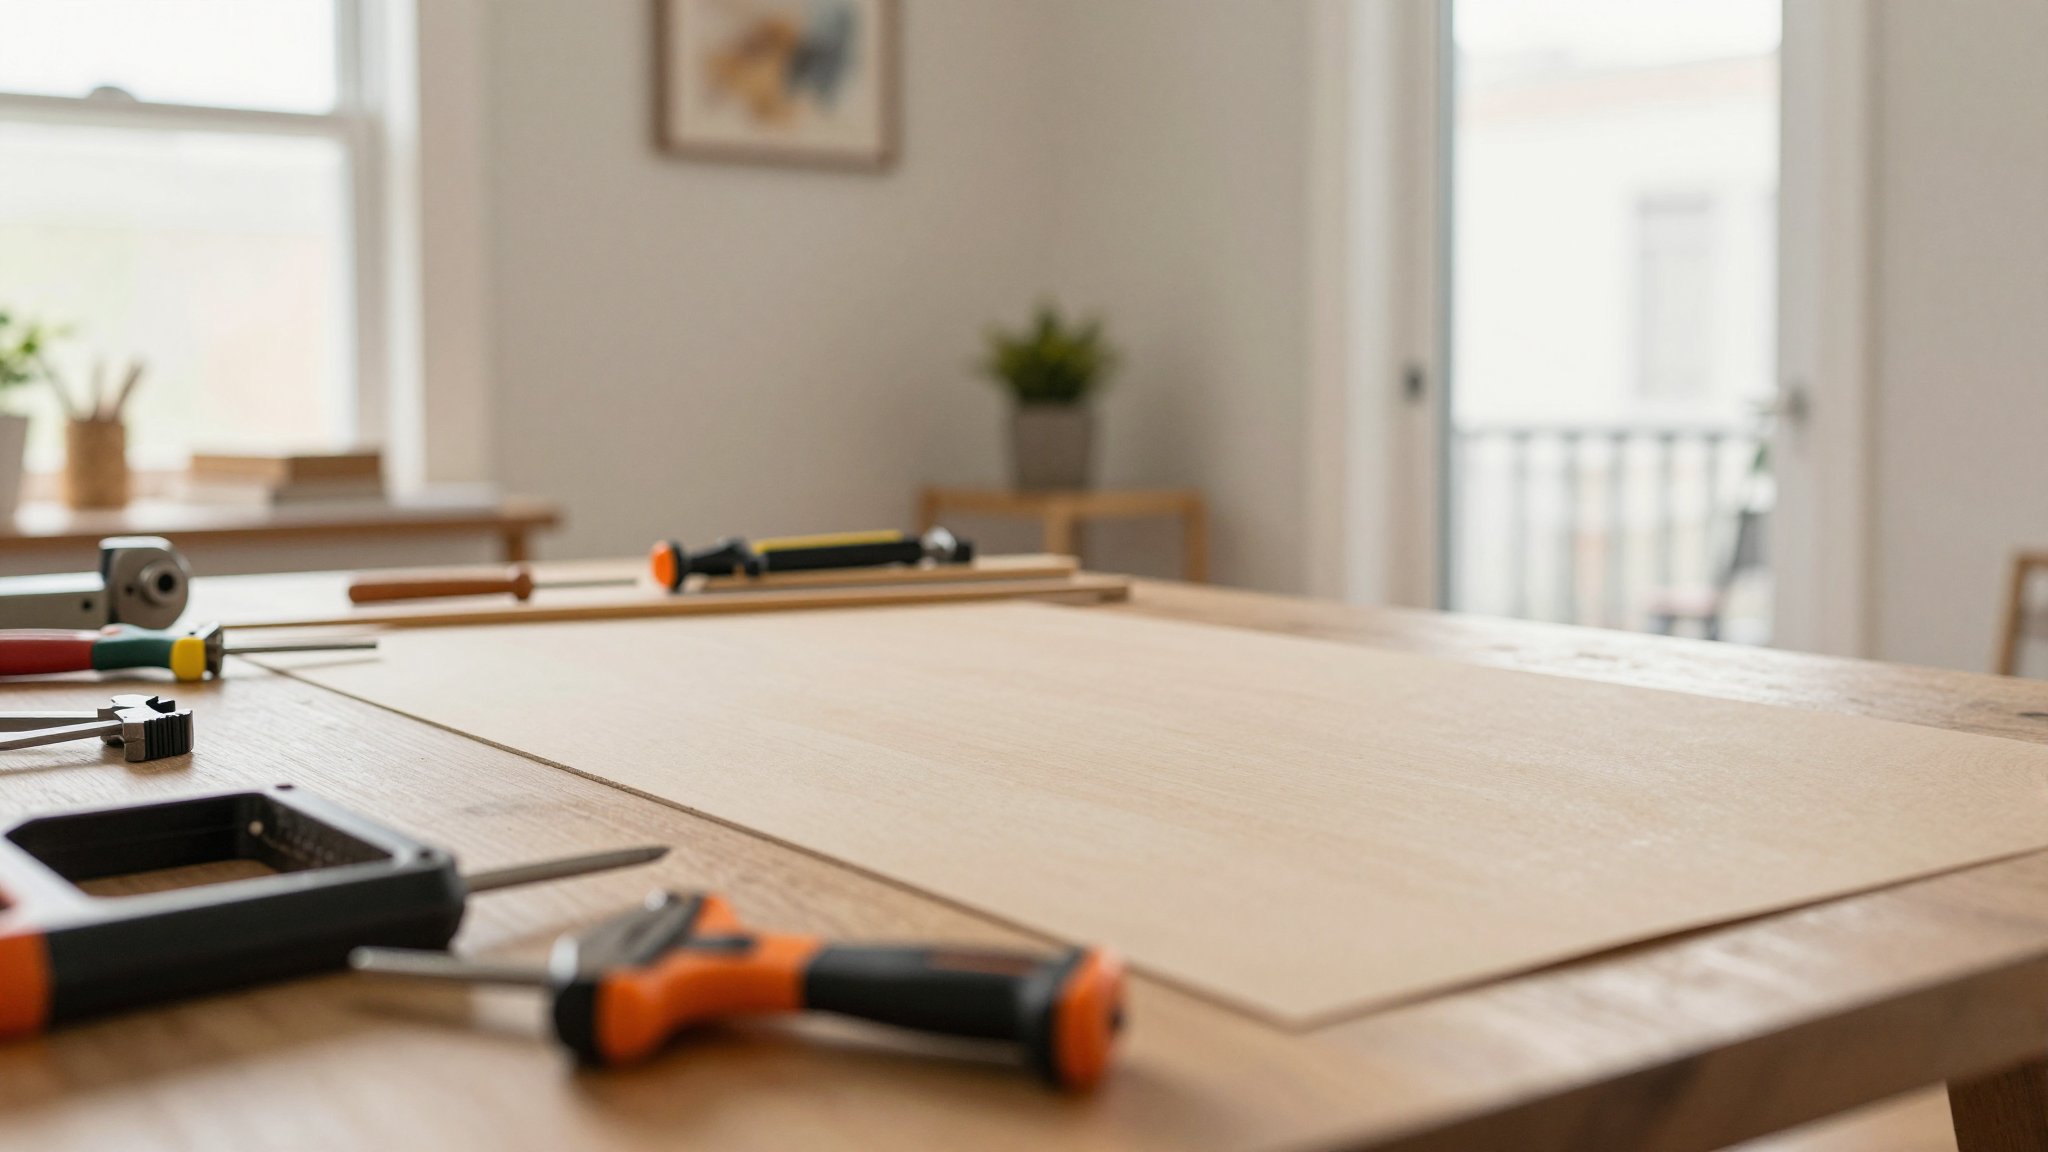
Here’s what I keep in my DIY toolkit for every geometric wall project:
- High-quality angled paint brushes – I swear by the Purdy XL Angled Sash Brush. They hold more paint and give me cleaner edges than any other brush I’ve tried.
- Foam paint rollers – The 4-inch rollers with the thick nap give the smoothest finish. I like the Wooster Shorty because it’s easy to control.
- Laser level – This was a game-changer. Before I had one, my lines were always slightly off. Now I can ensure everything is perfectly straight. I got the Bosch GLL3, and it’s worth every penny.
- Metal ruler – A 24-inch metal ruler is essential for measuring and marking straight lines. The metal doesn’t bend like plastic rulers do.
- Sandpaper – I keep 120- and 220-grit on hand for smoothing any imperfections before I start.
- Drop cloths – I use these heavy-duty canvas drop cloths that I found at Home Depot. They’re reusable and protect my floors perfectly.
- Small artist’s brush – For touch-ups and cleaning up any mistakes. The Rosemary & Co size 2 is my go-to.
One thing I wish I knew when I started: don’t forget about your paint tray! I used to just use whatever plastic tray came with the paint, but now I use these disposable metal trays that give me a much smoother finish. They’re only a few dollars and make a huge difference.
If you’re new to DIY projects, check out my post on the essential tools every homeowner should have. It includes my complete list of must-have items for any project.
Preparing Your Wall (The Step Most People Skip)
This is where I see most people make mistakes. They rush through prep, and it shows in the final result. I learned this the hard way when our first geometric wall had visible imperfections because I didn’t properly patch the holes in the drywall.
Cleaning and Repairing Like a Pro
Start by giving your wall a good cleaning. I use a mix of warm water and a little Dawn dish soap on a microfiber cloth. It removes all the dust and grime that accumulates over time. If your walls are really dirty, you might need to do this a couple of times.
Then comes the inspection. Get up close and look for any holes, cracks, or imperfections. I always find a few nail holes or places where the drywall isn’t perfectly smooth. For small holes, I use Dap Fast ‘n Final spackling paste. It dries fast and sands smooth. For larger areas, I use 3M Patch Plus Primer – it’s a filler and primer in one, which saves me a step.
Pro tip: If you have textured walls, you might want to skim coat them first. I used Kilz Skim Coat on our textured bedroom wall, and it made taping and painting so much easier. You can find more tips on patching holes in drywall if you need guidance.
Taping Like a Pro (My Secret Tricks)
This is where the magic happens. I always tape my walls the night before I plan to paint. It gives the tape time to adhere properly to the wall, and it means I can start painting first thing in the morning when the light is best.
Here’s my exact process:
- Use your laser level to mark a perfectly straight line where you want your first tape line to go. I usually start at the top of the wall and work my way down.
- Press the tape firmly along this line. I use my fingers to smooth it down, then go over it with a plastic card to ensure a tight seal.
- For diagonal lines, I use my metal ruler to measure the angle precisely. It’s tempting to eyeball it, but that’s how you end up with wonky lines.
- Work in sections. I usually tape about 4 feet at a time, then take a break before moving to the next section. This prevents me from getting frustrated and rushing.
One mistake I made early on was not letting the tape sit long enough before painting. If you apply paint to fresh tape, it can bleed underneath. I now let the tape sit overnight before I start painting.
If you’re nervous about taping, practice on a large piece of cardboard first. It’s amazing how much difference proper taping makes in the final result.
Planning Your Design (Where the Fun Begins!)
This is my favorite part of the process – where I get to be creative and plan out my design. I always start by sketching my ideas on paper first. It helps me visualize how the pattern will look in the space.
Choosing a Pattern That Fits Your Space
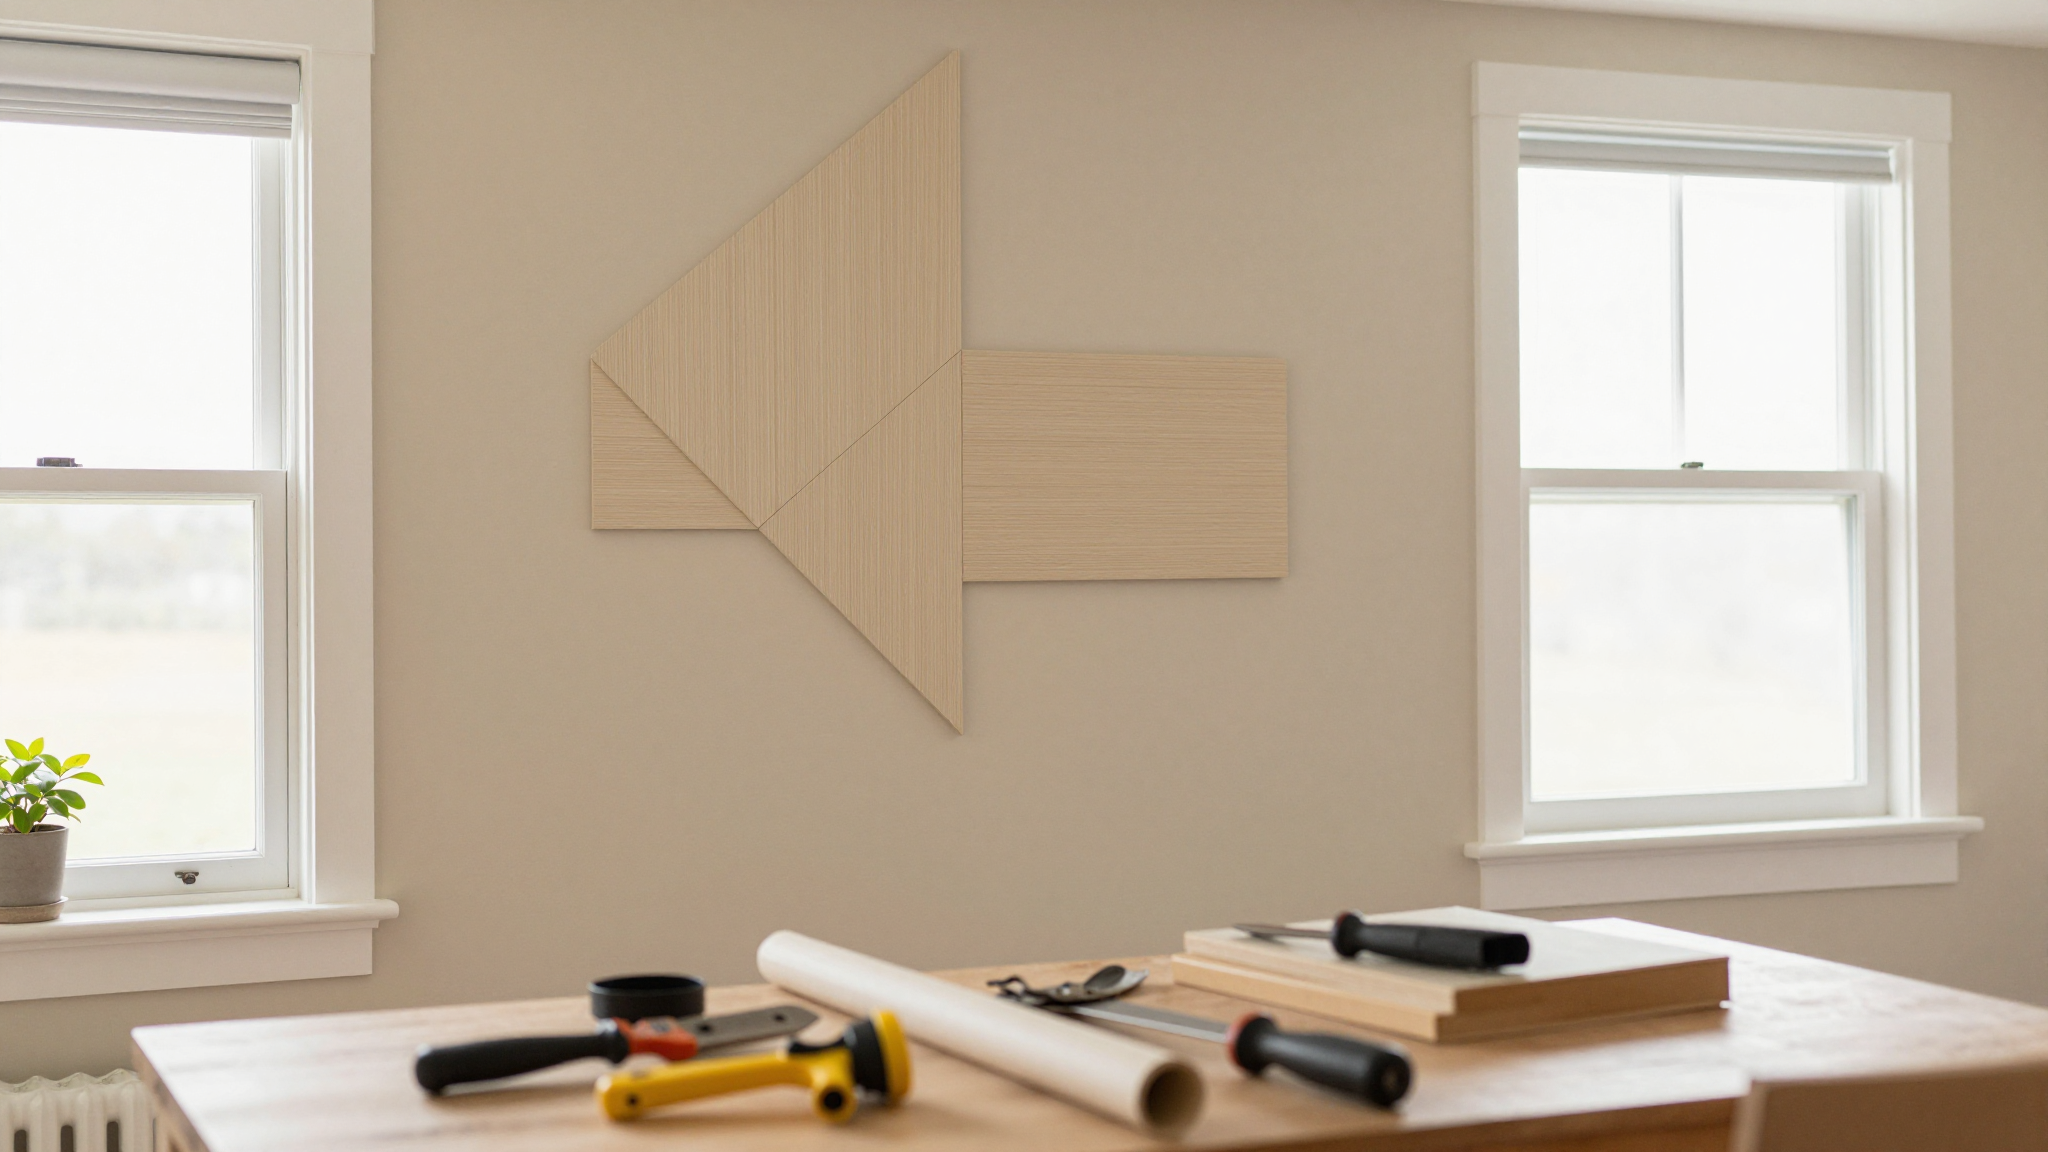
When we redid our bedroom, I wanted something bold but not too busy. I ended up choosing a triangular pattern because it creates movement and draws the eye upward, making the ceiling feel higher. For our guest room, I went with chevrons because they feel more classic and timeless.
Here are some patterns I’ve tried and loved:
- Triangles – Great for modern spaces. They create a sense of movement and can make a room feel larger.
- Chevrons – Classic and elegant. They work well in traditional and modern spaces alike.
- Hexagons – Add a touch of whimsy. They’re perfect for kids’ rooms or spaces where you want to add some fun.
- Stripes – Simple but effective. They can make a room feel taller or wider, depending on their orientation.
- Diamonds – Create a sense of depth. They work well in larger rooms where you want to add visual interest.
For our bedroom, I used a free online tool called Canva to sketch out my design. I created a simple diagram of the wall and played around with different triangle sizes until I found something I loved. You can find more pattern ideas in my post on 10 creative DIY accent wall ideas for every room.
Measuring and Sketching Your Design
This is where accuracy is key. I always measure my wall first to understand the dimensions I’m working with. Then I divide the wall into sections based on my pattern.
For our triangular pattern, I divided the wall into a grid. Each triangle was 24 inches wide at the base. I marked these measurements lightly with a pencil so I could see where each shape would go.
Pro tip: If you’re not great at math, use a graph paper notebook to sketch your design. It helps you visualize how everything will fit together. I keep one in my DIY binder for exactly this purpose.
Once I have my design sketched out, I transfer it to the wall using my laser level and pencil. I double-check all my measurements before I start taping. It’s much easier to fix a mistake on paper than on your wall!
Painting Your Geometric Masterpiece
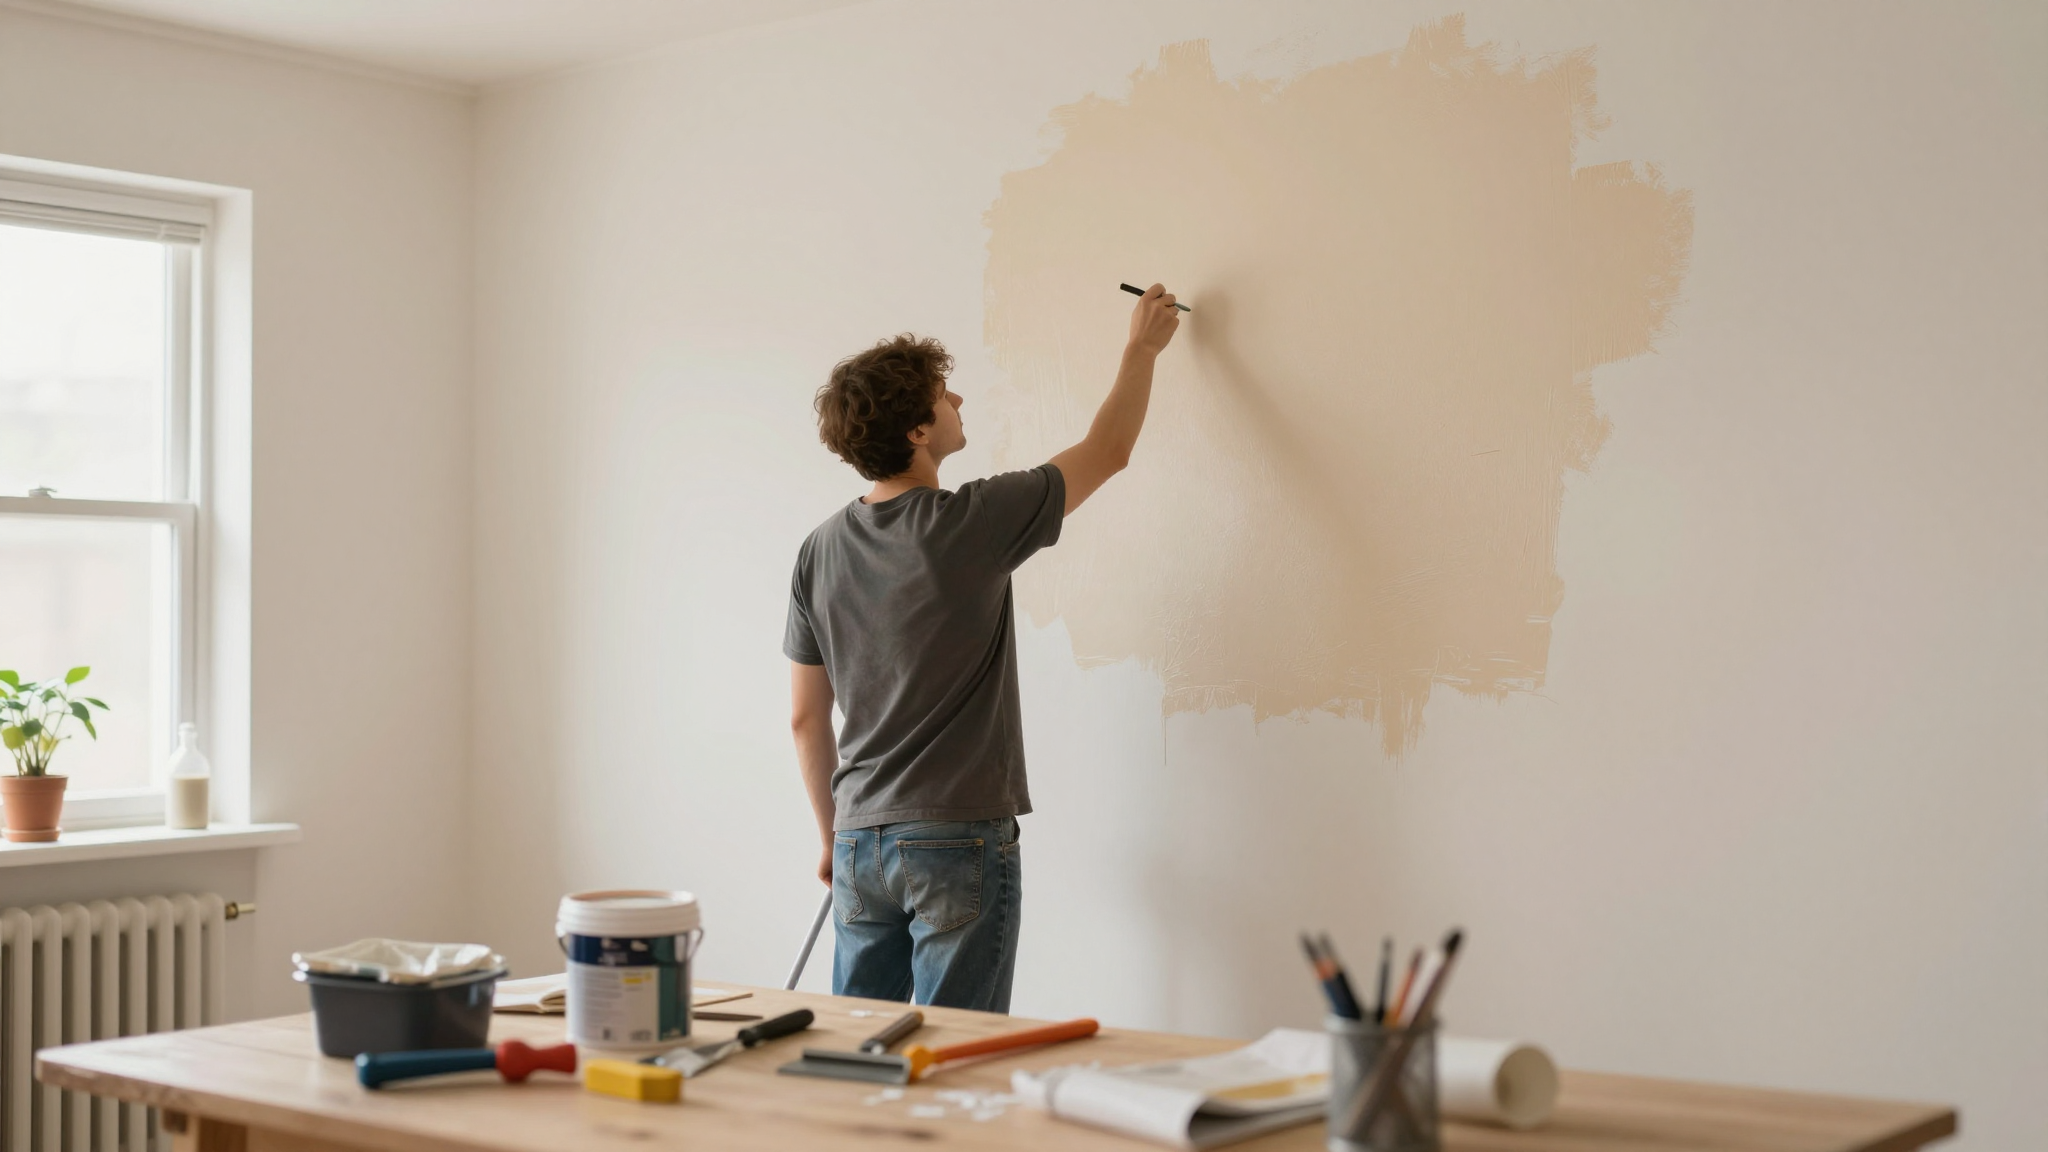
This is where the real magic happens. I always start with my lightest color first. It gives me a chance to see how the pattern is coming together and makes it easier to cover any mistakes with darker colors later.
My Painting Process (Step by Step)
- Cut in with your angled brush. I use my Purdy brush to paint along all the taped edges. This ensures clean lines and prevents paint from bleeding under the tape.
- Roll the main areas. I use my Wooster roller to fill in each shape. I work in small sections, making sure to overlap slightly to avoid visible lines.
- Let it dry. I always wait at least 4 hours between coats. This gives the paint time to cure properly and prevents smudging.
- Repeat for each color. I work from lightest to darkest, so any mistakes with the darker colors are less noticeable.
- Remove the tape. This is the most critical step. I wait until the paint is slightly tacky (but not wet) and pull the tape off at a 45-degree angle. This gives me those razor-sharp lines I love.
One thing I’ve learned is that patience is key. It’s tempting to rush, especially when you’re excited to see the final result. But taking your time makes all the difference in the quality of the finish.
I also keep a small fan in the room while the paint is drying. It helps prevent dust from settling on the wet paint, which can ruin your clean lines.
Fixing Mistakes (Because We All Make Them!)
Even with careful planning, mistakes happen. Here’s how I fix the most common issues:
- Paint bleeds under the tape: If this happens, let the paint dry completely, then carefully use a utility knife to scrape away the excess paint. Touch up with your original wall color.
- Uneven color coverage: I always do a second coat in any areas that look lighter. It’s better to be safe than sorry!
- Tape peels paint when removed: This usually means the paint was still too wet. Next time, wait a little longer before removing the tape.
- Visible roller marks: I use a barely damp roller to lightly go over the area again. It smooths out the texture without adding more paint.
If you’re really struggling with a mistake, don’t be afraid to paint over it. Sometimes the simplest solution is to start fresh in that section.
Final Touches (The Little Details That Make All the Difference)
Once the paint is completely dry, I do a final inspection of my work. I stand back and look at the wall from different angles to make sure everything looks even and the colors are balanced.
Touch-Ups and Final Adjustments
I always keep my small artist’s brush handy for any touch-ups. Even with the best taping job, you might have a few spots where the paint bled slightly. A little touch-up paint in the right spots can make all the difference.
I also like to add a final coat of polyurethane to protect the paint. It gives the wall a slight sheen and makes it easier to clean. I use Minwax Polycrylic because it’s water-based and dries clear.
Lighting Matters (A Lesson I Learned the Hard Way)
One thing I didn’t consider when I first did our geometric wall was how lighting would affect the colors. In the afternoon, the natural light made the navy blue look almost black, which was more dramatic than I expected. In the morning, the light was softer, and the colors looked more balanced.
If you’re unsure about your color choices, buy sample-size paints first. You can paint small sections on your wall and see how they look at different times of day. It’s a small investment that can save you from regretting your color choices later.
Inspiration for Your Next Project
Now that you’ve seen how I created our geometric accent wall, I hope you’re feeling inspired to try it yourself! If you’re looking for more ideas, here are a few of my favorite projects:
- For more wall ideas, check out my post on 10 creative DIY accent wall ideas for every room.
- If you love the look of geometric patterns but want something different, try adding wainscoting for a classic touch.
- For a completely different approach, consider updating your fireplace with paint and tile.
- If you’re feeling ambitious, you could even try a stair makeover for a dramatic transformation.
Remember, the most important thing is to have fun with your project. Don’t be afraid to experiment with colors and patterns. Your home should reflect your personal style, and there are no rules when it comes to creativity!
FAQs (Your Most Pressing Questions Answered)
What’s the best type of tape for creating sharp lines on my bedroom walls?
I swear by FrogTape, specifically their Deluxe Painter’s Tape. It’s a bit more expensive than the dollar store tape, but it’s worth every penny for those crisp, clean lines. I’ve tried cheaper tapes, and they always leave messy edges or peel the paint when I remove them.
How many coats of color should I apply for a bold, solid look?
For a really rich, solid look, I recommend at least two coats. I always let the first coat dry completely (usually 4 hours) before adding the second. This ensures even coverage and vibrant color. If you’re using darker colors, you might need a third coat in some areas.
Can I create a complex pattern if I’m new to DIY painting projects?
Absolutely! Start with something simple like large triangles or stripes to build your confidence. I actually started with a basic stripe pattern in our hallway before moving on to more complex designs. The key is to practice on a small section first and take your time. Don’t be afraid to make mistakes – that’s how you learn!
How long should I wait before removing the tape after painting?
This is tricky. You want to wait until the paint is slightly tacky but not wet. If you wait until it’s completely dry, the tape can peel the paint. I usually wait about 2-3 hours after the final coat, but it depends on your paint and the conditions in your room. A good rule of thumb is to touch the paint – if it feels slightly sticky but not wet, it’s ready for tape removal.
What if some paint bleeds under the tape?
Don’t panic! This happens to everyone. Let the paint dry completely, then use a utility knife to carefully scrape away any excess paint that bled under the tape. You can touch up with your original wall color using a small artist’s brush. It’s amazing how a little touch-up can make everything look perfect.
Where can I find inspiration for different geometric designs?
I love browsing Pinterest for geometric wall ideas. I have a board dedicated just to accent walls, and I save images that inspire me. You can also look at Instagram using hashtags like #geometricwall or #accentwall. Don’t be afraid to mix and match ideas to create something unique for your space!
If you try this project, I’d love to see your results! Tag me on Instagram at @christinaprojects and use the hashtag #ChristinaProjects. I always love seeing how others interpret these ideas.
Happy painting! Remember, the most important thing is to have fun and enjoy the process. Your home should be a reflection of your personality, and there’s no wrong way to express that.