
15 DIY Organizers That Actually Work (I Tried Them All)
Let me tell you about the time I spent an entire weekend reorganizing my craft room,only to have it look exactly the same by Monday. The problem wasn’t the space (though my basement is about as cozy as a shoebox). It was that I kept trying to force generic storage solutions into a space that needed something more personal. After three failed attempts, I finally realized: my craft room needed organizers that worked for me, not just for some Pinterest-perfect ideal.
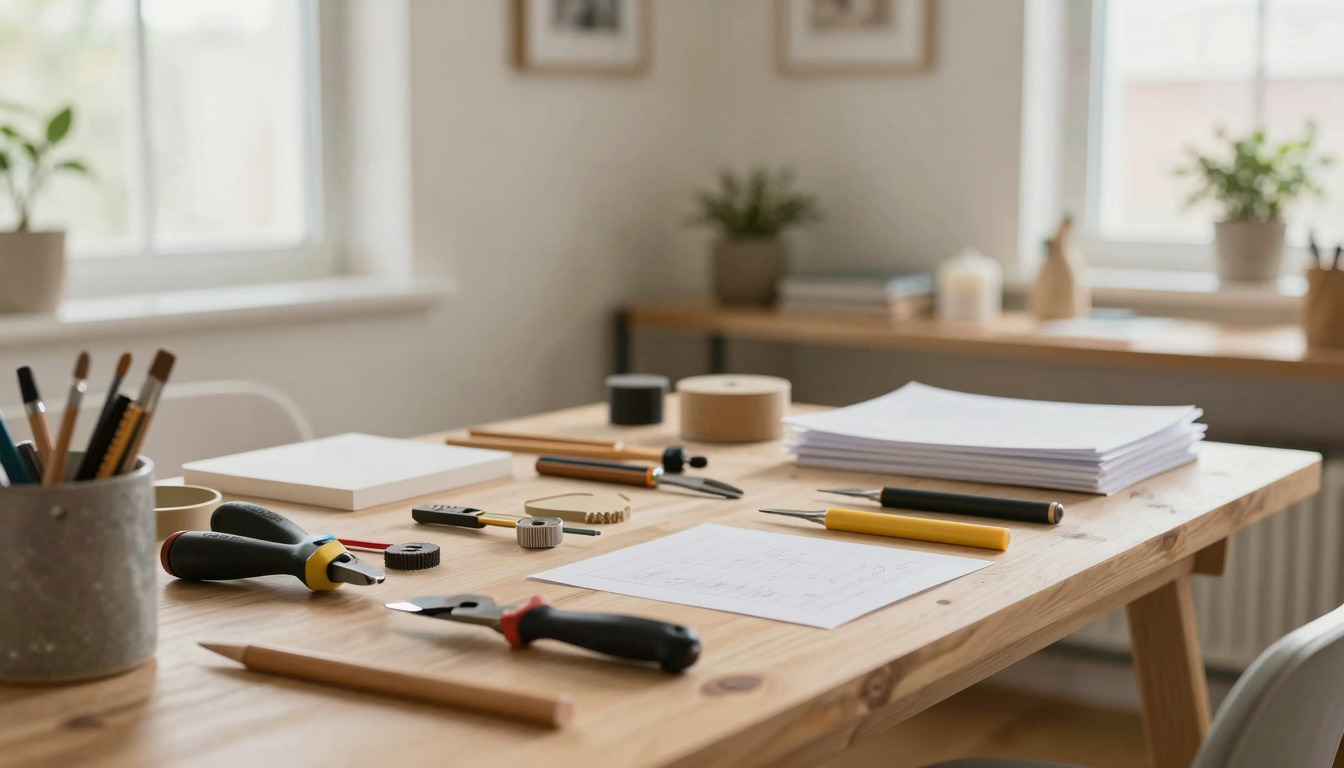
That’s when I started building my own systems. Some worked beautifully (like my pegboard wall that now holds every pair of scissors I own). Others? Well, let’s just say my first attempt at a DIY rolling cart had wheels that fell off before I even got it out of the garage. But through trial and error,and a lot of YouTube tutorials,I figured out what actually makes a difference in a real, lived-in craft space.
What I’ve learned is that the best organizers aren’t just about looking cute (though that helps). They’re about saving time, reducing frustration, and actually making your creative process easier. Whether you’re working in a spare bedroom, a basement nook, or a closet that’s seen better days, these 15 DIY projects will help you create a space that works as hard as you do.
And here’s a secret: you don’t need to do all of them. Pick one or two that fit your biggest pain points. My first project was a simple wall-mounted grid for my most-used tools,it cut my setup time in half. What will you tackle first?
Before You Start: What I Wish I Knew
I’ll be honest,my first few attempts at organizing my craft room were disasters. I bought expensive bins that didn’t fit anything, installed shelves in the wrong spots, and ended up with more clutter than when I started. Here’s what I’ve learned the hard way:
- Measure everything twice. I once bought beautiful floating shelves that were 2 inches too short for my wall. Now I use a laser measure (yes, it’s a game-changer) and sketch my space to scale before cutting anything.
- Start with what you actually use. That $50 bin set for “future projects” collected dust for a year. Now I only organize what I reach for weekly.
- Embrace imperfection. My pegboard wall isn’t perfectly level, and my paint job has a few streaks. But it works, and that’s what matters.
One thing that helped me was reading about how other makers organize their spaces. Check out these posts for more inspiration:
5 DIY Projects to Instantly Add Charm to Your Home and
Easy DIY Projects to Give Your Bedroom a Makeover for ideas that might work in your craft space too.
15 DIY Organizers That Actually Make a Difference
These projects are all ones I’ve tested in my own craft room. Some took less than an hour, others were weekend projects, but all of them made a real difference in how I work. I’ve included my honest thoughts on each,what worked, what didn’t, and how you can adapt them to your space.
1. The Pegboard Command Center
This was my first big project, and it’s still my favorite. I used a 4×8-foot pegboard from Home Depot (about $30) and mounted it above my worktable. The key was planning the layout first,I used painter’s tape to map out where I’d hang my most-used tools before drilling any holes.
What I love: Everything I need is within arm’s reach. My scissors, rulers, and thread spools all have designated spots, so I’m not digging through drawers anymore.
What I’d do differently: I wish I’d invested in better hooks. The cheap ones I bought at first kept falling out. Now I use these heavy-duty hooks that stay put.
Pro tip: Use different colored hooks for different categories (red for cutting tools, blue for measuring, etc.). It makes finding what you need faster.
2. The Upcycled Dresser Workstation
I found this old dresser at a thrift store for $20. It was missing a few knobs and had some water damage, but the structure was solid. I sanded it down, painted it a cheerful yellow (my kids picked the color), and added new hardware.
What makes it work: The drawers are perfect for organizing smaller items like buttons, beads, and washi tape. I labeled each drawer with a chalkboard label so I can change the categories as my projects evolve.
What I learned: Don’t skip the sanding step! I rushed through it on the first dresser I tried, and the paint didn’t stick well. Take your time with prep work,it makes all the difference.
See how I transformed another piece of furniture in my post on
Upcycling Furniture Tips for a Professional-Looking Finish.
3. The Magnetic Tool Strip
This was a $10 fix that saved me so much time. I installed a magnetic strip above my cutting mat, and now all my metal tools (scissors, rotary cutters, tweezers) have a home. No more digging through drawers or losing things under piles of fabric.
What I love: It’s so simple, but it’s one of the most useful things I’ve added. I can see at a glance what tools I have available.
What to watch for: Make sure your strip is strong enough for your heaviest tools. I had to return my first one because it couldn’t hold my largest scissors.
4. The Hanging Basket System
I used a tension rod and some baskets from Target to create a hanging organizer for my smaller supplies. It’s perfect for things like glue sticks, markers, and embroidery floss that I use often but don’t want to take up drawer space.
What works well: The baskets are easy to take down when I need to clean or reorganize. And because they’re hanging, they don’t take up any floor or table space.
What I’d change: I wish I’d chosen baskets with more depth. The shallow ones I picked are great for small items, but they’re not ideal for larger supplies.
5. The Tiered Cart for Small Spaces
This was my solution for my tiny craft nook. I built a three-tier cart using wood from the hardware store and casters from Amazon. It rolls out when I need it and tucks away when I don’t.
What I love: It gives me extra storage without taking up permanent space. I keep my most-used supplies on the top tier, less-frequent items on the middle, and bulkier things on the bottom.
What I learned: Don’t skimp on the casters. I initially bought the cheapest ones I could find, and they kept getting stuck. Now I use these
heavy-duty casters, and they glide smoothly.
6. The Fabric Bolt Organizer
I had a problem with my fabric bolts always toppling over. My solution was to build a simple wooden rack that holds them upright. It’s just two vertical boards with horizontal slats, but it’s one of the most useful things I’ve made.
What works: The fabric stays organized and easy to access. I can see all my colors at a glance, which makes it easier to pick what I need for a project.
What to consider: Make sure your rack is wide enough for your largest bolts. Mine is 18 inches wide, which works perfectly for the fabrics I use most often.
7. The Chalkboard Label System
This was a game-changer for keeping my supplies organized. I bought some small chalkboard labels and attached them to all my bins and drawers. Now I can quickly see what’s inside each one and update the labels as my storage needs change.
What I love: It’s so much easier than trying to remember what’s in each container. And when I need to reorganize, I can just erase and rewrite the labels.
What to try: I also use color-coding with my labels. For example, all my sewing supplies have green labels, my paper crafts have blue, and my painting supplies have red. It makes finding things even faster.
8. The Under-Table Storage
I have a small folding table that I use for cutting. Underneath it, I installed a series of shallow bins on wheels. They hold all my cutting mats, rulers, and other large supplies that I don’t want to take up table space.
What works well: The bins are easy to pull out when I need them, and they tuck away neatly when I’m not using them. The wheels make it easy to move them around if I need to.
What to consider: Make sure your bins are shallow enough to fit under your table. Mine are 6 inches deep, which works perfectly for my setup.
9. The Wall-Mounted Spice Rack for Thread
I had a problem with my thread spools always getting tangled. My solution was to repurpose an old spice rack. I mounted it on the wall and used the little hooks to hold my thread spools. Now they stay organized and untangled.
What I love: It’s so much easier to see all my thread colors at a glance. And because it’s on the wall, it doesn’t take up any table or shelf space.
What to try: I also use this system for my embroidery floss. It keeps everything organized and easy to access.
10. The DIY Cutting Mat Holder
I used to struggle with my cutting mats always sliding around or getting damaged. My solution was to build a simple wooden holder that keeps them upright and protected. It’s just a wooden frame with a slot for the mat to slide into.
What works well: My mats stay clean and undamaged, and they’re easy to access when I need them. I can see all my mats at a glance, which makes it easier to pick the right one for a project.
What to consider: Make sure your holder is wide enough for your largest mat. Mine is 24 inches wide, which works perfectly for the mats I use most often.
11. The Hanging Tool Caddy
I found an old shoe organizer at a thrift store and turned it into a hanging tool caddy. I mounted it on the wall and used the pockets to hold all my small tools like scissors, tweezers, and glue guns.
What I love: It’s so much easier to see all my tools at a glance. And because it’s on the wall, it doesn’t take up any table or shelf space.
What to try: I also use this system for my paintbrushes. It keeps them organized and easy to access.
12. The DIY Fabric Scrap Organizer
I had a problem with my fabric scraps always getting lost or tangled. My solution was to build a simple wooden box with compartments. I keep my scraps organized by color and type, which makes it so much easier to find what I need.
What works well: My scraps stay organized and easy to access. And because it’s on the wall, it doesn’t take up any table or shelf space.
What to consider: Make sure your compartments are the right size for your scraps. Mine are 6 inches deep, which works perfectly for the scraps I use most often.
13. The Magnetic Knife Strip for Craft Knives
I had a problem with my craft knives always getting lost. My solution was to install a magnetic knife strip on the wall. Now all my knives have a home, and I can see them at a glance.
What I love: It’s so much easier to find the right knife for a project. And because it’s on the wall, it doesn’t take up any table or drawer space.
What to try: I also use this system for my metal rulers and other magnetic tools.
14. The DIY Paper Organizer
I had a problem with my paper always getting wrinkled or damaged. My solution was to build a simple wooden box with slots for different sizes of paper. I keep my paper organized by type and size, which makes it so much easier to find what I need.
What works well: My paper stays flat and undamaged. And because it’s on the wall, it doesn’t take up any table or shelf space.
What to consider: Make sure your slots are the right size for your paper. Mine are 11 inches wide, which works perfectly for the paper I use most often.
15. The DIY Inspiration Board
This was my final project, and it’s become one of my favorites. I built a simple wooden frame and covered it with corkboard. Now I can pin up my favorite fabric swatches, color palettes, and project ideas. It’s become my go-to spot for brainstorming new projects.
What I love: It’s so much easier to see all my ideas in one place. And because it’s on the wall, it doesn’t take up any table or shelf space.
What to try: I also use this system for my mood boards. I can pin up photos, fabric swatches, and other inspiration to help me plan my projects.
What I’ve Learned About Organizing My Craft Room
After testing all these organizers, I’ve learned a few key things that have made a big difference in how I work:
- Start with what you actually use. Don’t organize for the projects you “might” do someday. Focus on what you’re working on now.
- Make it easy to put things away. If it’s a hassle to organize, you won’t do it. My pegboard and magnetic strip are so easy to use that I actually put things back where they belong.
- Label everything. Even if you think you’ll remember where something goes, label it. Trust me, you won’t.
- Embrace imperfection. My craft room isn’t perfect, and that’s okay. What matters is that it works for me.
- Reassess regularly. My needs change over time, and so does my organization. I try to do a quick review every few months to see what’s working and what’s not.
One thing that’s helped me keep my space organized is reading about other people’s setups. Check out these posts for more ideas:
Creative Gallery Wall Ideas: A Step-by-Step Guide and
How to Build a Farmhouse-Style Coffee Table for inspiration that might work in your craft space too.
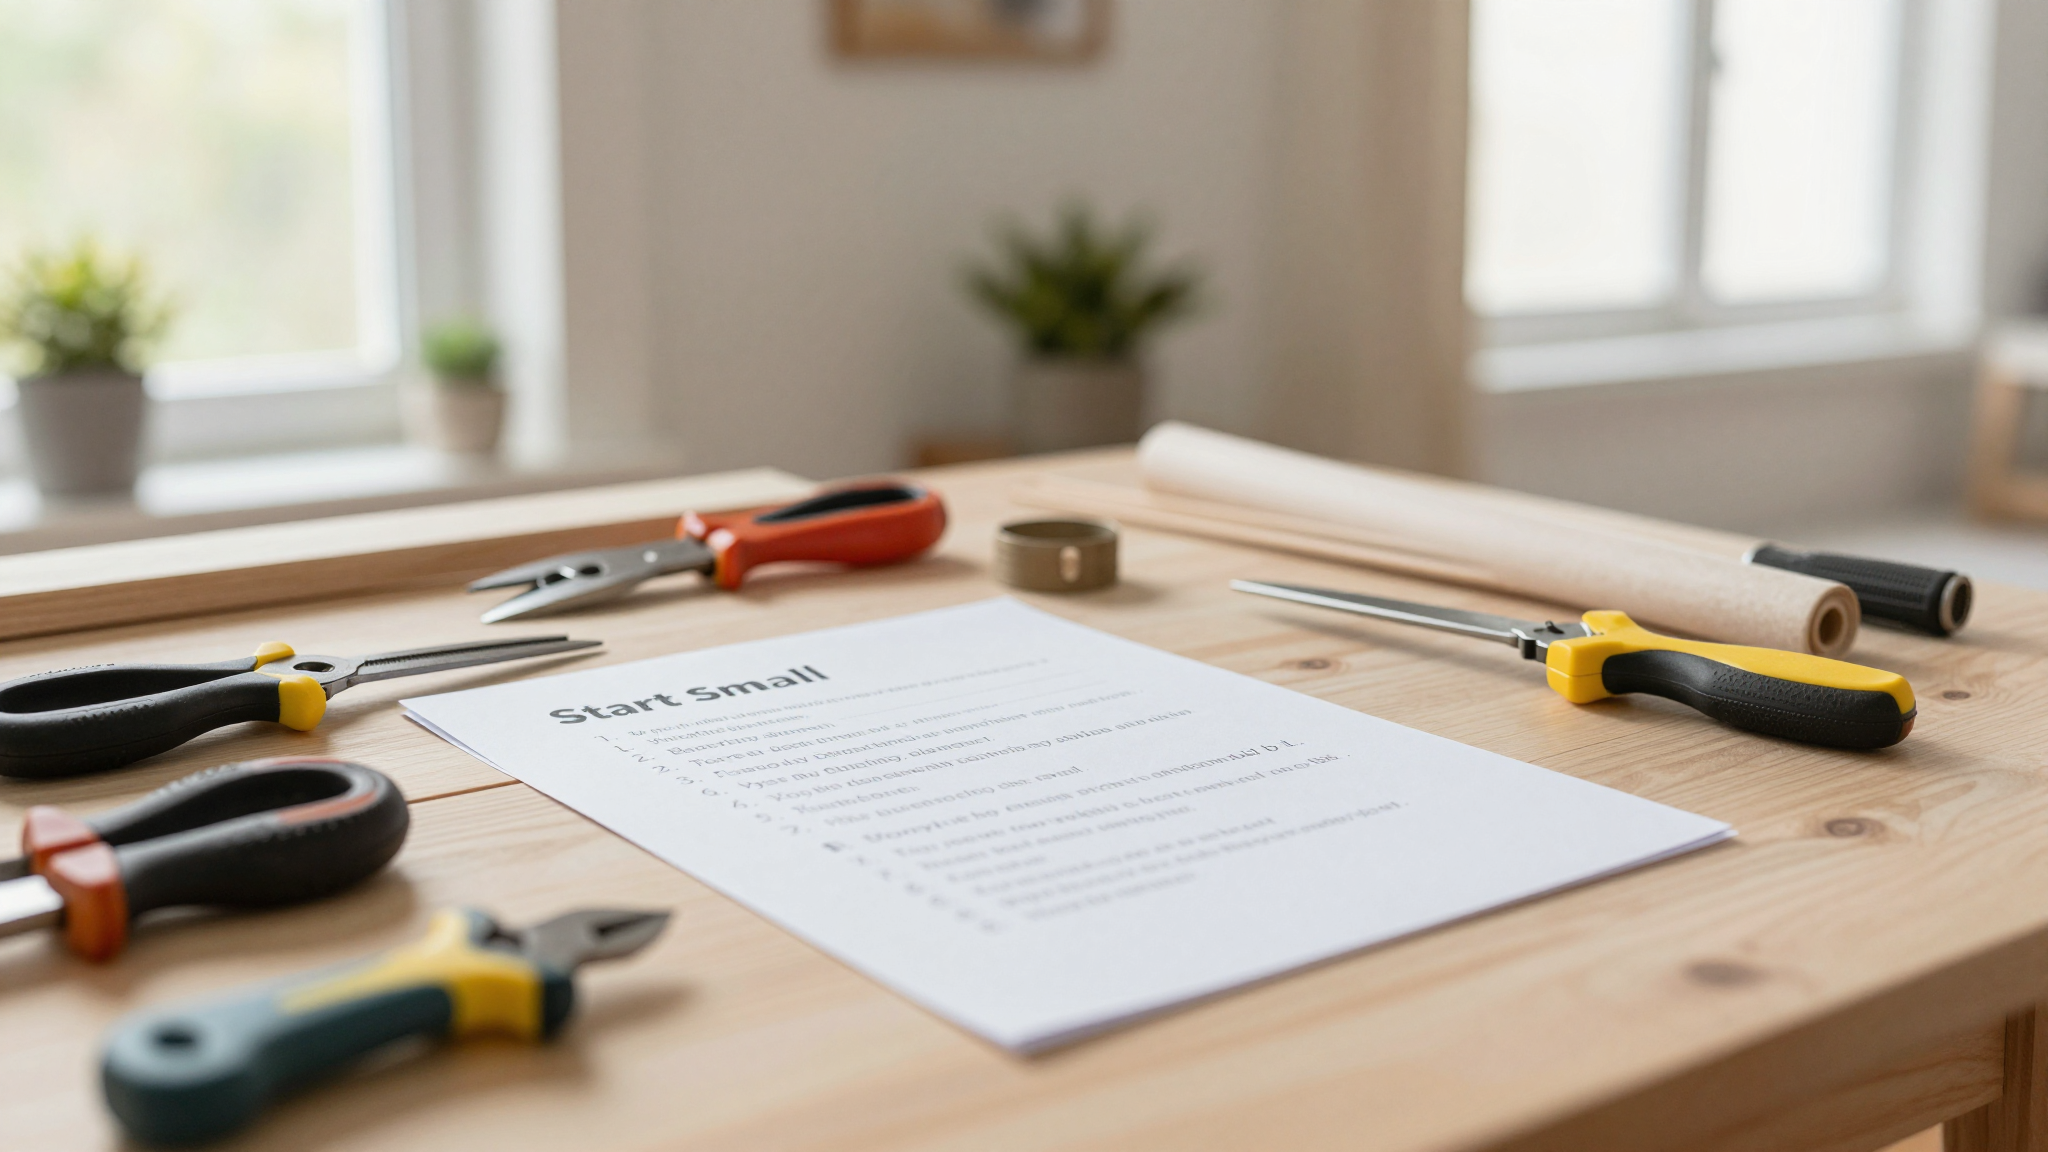
Final Thoughts (and What to Do Next)
If you’re feeling overwhelmed by the thought of organizing your craft room, start small. Pick one or two projects from this list that will make the biggest difference for you. My first project was the pegboard wall, and it made such a big impact that I was motivated to keep going.
Remember, the goal isn’t to have a Pinterest-perfect space. It’s to create a place that works for you, makes your creative process easier, and brings you joy. My craft room is far from perfect, but it’s a space that I love spending time in,and that’s what matters.
Now, which project are you going to tackle first? Grab your tools, pick something that excites you, and get started. Your perfect craft room is just a few DIY hours away!
Frequently Asked Questions
How do I start organizing a small creative space?
Start by measuring your space and making a list of what you use most often. Use vertical storage like pegboards or shelves to maximize your space. Clear bins and labeled drawers help keep things visible and tidy. And don’t forget to think about your workflow,arrange your space so that the tools you use most are within easy reach.
What’s an easy DIY project for beginners?
One of the easiest projects is repurposing old jars or shoeboxes into storage containers. You can paint them or cover them with fabric to give them a personalized touch. Another simple project is building basic open shelving with reclaimed wood. It’s a great way to add storage without spending a lot of money.
How can I make my setup more flexible?
Invest in mobile carts with wheels or a foldable table. These let you adapt your layout for different tasks or store them easily when not in use. Dual-purpose furniture, like a desk with built-in drawers, adds versatility. I also love using bins and baskets that can be easily moved around as my needs change.
What’s the best way to use vertical areas?
Install pegboards to hang tools, baskets, or thread organizers. Floating shelves above workstations hold frequently used items. Magnetic strips on walls can secure scissors, rulers, or metal containers. I also love using the space above my door for additional storage,it’s a great spot for things I don’t use as often.
How do I personalize my storage without overspending?
Thrift stores are goldmines for unique baskets, trays, or furniture to upcycle. Use removable wallpaper, stencils, or acrylic paint to add patterns or pops of color. Mix functional pieces with decorative accents like plants or framed art. One of my favorite budget-friendly upgrades was painting my old dresser a bright color,it made such a big difference!
Can tech improve my creative zone?
Absolutely! Smart lighting like adjustable LED strips reduces eye strain. Apps like Evernote or Trello help track projects, while drawer dividers and label makers keep supplies sorted. I use a sunrise simulator lamp at my desk,it helps me wake up gently in the morning and sets a great mood for creative work.
How do I maintain flow in a shared area?
Define zones using rugs, curtains, or furniture placement. Keep pathways clear and store bulky items under tables or in closets. Assign specific spots for each activity, like cutting, sewing, or sketching, to avoid overlap. I also find that having a “clean-up station” where everyone puts their tools away at the end of the day helps keep things tidy.
What’s a quick fix for overwhelming clutter?
Sort items into “keep,” “donate,” and “trash” piles. Use stackable bins or hanging organizers for immediate tidying. Schedule 10-minute daily cleanups to prevent messes from building up again. I also find that setting a timer for 20 minutes and just tackling one area at a time makes a big difference. Before you know it, you’ll have made real progress!