
Replacing Your Bathroom Vanity: A Real Mom’s Weekend Project
Let me tell you about the time I replaced our bathroom vanity in a single weekend,with two kids underfoot and a husband who “helped” by holding the flashlight at exactly the wrong angles. It wasn’t pretty at first, but by Sunday evening, we had a space that actually made me want to spend time in there (which, as a mom of three, is saying something).
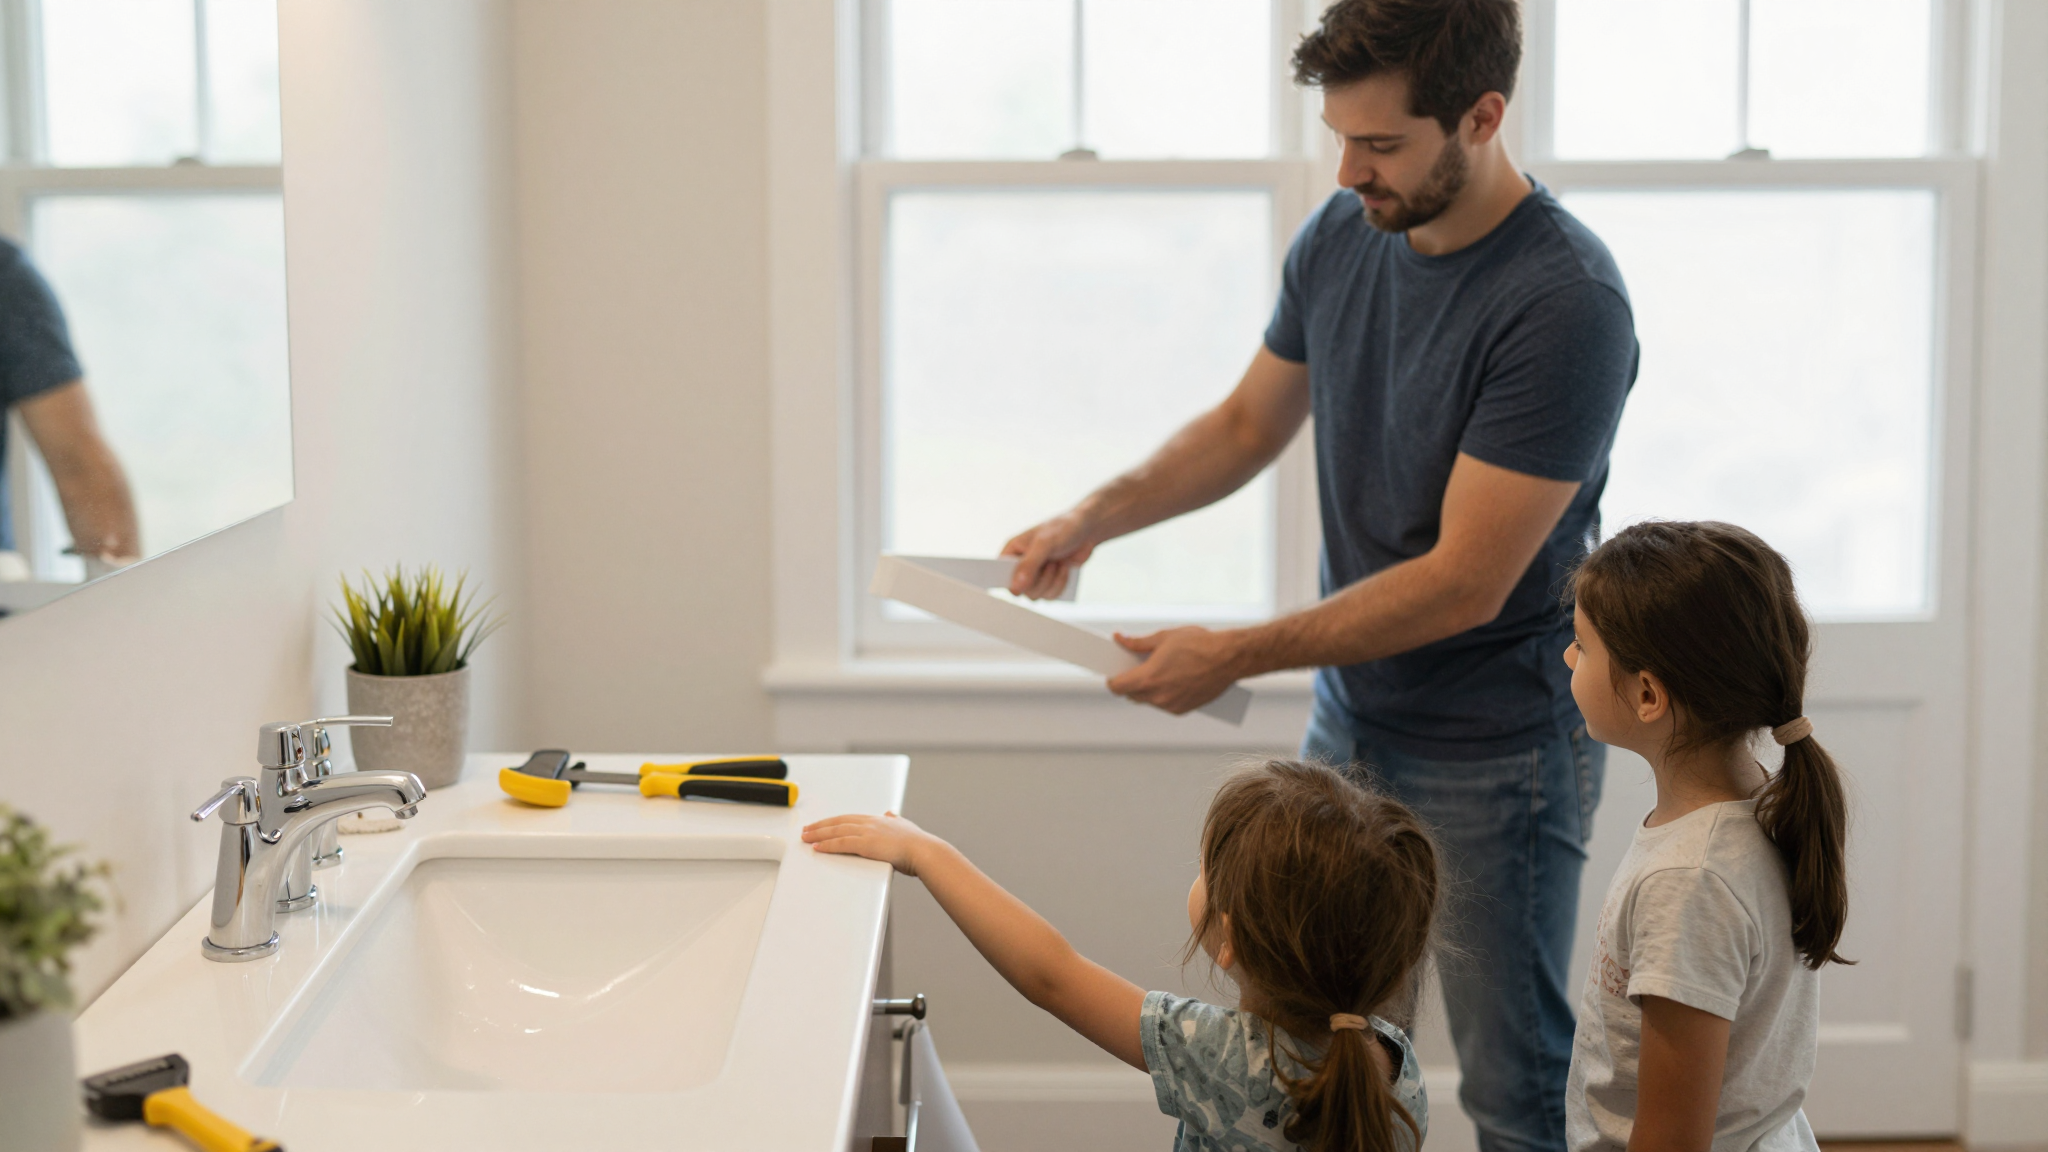
This wasn’t some fancy renovation with a designer budget. It was me, a $350 vanity from Home Depot, and a lot of YouTube tutorials played on repeat. The best part? It made our whole bathroom feel fresh without tearing out walls or dealing with weeks of construction dust. If I can do it, so can you.
I’ll walk you through exactly what I did,including the mistakes I made (like forgetting to turn off the water until I had a mini flood) and the little tricks that saved me time and money. By the end, you’ll have a vanity that not only looks great but actually works for your family’s daily chaos.
Why I Chose to Replace Our Vanity (And Why You Might Too)
Our original vanity was one of those builder-grade white boxes that came with the house. It was fine,functional, I guess,but after eight years, the drawers stuck, the paint was chipped, and it just looked… tired. Every time I walked in, it felt like a reminder of all the other things in our house that needed updating.
I knew a full bathroom remodel wasn’t in the cards (hello, college funds), but I also knew that swapping out the vanity would make the biggest visual impact for the least amount of work. And honestly? I was tired of banging my knees on that stupid corner every time I needed to brush my teeth.
Here’s what I learned from the process:
- It really can be done in a weekend,if you’re organized and don’t get distracted by the kids’ 17th request for snacks.
- You don’t need to be a plumber or a carpenter. Just be willing to YouTube “how to disconnect P-trap” at 7 AM on a Saturday.
- The right vanity can completely change how your bathroom feels,like instant spa vibes without the spa prices.
- I saved $200 by painting the new vanity myself instead of buying a pre-finished one. (More on that later,trust me, the paint fumes were worth it.)
If you’re on the fence about whether this project is worth your time, ask yourself: Do I love walking into my bathroom? Does it feel like a place I want to spend time, or just a necessary evil? For me, the answer was a resounding “necessary evil,” and that was all I needed to know.
For more small projects that make a big impact, check out my 5 DIY projects to instantly add charm to your home. Some of them take even less time than this vanity swap!
Tools and Materials: What I Actually Used (And What You Can Skip)
Before I started, I made the mistake of buying every “essential” tool the internet said I needed. Spoiler: I only used about half of them. Here’s what actually made a difference:
Must-Have Tools
- Adjustable wrench – For disconnecting plumbing. I used my husband’s old one, which was rusty but did the job.
- Pry bar – The cheap $10 one from Harbor Freight worked fine for popping off the old vanity.
- Drill with screwdriver bits – I used my DeWalt drill (yes, I splurged on it, and it’s been worth every penny).
- Level – A $5 bubble level from the hardware store saved me from a crooked vanity.
- Bucket and towels – Because I did forget to turn off the water at first. (Don’t be like me.)
- Silicone caulk and caulk gun – The cheap caulk dried out halfway through, so I learned to spring for the $8 tube of GE Advanced.
- Shims – These little wooden wedges saved me when our floor wasn’t perfectly level.
Nice-to-Have (But Not Essential)
- Stud finder – I used the one built into my drill, but a separate one is handy if you don’t have that.
- Pipe cutter – I borrowed my neighbor’s instead of buying one.
- Plumber’s putty – I didn’t need it for my sink, but it’s good to have on hand.
- Safety glasses – I wore them once, then took them off because they kept fogging up. (Don’t tell my kids I admitted that.)
Pro tip: If you’re like me and hate running to the hardware store 17 times, grab these basics first:
- A 5-gallon bucket for water (trust me)
- Extra towels (you will spill water)
- Painter’s tape (to protect walls and floors)
- A drop cloth (I used an old shower curtain)
For the vanity itself, I went with a 36-inch wide, 21-inch deep model from Home Depot. It had two drawers and a cabinet below, which was perfect for our family of five. I measured our space three times to make sure it would fit through the doorway (nothing worse than realizing your new vanity won’t fit after you’ve already bought it).
If you’re not sure what size to get, measure your current vanity and add 2 inches to the width for clearance. And for the love of all things holy, measure the distance from the wall to the center of your drain pipe. This “rough-in” measurement is critical, and I’ve seen too many people buy a vanity that doesn’t line up with their plumbing.
Choosing a Vanity: What I Looked For (And What I Ignored)
I spent way too much time scrolling through vanity options online, so let me save you some time. Here’s what I focused on,and what I decided didn’t matter as much as I thought:

What Actually Matters
- Storage – We have five people in our house, so I needed at least two drawers and a cabinet below. If you’re a minimalist, you might get away with less.
- Material – I chose a painted MDF (medium-density fiberboard) vanity because it was affordable and easy to customize. Solid wood would’ve been prettier but way out of my budget.
- Sink type – I went with a drop-in sink because it was easier to install than an undermount. (Undermounts look sleeker, but they require more precise cutting.)
- Color – I picked a soft white because it would go with any future updates. If you love bold colors, go for it,but remember, you can always paint it later!
- Hardware – I splurged on brass knobs and pulls from Anthropologie (yes, really). They made the whole vanity look more expensive.
What I Overcomplicated (And You Shouldn’t)
- Brand – I stress-checked every review for every brand. Turns out, most vanities are fine as long as they’re sturdy and fit your space.
- Style trends – I almost bought a trendy two-tone vanity, but I’m glad I stuck with classic white. Trends fade, but a neutral vanity will always work.
- Extra features – Some vanities have built-in soap dispensers or hidden trash cans. Cute, but not worth the extra $100 for me.
If you’re not sure what style you want, browse my bedroom makeover ideas for inspiration. A lot of the same design principles apply,think about what makes you happy when you walk into a space.
Step 1: Removing the Old Vanity (Without Flooding Your Bathroom)
This was the part I was most nervous about. I’d seen too many DIY videos where people forgot to turn off the water and ended up with a mess. So, I made a checklist to keep myself on track:
My Pre-Removal Checklist
- Turn off the water – I double-checked the valves under the sink and the main shutoff for the house. (Yes, I turned off the wrong one first. No, I don’t want to talk about it.)
- Disconnect the plumbing – I placed a bucket under the P-trap to catch any leftover water. Then I used my adjustable wrench to loosen the connections. It was tighter than I expected, so I had to spray it with PB Blaster to get it to budge.
- Remove the sink – I unscrewed the faucet and pop-up drain, then lifted the sink out. It was heavier than I thought, so I had my husband help (even though he “just wanted to watch”).
- Take off the cabinet – I used a pry bar to pop off the old vanity from the wall. It came off easier than I expected, but I still had to wiggle it a bit to get it through the doorway.
- Clean up the space – I scrubbed the subfloor and walls where the old vanity had been. There was a surprising amount of grime back there!
Mistake I made: I didn’t take photos of how the plumbing was connected before I disconnected it. Next time, I’m snapping pictures so I know exactly how to put it back together.
If you’re worried about the plumbing, don’t be. It’s simpler than it looks. Just go slow, and don’t force anything. If a connection won’t budge, spray it with PB Blaster and let it sit for 10 minutes. It works like magic.
Step 2: Installing the New Vanity (And Fixing My Mistakes)
This is where things got real. I had the new vanity in the bathroom, the old one out, and suddenly, I was second-guessing everything. But here’s what I did to get it right:
Positioning the Vanity
First, I slid the new vanity into place. It was a tight fit, and I had to tilt it to get it through the doorway. (Pro tip: Measure the doorway and the vanity before you buy. I was lucky mine fit, but I know people who weren’t.)
Then, I used my level to check that it was even front to back and side to side. Our floor wasn’t perfectly level, so I had to shim one side up with a thin piece of wood. It took a few tries to get it just right, but once it was level, I felt like I was making progress.
Securing the Vanity to the Wall
This was the part that stressed me out the most. I didn’t want the vanity to wobble or, worse, pull away from the wall. So, I:
- Marked where the wall studs were with a pencil (I used an electronic stud finder for this).
- Pre-drilled holes into the studs so the screws would go in smoothly.
- Used the mounting hardware that came with the vanity to secure it to the wall. I tightened the screws until the vanity was snug but not so tight that it cracked the cabinet.
Mistake I made: I didn’t check the back of the vanity for any obstructions before I secured it. There was a little lip that hit the wall, so I had to loosen the screws and adjust it. Live and learn!
Reconnecting the Plumbing
This was the moment of truth. I reconnected the P-trap and supply lines, making sure everything was tight but not over-tightened (which can crack the pipes). Then I turned the water back on and crossed my fingers.
I had a little leak at first, but I fixed it by adding a bit more plumber’s tape to the threads. (I should’ve used it the first time, but I was in a hurry.) After that, everything held tight, and I didn’t have any more water emergencies.
If you’re not confident about the plumbing, don’t be afraid to call a plumber for this part. It’s worth the $100 to avoid a flood.
Step 3: The Finishing Touches (Where the Magic Happens)
Now came the fun part,making the vanity look like it belonged in our bathroom. Here’s how I did it:
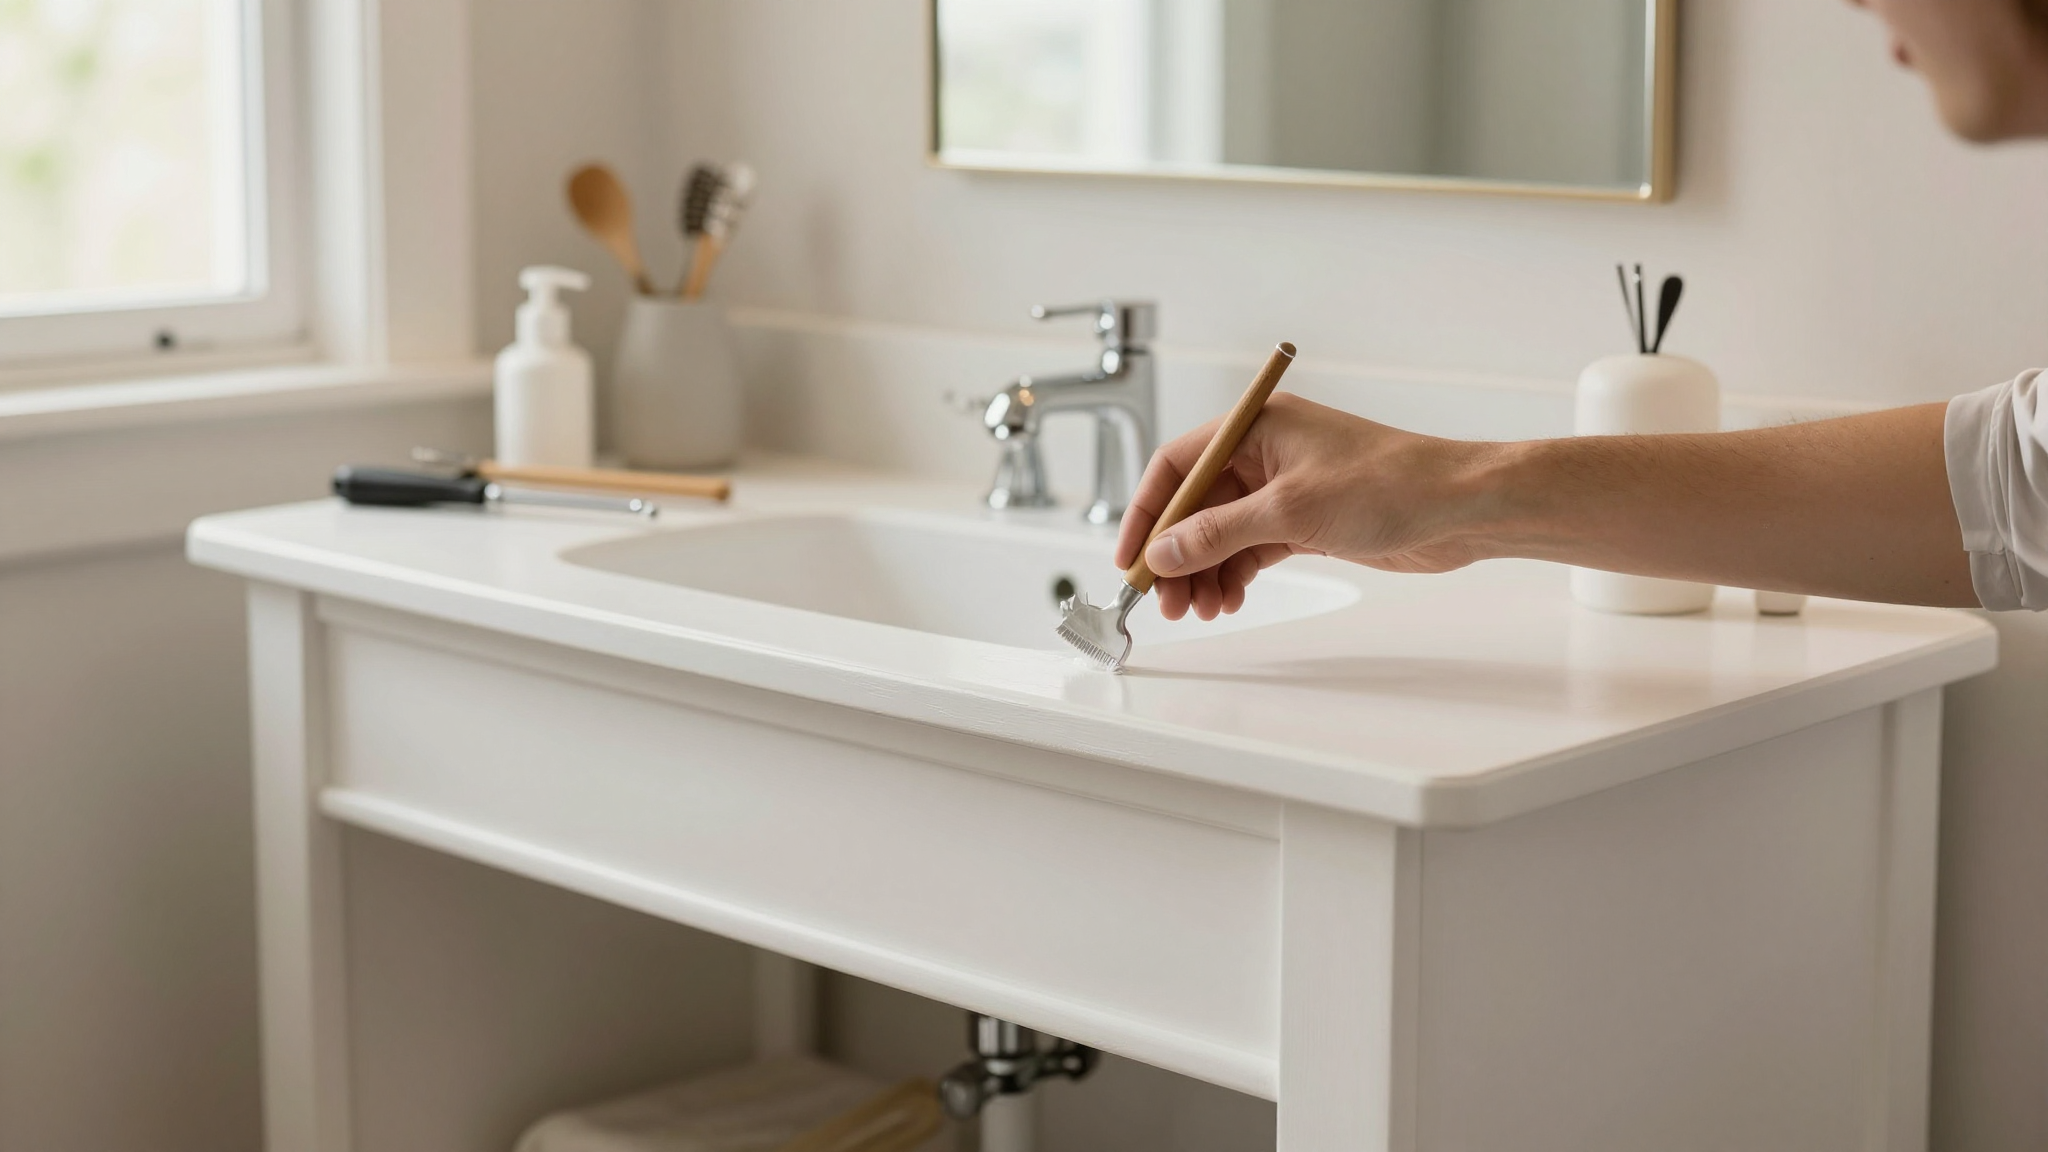
Painting the Vanity
I decided to paint the vanity to match the rest of our bathroom. I used Behr Marquee in “White Dove” (a warm white that’s not too stark). Here’s what I learned:
- Sand the surface first. I used 120-grit sandpaper to scuff up the old finish so the paint would stick.
- Use a high-quality primer. I skipped this step the first time and had to repaint. Don’t be like me,always prime before painting.
- Use a small foam roller for the cabinet and a detail brush for the edges. It took me two coats, but the finish looked smooth and professional.
- Let it dry completely before reassembling. I was impatient and tried to put the drawers back too soon. The paint smudged, and I had to touch it up.
For the drawers, I took them off and painted the inside and outside. I also added new soft-close hinges (a game-changer for a house with kids who slam doors).
Adding New Hardware
This was the easiest part but made the biggest difference. I swapped out the basic knobs that came with the vanity for brass cup pulls from Anthropologie. They cost $12 each, but they look like they belong in a high-end hotel.
I measured carefully to make sure all the knobs and pulls were at the same height. I used a template (just a piece of cardboard with holes cut out) to keep everything aligned. It took a little extra time, but it was worth it for a polished look.
Sealing the Deal
After the paint was dry, I sealed the vanity with Minwax Polycrylic in a satin finish. This protected it from moisture and gave it a nice sheen. I applied two thin coats with a foam brush, letting each one dry completely.
Finally, I caulked around the edges of the vanity where it met the wall and countertop. I used GE Advanced Mold & Mildew Resistant Caulk because our bathroom gets steamy, and I didn’t want mold to be an issue.
Step 4: The Little Extras That Make It Feel Like a Million Bucks
Here’s where I added the personal touches that made the vanity feel like ours:
Lighting
I swapped out the old fluorescent fixture for a brass sconce on each side of the mirror. They give off warm light and make the whole bathroom feel cozier. I also added a dimmable LED bulb so I can adjust the lighting for different times of day.
Mirror
I kept our existing mirror but gave it a fresh look by painting the frame white. It was a quick fix that made the whole vanity area feel brighter. If you want to go further, consider adding a floating shelf above the vanity for extra storage and style.
Storage Solutions
I added a white woven basket inside one of the drawers to corral all the random stuff that tends to pile up (hair ties, Q-tips, half-used tubes of lip balm). It keeps everything contained and looks cute, too.
For more storage ideas, check out my post on budget-friendly organization tips for small spaces. Some of those tricks work great in bathrooms!
Final Thoughts (And What I’d Do Differently Next Time)
So, would I do it again? Absolutely. Our bathroom looks and feels completely different, and it only took a weekend. The best part? It was way cheaper than hiring a contractor, and I learned a ton along the way.
If I could go back, I’d:
- Take photos of the plumbing before disconnecting it.
- Buy a better-quality caulk the first time (I learned that lesson the hard way).
- Measure the doorway twice before buying the vanity.
- Invest in a better pry bar (the cheap one bent on me).
But honestly? The mistakes were worth it. I’m proud of what I accomplished, and I love walking into our bathroom now. It’s not a fancy spa, but it’s ours, and that’s what matters.
If you’re thinking about tackling this project, just start. Break it down into small steps, and don’t be afraid to ask for help when you need it. And if you make a mistake? So what. I did, and my vanity turned out great anyway.
Now, if you’ll excuse me, I need to go wipe down the vanity,again. (Kids. Am I right?)
FAQs (Because I Had These Questions Too!)
How long does it really take to replace a vanity?
If you’re organized, you can do it in a weekend. I started on a Saturday morning and finished by Sunday evening, but I took breaks for snacks and kid emergencies. If you’re working alone, plan for two days,one for removal and prep, and one for installation and finishing touches.
Do I need to be a plumber to do this?
Not at all! I’m not a plumber, and I managed just fine. Just go slow, and don’t force anything. If a connection won’t budge, spray it with PB Blaster and let it sit for 10 minutes. And if you’re really nervous, call a plumber for the plumbing part,it’s worth the peace of mind.
Can I keep my old mirror and light fixtures?
You sure can! If they match your new vanity and you like them, there’s no need to replace them. I kept our existing mirror but painted the frame to freshen it up. If your fixtures are outdated, though, this is a great time to upgrade them. A new mirror and light can make the whole bathroom feel brand new.
What’s the easiest way to update the look without replacing the whole vanity?
If you’re not ready for a full replacement, try these easy updates:
- Paint the vanity (I used Behr Marquee and loved it).
- Swap out the hardware for something new (brass, matte black, or crystal knobs make a big difference).
- Add a new countertop (butcher block or quartz lookalike options are affordable).
- Update the mirror or lighting fixtures.
- Add a backsplash or peel-and-stick tile for a fresh look.
These small changes can make your vanity look custom without the hassle of a full replacement.
What tools do I absolutely need?
Here’s the bare minimum you’ll need:
- Adjustable wrench (for plumbing)
- Pry bar (for removing the old vanity)
- Drill with screwdriver bits (for securing the new vanity)
- Level (to make sure everything is even)
- Bucket and towels (for water spills,trust me, you’ll need them)
- Silicone caulk and caulk gun (for sealing edges)
If you don’t have these, borrow them from a friend or neighbor before buying new ones. You can usually find someone who’s happy to lend a tool for a weekend.
How do I choose a vanity that fits my home’s style?
Look at the overall design of your home. If you have a modern farmhouse, go for a simple, rustic wood vanity. If your home is more traditional, a classic white or gray vanity will fit right in. And if you love bold colors, don’t be afraid to go for it,just make sure the vanity is the right size for your space.
For more style inspiration, check out my post on how to update a fireplace with paint and tile. A lot of the same design principles apply to vanities!