
Building a Custom Closet System with Wire Shelving – My Honest Experience
Let me tell you, I used to have a closet that made me want to cry every morning. Not because it was ugly (though it was), but because nothing had a place. My kids’ shoes lived on top of my winter coats, which were buried under a pile of “maybe I’ll wear this someday” clothes. I’d spend 10 minutes just digging through stacks to find a clean T-shirt. Sound familiar?
Then I discovered wire shelving systems. I was skeptical at first,would they really hold up? Would they look cheap?,but after building out our master closet and then my daughter’s bedroom, I’m a total convert. Here’s exactly what I learned, including the mistakes I made along the way so you don’t have to.
Why I Chose Wire Shelving (And Why You Might Too)
I’ll be honest: I almost went with solid wood shelves first. They looked nicer in the catalog, and I thought they’d feel more “finished.” But after measuring our space and realizing we’d lose precious inches to depth, I switched to wire. Here’s why I’m glad I did:
- It actually fits – Wire shelves are thinner than wood, which meant I could squeeze in an extra shelf in our narrow closet. Every inch counts when you’re working with a 24-inch-deep space!
- Nothing gets musty – Before, my sweaters would smell like old cardboard after a few months. The airflow through wire shelves keeps everything fresh.
- I can see everything – No more digging. My kids’ school bags, my husband’s work shirts, even my handbags,everything is visible at a glance.
- It’s surprisingly sturdy – I was worried the wire would bend, but the heavy-gauge steel (I got the Closets by Design system) holds up to my son’s 50-pound sports equipment without so much as a wobble.
That said, wire isn’t perfect. The open design does show dust more easily, and I had to patch a few drywall mistakes where I mismeasured the mounting brackets. But the trade-offs are worth it for me.
Planning Your Closet: Where I Went Wrong (And How to Avoid It)
My first attempt at organizing our closet was a disaster. I bought shelves based on what looked pretty in the store, not what we actually needed. Here’s how I fixed it,and how you can plan better from the start.
Step 1: Take a Brutal Inventory (Yes, Really)
I thought I knew what we owned. I was wrong. So wrong. I spent a Saturday morning pulling everything out of our closet and sorting it into piles:
- Daily wear (the 20% we actually use)
- Seasonal items (winter coats, swimsuits)
- The “maybe” pile (clothes I haven’t worn in a year but can’t bring myself to donate)
- Kids’ stuff (sports gear, school bags, costumes from last Halloween)
Pro tip: Use masking tape to label sections on your floor. It sounds silly, but seeing everything laid out like this made it painfully clear where we were wasting space. I realized we had three shelves’ worth of “maybe” clothes that could go to charity.
Step 2: Measure Like Your Life Depends on It
I measured once. Then I measured again. Then I had my husband measure because I didn’t trust myself. Here’s what I learned:
- Measure the depth of your closet from front to back. Our closet slopes slightly, so the back is 2 inches shallower than the front. I had to adjust my shelf depths to account for this.
- Check for obstacles. We have a vent in our closet that I completely forgot about until I was trying to mount a shelf. Now I have a shelf with a cutout around it (not pretty, but functional).
- Leave room to open doors. Nothing’s more frustrating than a closet door that won’t close because the shelves are too deep.
I used a laser measure (worth every penny) and marked all my measurements on a sketch of our closet. You can find free closet planning templates online, or just draw it yourself on graph paper.
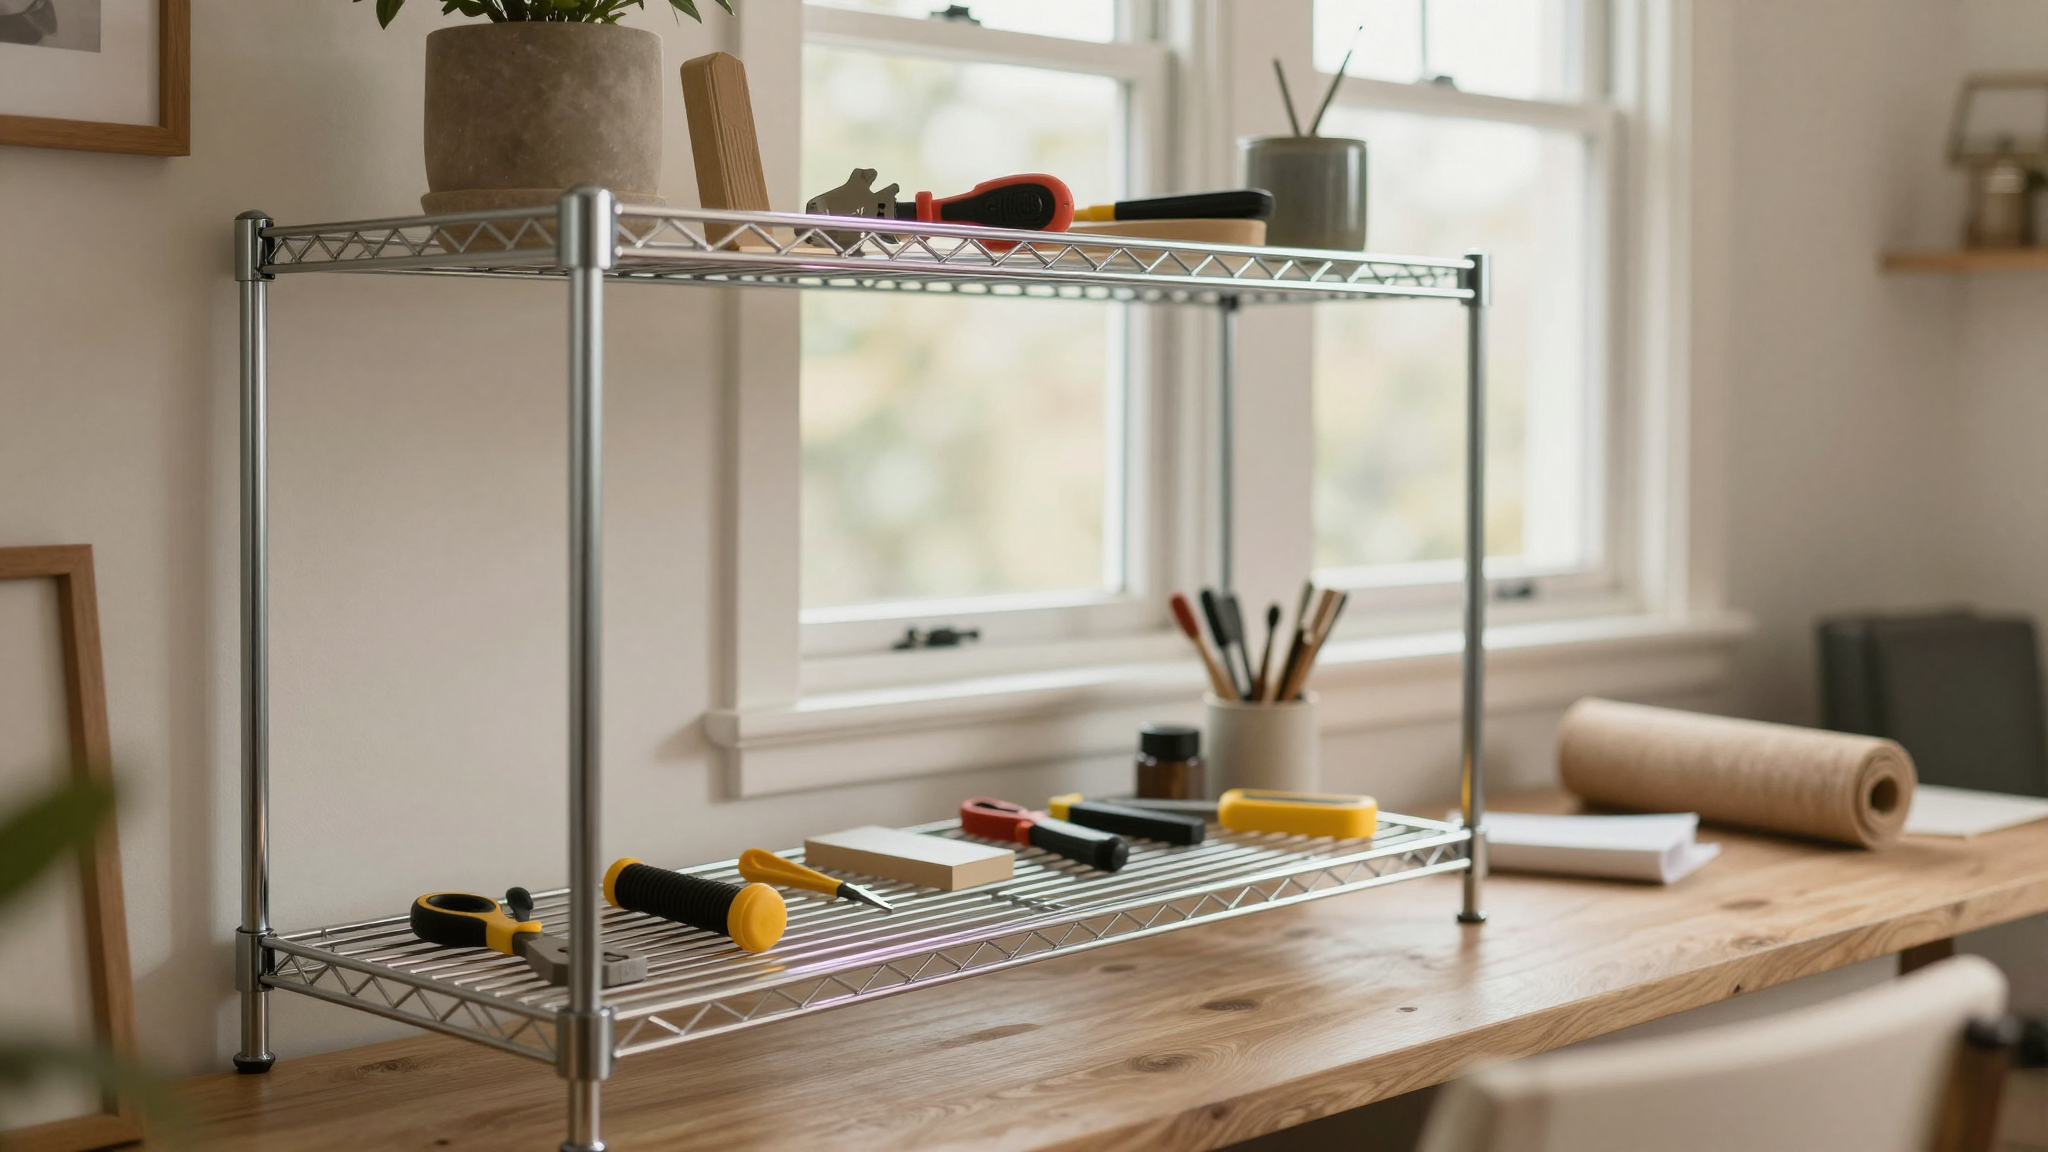
Step 3: Choose Your Wire Shelving System
Not all wire shelving is created equal. Here’s what I look for now:
- Heavy-duty steel – Avoid anything labeled “lightweight” or “decorative.” I went with 16-gauge steel for our system.
- Adjustable shelves – Our kids grow like weeds, and our storage needs change. Adjustable shelves let me modify the setup as we go.
- Powder-coated finish – The white powder coat I chose hides dust better than chrome, and it won’t chip if my son’s cleats bump into it.
- Pre-drilled holes – This made mounting so much easier. No more guessing where to put screws.
I ordered from Organize It! because they had a great visualization tool that let me see exactly how everything would fit. I also called their customer service with my measurements to double-check. They walked me through which shelves would work best for our space.
Key Features of a Quality Custom Closet (What I Wish I Knew Earlier)
After building two closets and helping a friend organize her garage, I’ve learned what makes a closet system truly functional. Here’s what I prioritize now:
1. Adjustable Everything
I thought adjustable shelves were just a nice extra. Turns out they’re a necessity. Here’s why:
- My daughter’s height changed dramatically between 5th and 6th grade. I had to lower her hanging rod twice.
- We switched from storing winter boots on the floor to using a boot rack. Adjustable shelves let me repurpose the space.
- I can now store my husband’s suitcases on the top shelf when they’re not in use, freeing up floor space.
Pro tip: Get shelves with infinite adjustability (like the ones with notches every ½ inch). The small increments make a big difference.
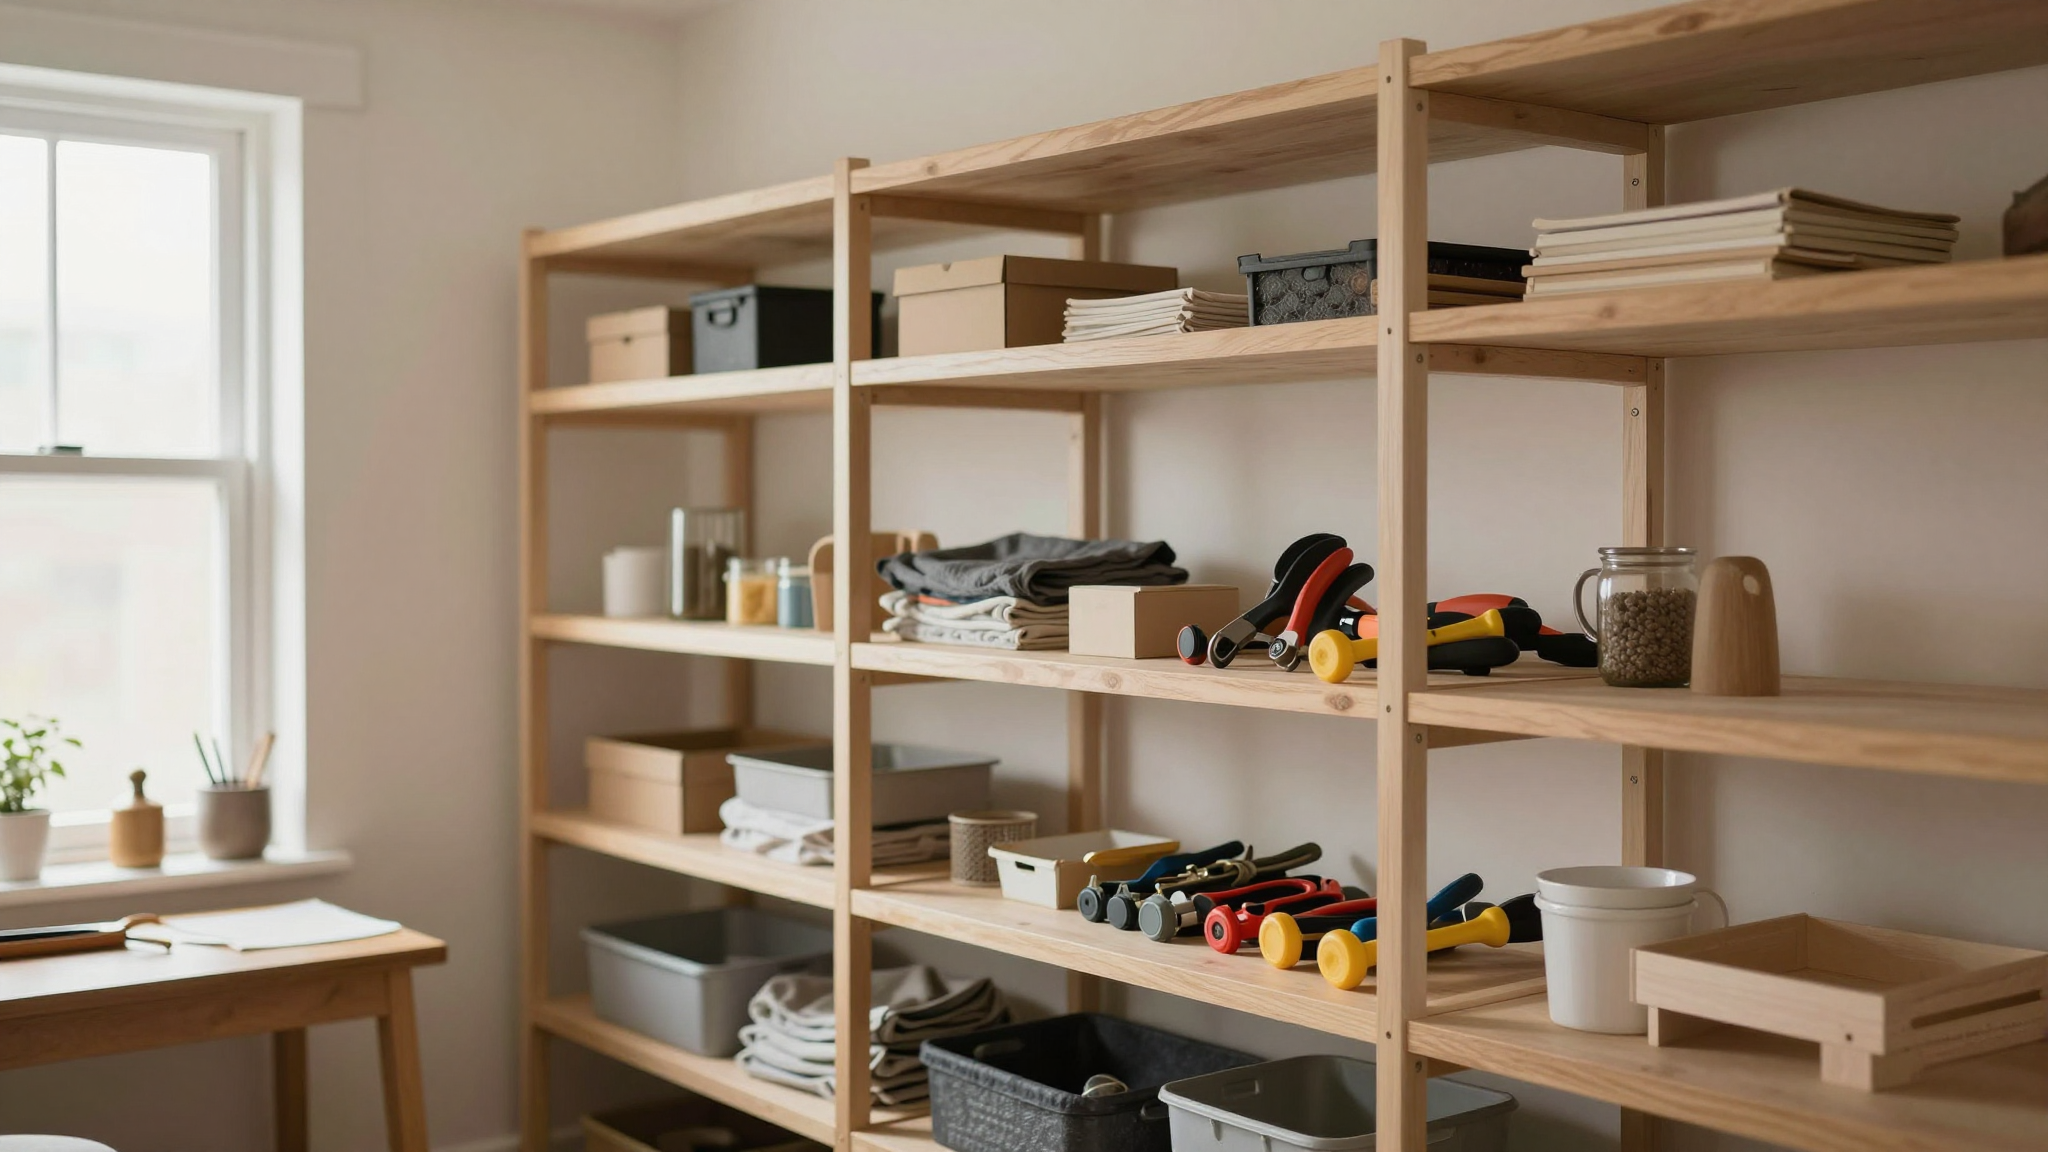
2. Mix and Match Storage Types
Wire shelving alone isn’t enough. I combined it with:
- Drawers for socks, underwear, and small accessories. I got the The Container Store’s sliding shelves,they’re worth the splurge for the smooth glide.
- Baskets for items that don’t have a home yet (like my kids’ random toys that end up in the closet). I use IKEA’s KUGGIS baskets because they’re affordable and fit perfectly on the wire shelves.
- Hanging organizers for shoes and handbags. I found a great Overstock deal on clear pocket organizers that hang from the shelf edges.
This mix of open and closed storage keeps our closet functional and (mostly) tidy. The drawers hide the clutter, while the open shelves make it easy to grab what we need.
3. Durable Materials (Trust Me on This)
I learned this the hard way. My first attempt at a DIY closet used particleboard shelves from a big-box store. After six months, one shelf collapsed under the weight of my winter boots. Lesson learned:
- Look for steel frames, not wood or plastic.
- Check the weight rating. Our system holds up to 50 pounds per shelf, which is crucial for storing boots and handbags.
- Powder-coated finishes resist rust. Our basement closet has higher humidity, so I made sure to get a rust-resistant finish there.
I now recommend ELFA or Closefet for their durable systems. They’re not the cheapest, but they’re built to last,and that’s what matters when you’re investing in your home.
Design Ideas: How I Made Our Closet Both Functional and Stylish
I’ll admit, I was worried wire shelving would look industrial or cheap. But with a few design tricks, ours actually looks intentional (and even a little fancy). Here’s how:
1. Stick to a Color Scheme
I chose all-white wire shelves to match our bedroom’s neutral palette. The white blends in with the walls, making the closet feel like part of the room, not an afterthought. If you want color, gray or black wire shelves add a modern touch without overwhelming the space.
Pro tip: If your wire shelves show dust easily, keep a microfiber duster in the closet. I dust ours every other week,it takes two minutes and keeps everything looking fresh.
2. Add Personal Touches
Wire shelving doesn’t have to be boring. I added:
- A pegboard section for my jewelry and scarves. I painted it the same white as the shelves, and it blends right in while giving me extra storage.
- LED strip lights under the top shelf. They make it so much easier to see what’s on the top shelves (no more flashlight digging!). I used these affordable ones from Amazon.
- A chalkboard paint section on one shelf where I write reminders (like “Donate clothes by Friday!” or “Buy new hangers”).
These small details make the closet feel like ours, not just a generic storage space.
3. Zone Your Storage
This was a game-changer. I divided our closet into zones based on how we use it:
- Daily wear (hanging clothes, folded shirts) – Eye-level shelves for easy access.
- Seasonal items (winter coats, swimsuits) – Top shelves or bins that we can pull down when needed.
- Kids’ stuff (backpacks, sports gear) – Lower shelves and bins they can reach themselves.
- Shoes and accessories – Clear bins and hanging organizers on the door.
This system means no one is digging through piles to find what they need. And when it’s time to switch seasons, we can just move bins instead of reorganizing the whole closet.
Installation: What Actually Goes Into Building It
I was nervous about installing the wire shelving myself. I’d never done anything like it before, and I didn’t want to mess up our closet walls. But after a few hours and a couple of mistakes, I got it done,and I’m glad I did. Here’s what I wish I’d known before starting:
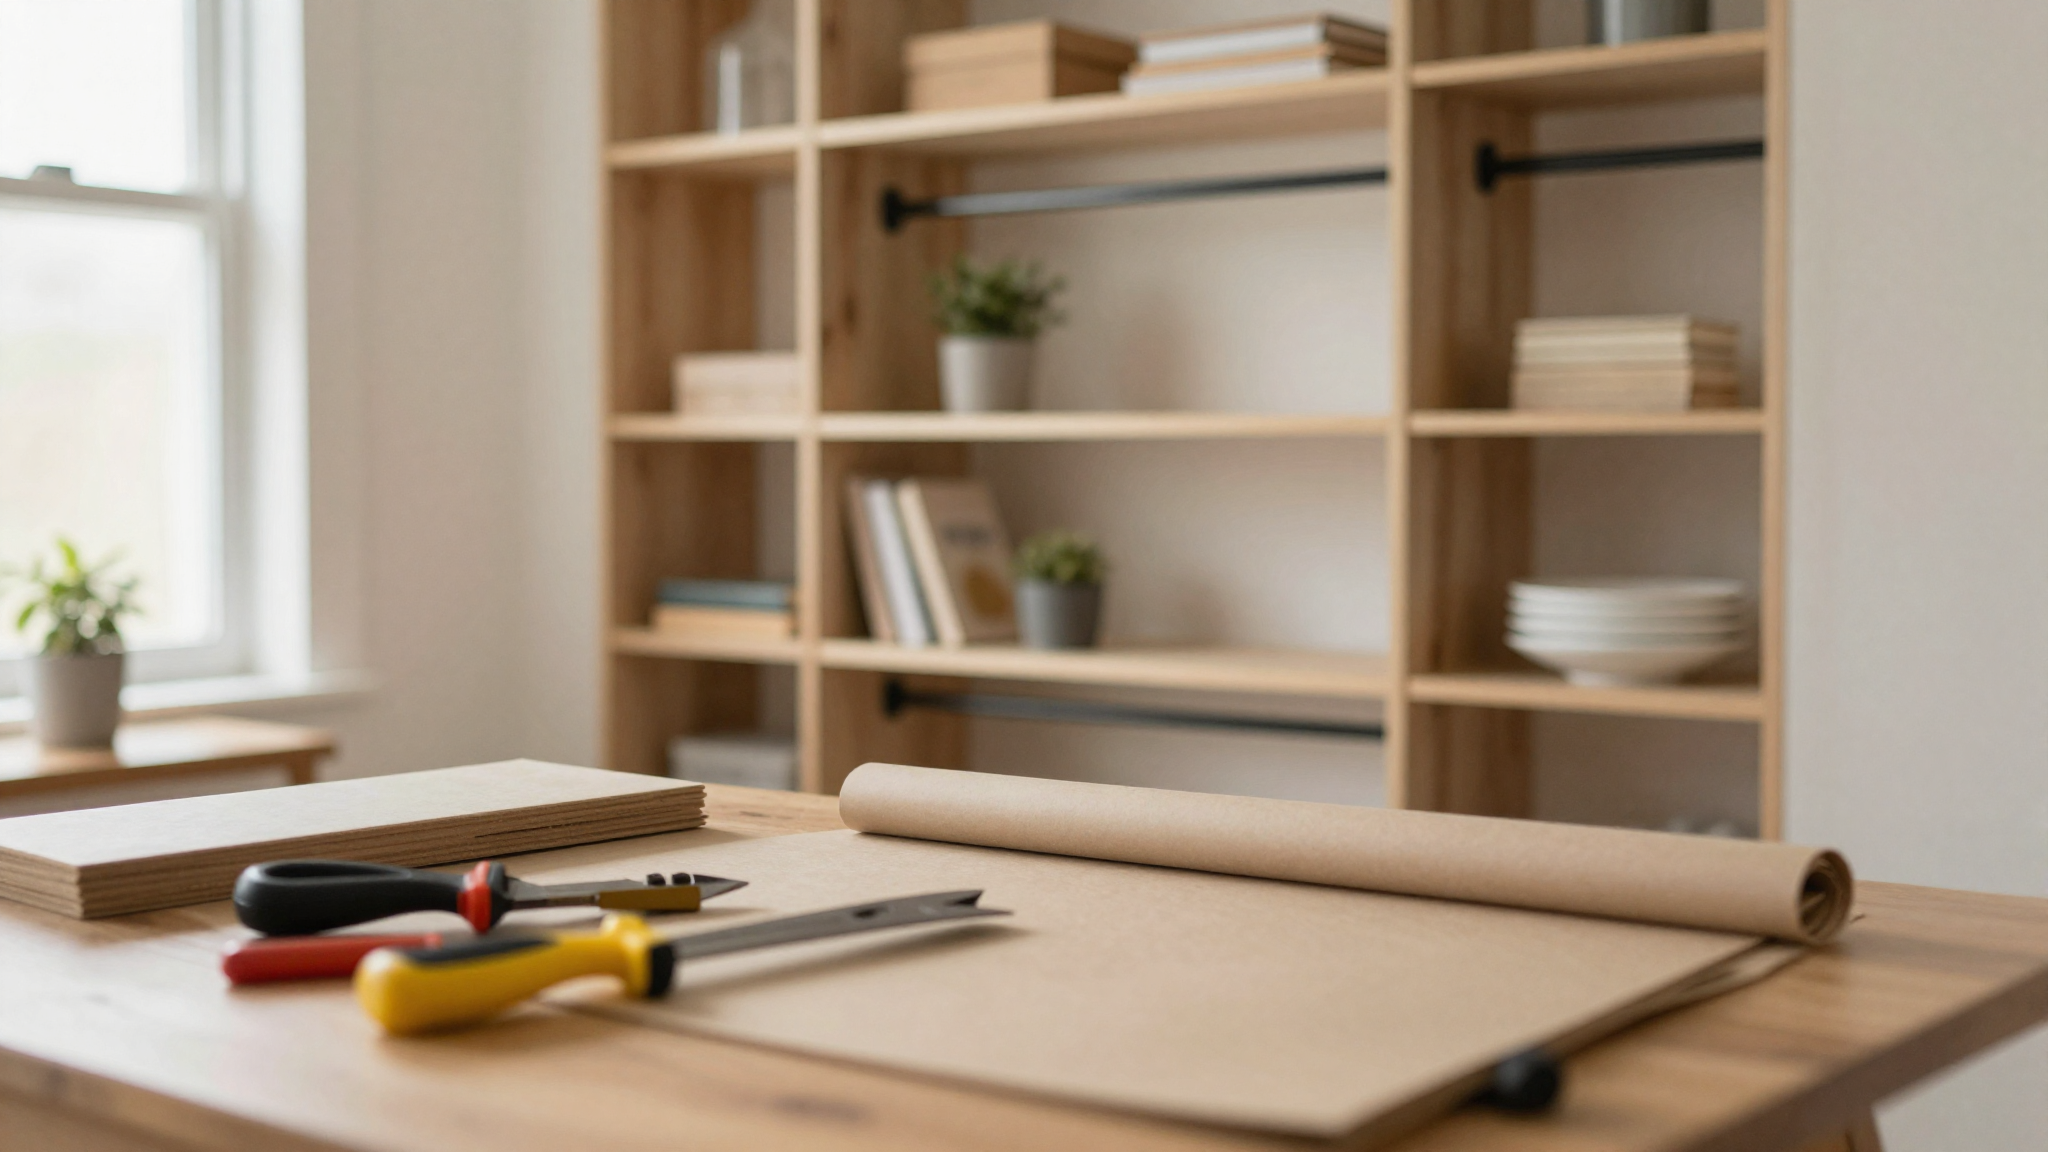
Tools You’ll Actually Need
Don’t be fooled by those “all you need is a screwdriver” claims. Here’s what I really used:
- A drill (I used my DeWalt drill,it’s my favorite tool!).
- A level. This is non-negotiable. My first attempt at mounting shelves was crooked, and it drove me crazy every time I opened the closet.
- A stud finder. I thought I could just screw into the drywall, but the shelves are heavy. I had to find studs for the top shelves.
- Shims (those little wooden wedges). Our closet floor isn’t perfectly even, and the shims helped level the base of the shelves.
- A helper. Some of the shelves were too heavy for me to hold in place while screwing them in. My husband helped, but if you’re flying solo, ask a friend or neighbor.
Step-by-Step: How I Did It (And What I’d Do Differently)
Here’s the process I followed, with my hard-earned tips:
- Mark your studs. I used a pencil to mark where the studs were on the wall. This saved me from having to hunt for them later.
- Assemble the frame first. I laid out all the vertical supports on the floor and connected them with the horizontal rails. This made it easier to see how everything fit together.
- Mount the top rail first. I started at the top and worked my way down. This kept the frame stable as I added more shelves.
- Use a level on every shelf. I double-checked each one. Trust me, a crooked shelf will bug you every time you open the closet.
- Pre-drill your holes. I drilled pilot holes for all the screws. This made screwing in the brackets so much easier,and it prevented the wood from splitting.
- Add shelves one at a time. I didn’t try to install all the shelves at once. I added them as I went, making sure each one was level and secure before moving on.
What I’d do differently:
- I would have measured twice, cut once. I had to adjust one shelf because I mismeasured the length. It’s not a big deal, but it’s frustrating when you’re so close to being done.
- I would have used a template for the mounting brackets. I freehanded the marks, and they weren’t perfectly straight. A template would have saved me time and frustration.
- I would have taken my time. I was in a hurry to finish, and I rushed a few steps. Slowing down would have saved me from having to redo a couple of things.
If you’re not comfortable with power tools, consider hiring a handyman. It’s not as expensive as you might think, and it’s worth the peace of mind. I’ve since helped a few friends install their systems, and I can confidently say it’s a manageable DIY project,but it’s okay if you’d rather have help!
Budgeting for Your Closet: How Much It Really Costs
Here’s the honest breakdown of what I spent on our two closets, including where I saved money and where I splurged:
Master Closet (10′ x 5′)
- Wire shelving system: $850 (from Organize It!)
- Additional drawers: $320 (I added two extra drawers for accessories)
- LED lighting: $45 (the strip lights I mentioned earlier)
- Baskets and bins: $120 (I got a mix from The Container Store and IKEA)
- Tools I already owned: $0 (but if you don’t have them, budget another $100 for a drill, level, etc.)
- Total: ~$1,475
Daughter’s Closet (6′ x 4′)
- Wire shelving system: $420 (same brand, smaller size)
- Hanging organizers: $80 (for shoes and accessories)
- Decorative hooks: $30 (I found cute ones at Home Depot)
- Total: ~$530
Where I Saved Money
- I shopped sales. The Container Store and IKEA have frequent sales on bins and organizers. I waited for a 20% off sale before buying.
- I used what I had. We already had some bins and baskets that worked perfectly in the new setup.
- I did the labor myself. Hiring someone to install it would have added $300–$500 to the cost.
Where I Splurged (And Why It Was Worth It)
- Quality wire shelving. I could have saved $200 by going with a cheaper brand, but I knew I’d regret it when the shelves bent or rusted. The durability is worth the extra cost.
- Good drawers. The smooth-gliding drawers from The Container Store are a splurge, but they make a huge difference in daily use.
- Lighting. The LED lights were a small expense, but they make the closet so much more functional,especially for the kids when they’re getting ready in the dark.
If you’re on a tight budget, start with the basics and add extras later. Our daughter’s closet began with just the wire shelving and a few bins. We added the hanging organizers and decorative hooks a few months later as we saved up.
Final Tips from My Experience
After living with our wire shelving closets for over a year, here’s what I’d tell anyone considering this project:
- Start small. If you’re new to custom closets, try one section before committing to a full overhaul. Our daughter’s closet was my “practice run” before tackling the master.
- Involve your family. My kids helped choose the colors for their storage bins, and they’re much more likely to keep their spaces tidy because they picked out the organizers.
- Don’t overcomplicate it. I initially wanted to add a ton of custom features, but simpler is often better. Stick to what you’ll actually use.
- Maintain it. I dust the shelves every other week and wipe them down with a damp cloth monthly. It takes five minutes and keeps everything looking fresh.
- Be flexible. Our storage needs change all the time. The adjustable shelves let me rearrange as needed,like when my son’s basketball season ended and we needed the space for other things.
If you’re ready to dive in, start by measuring your space and sketching out a plan. And if you want more inspiration, check out my bedroom makeover projects for other ways to refresh your space.
Now, if you’ll excuse me, I need to go reorganize my “maybe” pile. Wish me luck!