
DIY Plant Stands That Actually Look Good (And Won’t Break the Bank)
Let me tell you about the time I bought a $120 plant stand from a big-box store, only to have it collapse under the weight of my monstera after two weeks. That was the moment I decided to stop trusting mass-produced furniture and start building my own. Now, three years later, I’ve got plant stands in every room of my house,some rustic, some modern, all custom-built to fit my space and my plants. The best part? They cost a fraction of what I’d pay retail, and I can modify them whenever I want.
If you’re anything like me, you’ve probably got plants scattered everywhere,some on windowsills, others on random shelves, a few even on the floor because you ran out of space. It’s time to corral that greenery into something intentional. In this guide, I’ll walk you through exactly how I’ve built plant stands that not only organize my indoor garden but actually look like they belong in my home. No fancy tools required, just good old-fashioned DIY ingenuity.
Here’s what we’ll cover:
- How to maximize vertical space in tiny apartments (yes, even if you only have a 5×5 foot area)
- My favorite materials for mixing textures,wood, metal, and even upcycled thrift store finds
- How to match your stands to your existing decor (because let’s be real, clashing aesthetics are a crime)
- Step-by-step instructions for building a simple but sturdy plant stand that won’t wobble
- Creative ideas for multi-tiered displays, hanging stands, and even outdoor-friendly designs
I’ll also share the mistakes I made along the way,like the time I used unsealed wood and my pothos pots left water rings all over the shelves,so you don’t have to learn the hard way. Ready? Let’s get building.
Why You Need a DIY Plant Stand (And Why Store-Bought Ones Suck)
I used to think plant stands were just a way to get my plants off the floor. But after building a few of my own, I realized they do so much more. A good plant stand:
- Lifts your plants to the perfect height,no more craning your neck to water the top shelf or crouching to trim the bottom one.
- Protects your floors and furniture from water damage (trust me, my hardwood floors have seen enough ring stains to last a lifetime).
- Turns a random corner or empty wall into a focal point. My living room used to be a sad, bare space, but now it’s got a rustic wooden plant stand that’s become the star of the room.
- Lets you show off your plants like the art they are. No more hiding them behind curtains or tucking them into awkward spots.
And here’s the thing about store-bought stands: they’re boring. They all look the same,either sleek and modern (which can feel cold in a cozy home) or rustic (which might not match your decor at all). When you build your own, you control every detail. Want a stand that matches your farmhouse dining table? No problem. Craving something industrial to go with your exposed brick wall? Done. It’s like having a plant stylist at your fingertips.
Plus, DIY stands are way more durable. I’ve had mine hold up under heavy pots, survive kids’ curious hands, and even withstand the occasional bump from the vacuum cleaner. And if something goes wrong? You can fix it. No returns, no hassles,just grab your tools and get to work.
Now, let’s talk materials. This is where the magic happens.
Materials That Actually Work (And Where to Find Them for Cheap)
I’ll be honest,I’ve tried just about every material under the sun for my plant stands. Some worked great, and some… well, let’s just say I learned the hard way. Here’s what I’ve found to be the best, along with where to get them without breaking the bank.
Wood: The Chameleon of Plant Stands
Wood is my go-to material for 90% of my plant stands. It’s warm, versatile, and easy to work with,even if you’re a beginner. My favorite types:
- Pine: Super affordable (I usually grab it from Home Depot for around $10 per 4×8 sheet) and easy to cut. It’s not the prettiest raw, but a little stain or paint, and it looks like a million bucks.
- Reclaimed wood: This stuff has character. I’ve found gorgeous pieces at Habitat for Humanity ReStores, local salvage yards, and even on Facebook Marketplace for a fraction of the cost of new wood. The key is to sand it down well,splinters are the enemy of houseplants (and your fingers).
- Plywood: If you’re on a tight budget, plywood is your friend. It’s sturdy, cheap, and comes in all sorts of finishes. I used it for a farmhouse-style coffee table a few years back, and it held up like a champ.
Pro tip: If you’re using untreated wood, always seal it with a waterproof finish. I learned this the hard way when my first DIY stand warped after a few weeks of watering my plants. Now I swear by Minwax Polyurethane,it’s easy to apply and dries clear, so it doesn’t change the wood’s natural look.
Metal: For the Sleek and Modern Crowd
If you’re going for a more industrial or modern look, metal is the way to go. It’s sturdy, sleek, and pairs beautifully with just about any decor style. My favorites:
- Black iron pipes: These are great for creating a minimalist, modern look. I picked up a few at my local hardware store for under $20, and they’ve held up perfectly. Just make sure to use a good drill and some heavy-duty screws to keep everything secure.
- Powder-coated steel: This stuff is indestructible. I used it for a plant stand in my kitchen, and it’s survived everything from spills to my kids’ “helpful” attempts at rearranging it. It’s a little pricier, but worth it for high-traffic areas.
- Copper or brass accents: If you want to add a little warmth to a metal stand, these are perfect. I found some gorgeous brass brackets at a thrift store and used them to elevate a simple wooden shelf. Instant upgrade.
One thing to watch out for with metal: it can get cold. If you’re using it in a room where you spend a lot of time (like a living room or bedroom), consider adding some wood or woven elements to soften the look.
Upcycled Materials: Because Who Needs to Buy New Stuff?
I’m a huge fan of upcycling,it’s budget-friendly, eco-conscious, and often leads to the most unique pieces. Here are a few of my favorite finds:
- Old ladders: These make amazing plant stands. I found a vintage wooden ladder at a flea market for $15, sanded it down, and now it’s the star of my living room. I use the rungs to hang smaller pots and the shelves to display larger ones.
- Wooden crates: You can find these at thrift stores, on Craigslist, or even in the recycling bin behind a local grocery store. Stack them up, sand the edges, and you’ve got an instant rustic plant stand.
- Bicycle parts: Okay, this one’s a little out there, but hear me out. I found an old bike frame at a garage sale and turned it into a wall-mounted plant stand. The wheels hold small pots, and the frame adds a fun, industrial touch.
Pro tip: If you’re upcycling something that’s been outside (like a wooden crate or ladder), make sure to treat it with a outdoor sealant. I use Thompson’s WaterSealer,it’s easy to apply and keeps everything looking fresh.
Now that you’ve got your materials, let’s talk about how to actually build something that won’t collapse under the weight of your monstera.
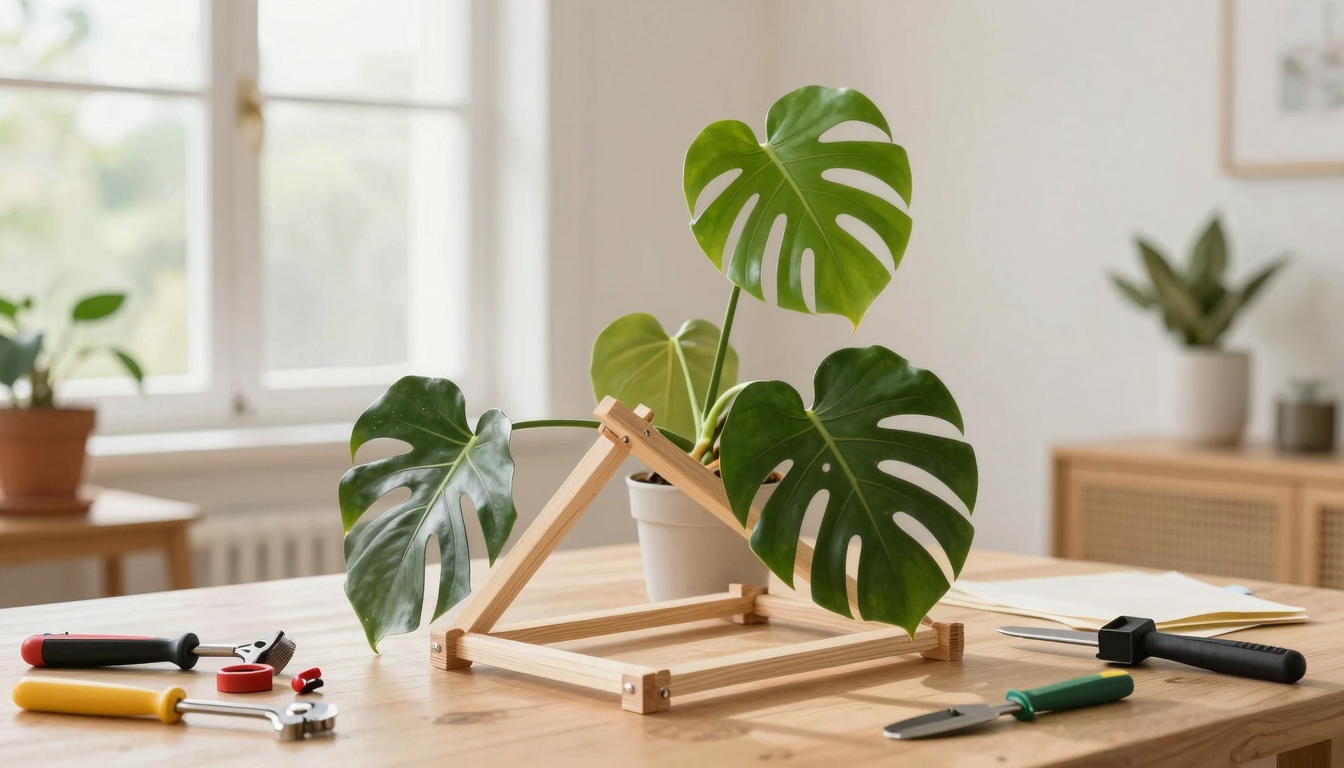
Step-by-Step: How to Build a Simple (But Sturdy) Plant Stand)
I’m going to walk you through the exact steps I used to build my first plant stand,no fancy tools required, just the basics. This design is sturdy enough to hold heavy pots, easy to customize, and looks way better than anything you’ll find at a big-box store.
What You’ll Need
Before you start, gather your tools and materials. Here’s what I recommend:
- Materials:
- 1 sheet of pine or plywood (I used a 4×8 sheet, but you can cut it down to size)
- 4 wooden legs (I used 2x4s, but you can find pre-cut legs at Home Depot)
- Wood screws (2-inch and 1-inch)
- Wood glue (I like Titebond III,it’s waterproof and super strong)
- Sandpaper (80-grit and 120-grit)
- Stain or paint (optional, but highly recommended)
- Tools:
- A cordless drill (I use a DeWalt,it’s worth the investment)
- A saw (a circular saw or miter saw works great, but a handsaw will do in a pinch)
- A measuring tape and a pencil
- A speed square (this helps you make perfect cuts)
- Clamps (to hold everything in place while you work)
- Safety glasses (non-negotiable,trust me, I’ve learned the hard way)
Pro tip: If you don’t have a saw, most hardware stores will cut wood for you for free. Just bring your measurements and ask nicely!
Step 1: Measure and Cut Your Wood
First, decide how big you want your plant stand to be. I like mine to be about 3 feet wide and 2 feet deep, but you can adjust the size based on your space and your plants.
Here’s what I cut for my stand:
- 1 top shelf: 36 inches long x 12 inches deep
- 1 middle shelf: 36 inches long x 12 inches deep
- 4 legs: 28 inches tall (this gives you about 6 inches of clearance from the floor)
- 4 corner braces: 6 inches long x 2 inches wide (these will reinforce the corners)
Use your saw to cut the wood to size. If you’re new to cutting wood, start with a scrap piece to practice. And always wear your safety glasses!
Step 2: Sand Everything
This is the step that most people skip, but it makes a huge difference. Rough wood will snag your clothes, scratch your plants, and just look messy. So grab your sandpaper and go to town.
Start with 80-grit sandpaper to smooth out any rough spots, then switch to 120-grit to get it nice and smooth. Pay extra attention to the edges,those are the most likely to snag or splinter.
Pro tip: If you’re staining or painting your stand, sanding will help the finish go on smoother. It’s a little extra work now, but it’ll save you time (and frustration) later.
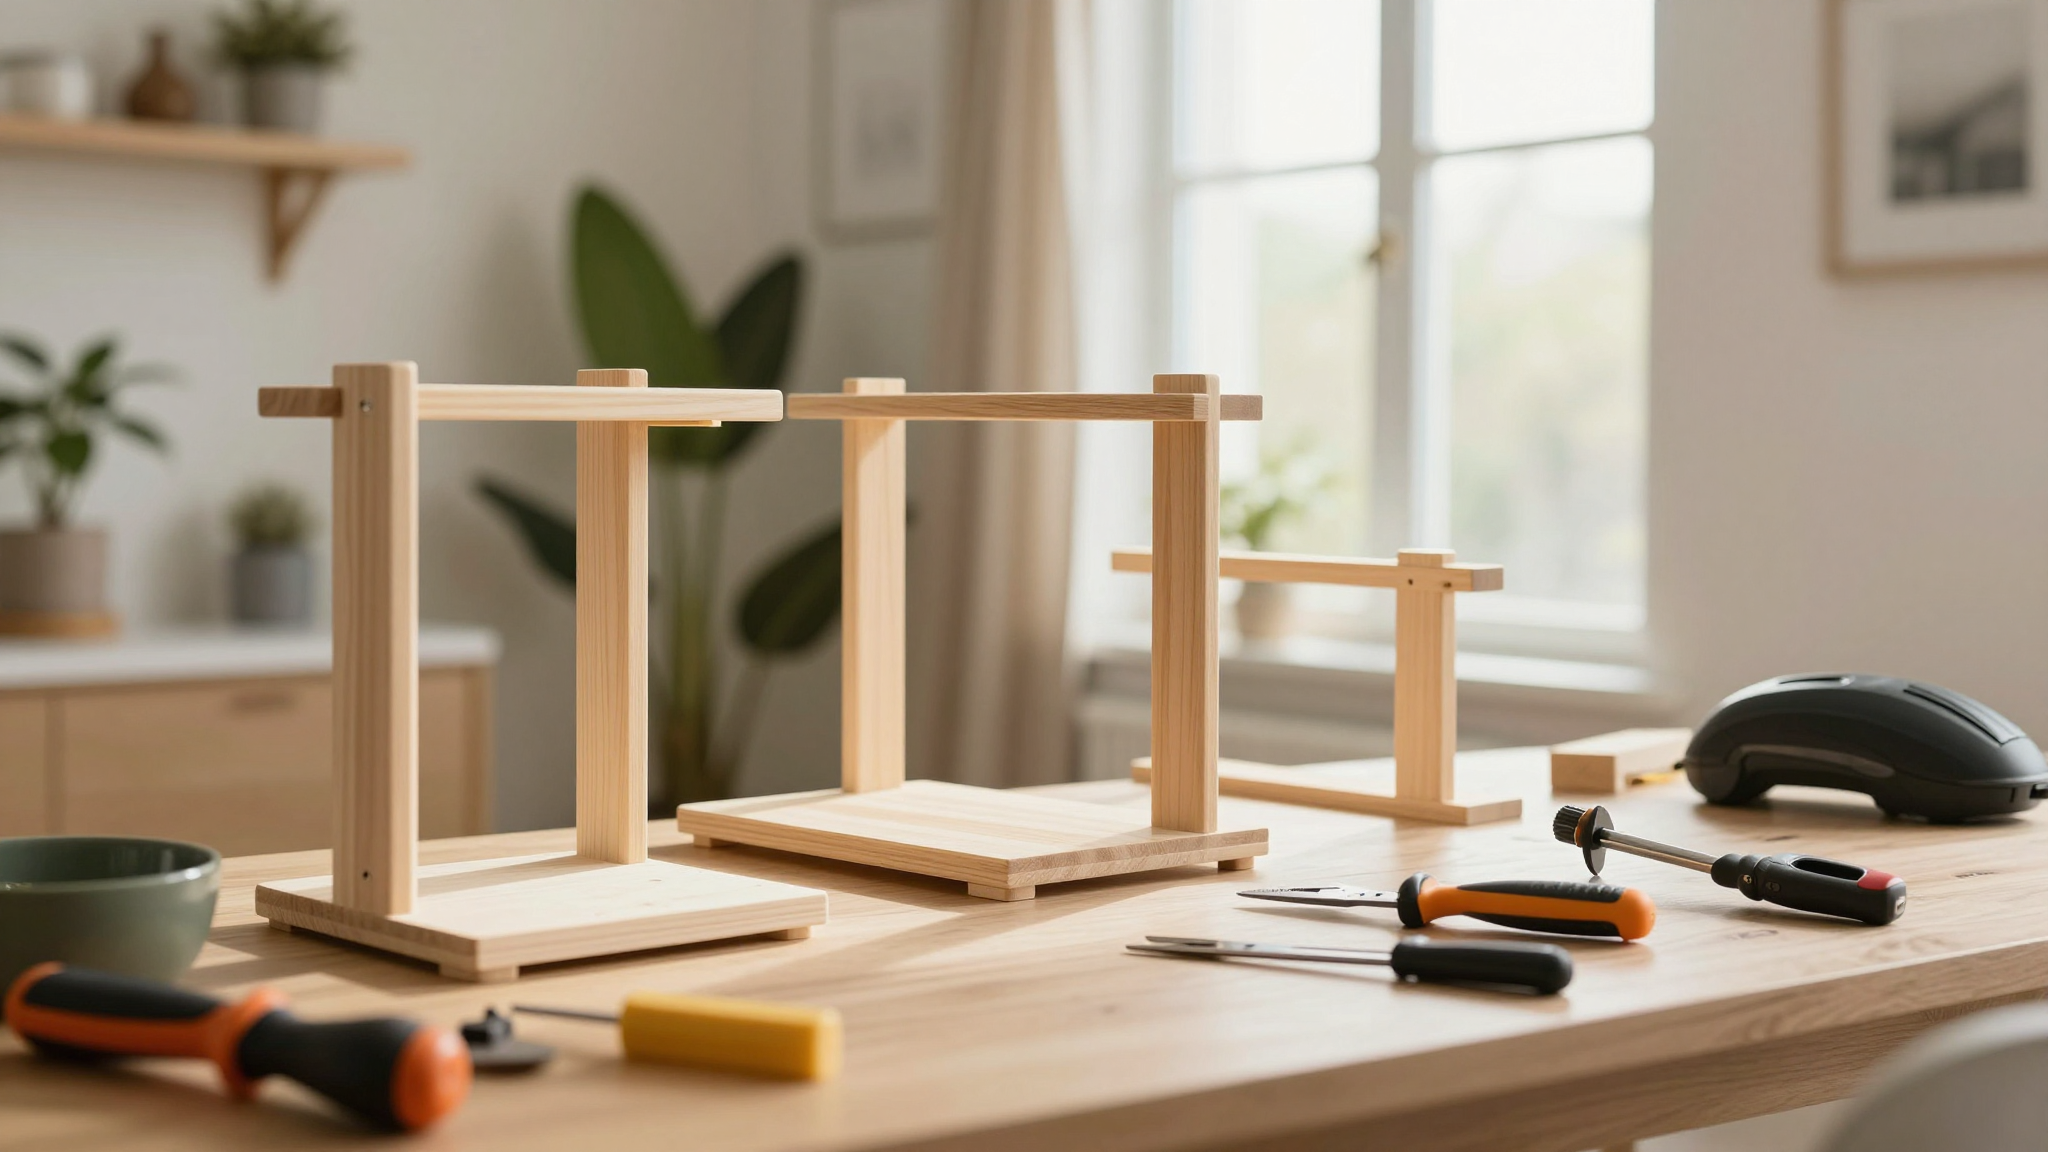
Step 3: Assemble the Frame
Now it’s time to put everything together. Here’s how I do it:
- Lay out your legs on a flat surface. Make sure they’re all the same length,this will keep your stand from wobbling.
- Attach the corner braces to the top of each leg. Use your drill to pre-drill holes (this keeps the wood from splitting), then screw them in place. I like to use 2-inch screws for extra stability.
- Stand the legs up and connect them with the top shelf. Use wood glue on the edges before screwing it in,this adds extra strength. I like to use 1-inch screws for the shelves.
- Repeat with the middle shelf, making sure it’s level. A good level is worth its weight in gold here.
- Let the glue dry for at least 24 hours before moving your stand. This gives everything time to set and ensures it stays sturdy.
Pro tip: If you’re worried about your stand wobbling, you can add rubber feet to the bottom of the legs. I found some at Home Depot for a couple of bucks, and they make a huge difference.
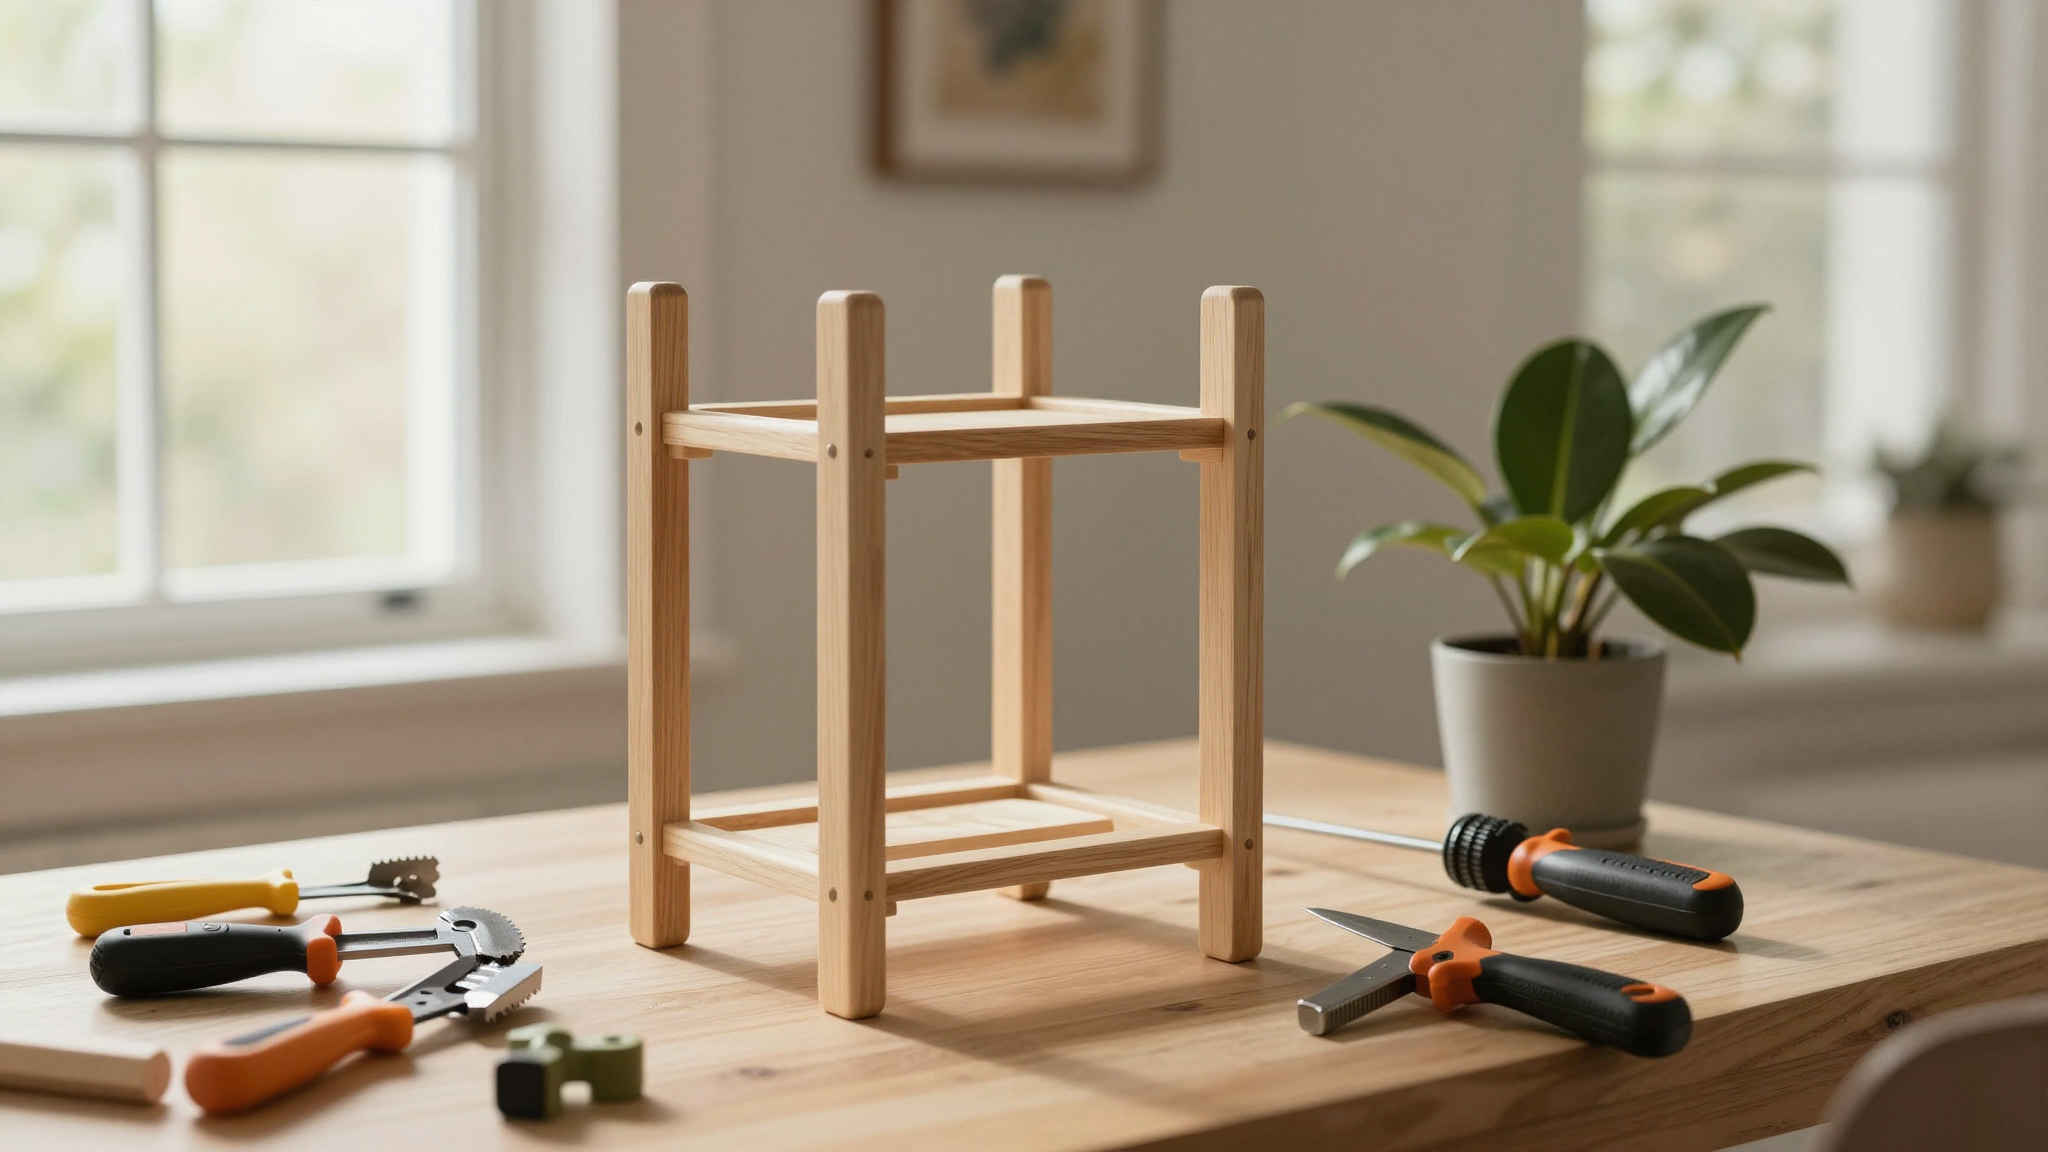
Step 4: Finish It Up
Now it’s time to make your stand look good. This is where you can really let your personality shine.
If you’re going for a natural look, I recommend staining it. I used Minwax Early American on my first stand, and it turned out gorgeous. Just follow the instructions on the can, and make sure to apply it in a well-ventilated area.
If you’re feeling more colorful, paint is the way to go. I used Behr Premium in a soft gray for one of my stands, and it’s held up beautifully. Just make sure to use a primer first if you’re painting over wood.
Pro tip: If you’re using a dark stain or paint, consider adding a clear topcoat. I like Minwax Polycrylic,it’s durable and dries clear, so it won’t change the color of your finish.
And that’s it! You’ve got a sturdy, custom plant stand that’s ready to hold your greenery. Now, let’s talk about how to style it so it actually looks like it belongs in your home.
Styling Your Plant Stand Like a Pro (Without Breaking the Bank)
Okay, so you’ve built your plant stand. Now what? How do you make it look like it belongs in a magazine instead of a garage? Here’s how I style mine to make them feel intentional and cohesive.
Mix and Match Materials
One of the easiest ways to make your plant stand look custom is to mix different materials. For example:
- Pair a wooden base with metal shelves for an industrial look.
- Combine a rustic ladder with woven baskets for a boho vibe.
- Use a sleek metal frame with wooden accents for a modern touch.
I did this with one of my stands,I used a simple wooden frame but added black iron pipes for the shelves. It looks like it cost a fortune, but it was actually super cheap and easy to put together.
Play with Height and Layers
Don’t just plop your plants on the shelves and call it a day. Play with height and layers to create visual interest. Here’s how I do it:
- Put taller plants on the bottom shelf and shorter ones on top.
- Use different-sized pots to create a dynamic look. I like to mix ceramic, terracotta, and woven baskets.
- Add some trailing plants (like pothos or string of pearls) to soften the edges.
Pro tip: If you’re not sure how to arrange your plants, start with the largest one and build around it. That’s what I do, and it always turns out looking balanced.
Add Some Personality
This is where you can really make your plant stand feel like yours. Here are a few ideas:
- Add a chalkboard or whiteboard to the side for labeling your plants (or just for doodling). I did this with one of my stands, and it’s become a favorite spot for my kids to draw.
- Hang some fairy lights around the shelves for a cozy glow. I use IKEA’s string lights,they’re cheap and super easy to install.
- Paint or stencil a design on the shelves. I stenciled some geometric patterns on one of mine, and it looks amazing.
Pro tip: If you’re not sure what to do, look at your room and think about what’s missing. Do you need more storage? More light? A pop of color? Your plant stand can solve all of those problems.
Now, let’s talk about some of my favorite DIY plant stand ideas,because once you’ve built one, you’ll want to build more!
5 DIY Plant Stand Ideas to Try at Home
Once you’ve got the basics down, it’s time to get creative. Here are five of my favorite DIY plant stand ideas that you can try at home. Each one is customizable, budget-friendly, and looks way better than anything you’ll find in a store.
1. The Rustic Wooden Ladder Stand
This is one of my all-time favorites. It’s super easy to build, looks amazing, and works in just about any room.
What you’ll need:
- An old wooden ladder (I found mine at a thrift store for $15)
- Sandpaper
- Stain or paint (optional)
- Hooks or brackets (for hanging plants)
How to do it:
- Sand the ladder until it’s smooth. If it’s got any loose rungs, tighten them up with some wood glue.
- Stain or paint it if you want (I left mine natural, but a dark stain would look amazing).
- Attach hooks or brackets to the rungs for hanging plants.
- Lean it against a wall or hang it from the ceiling for a floating effect.
Pro tip: If you don’t have a ladder, you can build one using 2x4s and 1x4s. Just cut the rungs to size and attach them to the sides with screws.
2. The Modern Metal Pipe Stand
If you’re going for a more modern look, this one’s for you. It’s sleek, sturdy, and super easy to customize.
What you’ll need:
- Black iron pipes (I got mine at Home Depot for under $20)
- Pipe fittings (elbows, tees, and flanges)
- Wooden shelves (I used pre-cut plywood)
- A drill and some screws
How to do it:
- Cut your pipes to the desired length. I like to make mine about 3 feet tall, but you can adjust the size based on your space.
- Use the fittings to connect the pipes and create a frame. I made a simple A-frame design, but you can get as creative as you want.
- Attach the wooden shelves to the frame using screws. Make sure they’re level!
- Paint or stain the wood to match your decor.
Pro tip: If you want to add a little warmth to your metal stand, wrap the pipes in rope or add some wooden accents. It softens the look and makes it feel more cozy.
3. The Hanging Macramé Stand
This one’s perfect if you’ve got high ceilings or just want to free up some floor space. It’s super easy to make and adds a boho touch to any room.
What you’ll need:
- Macramé cord (I got mine at Michaels for a few bucks)
- A wooden dowel or branch (for the top)
- Small pots or planters
- A drill and some screws (for hanging)
How to do it:
- Cut your macramé cord into equal lengths (I like to make mine about 3 feet long).
- Tie the cords to the dowel or branch, spacing them out evenly.
- Knot the ends of the cords together to create a hanger for your pots.
- Hang the stand from the ceiling and add your plants.
Pro tip: If you’re not sure how to make the knots, YouTube has tons of tutorials. I learned by watching a few videos, and now I can make all sorts of macramé designs.
4. The Upcycled Crate Stand
This is one of my favorite budget-friendly options. It’s super easy to make and looks amazing in a farmhouse or rustic-style home.
What you’ll need:
- Wooden crates (I found mine at a thrift store for $5 each)
- Sandpaper
- Stain or paint (optional)
- Wood glue and screws
How to do it:
- Sand the crates until they’re smooth. If they’ve got any rough edges, sand those down too.
- Stack the crates on top of each other, making sure they’re aligned. I like to use two crates for a simple stand, but you can stack as many as you want.
- Use wood glue and screws to secure the crates together. This will keep them from wobbling.
- Stain or paint the crates if you want (I left mine natural, but a whitewash would look amazing).
Pro tip: If you want to add some extra storage, attach a small shelf or basket to the side of the stand. It’s a great place to keep your gardening tools or extra pots.
5. The Tiered Plant Stand with Hidden Storage
This one’s a game-changer if you’ve got a lot of plants and not a lot of space. It’s got built-in storage, so you can keep your gardening supplies organized and out of sight.
What you’ll need:
- Plywood (for the shelves and storage box)
- Wooden legs (I used 2x4s)
- Wood screws and wood glue
- A saw and a drill
- Hinges and a latch (for the storage box)
How to do it:
- Cut your plywood to size for the shelves and the storage box. I made mine about 2 feet wide and 1 foot deep.
- Build the frame using the wooden legs and plywood shelves. Make sure everything is level!
- Attach the storage box to the bottom of the stand using hinges and a latch. This will give you a place to store your gardening supplies.
- Sand and finish the stand to match your decor.
Pro tip: If you’re not sure how to make the storage box, look for pre-made ones at Home Depot or Lowe’s. They’re super cheap and easy to attach to your stand.
Now that you’ve got some ideas, it’s time to grab your tools and get building! But before you do, let me share a few tips to make your DIY plant stand project a little easier.
DIY Plant Stand Tips from a Real-Life Builder (aka Me)
I’ve built a lot of plant stands over the years, and I’ve learned a few things along the way. Here are my top tips to make your project a success.
Measure Twice, Cut Once
This is the golden rule of woodworking. I can’t tell you how many times I’ve cut a piece of wood the wrong size because I didn’t double-check my measurements. Always measure twice, and if you’re not sure, measure three times. It’s better to be safe than sorry!
Pro tip: Use a speed square to make sure your cuts are accurate. It’s a small tool, but it makes a huge difference.
Pre-Drill Your Holes
This is another one of those things that seems like a hassle, but it’s worth it. Pre-drilling your holes will keep the wood from splitting when you screw it in. It also makes it easier to drive the screws in straight.
Pro tip: If you’re not sure what size drill bit to use, start with a smaller one and work your way up. It’s better to have a slightly larger hole than a screw that won’t fit.
Use Clamps to Hold Everything in Place
Clamps are a game-changer when it comes to woodworking. They hold everything in place while you’re working, so you don’t have to worry about things shifting. I’ve got a set of Irwin clamps that I use for just about every project.
Pro tip: If you don’t have clamps, you can use heavy books or other weights to hold things in place. It’s not as precise, but it works in a pinch.
Sand, Sand, Sand
I know, sanding is boring. But it makes a huge difference in the final look of your project. Rough wood will snag your clothes, scratch your plants, and just look messy. So take the time to sand everything down smooth.
Pro tip: If you’re in a hurry, you can use a random orbit sander to speed up the process. It’s worth the investment if you plan on doing a lot of woodworking.
Let the Glue Dry
This is one of those things that seems like it’s not a big deal, but it really is. If you don’t let the glue dry, your project won’t be as strong. And trust me, you don’t want your plant stand collapsing under the weight of your monstera.
Pro tip: Most wood glues need at least 24 hours to dry completely. So plan ahead and give it plenty of time.
Don’t Be Afraid to Make Mistakes
Here’s the thing: you’re going to make mistakes. And that’s okay! I’ve built more than a few plant stands that didn’t turn out the way I planned. But you know what? I learned from those mistakes, and my next project was even better.
So don’t be afraid to experiment. Try new techniques, mix different materials, and don’t be afraid to make it your own. That’s what DIY is all about!
Now, let’s talk about how to style your plant stand so it actually looks like it belongs in your home.
Styling Your Plant Stand Like a Pro (Without Breaking the Bank)
Okay, so you’ve built your plant stand. Now what? How do you make it look like it belongs in a magazine instead of a garage? Here’s how I style mine to make them feel intentional and cohesive.
Mix and Match Materials
One of the easiest ways to make your plant stand look custom is to mix different materials. For example:
- Pair a wooden base with metal shelves for an industrial look.
- Combine a rustic ladder with woven baskets for a boho vibe.
- Use a sleek metal frame with wooden accents for a modern touch.
I did this with one of my stands,I used a simple wooden frame but added black iron pipes for the shelves. It looks like it cost a fortune, but it was actually super cheap and easy to put together.
Play with Height and Layers
Don’t just plop your plants on the shelves and call it a day. Play with height and layers to create visual interest. Here’s how I do it:
- Put taller plants on the bottom shelf and shorter ones on top.
- Use different-sized pots to create a dynamic look. I like to mix ceramic, terracotta, and woven baskets.
- Add some trailing plants (like pothos or string of pearls) to soften the edges.
Pro tip: If you’re not sure how to arrange your plants, start with the largest one and build around it. That’s what I do, and it always turns out looking balanced.
Add Some Personality
This is where you can really make your plant stand feel like yours. Here are a few ideas:
- Add a chalkboard or whiteboard to the side for labeling your plants (or just for doodling). I did this with one of my stands, and it’s become a favorite spot for my kids to draw.
- Hang some fairy lights around the shelves for a cozy glow. I use IKEA’s string lights,they’re cheap and super easy to install.
- Paint or stencil a design on the shelves. I stenciled some geometric patterns on one of mine, and it looks amazing.
Pro tip: If you’re not sure what to do, look at your room and think about what’s missing. Do you need more storage? More light? A pop of color? Your plant stand can solve all of those problems.
Now, let’s talk about how to keep your plant stand looking its best over time.
Maintaining Your DIY Plant Stand (So It Lasts for Years)
Okay, so you’ve built your plant stand and styled it to perfection. Now what? How do you keep it looking great for years to come? Here are my top tips for maintaining your DIY plant stand.
Keep It Clean
This one seems obvious, but it’s amazing how much dust and dirt can build up on a plant stand. I like to dust mine every couple of weeks with a microfiber cloth. It only takes a few minutes, but it makes a huge difference.
Pro tip: If you’ve got a lot of plants, you might want to invest in a small handheld vacuum. I use mine to clean up any dirt or debris that falls off the plants.
Check for Wear and Tear
Wood and metal can wear out over time, especially if they’re exposed to a lot of moisture. I like to check my plant stands every few months for any signs of wear and tear.
If you see any cracks or splinters, sand them down and touch up the finish. If the wood is looking a little dull, you can always give it a fresh coat of stain or paint.
Pro tip: If you’ve got a metal plant stand, keep an eye out for any rust. If you catch it early, you can sand it off and touch up the paint. But if it’s left to sit, it can spread and ruin your stand.
Reorganize Your Plants
Your plants are going to grow, and they’re going to change. So don’t be afraid to rearrange your plant stand every few months. It’s a great way to keep things looking fresh and to give your plants the light and space they need.
Pro tip: If you’ve got a lot of plants, you might want to rotate them every few months. This gives them all a chance to get the light they need and keeps your plant stand looking dynamic.
Now, let’s talk about how to style your plant stand for different seasons.
Seasonal Plant Stand Styling Ideas
One of the things I love about my DIY plant stands is that they’re so easy to style for different seasons. Here are a few of my favorite ideas for keeping your plant stand looking fresh year-round.
Spring: Bright and Blooming
Spring is all about bright colors and new growth. So I like to style my plant stands with a mix of blooming plants and fresh greenery.
Here are a few of my favorite spring plants:
- Hyacinths
- Tulips
- Pansies
- Ferns
Pro tip: If you want to add a little extra color, try mixing in some pastel-colored pots or planters. It’s a great way to tie in the spring colors.
Summer: Lush and Tropical
Summer is all about lush greenery and bold colors. So I like to style my plant stands with a mix of tropical plants and bright blooms.
Here are a few of my favorite summer plants:
- Monstera
- Bird of Paradise
- Bougainvillea
- Succulents
Pro tip: If you want to add a little extra texture, try mixing in some woven baskets or macramé hangers. It’s a great way to add a boho touch to your plant stand.
Fall: Warm and Cozy
Fall is all about warm colors and cozy textures. So I like to style my plant stands with a mix of autumnal plants and rustic accents.
Here are a few of my favorite fall plants:
- Mums
- Ornamental kale
- Dracaena
- Pinecones (for a little extra texture)
Pro tip: If you want to add a little extra warmth, try mixing in some wooden accents or a cozy throw blanket. It’s a great way to tie in the fall colors.
Winter: Festive and Cheerful
Winter is all about festive colors and cheerful accents. So I like to style my plant stands with a mix of holiday plants and festive decor.
Here are a few of my favorite winter plants:
- Poinsettias
- Christmas cacti
- Amaryllis
- Holly
Pro tip: If you want to add a little extra sparkle, try mixing in some fairy lights or festive ornaments. It’s a great way to tie in the holiday spirit.
Now, let’s talk about how to style your plant stand for different rooms in your home.
Plant Stands for Every Room: Styling Ideas and Inspiration
Your plant stand doesn’t just have to live in your living room. It can be a stylish addition to just about any room in your home. Here are a few of my favorite ideas for styling plant stands in different spaces.
Living Room: The Focal Point
Your living room is the perfect place for a statement plant stand. It’s a great way to add some life and color to the space, and it can be a conversation starter for your guests.
Here are a few of my favorite living room plant stand ideas:
- A tall, multi-tiered stand with a mix of trailing plants and blooms.
- A rustic wooden ladder stand with hanging plants and fairy lights.
- A sleek metal stand with a mix of modern and tropical plants.
Pro tip: If you want to make your plant stand the focal point of your living room, try placing it near a window or in front of a blank wall. It’s a great way to draw the eye and create a conversation piece.
Kitchen: Fresh and Functional
Your kitchen is the perfect place for a plant stand that’s both functional and stylish. It’s a great way to add some fresh greenery to the space, and it can be a handy spot for your herbs and spices.
Here are a few of my favorite kitchen plant stand ideas:
- A small, tiered stand with a mix of herbs and small plants.
- A hanging plant stand with a mix of trailing herbs and small blooms.
- A rustic wooden stand with a mix of fresh herbs and small fruits.
Pro tip: If you want to make your plant stand functional, try adding a small shelf or basket for your cooking tools. It’s a great way to keep everything organized and within reach.
Bedroom: Calm and Relaxing
Your bedroom is the perfect place for a plant stand that’s calm and relaxing. It’s a great way to add some natural elements to the space, and it can help you unwind after a long day.
Here are a few of my favorite bedroom plant stand ideas:
- A small, tiered stand with a mix of calming plants like lavender and aloe.
- A hanging plant stand with a mix of trailing plants and small blooms.
- A rustic wooden stand with a mix of fresh flowers and greenery.
Pro tip: If you want to make your plant stand extra relaxing, try adding some fairy lights or a small fountain. It’s a great way to create a spa-like atmosphere in your bedroom.
Bathroom: Humidity-Loving Plants
Your bathroom is the perfect place for a plant stand that loves humidity. It’s a great way to add some life to the space, and it can help purify the air.
Here are a few of my favorite bathroom plant stand ideas:
- A small, tiered stand with a mix of ferns and air plants.
- A hanging plant stand with a mix of trailing plants and small blooms.
- A rustic wooden stand with a mix of tropical plants and greenery.
Pro tip: If you want to make your plant stand extra special, try adding a small mirror or some decorative tiles. It’s a great way to tie in the bathroom decor and create a cohesive look.
Now, let’s talk about how to style your plant stand for different decor styles.
Plant Stands for Every Decor Style: Matching Your Home’s Aesthetic
Your plant stand should reflect your home’s decor style. Here are a few of my favorite ideas for matching your plant stand to your aesthetic.
Modern: Sleek and Minimalist
If you love modern decor, you’ll want a plant stand that’s sleek and minimalist. Think clean lines, neutral colors, and a mix of materials like metal and wood.
Here are a few of my favorite modern plant stand ideas:
- A black metal stand with a mix of geometric planters.
- A white wooden stand with a mix of modern and tropical plants.
- A glass and metal stand with a mix of succulents and small blooms.
Pro tip: If you want to add a little extra modern flair, try mixing in some geometric accents or a sleek vase. It’s a great way to tie in the modern aesthetic.
Farmhouse: Rustic and Charming
If you love farmhouse decor, you’ll want a plant stand that’s rustic and charming. Think natural wood, warm colors, and a mix of textures like woven baskets and metal accents.
Here are a few of my favorite farmhouse plant stand ideas:
- A wooden ladder stand with a mix of trailing plants and greenery.
- A rustic wooden stand with a mix of ceramic pots and woven baskets.
- A metal and wood stand with a mix of fresh herbs and small blooms.
Pro tip: If you want to add a little extra farmhouse charm, try mixing in some vintage accents or a cozy throw. It’s a great way to tie in the rustic aesthetic.
Bohemian: Eclectic and Colorful
If you love bohemian decor, you’ll want a plant stand that’s eclectic and colorful. Think a mix of patterns, textures, and colors,like macramé, woven baskets, and bright planters.
Here are a few of my favorite bohemian plant stand ideas:
- A macramé hanging stand with a mix of trailing plants and bright blooms.
- A wooden stand with a mix of colorful pots and woven baskets.
- A metal and wood stand with a mix of tropical plants and macramé accents.
Pro tip: If you want to add a little extra boho flair, try mixing in some global-inspired accents or a colorful throw. It’s a great way to tie in the eclectic aesthetic.
Industrial: Edgy and Urban
If you love industrial decor, you’ll want a plant stand that’s edgy and urban. Think raw materials, bold colors, and a mix of textures like metal and concrete.
Here are a few of my favorite industrial plant stand ideas:
- A metal pipe stand with a mix of geometric planters.
- A concrete and metal stand with a mix of succulents and small blooms.
- A black iron stand with a mix of tropical plants and industrial accents.
Pro tip: If you want to add a little extra industrial flair, try mixing in some raw wood or a bold-colored throw. It’s a great way to tie in the urban aesthetic.
Now, let’s talk about how to style your plant stand for different occasions.
Plant Stands for Special Occasions: Hosting and Entertaining
Your plant stand can be more than just a functional piece of furniture,it can be a stylish addition to your entertaining space. Here are a few of my favorite ideas for styling your plant stand for special occasions.
Holiday Parties: Festive and Cheerful
If you love hosting holiday parties, you’ll want a plant stand that’s festive and cheerful. Think holiday colors, festive decor, and a mix of seasonal plants.
Here are a few of my favorite holiday plant stand ideas:
- A tiered stand with a mix of poinsettias and holiday blooms.
- A hanging stand with a mix of holiday ornaments and greenery.
- A rustic wooden stand with a mix of pinecones and holiday lights.
Pro tip: If you want to add a little extra holiday flair, try mixing in some festive tableware or a cozy throw. It’s a great way to tie in the holiday spirit.
Summer BBQs: Fresh and Fun
If you love hosting summer BBQs, you’ll want a plant stand that’s fresh and fun. Think bright colors, tropical plants, and a mix of fun accents.
Here are a few of my favorite summer plant stand ideas:
- A tiered stand with a mix of tropical plants and bright blooms.
- A hanging stand with a mix of trailing plants and fun accents.
- A rustic wooden stand with a mix of fresh herbs and bright planters.
Pro tip: If you want to add a little extra summer flair, try mixing in some fun tableware or a colorful throw. It’s a great way to tie in the summer vibe.
Wedding Receptions: Elegant and Romantic
If you’re hosting a wedding reception, you’ll want a plant stand that’s elegant and romantic. Think soft colors, lush greenery, and a mix of romantic accents.
Here are a few of my favorite wedding plant stand ideas:
- A tiered stand with a mix of white blooms and greenery.
- A hanging stand with a mix of trailing plants and romantic accents.
- A rustic wooden stand with a mix of fresh flowers and elegant planters.
Pro tip: If you want to add a little extra romantic flair, try mixing in some fairy lights or a delicate throw. It’s a great way to tie in the wedding aesthetic.
Now, let’s talk about how to style your plant stand for different budgets.
Budget-Friendly Plant Stand Ideas (Under $50!)
You don’t need to spend a fortune to create a stylish plant stand. Here are a few of my favorite budget-friendly ideas that won’t break the bank.
Upcycled Crate Stand ($20)
If you’ve got a few wooden crates lying around, you can turn them into a stylish plant stand for under $20. Here’s how:
- Find a few wooden crates at a thrift store or on Craigslist.
- Sand them down and stain or paint them to match your decor.
- Stack them on top of each other to create a tiered stand.
- Add your plants and enjoy!
Pro tip: If you don’t have any crates, you can find them at most hardware stores for under $10 each.
Ladder Stand ($15)
If you’ve got an old wooden ladder, you can turn it into a stylish plant stand for under $15. Here’s how:
- Find an old wooden ladder at a thrift store or on Facebook Marketplace.
- Sand it down and stain or paint it to match your decor.
- Add hooks or brackets to the rungs for hanging plants.
- Lean it against a wall or hang it from the ceiling.
Pro tip: If you don’t have a ladder, you can build one using 2x4s and 1x4s. It’s super easy and won’t break the bank.
Pipe Stand ($25)
If you love the industrial look, you can create a stylish pipe stand for under $25. Here’s how:
- Find a few black iron pipes at your local hardware store.
- Use pipe fittings to create a simple frame.
- Add wooden shelves to the frame.
- Paint or stain the wood to match your decor.
Pro tip: If you want to add a little extra industrial flair, try mixing in some raw wood or a bold-colored throw.
Now, let’s talk about how to style your plant stand for different plant collections.
Plant Stands for Different Plant Collections
Your plant stand should be tailored to your plant collection. Here are a few of my favorite ideas for styling your plant stand based on the types of plants you love.
Succulents: Modern and Minimalist
If you love succulents, you’ll want a plant stand that’s modern and minimalist. Think sleek lines, neutral colors, and a mix of geometric planters.
Here are a few of my favorite succulent plant stand ideas:
- A black metal stand with a mix of geometric planters.
- A white wooden stand with a mix of modern and tropical plants.
- A glass and metal stand with a mix of succulents and small blooms.
Pro tip: If you want to add a little extra modern flair, try mixing in some geometric accents or a sleek vase.
Tropical Plants: Lush and Bold
If you love tropical plants, you’ll want a plant stand that’s lush and bold. Think warm colors, bold greenery, and a mix of textured planters.
Here are a few of my favorite tropical plant stand ideas:
- A wooden stand with a mix of tropical plants and textured planters.
- A metal and wood stand with a mix of bold greenery and woven baskets.
- A rustic stand with a mix of tropical plants and ceramic pots.
Pro tip: If you want to add a little extra tropical flair, try mixing in some global-inspired accents or a bold-colored throw.
Herbs: Functional and Fresh
If you love herbs, you’ll want a plant stand that’s functional and fresh. Think practical designs, easy access, and a mix of small planters.
Here are a few of my favorite herb plant stand ideas:
- A tiered stand with a mix of small herb pots.
- A hanging stand with a mix of trailing herbs and small blooms.
- A wooden stand with a mix of fresh herbs and small planters.
Pro tip: If you want to add a little extra functional flair, try mixing in some small shelves or baskets for your cooking tools.
Now, let’s talk about how to style your plant stand for different room sizes.
Plant Stands for Small Spaces: Maximizing Vertical Space
If you’ve got a small space, you’ll want a plant stand that maximizes vertical space. Here are a few of my favorite ideas for styling plant stands in compact areas.
Corner Stand
A corner stand is a great way to maximize space in a small room. It fits snugly into a corner and provides plenty of room for your plants.
Here’s how to create a simple corner stand:
- Find a few wooden crates or shelves.
- Sand them down and stain or paint them to match your decor.
- Attach them to the wall at an angle to create a corner stand.
- Add your plants and enjoy!
Pro tip: If you want to add a little extra flair, try mixing in some fairy lights or a small mirror.
Hanging Stand
A hanging stand is a great way to free up floor space in a small room. It’s also a great way to add some visual interest to your walls.
Here’s how to create a simple hanging stand:
- Find a few macramé hangers or wooden dowels.
- Attach them to the ceiling using hooks or brackets.
- Add your plants and enjoy!
Pro tip: If you want to add a little extra flair, try mixing in some fairy lights or a small decorative element.
Wall-Mounted Stand
A wall-mounted stand is a great way to save floor space in a small room. It’s also a great way to add some visual interest to your walls.
Here’s how to create a simple wall-mounted stand:
- Find a few wooden shelves or crates.
- Sand them down and stain or paint them to match your decor.
- Attach them to the wall using brackets or hooks.
- Add your plants and enjoy!
Pro tip: If you want to add a little extra flair, try mixing in some fairy lights or a small decorative element.
Now, let’s talk about how to style your plant stand for different lighting conditions.
Plant Stands for Different Lighting Conditions
Your plant stand should be tailored to your lighting conditions. Here are a few of my favorite ideas for styling your plant stand based on the amount of light in your space.
Low Light
If you’ve got a low-light space, you’ll want a plant stand that’s tailored to plants that thrive in low light. Think ferns, snake plants, and ZZ plants.
Here are a few of my favorite low-light plant stand ideas:
- A dark wooden stand with a mix of low-light plants.
- A black metal stand with a mix of textured planters.
- A rustic stand with a mix of greenery and low-light plants.
Pro tip: If you want to add a little extra low-light flair, try mixing in some fairy lights or a small decorative element.
Medium Light
If you’ve got a medium-light space, you’ll want a plant stand that’s tailored to plants that thrive in medium light. Think pothos, spider plants, and peace lilies.
Here are a few of my favorite medium-light plant stand ideas:
- A wooden stand with a mix of medium-light plants.
- A metal and wood stand with a mix of textured planters.
- A rustic stand with a mix of greenery and medium-light plants.
Pro tip: If you want to add a little extra medium-light flair, try mixing in some fairy lights or a small decorative element.
Bright Light
If you’ve got a bright-light space, you’ll want a plant stand that’s tailored to plants that thrive in bright light. Think succulents, cacti, and tropical plants.
Here are a few of my favorite bright-light plant stand ideas:
- A white wooden stand with a mix of bright-light plants.
- A glass and metal stand with a mix of geometric planters.
- A rustic stand with a mix of tropical plants and textured planters.
Pro tip: If you want to add a little extra bright-light flair, try mixing in some fairy lights or a small decorative element.
Final Thoughts: Why DIY Plant Stands Are Worth the Effort
Building your own plant stands is more than just a fun DIY project,it’s a way to create something that’s truly yours. It’s a way to showcase your plants in a way that matches your home’s decor, your personality, and your lifestyle. And let’s be honest, it’s a whole lot more satisfying than buying something generic from a store.
Plus, DIY plant stands are versatile. You can change them up as your plants grow, as your decor changes, or as your space evolves. You can paint them, stain them, or even repurpose them into something completely new. The possibilities are endless!
So, what are you waiting for? Grab your tools, pick your materials, and start building. Your plants (and your home) will thank you.
And if you’re feeling overwhelmed, don’t worry. I’ve been there too. Just start with one simple project, like the basic plant stand I walked you through earlier. Once you’ve got that down, you can move on to more advanced designs. Before you know it, you’ll have plant stands in every room of your house!
Happy building!