
Let me tell you,my kitchen used to be a disaster. I’d open a drawer to grab a spatula, and suddenly I was playing Jenga with Tupperware lids, wooden spoons, and that one whisk I only use for cake batter. The counters? A graveyard of half-used spice jars, takeout menus, and my kids’ “art projects” (read: crumpled homework). Sound familiar?
Here’s the thing: a cluttered kitchen isn’t just annoying,it’s expensive. I used to toss out expired spices I couldn’t find, buy duplicate measuring cups because I’d misplace them, and waste 10 minutes a night digging through drawers for the right tool. Then I realized something: small, intentional changes could turn this chaos into a space that actually works for me. No renovation. No breaking the bank. Just smart tweaks that fit my real life,with two kids, a husband who “helps” by hiding leftovers, and a serious weakness for thrift-store baking dishes.
What I’ve learned? Organization isn’t about perfection,it’s about making your space work harder so you can spend less time searching and more time cooking (or, let’s be honest, scrolling through Pinterest while the pasta boils). Below are the real, tested hacks that finally tamed my kitchen,warts and all.
Why Your Kitchen’s Clutter Is Costing You (More Than You Think)
I never realized how much money I was throwing away until I actually looked. That half-empty bottle of vanilla extract? Expired two years ago. The three identical colanders? One was a duplicate I’d forgotten about. The spice rack where I’d swear I had oregano but couldn’t find it? Turns out I’d used the last of it in 2023.

Here’s the kicker: the New York Times found that the average household wastes $1,500 a year on spoiled groceries and duplicate purchases,mostly because we can’t see what we already have. And that’s not even counting the time wasted. I timed myself once: it took me 8 minutes to find the right measuring cups, wash them, and start baking. Eight minutes I’ll never get back.
But here’s the good news: small, strategic changes can cut that waste,and that frustration,in half. And no, you don’t need a fancy custom kitchen. You just need to get creative with what you’ve got. (Pro tip: Start with the tools you already own,you’d be surprised what a $10 label maker and some Command hooks can do.)
Assessing Your Kitchen’s Hot Mess (Without Judgment)
Before you start buying organizers, pause and actually look at how you use your space. I made the mistake of buying a ton of pretty bins before realizing I’d just be transferring clutter from one place to another. So here’s what worked for me:
- Empty everything. Yes, even that “junk” drawer. I pulled out every item from my cabinets, drawers, and fridge, and laid it all on the table. It looked like a garage sale exploded. But here’s what I noticed: I had three identical can openers, a set of measuring cups I’d lost the ½ teaspoon from, and enough plastic containers to stage a Tupperware party.
- Ask: “Do I use this?” If I hadn’t touched it in six months (and it wasn’t sentimental, like my grandma’s hand-me-down pie server), it went into a donation box. No guilt. (I donated enough to stock a small thrift store.)
- Map your workflow. I realized I was opening the same three drawers repeatedly,utensils, spices, and baking tools,so I designated those as “hot zones” that needed the most attention.
Here’s a real example: I used to keep my baking sheets in a deep cabinet under the oven. Sound logical, right? Wrong. I’d pull out five sheets to get to the one I wanted, then shove them all back in a jumbled pile. Now? I mount a tension rod inside the cabinet door, and the sheets hang vertically. No more avalanches. No more wasted time.
Pro tip: Grab a notebook and sketch your kitchen layout. Mark where you spend the most time (usually near the stove or sink) and note what you reach for most often. That’s where your first organizational efforts should go.
Clearing the Clutter: My Step-by-Step (Messy) Process
I’ll be honest,decluttering my kitchen was not a one-afternoon project. I tackled it in chunks because, let’s face it, I have a life (and a toddler who thinks “helping” means dumping the spice rack on the floor). Here’s how I did it:

Step 1: The Great Empty-Out
I started with the easiest cabinet,the one where I kept random takeout menus, half-used candles, and that one mug I “save for tea” (it’s been empty for three years). I dumped everything on the table, sorted it into “keep,” “donate,” and “trash,” and,here’s the key part,I didn’t put anything back immediately. I lived without that cabinet for a week. Guess what? I didn’t miss 90% of it.
Then I moved to the hard stuff: the pantry. I pulled out every can, box, and bag. I found a bag of flour from 2021 (hard pass), a half-eaten box of cereal from last summer (why?), and enough single-serving coffee packets to open a café. I tossed the expired stuff, consolidated duplicates, and grouped like items together. Now? I can actually see what I have.
Step 2: The “Zone” System (That Actually Works)
I realized my kitchen was a battlefield of zones. The spices were scattered across three drawers, the baking tools lived near the sink (why?), and the measuring cups had their own roaming territory. So I assigned homes:
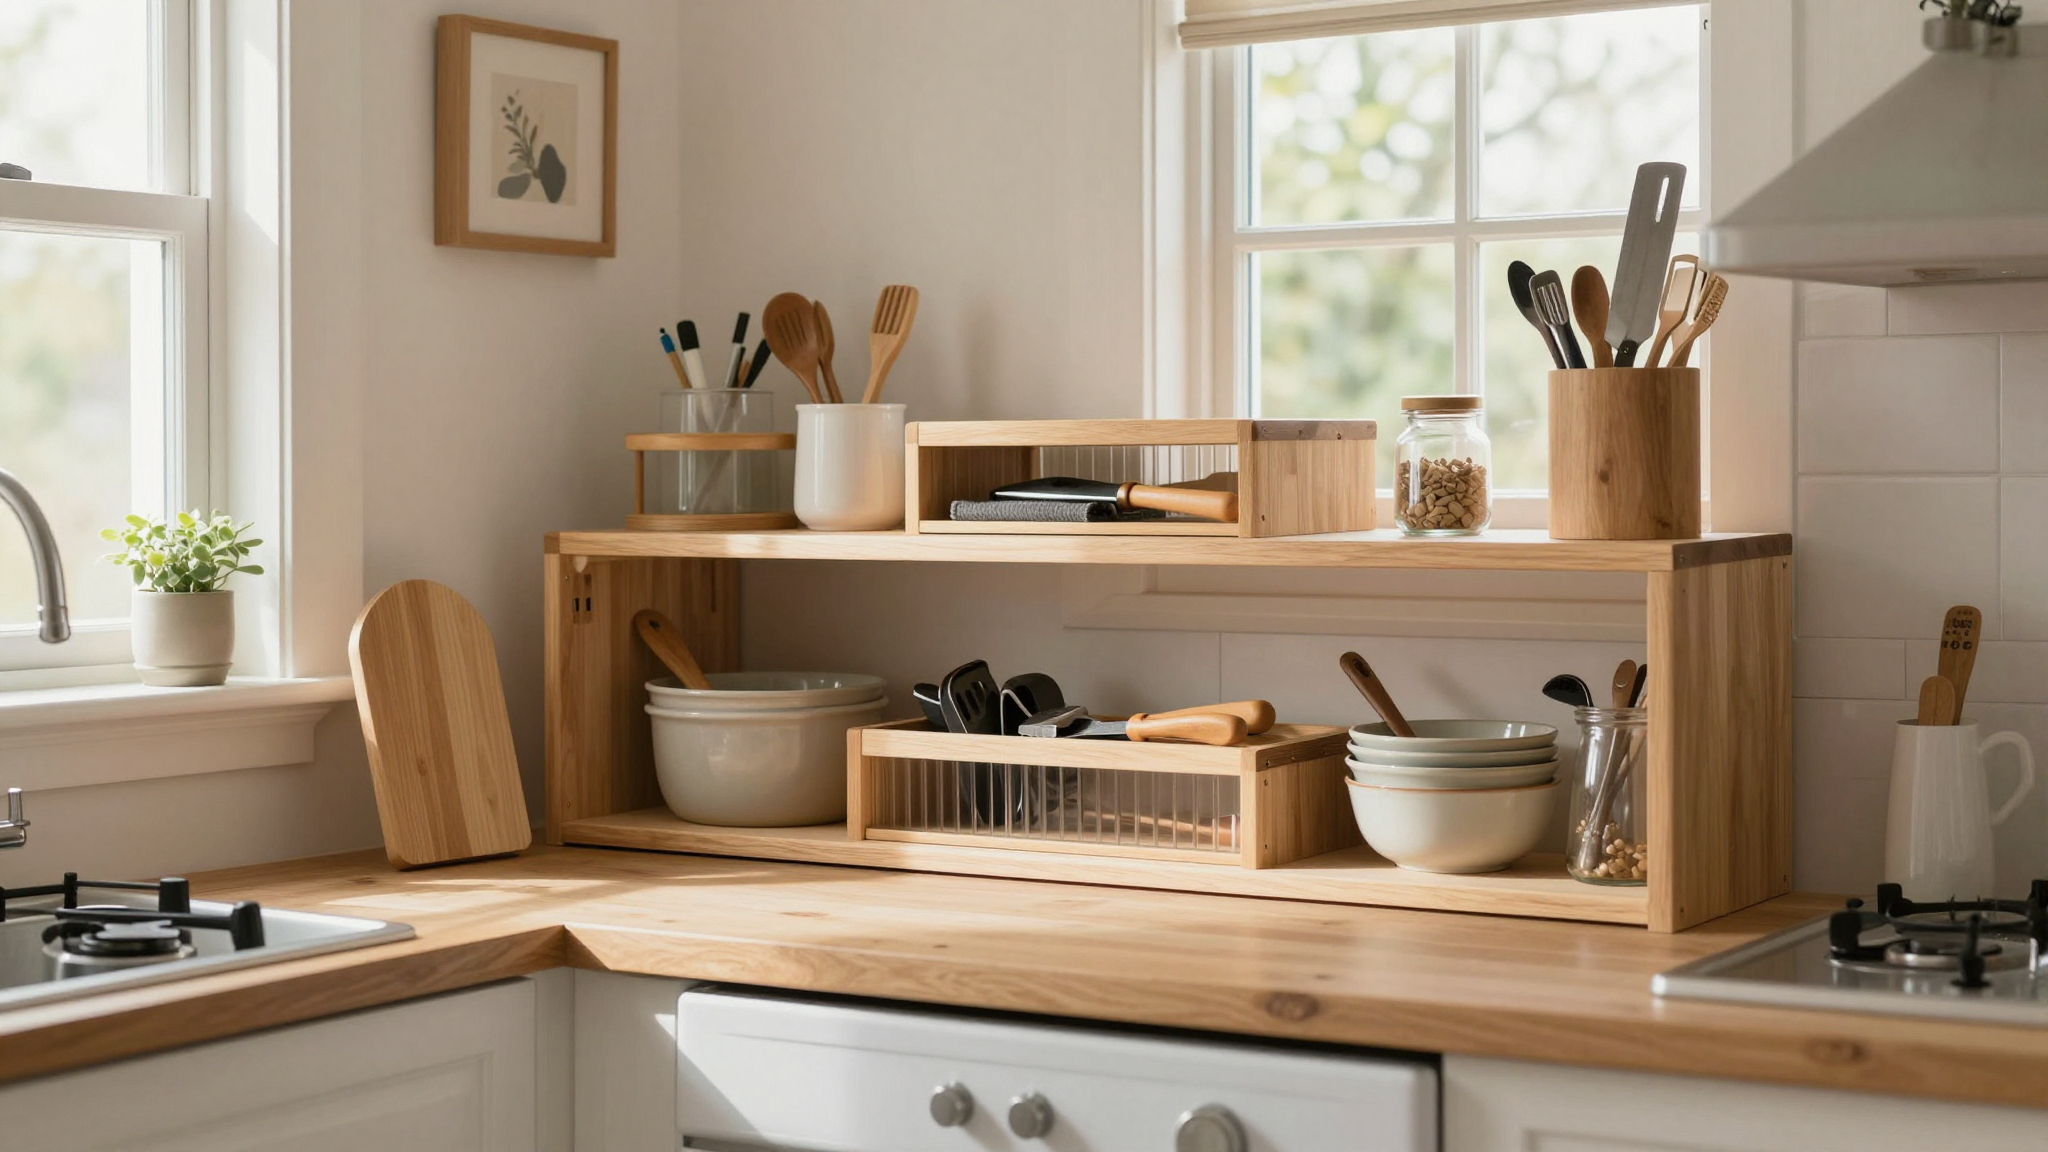
- Cooking Zone (Near the Stove): Pots, pans, spatulas, and spices. I mounted a magnetic strip on the wall for knives and added a pull-out spice rack inside a cabinet.
- Prep Zone (Near the Sink): Cutting boards, measuring cups, and colanders. I installed a wall-mounted rack for the boards and a tension rod for the colanders.
- Baking Zone (Near the Oven): Mixing bowls, rolling pins, and baking sheets. I added a shelf riser to stack the bowls and a hook for the pins.
- Dining Zone (Near the Table): Placemats, napkins, and condiments. I used a lazy Susan for the condiments and a drawer organizer for the napkins.
Here’s the real game-changer: I labeled everything. Not in a fancy calligraphy way,just with a Sharpie on masking tape. Now when my kids ask, “Where’s the measuring cup?” I can point and say, “Second drawer, left side.” (They still ignore me, but at least I tried.)
DIY Hacks That Actually Saved Me Time (And Sanity)
Now for the fun part,the actual hacks that made a difference. None of these cost more than $20, and most took less than an hour.
1. Magnetic Knife Strip (That Finally Stays Put)
I used to have a wooden knife block that took up half my counter. Then I’d misplace knives, and the block would get buried under mail. Solution: I mounted a magnetic strip on the wall above my cutting board. Now my knives are visible, accessible, and not hiding under a pile of coupons.
Pro tip: If you rent, use Command Strips. They hold up to 15 pounds and won’t damage walls. I’ve got one holding a spice rack in my pantry,no more digging through jars.
2. Pull-Out Pantry Shelves (For the Things You Never See)
I had a deep cabinet where I’d shove things I “might need someday.” Spoiler: I never did. Then I installed a pull-out shelf (I got one from IKEA for $15). Now I can see everything,including that bag of quinoa I bought in 2022 and never used. (It’s now in the donation box.)
3. Over-the-Door Organizers (For the Stuff That Lives in Drawers)
My junk drawer was a black hole. Batteries, takeout packets, random screws,you name it, it lived there. Solution: I hung an over-the-door organizer on the inside of my pantry door. Now I’ve got compartments for:
- Batteries (finally in one place!)
- Takeout packets (no more digging through drawers)
- Cable ties and random hardware (because you never know)
4. Tiered Shelves for Plates (No More Jenga Tower)
Stacking plates in my cabinet was a disaster waiting to happen. One wrong move, and the whole pile would come crashing down. Solution: I added tiered acrylic risers (they’re cheap and look clean). Now I can see every plate, and nothing wobbles when I grab the dinner plates.
5. Hanging Rack for Pots and Pans (Because Cabinets Are Overrated)
I used to store my pots and pans in a deep cabinet, which meant I had to pull out five pots to get to the one I wanted. Solution: I installed a ceiling-mounted pot rack (it’s sturdy and looks rustic). Now my most-used pots and pans are hanging right above the stove, and I don’t have to play Tetris with my cookware.
Unconventional Spaces That Are Secretly Goldmines
Here’s what no one tells you: the “useless” spaces in your kitchen are actually storage goldmines. You just have to get creative.
1. The Space Above the Fridge
I used to keep random stuff up there,things I “might need someday.” Now? I’ve got a floating shelf with:
- Extra mugs (because we always need more)
- Baking sheets (they’re flat and stackable)
- A small air fryer I never use but don’t want to donate (yet)
2. The Inside of Cabinet Doors
I used to waste this space. Now? I’ve got:
- A pegboard with hooks for measuring cups and oven mitts
- Adhesive strips holding foil and plastic wrap
- A small basket for pot lids (no more digging through drawers)
3. The Gap Between the Fridge and Wall
I slid a narrow rolling cart in there. Now I’ve got extra prep space for holidays, and I can store snacks or drinks without crowding the counters.
4. The Underside of Shelves
I attached binder clips to the underside of my shelf. Now I clip lids to the shelf above their containers,no more lost lids!
Tools and Supplies That Actually Work (No Fluff)
You don’t need a Pinterest-worthy setup to make your kitchen work better. Here’s what actually helped me:
1. Clear Containers (For When You Can’t See the Bottom)
I use OXO Good Grips containers for dry goods. They stack neatly, I can see what’s inside, and they keep pests out. No more digging through a bag of rice to find the measuring cup I dropped in there.
2. Adjustable Dividers (For Drawers That Refuse to Cooperate)
I cut bamboo trays to fit my utensil drawer. Now my spatulas, whisks, and tongs have their own sections. No more utensil Jenga.
3. Magnetic Strips (For Knives and Spices)
I mounted a magnetic knife strip on the wall and a small magnetic spice rack inside my pantry door. Now I can see every spice at a glance, and my knives are safe from toddler hands.
4. Lazy Susans (For Condiments That Never Stay Put)
I put a lazy Susan in my fridge for condiments. Now I don’t have to dig through ketchup, mustard, and hot sauce to find the mayo.
5. Command Hooks (For Renters and Non-Drillers)
I use Command Hooks to hang:
- Oven mitts on the side of the fridge
- Measuring cups on the inside of a cabinet door
- Dish towels under the sink
Final Thoughts (And a Challenge for You)
Here’s the thing: your kitchen doesn’t have to be perfect. It just has to work for you. Mine still isn’t Pinterest-worthy,there’s a crayon drawing on the fridge, a chipped mug I refuse to throw out, and a spice rack that’s seen better days. But now? I can find what I need in seconds. I waste less food. And I actually enjoy cooking again.
So here’s my challenge to you: pick one area to tackle this weekend. Maybe it’s that junk drawer, the spice rack, or the cabinet where you keep your baking sheets. Spend 30 minutes decluttering, organizing, or installing one of these hacks. You’ll be surprised how much better it feels.
And if you’re feeling overwhelmed? Start small. Check out these five easy DIY projects to get inspired. Or, if your kitchen feels more like a warzone, try these bedroom makeover ideas for a sanity break. (Sometimes you just need a win.)
Now go forth and organize. Your future self will thank you.