
Bathroom Storage Solutions You Can Build in a Weekend
I’ll never forget the morning I finally snapped. My kids were running late for school, I was searching for my favorite lip balm under a pile of half-used lotions, and my husband’s shaving cream had somehow ended up in the medicine cabinet. That’s when I realized – our bathroom wasn’t just cluttered, it was actively working against us. The solution? A weekend of strategic building that transformed our chaotic space into something that actually works for our family.
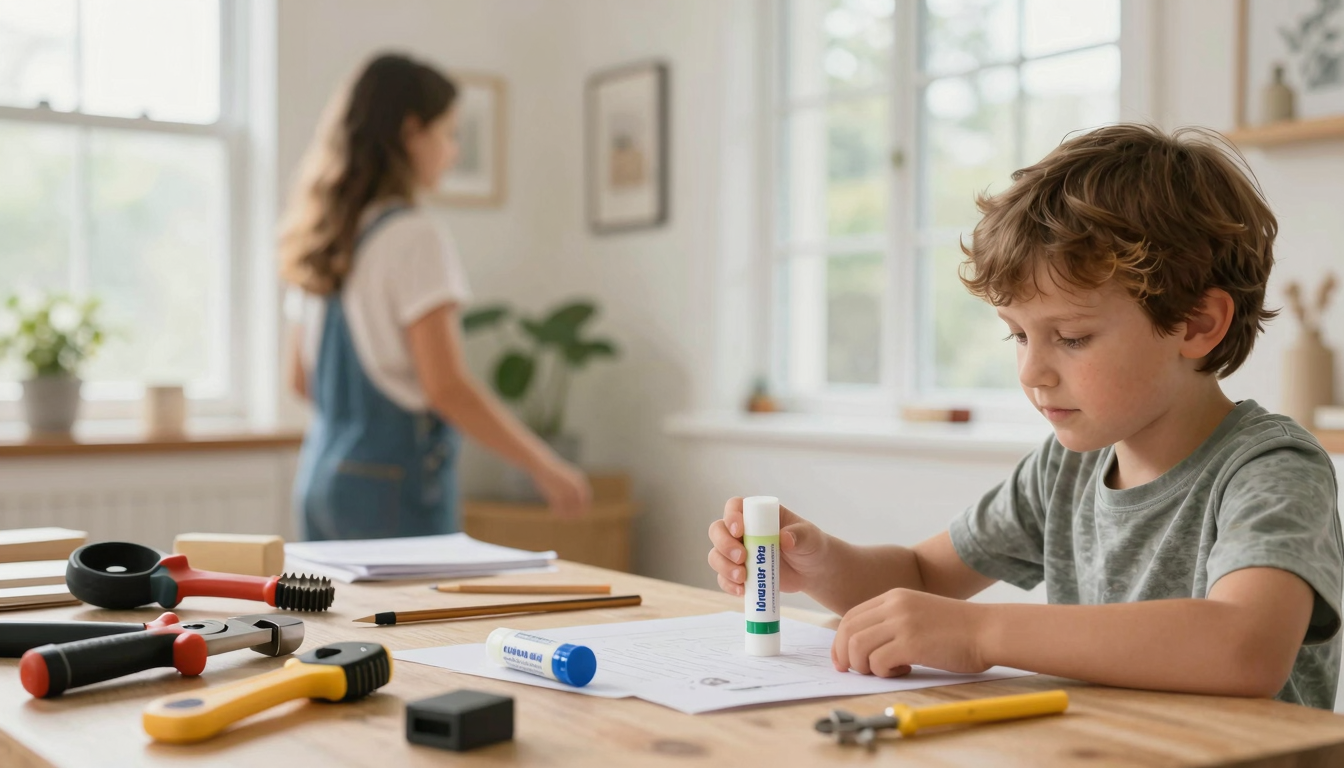
Here’s what I learned: you don’t need endless time or a big budget to create functional, stylish storage. With a few tools, some basic materials, and a little planning, even beginners can tackle projects that maximize space and simplify daily routines. I’ve built everything from floating shelves that hold all our towels to a custom vanity that finally gives me proper storage for my skincare routine. The best part? Most of these projects take less than a weekend and can be customized to match your existing decor.
Whether you’re refreshing a small powder room or overhauling a shared family bathroom, these DIY projects will help you reclaim your space. I’ll walk you through exactly what I did, including the mistakes I made (like when I measured wrong and had to re-cut my wood), the tools that made everything easier, and how I customized each project to fit our specific needs.
What You’ll Learn in This Guide
After struggling through my first few DIY attempts, I’ve refined my approach to bathroom storage projects. Here’s what I want to share with you:
- Weekend-friendly projects that actually solve real problems – no matter how small your space
- Budget tips that helped me save hundreds compared to store-bought solutions (like when I built a custom cabinet for $45 instead of paying $220)
- Customization tricks to make store-bought materials look like high-end custom work
- Real solutions for common bathroom challenges (like finding space for all the kids’ hair products)
- Tools and materials that will make your projects go smoothly (and what to avoid after my painful lessons)
I’ll also share my favorite resources – from the exact brands I use to the YouTube tutorials that saved me when I got stuck. By the end, you’ll have all the information you need to tackle your bathroom storage projects with confidence.
Weekend Bathroom Storage Projects That Actually Work
When I first started planning our bathroom makeover, I was overwhelmed by all the options. Should I build floating shelves? Install a new vanity? What about those over-the-toilet cabinets I’d seen on Pinterest? After some trial and error (and a few failed attempts), I settled on projects that would give us the most bang for our buck in terms of both space and style.
| Project Type | Best For | Average Time |
|---|---|---|
| Floating Shelves | Small walls or narrow spaces | 2.5 hours (I did ours in 2 hours flat!) |
| Over-Door Racks | Narrow layouts or small bathrooms | 1 hour (perfect for when you only have a little time) |
| Corner Cabinets | Unused corner spaces | 3 hours (I added LED lighting which took extra time) |
| Custom Vanity | Replacing outdated storage | 6-8 hours (worth every minute!) |
One thing I learned quickly is that the best projects solve specific problems. For example, our over-the-toilet cabinet wasn’t just about storage – it needed to hold all the extra towels we keep for guests, plus some decorative items to make the space feel more put-together. The floating shelves above our vanity gave me a place for my skincare products that actually stays organized (a miracle in our house!).
I also discovered that water-resistant materials are non-negotiable. After my first attempt at building shelves with regular plywood (which warped within weeks), I switched to marine-grade plywood and haven’t had any issues since. Trust me, it’s worth the few extra dollars to avoid that frustration.
Why DIY Bathroom Storage Saves You Money and Stress
When we first moved into our house, I was tempted to just buy pre-made storage solutions. But after getting a few quotes, I realized how expensive custom cabinetry and vanities could be. That’s when I decided to try building some myself – and I’m so glad I did.
| Project | Material Cost | Retail Equivalent |
|---|---|---|
| Floating Shelves | $18 (plus $12 for brackets) | $95 for similar pre-made shelves |
| Over-Door Rack | $12 | $65 for a basic over-door organizer |
| Corner Cabinet | $45 (plus $20 for hardware) | $220 for a similar pre-made unit |
| Custom Vanity | $150 (for materials) | $800+ for a comparable pre-made vanity |
But the real savings came from being able to customize everything exactly to our needs. Our kids’ bathroom has a narrow space beside the toilet, so I built a slim cabinet that fits perfectly there. In our master bath, I created a vanity with pull-out trays for my jewelry – something I never would have found in a store.
I also learned that paint samples are your best friend. Before committing to any project, I tested different finishes on small pieces of wood or cardboard. This saved me from making a costly mistake with my first vanity (I originally wanted a dark stain, but the sample looked too heavy in our light bathroom).
Planning Your Bathroom Storage: Where to Start
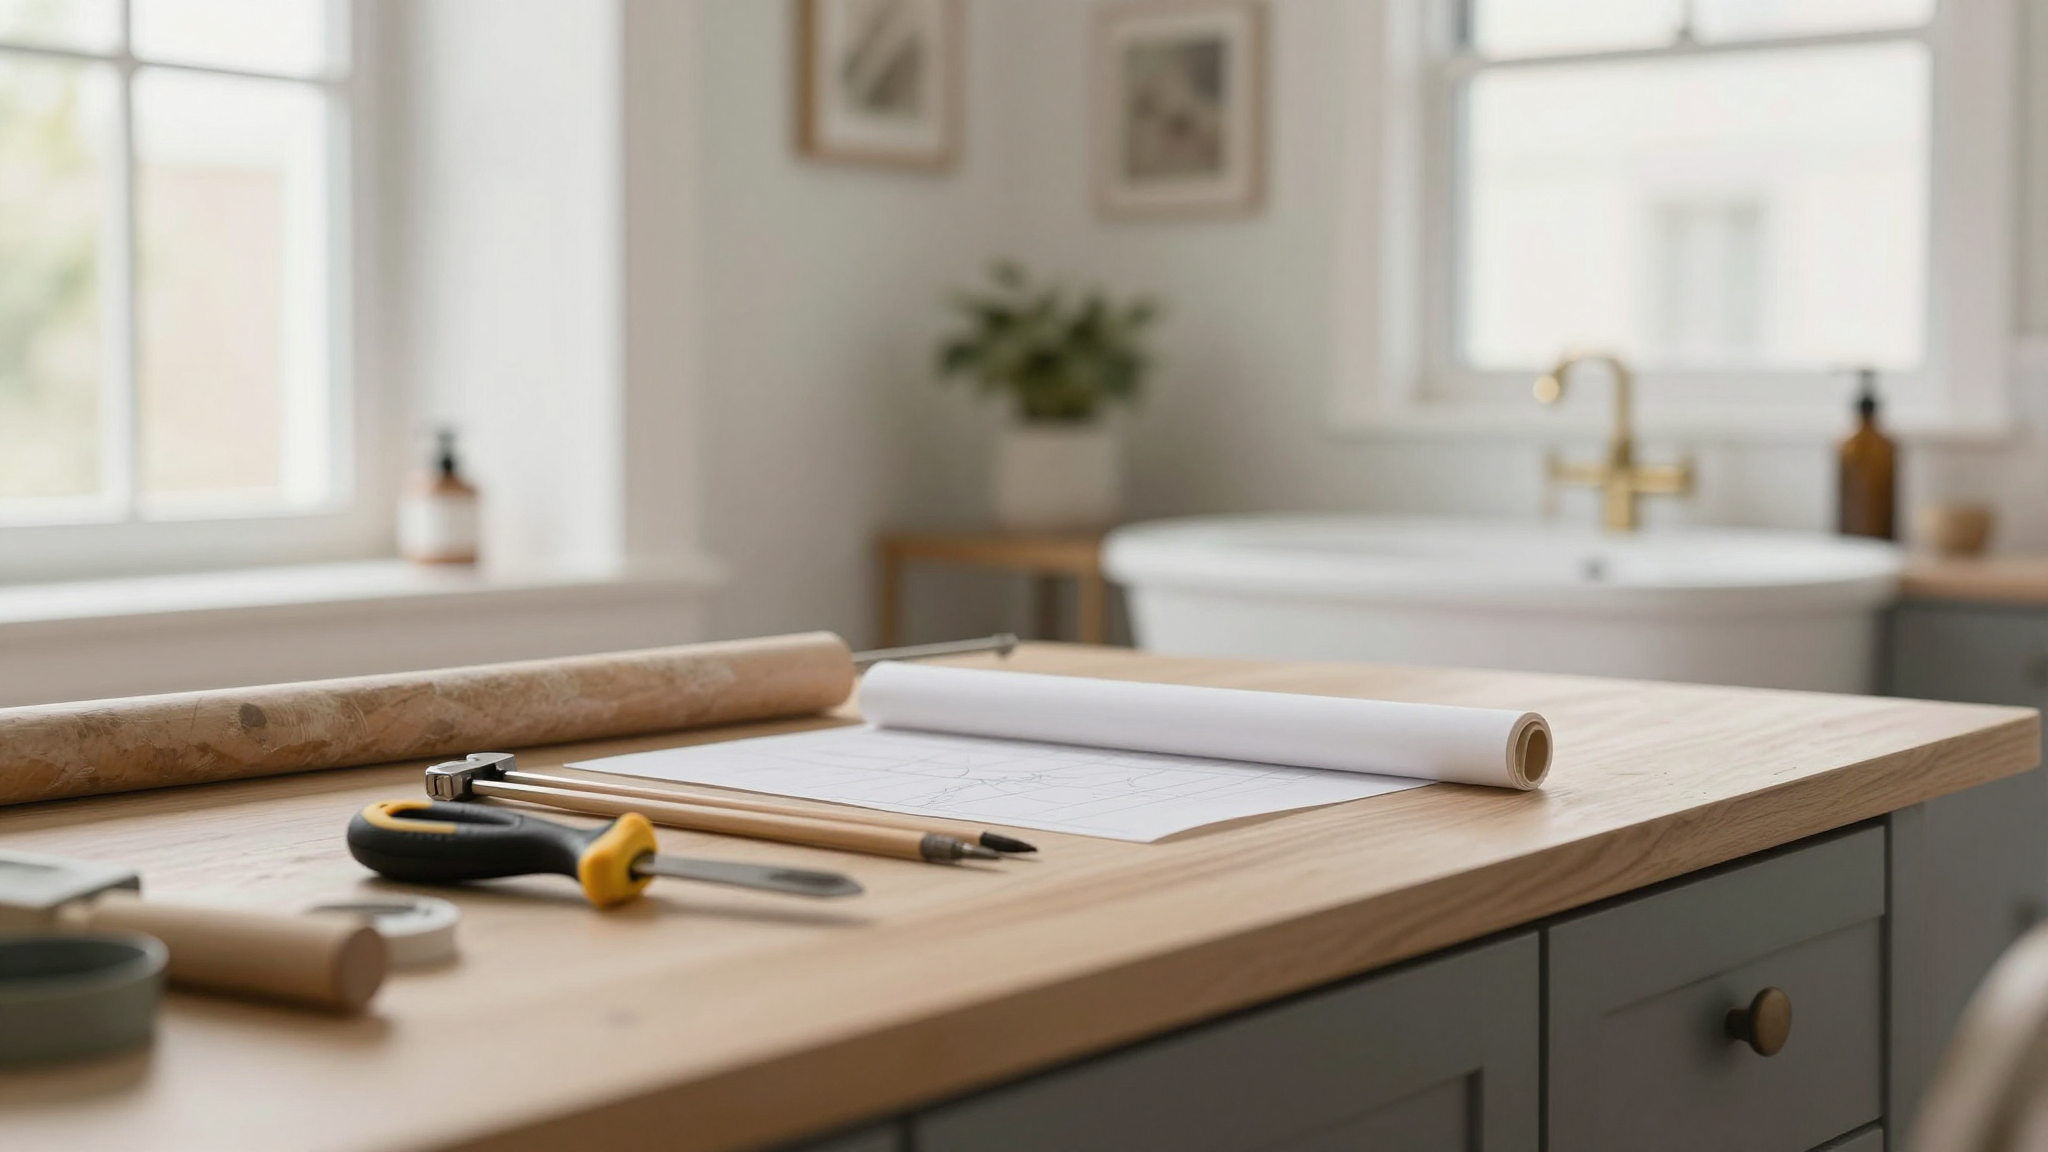
Before I even picked up my tools, I spent time planning exactly what I needed. This step saved me from building things that didn’t actually solve our problems. Here’s how I approached it:
- Sketch your layout: I used graph paper to draw our bathroom, noting where the toilet, sink, and shower were. This helped me visualize where storage could go.
- Identify your pain points: In our case, it was finding space for all the kids’ hair products and having a place for clean towels that didn’t involve a wobbly stack.
- Measure everything: I measured not just the walls, but also the depth of our existing vanity and how much clearance we had around the toilet.
- Prioritize your needs: We needed storage for towels, toiletries, and cleaning supplies – in that order.
One thing that helped me was looking at these DIY projects for inspiration. Seeing how others had solved similar problems gave me confidence that I could do it too.
I also made a list of all the items we needed to store, organized by how often we used them. This helped me determine what needed to be easily accessible (like daily skincare products) versus what could go in less convenient storage (like extra toilet paper).
Essential Tools and Materials for Bathroom Storage Projects
After my first few attempts at DIY projects, I realized having the right tools makes all the difference. Here’s what I’ve learned about the essentials:
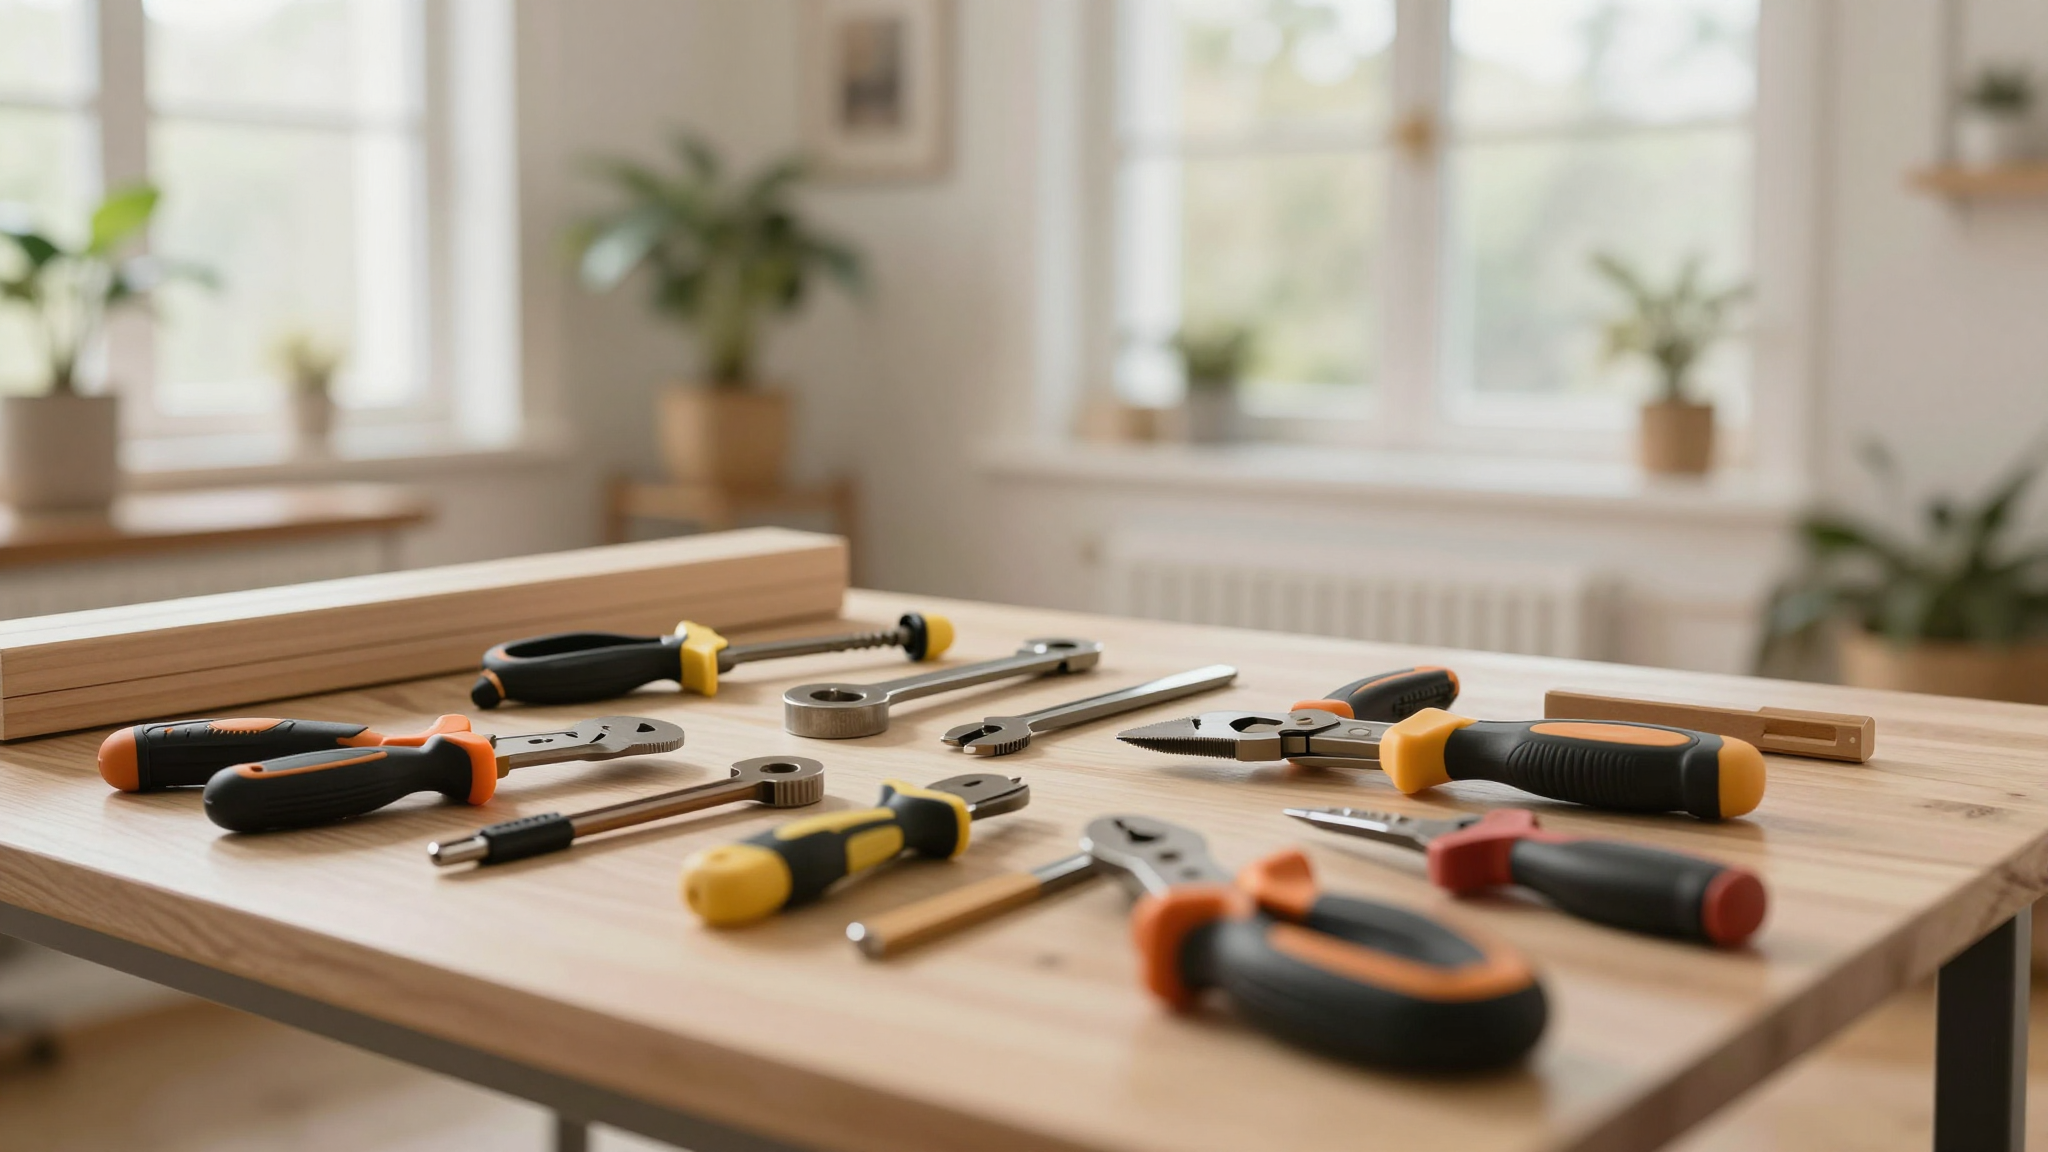
- Cordless drill: My DeWalt drill is my most-used tool. It’s powerful enough for tough materials but lightweight for long projects.
- Level: A good level is non-negotiable. I use a 24-inch level for most projects, but I also have a smaller one for tight spaces.
- Measuring tape: I keep a 16-foot tape measure handy, but I also have a smaller one for measuring inside cabinets.
- Safety goggles: After getting sawdust in my eye once, I never skip these. My kids think they’re cool, so they actually wear them too!
- Sandpaper: I keep a variety of grits (80, 120, and 220) for smoothing edges and preparing surfaces.
- Wood filler: For patching holes and imperfections, I use Minwax wood filler. It sands smooth and matches most wood stains.
For materials, I’ve found that water-resistant options are worth the investment. My go-to is marine-grade plywood from Home Depot. It’s a bit more expensive than regular plywood, but it won’t warp in our humid bathroom. I also use stainless steel brackets for heavier items – they’re more expensive than plastic but much more reliable.
One thing that saved me time was using pre-cut materials. Home Depot and Lowe’s both offer pre-cut shelves and cabinet boxes that fit standard dimensions. This means less measuring and cutting for me, which is a huge time-saver when you’re working on a weekend project.
I also learned the hard way to always locate studs before hanging anything heavy. My first attempt at hanging a heavy cabinet without finding the studs ended with the cabinet pulling away from the wall. Now I always use a stud finder and mark the studs with painter’s tape before drilling.
Step-by-Step: Building a Custom Vanity
Our old vanity was falling apart, and I was tired of having to wedge my legs under it to reach the back of the drawers. So I decided to build a custom vanity that would actually work for our family. Here’s how I did it:
Planning Your Vanity Layout
First, I measured our available space carefully. I needed to account for:
- The width of our sink (24 inches)
- The depth needed for the faucet (12 inches)
- Clearance for the door to open (I added 3 extra inches)
I sketched out different configurations on graph paper, trying to maximize storage while keeping the vanity functional. I decided on a 36-inch wide vanity with two drawers on each side and a cabinet in the middle for extra storage.
| Vanity Style | Ideal Space Size | Key Features |
|---|---|---|
| Contemporary | 36-48″ wide | Floating base, integrated lighting |
| Transitional | 24-36″ wide | Shaker doors, mixed materials |
| Compact | 18-24″ wide | Pull-out trays, vertical dividers |
I used Home Depot’s project calculator to estimate exactly how much wood I needed. This saved me from buying extra materials and having leftover wood that I’d never use.
Building and Installing Your Vanity
I assembled the vanity on the floor first, which made it much easier to work with. I used shims to level the base – our bathroom floor isn’t perfectly even, and I wanted to make sure the doors would open and close smoothly.
For the drawers, I added soft-close mechanisms. It was a bit more expensive, but I’m so glad I did – no more slamming drawers that wake up the baby! I also installed pull-out trays in the cabinet for my jewelry and small items. This was a game-changer for organizing all the little things that used to get lost in the back of the cabinet.
One thing I learned the hard way is to pre-drill holes for the screws. My first attempt at attaching the cabinet doors without pre-drilling resulted in some split wood. Now I always pre-drill, even if it takes a few extra minutes.
For the finish, I used a water-based polyurethane. It dries clear and is much safer than oil-based finishes. I applied three coats, letting each one dry completely before adding the next. This gave me a durable, smooth surface that’s easy to clean.
Now I have a vanity that actually fits our space and gives me the storage I need. The pull-out trays make it easy to find what I need, and the soft-close drawers are a luxury I didn’t know I needed until I had them!
Maximizing Space with Over-the-Toilet Storage
That narrow space above our toilet was just collecting dust until I built a cabinet there. Now it holds all our extra towels, some decorative items, and even a few emergency supplies. Here’s how I did it:
Choosing the Right Wall-Mounted Cabinets
First, I measured the space carefully. I needed to leave about 8-10 inches between the top of the cabinet and the ceiling, and 8-10 inches between the cabinet and the toilet tank. This gives me enough room to reach everything without feeling cramped.
I chose a recessed cabinet because it fits flush with the wall, making the space feel larger. I also added LED lighting inside – it was a bit more expensive, but it makes it so much easier to find what I need in the morning.
| Cabinet Type | Ideal For | Depth Range |
|---|---|---|
| Recessed | Small walls or narrow spaces | 5-7″ |
| Mirrored | Multi-tasking (storage + mirror) | 4-6″ |
| Open Shelf | Display decor or lightweight items | 8-10″ |
I secured the cabinet using toggle bolts, since our bathroom walls don’t have studs in that area. I also used a stud finder to locate the framing around the door, which gave me some extra support points.
One thing that made a big difference was aligning the cabinet handles with our existing hardware. This made the whole space feel more cohesive. I also added some puck lights under the shelves – they give just enough light to see what’s inside without being too bright.
Now I have a place for all our extra towels, some decorative items that make the space feel more put-together, and even a few emergency supplies. It’s amazing how much difference a little storage can make!
Organizing Your Bathroom: Cabinets, Shelves & Accessories
After years of dealing with a cluttered bathroom, I’ve learned that the key to organization is layering different types of storage. Here’s how I approach it:
First, I use floating shelves for items I need to access quickly, like my daily skincare products. Then I add closed cabinets for things I don’t use as often, like extra toilet paper or cleaning supplies. Finally, I use accessories like baskets and trays to corral small items and keep them organized.
One thing that’s made a big difference is using matching baskets or jars. It might sound silly, but having everything in similar containers makes the space feel more put-together. I found some great woven baskets at Target that hold all my kids’ hair products, and they look much better than the plastic bins I was using before.
I also learned that it’s important to organize by how often you use things. Daily items go on the floating shelves where they’re easy to reach, while things I use less often go in the cabinets. This way, I’m not digging through everything every time I need something.
One of my favorite organization tricks is using tiered trays in deep cabinets. This prevents the “junk drawer syndrome” where everything gets jumbled together. I have one tray for skincare, one for makeup, and one for hair products. It’s amazing how much difference this makes!
I also added a slim ladder shelf beside our mirror. It holds some decorative items and a few small products, but it also adds some vertical interest to the space. Plus, it’s a great place to display some of my favorite candles.
Eco-Friendly and Sustainable Bathroom Storage Options
After reading about the environmental impact of traditional furniture, I wanted to find more sustainable options for our bathroom. Here’s what I’ve learned:
Handcrafted Wood Furniture
I fell in love with the idea of handcrafted wood furniture after seeing some pieces from Vermont Wood Studios. Their pieces are made from reclaimed wood and use traditional joinery techniques instead of synthetic adhesives. This means they’re not only beautiful but also durable and eco-friendly.
I particularly love their teak shelves. Teak is naturally water-resistant, which makes it perfect for humid bathrooms. Plus, it develops a beautiful patina over time that adds character to the space.
Green Materials for DIY Projects
For my DIY projects, I’ve been using more sustainable materials:
- Bamboo: It grows much faster than hardwoods and is naturally resistant to moisture. I used bamboo for some small shelves in our guest bathroom.
- Recycled metal brackets: These are just as strong as new metal but have a lower environmental impact. I used them for some floating shelves.
- Cork panels: I lined some of my cabinet drawers with cork to protect the wood and add a natural look.
| Material | Benefits | Best Uses |
|---|---|---|
| Reclaimed Wood | Prevents deforestation, adds character | Floating shelves, vanities |
| Recycled Glass | Non-porous, easy to clean | Cabinet doors, shelf dividers |
| Organic Cotton | Biodegradable, soft texture | Storage baskets, drawer liners |
I also use water-based finishes instead of polyurethane. They dry clear and don’t have the strong fumes that can linger in a small space. Plus, they’re much safer for my kids and pets.
One of my favorite sustainable finds is a set of woven baskets from Etsy. They’re made from natural fibers and add a beautiful, organic texture to our bathroom. They hold all our kids’ hair products and look much better than plastic bins.
Using sustainable materials has made our bathroom feel more connected to nature. Plus, I love knowing that I’m reducing my environmental impact while creating a space that works for our family.
European Designs and Modern Aesthetics in Bathroom Storage
I’ve always loved the clean, functional look of European design. When I started planning our bathroom makeover, I wanted to incorporate some of those elements into our storage solutions. Here’s what I learned:
Blending Minimalist Shelves with Classic Elements
One of my favorite combinations is pairing sleek, modern shelves with classic elements like brass hardware. I found some beautiful brass brackets at Home Depot that I used for our floating shelves. They add a touch of elegance while still being functional.
I also like mixing materials. For example, I used wood for our vanity but added some metal accents with the hardware. This gives the space a more interesting look while still feeling cohesive.
| Design Element | European Influence | Modern Twist |
|---|---|---|
| Floating Shelves | French Art Deco symmetry | Hidden mounting brackets |
| Medicine Cabinets | Swiss precision engineering | Integrated LED lighting |
| Recessed Niches | Mediterranean arched alcoves | Waterproof composite materials |
I also added some geometric elements to our space. Our subway tile backsplash has a subtle herringbone pattern, and I added some decorative tiles with a similar pattern to our floating shelves. This ties the whole space together while adding visual interest.
Incorporating Contemporary Finishes
I love using matte finishes in our bathroom. They feel more modern and sophisticated than glossy surfaces. I used matte black metal frames for some of our shelves, and they look amazing with our brass hardware.
Another trick I learned is to mix textures. I paired our smooth vanity with some textured tiles on the backsplash. This adds depth to the space and makes it feel more interesting.
One of my favorite modern touches is using LED strip lighting. I added some under our floating shelves, and it makes a huge difference in the morning when I’m getting ready. It’s bright enough to see what I’m doing but not so bright that it’s overwhelming.
I’ve found that European design is all about balancing form and function. The storage solutions I’ve built not only work well but also look beautiful. They’ve transformed our bathroom from a cluttered mess to a space that feels like a spa.
Tips for Aligning Your Bathroom Storage with Home Décor
One of the biggest challenges I faced was making sure our new storage solutions matched the rest of our home. Here’s how I approached it:
First, I looked at the colors and materials already in our bathroom. Our vanity is a warm wood tone, so I chose wood for our floating shelves to match. I also used brass hardware, which matches our faucet and towel bars.
I also thought about the overall style of our home. We have a mix of modern and traditional elements, so I tried to incorporate both in our bathroom. For example, I used a modern floating shelf but added some classic brass hardware to tie it to our existing decor.
- Texture pairing: I combined matte cabinets with glossy tiles for a modern look.
- Proportion balance: I offset bulky units with floating ledges to keep the space feeling open.
- Hardware continuity: I matched all the drawer pulls and cabinet handles to our existing faucet finishes.
| Décor Style | Storage Option | Finish Idea |
|---|---|---|
| Coastal | Driftwood shelves | Weathered white |
| Industrial | Metal wall grids | Brushed nickel |
| Traditional | Panel-front cabinets | Espresso stain |
One thing that made a big difference was using paint samples to test finishes. I painted small pieces of wood with different colors and let them dry. This helped me see how they would look in our space before committing to a full project.
I also added some personal touches to make our storage solutions feel more like part of our home. I lined some of our cabinet drawers with patterned contact paper, and I added removable wallpaper to the inside of our medicine cabinet. These small details make a big difference in how cohesive our space feels.
One of my favorite tricks is using matching baskets or trays. I found some woven baskets that hold all our kids’ hair products, and they look much better than the plastic bins I was using before. Plus, they add a nice texture to the space.
Features to Look For in Bathroom Furniture and Accessories
When I was shopping for materials and accessories, I learned to look for specific features that make storage solutions more functional and durable. Here’s what I prioritize:
First, I look for integrated lighting. I added LED strips to our floating shelves, and it makes a huge difference in the morning. It’s bright enough to see what I’m doing but not so bright that it’s overwhelming.
I also love soft-close mechanisms. After years of slamming drawers that woke up the baby, I decided to invest in soft-close hinges and drawer slides. It was a bit more expensive, but it’s one of my favorite upgrades.
| Feature | Benefit | Ideal For |
|---|---|---|
| Modular design | Reconfigures as needs change | Growing families |
| Waterproof finishes | Withstands humidity | Shower-adjacent areas |
| Magnetic closures | Secures items discreetly | Medication storage |
I also look for adjustable shelves. Our kids are growing, and I want our storage solutions to grow with them. Adjustable shelves make it easy to change the configuration as needed.
One feature that’s made a big difference in our bathroom is pull-out trays. I added them to our vanity, and they’ve completely changed how I organize my skincare products. I can see everything at a glance, and nothing gets lost in the back of the cabinet.
I also love using matching hardware. It might seem like a small detail, but having all the drawer pulls and cabinet handles match makes the whole space feel more put-together. I chose brass hardware to match our faucet and towel bars.
Expert Advice on Sizing and Installation for Instant Results
After a few failed attempts at installing storage solutions, I learned some valuable lessons about sizing and installation. Here’s what I wish I knew from the beginning:
First, always measure three times. I made the mistake of measuring once and then realizing I’d missed something important. Now I measure height, width, and depth, and I double-check my measurements before cutting any wood.
I also learned to locate studs before hanging anything heavy. My first attempt at hanging a heavy cabinet without finding the studs ended with the cabinet pulling away from the wall. Now I always use a stud finder and mark the studs with painter’s tape before drilling.
| Area | Ideal Depth | Critical Clearance |
|---|---|---|
| Beside Toilet | 5-7″ | 10″ from tank |
| Over Vanity | 8-10″ | 16″ from counter |
| Corner Shelves | 9-12″ | 18″ from floor |
I also learned to use shims when installing cabinets on uneven floors. Our bathroom floor isn’t perfectly level, and I wanted to make sure our new vanity would be stable. Shims helped me level it out perfectly.
One thing that saved me a lot of frustration is pre-drilling holes. My first attempt at attaching cabinet doors without pre-drilling resulted in some split wood. Now I always pre-drill, even if it takes a few extra minutes.
I also learned to test layouts with painter’s tape. Before I drilled any holes, I outlined where the shelves would go with painter’s tape. This helped me see if there were any sightline issues or if I needed to adjust the placement.
Finally, I learned to take my time. Rushing leads to mistakes, and those mistakes can be frustrating to fix. Now I try to break each project into smaller steps and take breaks as needed. It might take a little longer, but the results are worth it.
Final Thoughts and Next Steps
Transforming our bathroom has been one of the most rewarding DIY projects I’ve tackled. It’s amazing how much difference a little organization can make in both the look and function of a space. I’ve gone from feeling overwhelmed by clutter to actually enjoying my morning routine.
If you’re ready to tackle your own bathroom storage projects, here’s what I recommend:
- Start small: Pick one project, like floating shelves or an over-the-toilet cabinet, and focus on getting it right.
- Measure carefully: Take your time and measure everything multiple times before cutting any wood.
- Use quality materials: Invest in water-resistant plywood and stainless steel brackets to ensure your projects last.
- Personalize your space: Add your own touches, like paint colors or hardware finishes, to make your storage solutions feel unique.
- Take your time: Don’t rush. It’s better to take an extra day and do it right than to rush and have to fix mistakes.
Remember, the goal isn’t perfection,it’s creating a space that works for your family. Our bathroom might not look like it’s out of a magazine, but it’s functional, stylish, and most importantly, it works for us.
Now I want to hear from you! What’s your biggest bathroom storage challenge? Have you tried any DIY storage solutions? Share your tips and tricks in the comments,I’d love to hear what’s worked for you.
And if you’re feeling inspired, check out some of my other DIY projects. I’ve got ideas for adding charm to your home, bedroom makeovers, and even tips for upcycling furniture. Happy building!
Frequently Asked Questions
How can DIY projects save money compared to buying pre-made furniture?
Building your own storage solutions allows you to customize materials, sizes, and finishes while avoiding retail markups. For example, I built a custom vanity for $150 in materials, while a comparable pre-made vanity would have cost $800 or more. You can also choose water-resistant materials that are more durable than some mass-produced options.
What’s the easiest weekend project for adding functional space?
Floating shelves are the easiest and most versatile project. I built a set in just 2 hours using water-resistant plywood and basic brackets. They’re perfect for holding daily essentials and can be customized to match your decor. Over-the-toilet cabinets are another great option,they take about an hour and make excellent use of vertical space.
How do I choose between open shelving and closed cabinets?
Open shelving works well for displaying decorative items or things you use daily, like towels or skincare products. Closed cabinets are better for hiding less attractive necessities like cleaning supplies or extra toilet paper. I like to use a combination of both in our bathroom,open shelves for daily items and closed cabinets for things we don’t use as often.
Are eco-friendly materials durable enough for humid environments?
Absolutely! Materials like bamboo, reclaimed wood, and FSC-certified plywood are not only eco-friendly but also durable in humid environments. I used teak for some of our shelves, and it’s held up beautifully despite our bathroom’s humidity. Just make sure to use water-based finishes that are safe for indoor air quality.
Can modern designs blend with traditional home aesthetics?
Yes, they can! The key is to mix modern elements with traditional touches. For example, I paired sleek floating shelves with classic brass hardware that matches our existing faucet. You can also incorporate traditional materials like wood with modern finishes like matte black or brushed gold. The result is a space that feels both contemporary and timeless.
What common mistakes should I avoid during installation?
Always locate wall studs before hanging heavy items. I learned this the hard way when a cabinet I hung without finding studs pulled away from the wall. Also, pre-drill holes to prevent splitting wood, and always measure multiple times before cutting. Taking your time during installation will save you from costly mistakes later.
How do I maximize vertical space in small powder rooms?
Install narrow ladder shelves or tiered corner units to make use of vertical space. I added a slim cabinet beside our toilet that holds all our extra towels and some decorative items. You can also use over-the-toilet cabinets or floating shelves to maximize every inch of wall space. These solutions make small bathrooms feel more organized and spacious.
What features make medicine cabinets more functional?
Look for medicine cabinets with adjustable shelves, integrated lighting, and anti-fog mirrors. I added LED lighting to our cabinet, which makes it much easier to see what I’m doing in the morning. Also, consider recessed models if space is limited,they save depth and provide a streamlined look. Matching the hardware to your existing fixtures will make the whole space feel more cohesive.
Can I repurpose existing furniture for vanities?
Absolutely! I turned an old dresser into a vanity by sealing the surface with marine-grade varnish and cutting a hole for the sink. You can also use console tables or even reclaimed wood to create custom storage solutions. Just make sure to use water-resistant materials and proper sealing techniques to ensure durability in a humid environment.
How do I ensure new storage aligns with my home’s color scheme?
Start by pulling inspiration from your existing decor. If your kitchen has brass accents, repeat that finish in your bathroom hardware. I used paint samples to test different colors on small pieces of wood before committing to a full project. This helped me see how the finishes would look in our space and make more confident decisions.