
DIY Garage Storage: Wall-Mounted Organization That Works (I Tried It All!)
Let me tell you,our garage used to be an absolute disaster. I’d open the door and get hit with a wave of “what even is this stuff?” It was the catch-all for everything we didn’t know what to do with: Christmas decorations from 2012, my husband’s old fishing gear, the kids’ sports equipment that somehow multiplied every season. I swore I’d fix it, but honestly? I had no idea where to start.
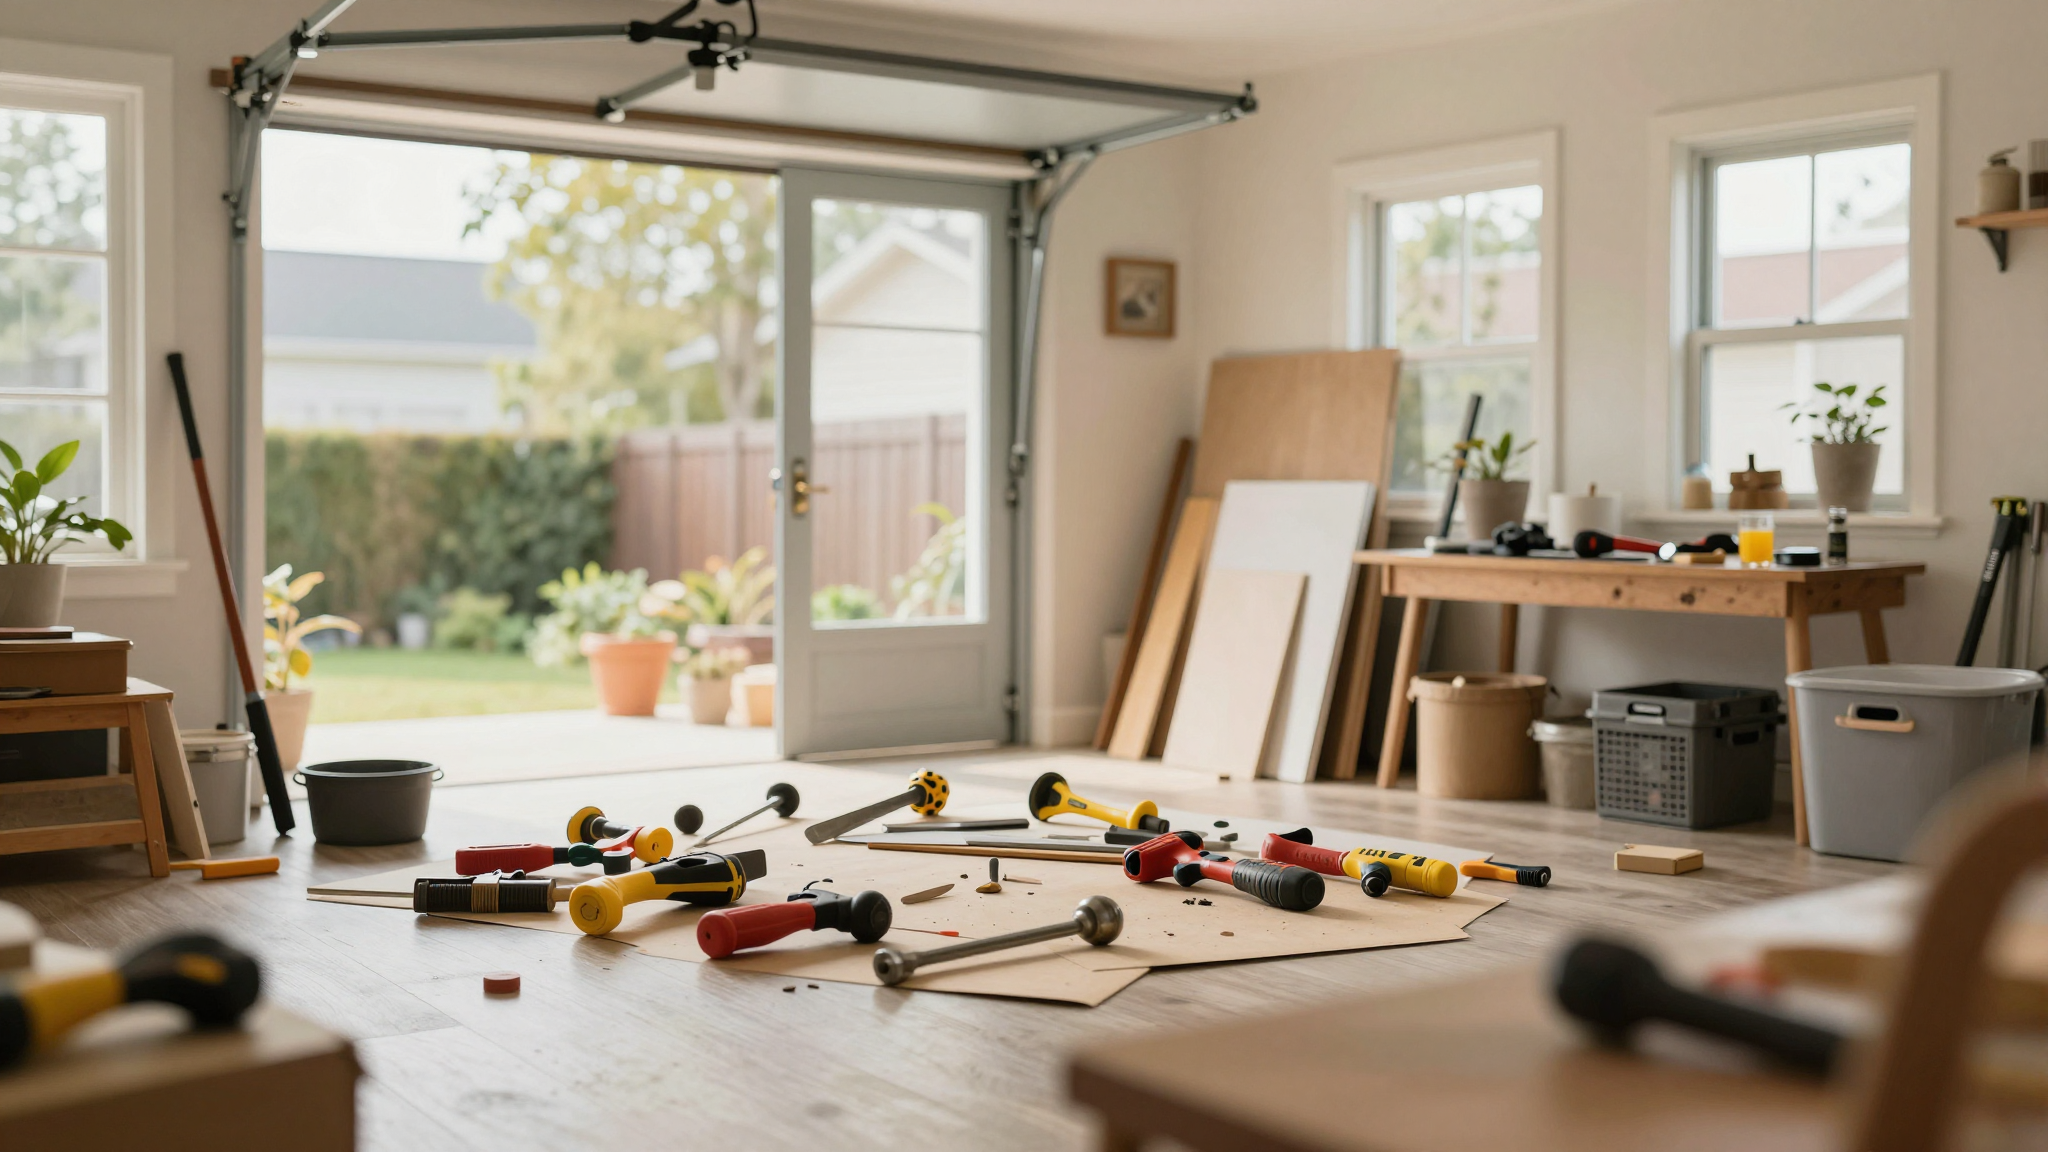
Then I rolled up my sleeves and got to work. After way too many failed attempts (including that time I tried to hang a shelf with just a hammer and hope,spoiler: it didn’t work), I figured out what actually works for a real family’s garage. No fluff, no “expert” quotes,just the stuff that survived my kids, my husband’s tools, and three seasons of chaos.
If your garage looks like a tornado hit a hardware store, you’re in the right place. I’m Christina, and I’ve spent the last year turning my garage from a black hole of misplaced items to a space that actually makes sense. Here’s what I learned,along with the mistakes I made so you don’t have to.
Why Wall-Mounted Storage Changed Everything
I used to think garage storage was just about buying more bins. Big mistake. The real game-changer? Going vertical. Once I started using the walls and ceiling, everything else fell into place. No more tripping over bins, no more digging through piles to find the right wrench, and,best of all,my car actually fits in the garage again.
But here’s the thing: it’s not just about slapping up some shelves. You’ve got to think about how you use your garage. Do you park your car in there daily? Do you have kids’ bikes taking up space? Are you storing seasonal stuff that only comes out twice a year? Your setup should work for your life, not some Pinterest-perfect fantasy.
I’ll be honest,my first attempt was a hot mess. I bought these flimsy plastic shelves from a big-box store, hung them crooked, and within a month, they were sagging under the weight of my husband’s power tools. Lesson learned: cheap shelves = regret. Now? I only recommend stuff that’s actually built to last. (More on that later.)
What I Wish I Knew Before Starting
Before you dive in, here are the three biggest things I learned the hard way:
- Measure everything. I thought I knew the dimensions of my garage. I was wrong. Grab that tape measure and double-check,especially if you’re planning ceiling storage. My husband had to redo the entire layout because I mismeasured by a foot. (Yes, I’m still hearing about it.)
- Start with the essentials. I tried to organize everything at once and ended up with a garage that looked like a bomb went off. Focus on the stuff you use daily first,tools, bikes, whatever’s always in your way.
- Invest in quality hardware. The difference between a $10 hook and a $20 one is night and day. I saved money on the cheap hooks and spent twice as long fixing them when they failed. Not worth it.
Oh, and one more thing,don’t use cardboard boxes. I know, I know, they’re free and easy. But after one season in our garage, they turn into rodent hotels. Trust me, I’ve had to evict more mice than I care to admit. Use plastic bins with locking lids instead.
The Benefits of DIY Garage Storage (That Actually Matter)
Let’s be real,organizing your garage isn’t just about making it look pretty. It’s about making your life easier. Here’s what a well-organized garage actually gives you:
1. You’ll Finally Park Your Car Inside
This was my #1 goal. Our garage had become a graveyard for stuff we “might need someday.” After I installed wall-mounted racks for the bikes and a ceiling rack for the holiday decorations, I suddenly had room for the car. No more scraping ice off the windshield in the morning. Worth every minute of work.
2. You’ll Stop Losing Stuff (Yes, Really)
How many times have you dug through piles of junk looking for that one tool or sports equipment? I used to spend 10 minutes searching for the soccer cleats before practice. Now? They’re on a hook at eye level, right by the door. No more frantic last-minute searches.
3. It’s Actually Safer
I never realized how dangerous our garage was until I started organizing it. Sharp tools were just lying around, and the kids’ sports equipment was a tripping hazard. Now, everything has a designated spot, and the dangerous stuff is up high or locked away. One less thing to worry about.
4. You’ll Save Money (Yes, Really)
Before, I’d buy duplicates of things because I couldn’t find what I already owned. Now that everything has a place, I’m not out there replacing stuff I already have. Plus, I don’t have to pay someone else to organize it for me,I did it myself for a fraction of the cost.
Oh, and one more bonus: it’s weirdly satisfying. There’s something about opening the garage door and seeing everything in its place that just feels good. (I know, I sound like a weirdo. But try it.)
The Best DIY Garage Storage Solutions (That I Actually Use)
After testing a bunch of different systems, here are the ones that actually work for a real family’s garage:
1. Wall-Mounted Racks (My Absolute Favorite)
I started with the Rubbermaid FastTrack system, and it’s been a game-changer. The rails are super sturdy, and the hooks come in all different sizes for tools, bikes, sports equipment,you name it. I even use them to hang my kids’ backpacks by the door so they’re not lying on the floor.
Pro tip: Use a stud finder. I skipped this the first time and ended up with a shelf that wobbled every time someone walked by. Not fun. Take the extra 10 minutes to find the studs,your walls (and your sanity) will thank you.
2. Overhead Ceiling Racks (For Stuff You Only Need Sometimes)
I was skeptical about these at first,what if something falls on my car?,but the Fleximounts ceiling rack is built like a tank. It holds all our holiday decorations, camping gear, and the kids’ outgrown toys. I never have to dig through piles to find the Christmas tree anymore.
Installing it was a two-person job (thanks, honey), but it took less than an hour. And the best part? I can finally park my car in the garage and still fit all our stuff.
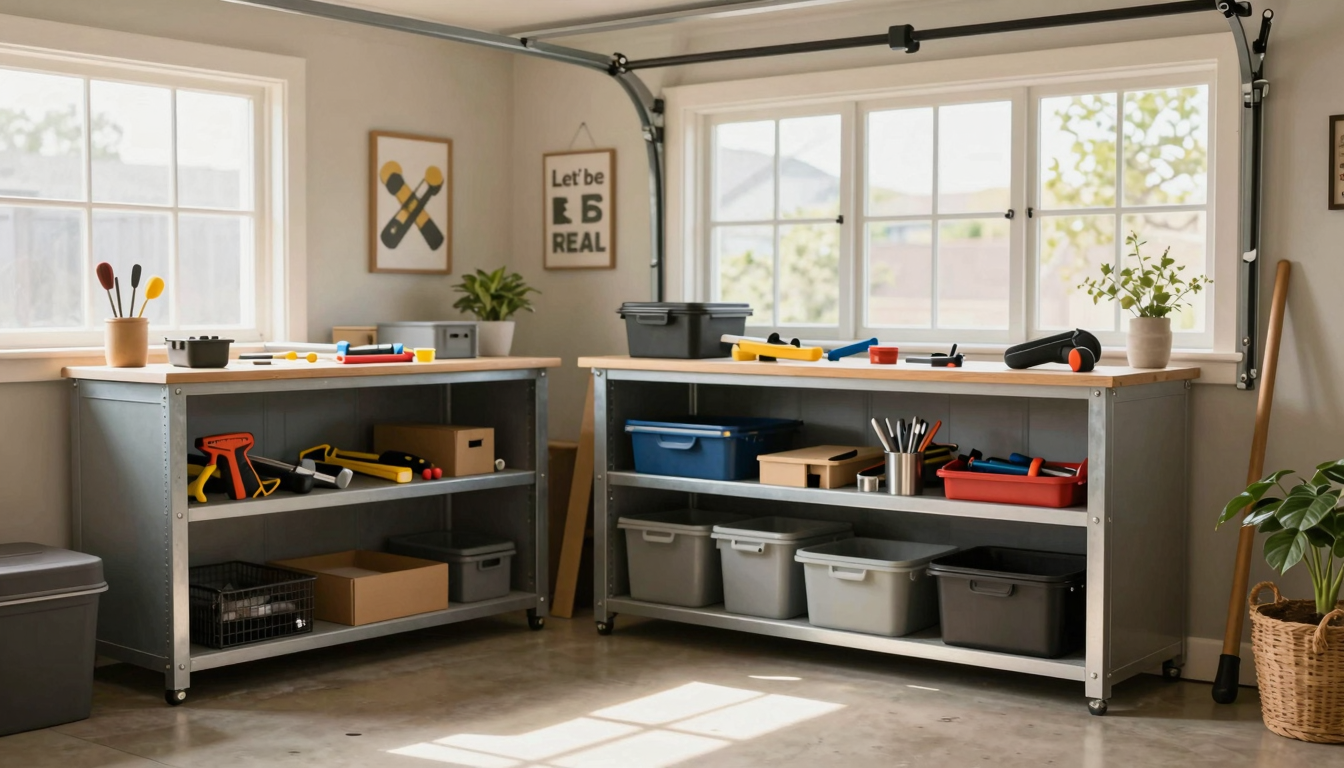
3. Freestanding Cabinets (For When You Don’t Have Wall Space)
If your garage is tiny or you just don’t have wall space, freestanding cabinets are a lifesaver. I use a Husky freestanding cabinet to store all our automotive supplies and cleaning stuff. It’s got three shelves, and I can move it if I need to rearrange the garage.
I did learn one thing the hard way: don’t overfill them. I thought I was being efficient by packing everything in, but then the cabinet started tipping over. Now I keep it about 70% full, and it’s rock-solid.
Tools You’ll Actually Need (No Fluff)
Before you start, make sure you’ve got these basics:
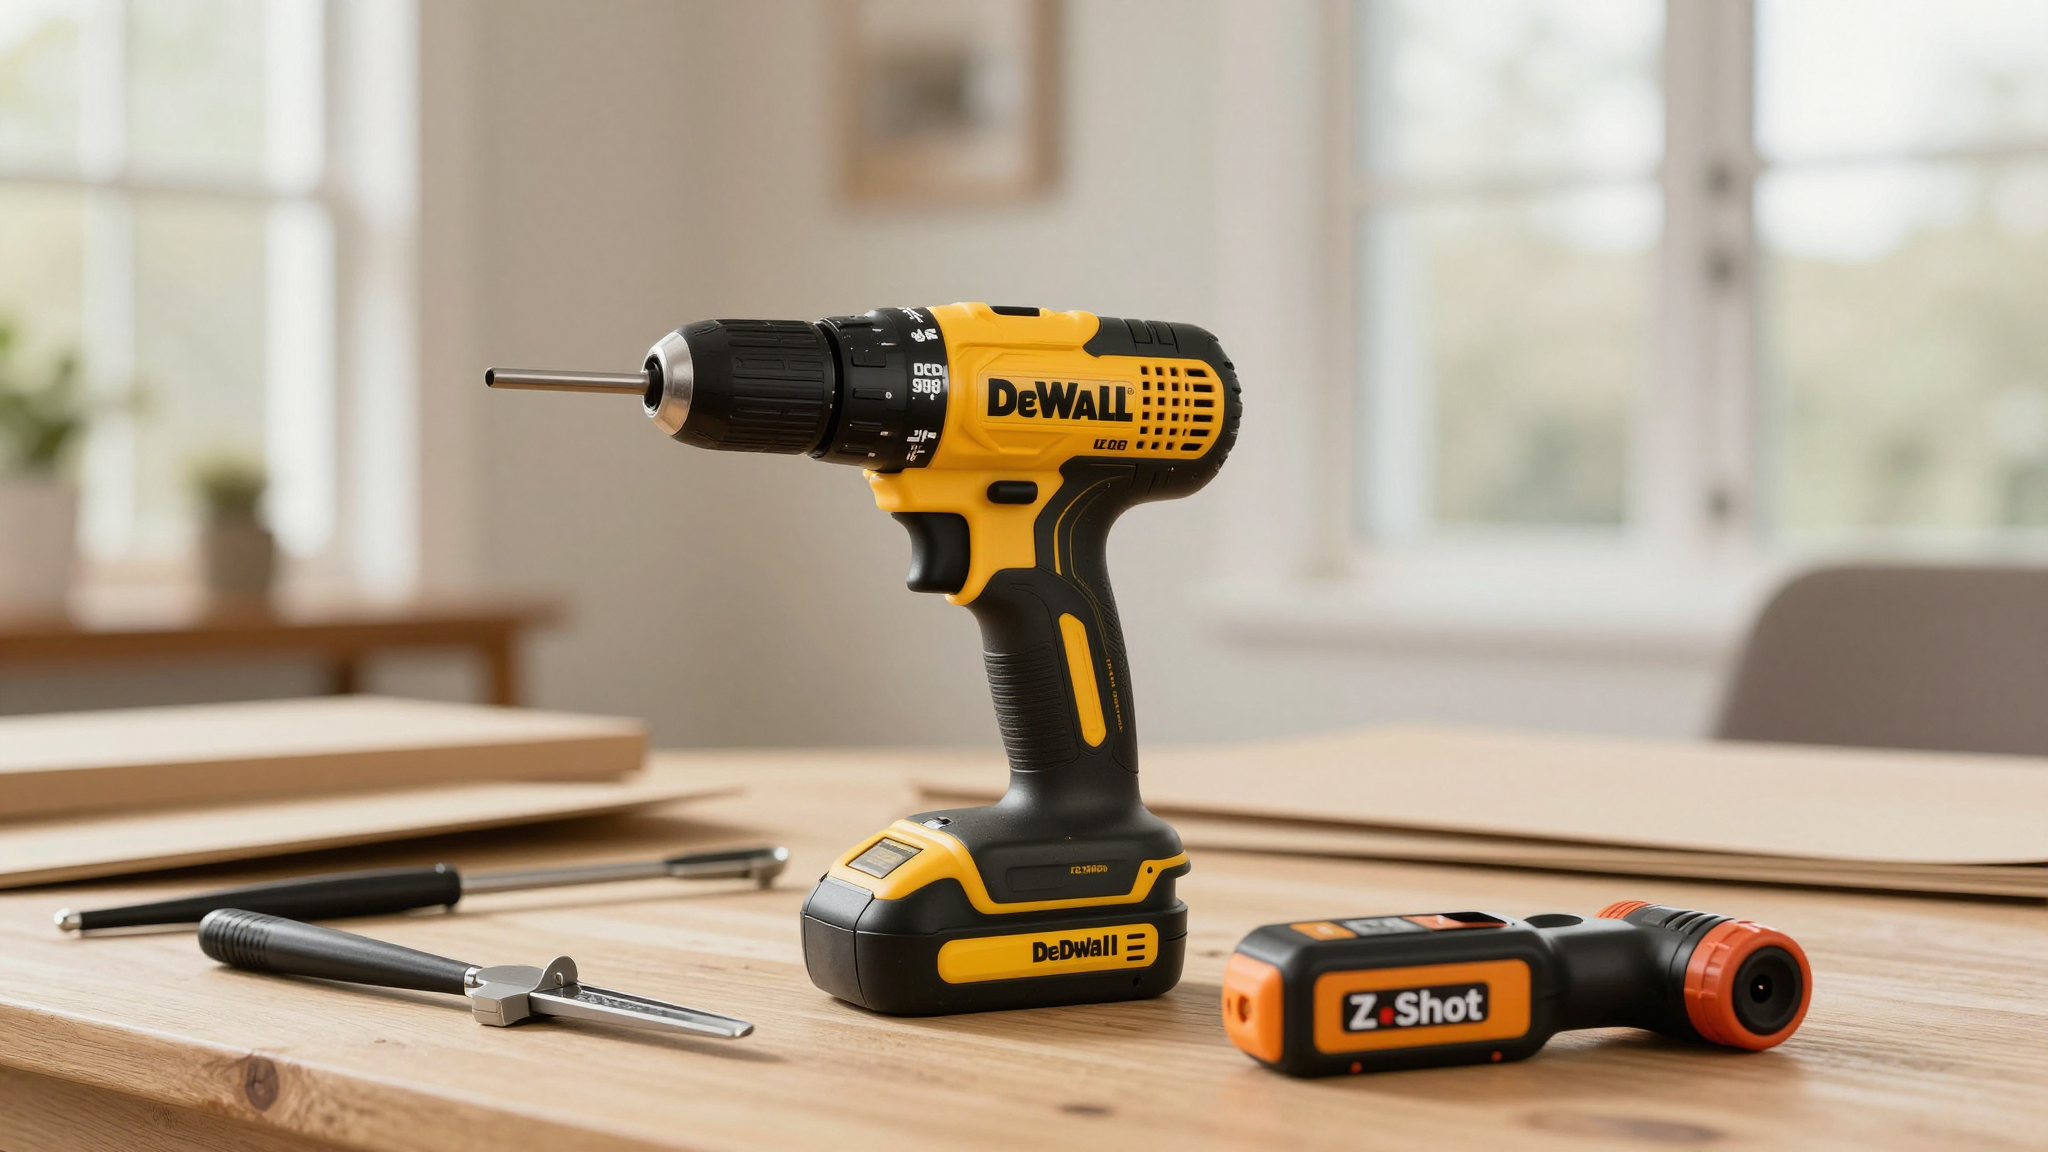
- A cordless drill (I use a DeWalt DCD998,it’s worth the investment).
- A stud finder (I swear by the Zircon stud finder,it’s cheap and works great).
- A level (You’d be surprised how many people skip this. Don’t be that person.).
- A tape measure (I keep one in the garage at all times now.).
- Safety glasses (Trust me, you don’t want to learn this the hard way.).
Oh, and one more thing: a helper. Some of this stuff is a two-person job, and I’ve learned that trying to do it alone just leads to frustration (and possibly injury). Call a friend, bribe your spouse with pizza,just don’t try to install ceiling racks by yourself.
Mistakes I Made (So You Don’t Have To)
I’ve made my fair share of mistakes while organizing the garage. Here are the biggest ones,and how to avoid them:
1. Not Planning Enough
I thought I could just “wing it” and figure it out as I went. Big mistake. I ended up with a garage that looked like a jigsaw puzzle with missing pieces. Take the time to plan it out first. Measure your space, decide what goes where, and sketch it out. It’ll save you so much headache later.
2. Buying Cheap Shelves
I bought these flimsy plastic shelves from a big-box store, and within a month, they were sagging under the weight of my husband’s tools. Invest in quality shelves. They’ll last longer and hold more weight. Trust me, it’s worth the extra money.
3. Not Using a Stud Finder
I thought I could eyeball it and hang the shelves without finding the studs. Spoiler: I was wrong. The shelves wobbled every time someone walked by, and I had to redo the whole thing. Always use a stud finder. It’s a cheap tool that’ll save you a ton of time and frustration.
4. Overfilling the Cabinets
I thought I was being efficient by packing everything into the cabinets. But then they started tipping over. Don’t overfill them. Keep them about 70% full, and they’ll stay stable.
5. Not Labeling Anything
I thought I’d remember where everything went. I was wrong. Now I label everything with a label maker (yes, I’m that person now). It’s a game-changer.
Final Tips (From Someone Who’s Been There)
Here’s what I wish I knew before I started:
- Start small. Don’t try to organize everything at once. Focus on one area at a time.
- Use clear bins. It’s so much easier to see what’s inside, and you won’t have to dig through piles.
- Keep frequently used items at eye level. If you’re always reaching for something, move it closer.
- Don’t be afraid to repurpose stuff. I use old shoeboxes for small parts, and they work great.
- Take before and after photos. It’s amazing how far you’ve come when you look back.
Oh, and one more thing: don’t expect it to be perfect. Our garage is still a work in progress, and that’s okay. The goal is to make it better, not perfect. And trust me, even a little bit of organization makes a huge difference.
If you’re feeling overwhelmed, start with one of these easy projects to build your confidence:
- 5 DIY Projects to Instantly Add Charm to Your Home (Yes, even your garage can be charming!)
- Easy DIY Projects to Give Your Bedroom a Makeover (Because you deserve a nice space too!)
- Upcycling Furniture Tips for a Professional-Looking Finish (Great for repurposing old garage furniture!)
Now, go forth and organize that garage! And if you get stuck, just remember: I’ve been there, and it does get better.