
No-Sew Rope Baskets: 30 Minutes to Stylish Storage
I was organizing my craft room last weekend when I realized I needed better storage for all my yarn, fabric scraps, and half-finished projects. The plastic bins I’d been using were ugly and took up too much space. That’s when I remembered these simple rope baskets I made years ago – they’re still holding up beautifully in my laundry room. I decided to make a few more, and now I’m sharing exactly how you can create your own in just 30 minutes.
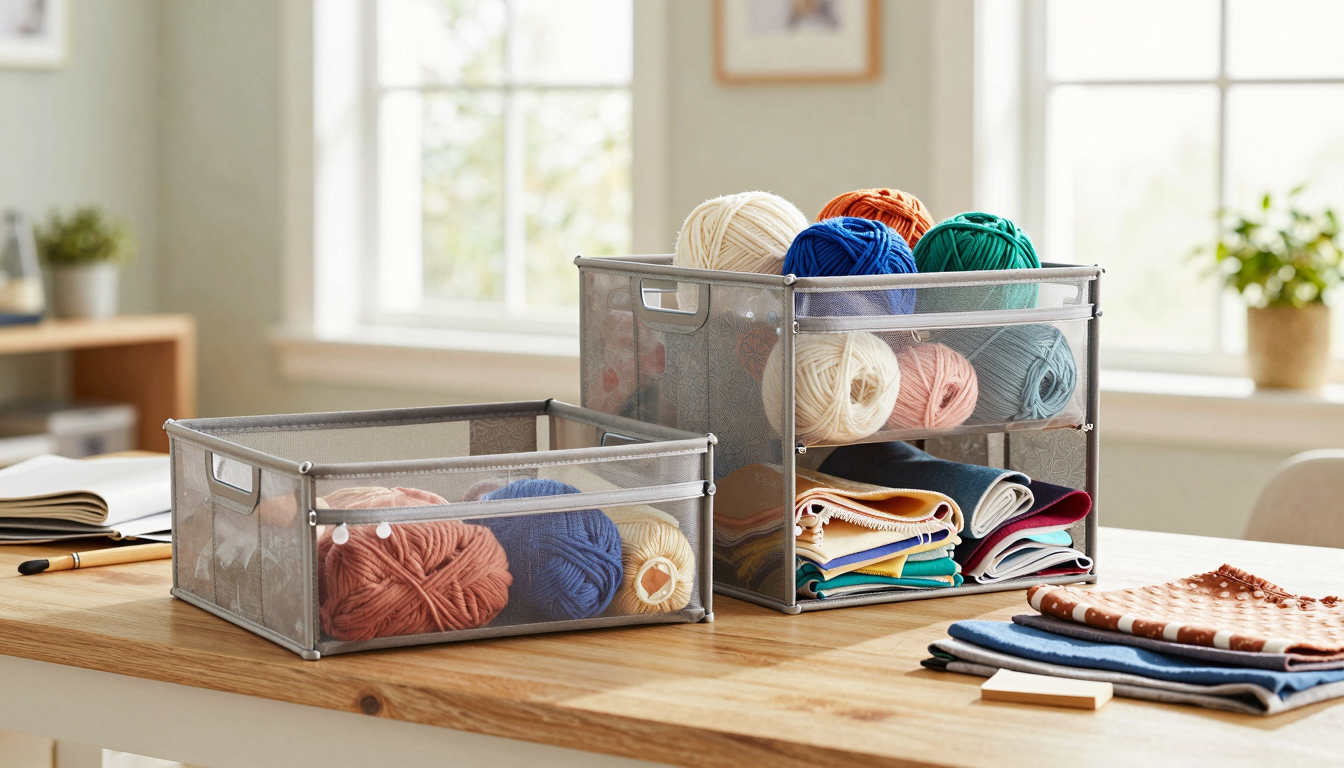
These baskets are perfect for corralling remotes in the living room, storing toys in the kids’ play area, or even holding linens in the bathroom. The best part? They look expensive but cost pennies to make. I’ve made versions for my daughter’s room (pink cord with fabric handles) and my husband’s workshop (natural jute with leather straps). The possibilities are endless, and I’ll show you exactly how to customize them to match your space.
If you’re looking for more ways to add charm to your home without breaking the bank, check out my five favorite DIY projects that make a big impact with minimal effort. These rope baskets are one of my go-tos for instant organization with style.
What You’ll Need (And What I Learned the Hard Way)
Before we get started, let me save you some frustration. My first attempt at these baskets was a disaster because I used the wrong cord. I grabbed some cheap synthetic rope from the hardware store, thinking it would work fine. Big mistake. The adhesive wouldn’t stick properly, and the whole thing fell apart after a week. Now I only use cotton piping cord – it’s more expensive but worth every penny for the durability.
Here’s exactly what you’ll need for a medium-sized basket (about 12 inches in diameter):
- 10-15 yards of 3/8″ cotton piping cord (I get mine from Joann Fabrics – they have great colors and textures)
- Elmer’s CraftBond Hot Glue Gun with Less Mess Glue Sticks (this is my absolute favorite – no more messy drips!)
- A metal or glass bowl (I use my daughter’s old mixing bowl from her Easy-Bake Oven days)
- Parchment paper (to protect your shaping bowl)
- Scissors (I keep a good pair of Fiskars scissors in my craft room)
- Optional decorative elements (fabric strips, leather, or even washi tape for a pop of color)
If you’re new to DIY, don’t worry – this project is perfect for beginners. I’ve made these with my 12-year-old, and she did great (though she did get a little frustrated when her first attempt wasn’t perfectly round – we all have to start somewhere!).
Step-by-Step Instructions (With My Real-Life Tips)
Alright, let’s get to the good stuff. Here’s exactly how I make these baskets, including the little tricks I’ve picked up over the years.
Step 1: Prep Your Workspace (5 minutes)
First, cover your shaping bowl with parchment paper. This prevents the hot glue from sticking to your bowl (trust me, I learned this the hard way when I ruined my favorite mixing bowl). I like to tape the parchment down so it doesn’t shift while I’m working.
Next, cut your cord into a long piece – about 10-15 yards should be plenty for a medium basket. If you’re making a larger basket, you might need more. I usually just coil the cord loosely on the floor to keep it from tangling while I work.
Step 2: Create the Base (10 minutes)
Start by making a small loop with your cord. Apply a dab of hot glue to secure it to the bottom of your bowl. This will be the center of your basket.
Now, begin coiling the cord outward in a spiral. Every inch or so, apply a small dab of hot glue to secure the cord in place. I like to keep the glue gun at a slight angle so I can see where I’m applying it. If you’re new to hot glue, go slow – it’s easy to get too much and make a mess (I’ve definitely done that more times than I’d like to admit!).
Keep coiling until your base reaches the edge of your bowl. Press down firmly on each coil to make sure it’s secure. This is where a lot of people make mistakes – if your base isn’t flat, your whole basket will be wobbly. Take your time here!
Step 3: Build the Sides (10 minutes)
Now it’s time to build up the sides of your basket. Continue coiling the cord upward, applying glue every inch or so. I like to keep my coils fairly tight – about 1/4 inch apart. If you space them too far apart, your basket will be less sturdy.
As you work, you can start to shape the sides. If you want a straight-sided basket, keep coiling straight up. For a more organic shape, let the sides flare out slightly. I usually do a little of both – straight sides for about 3 inches, then let them flare out for a more decorative look.
Pro tip: If you’re making a tall basket, you might need to add a second piece of cord. Just overlap the ends by about 2 inches and secure with glue. I’ve done this a few times, and it’s not as noticeable as you might think.
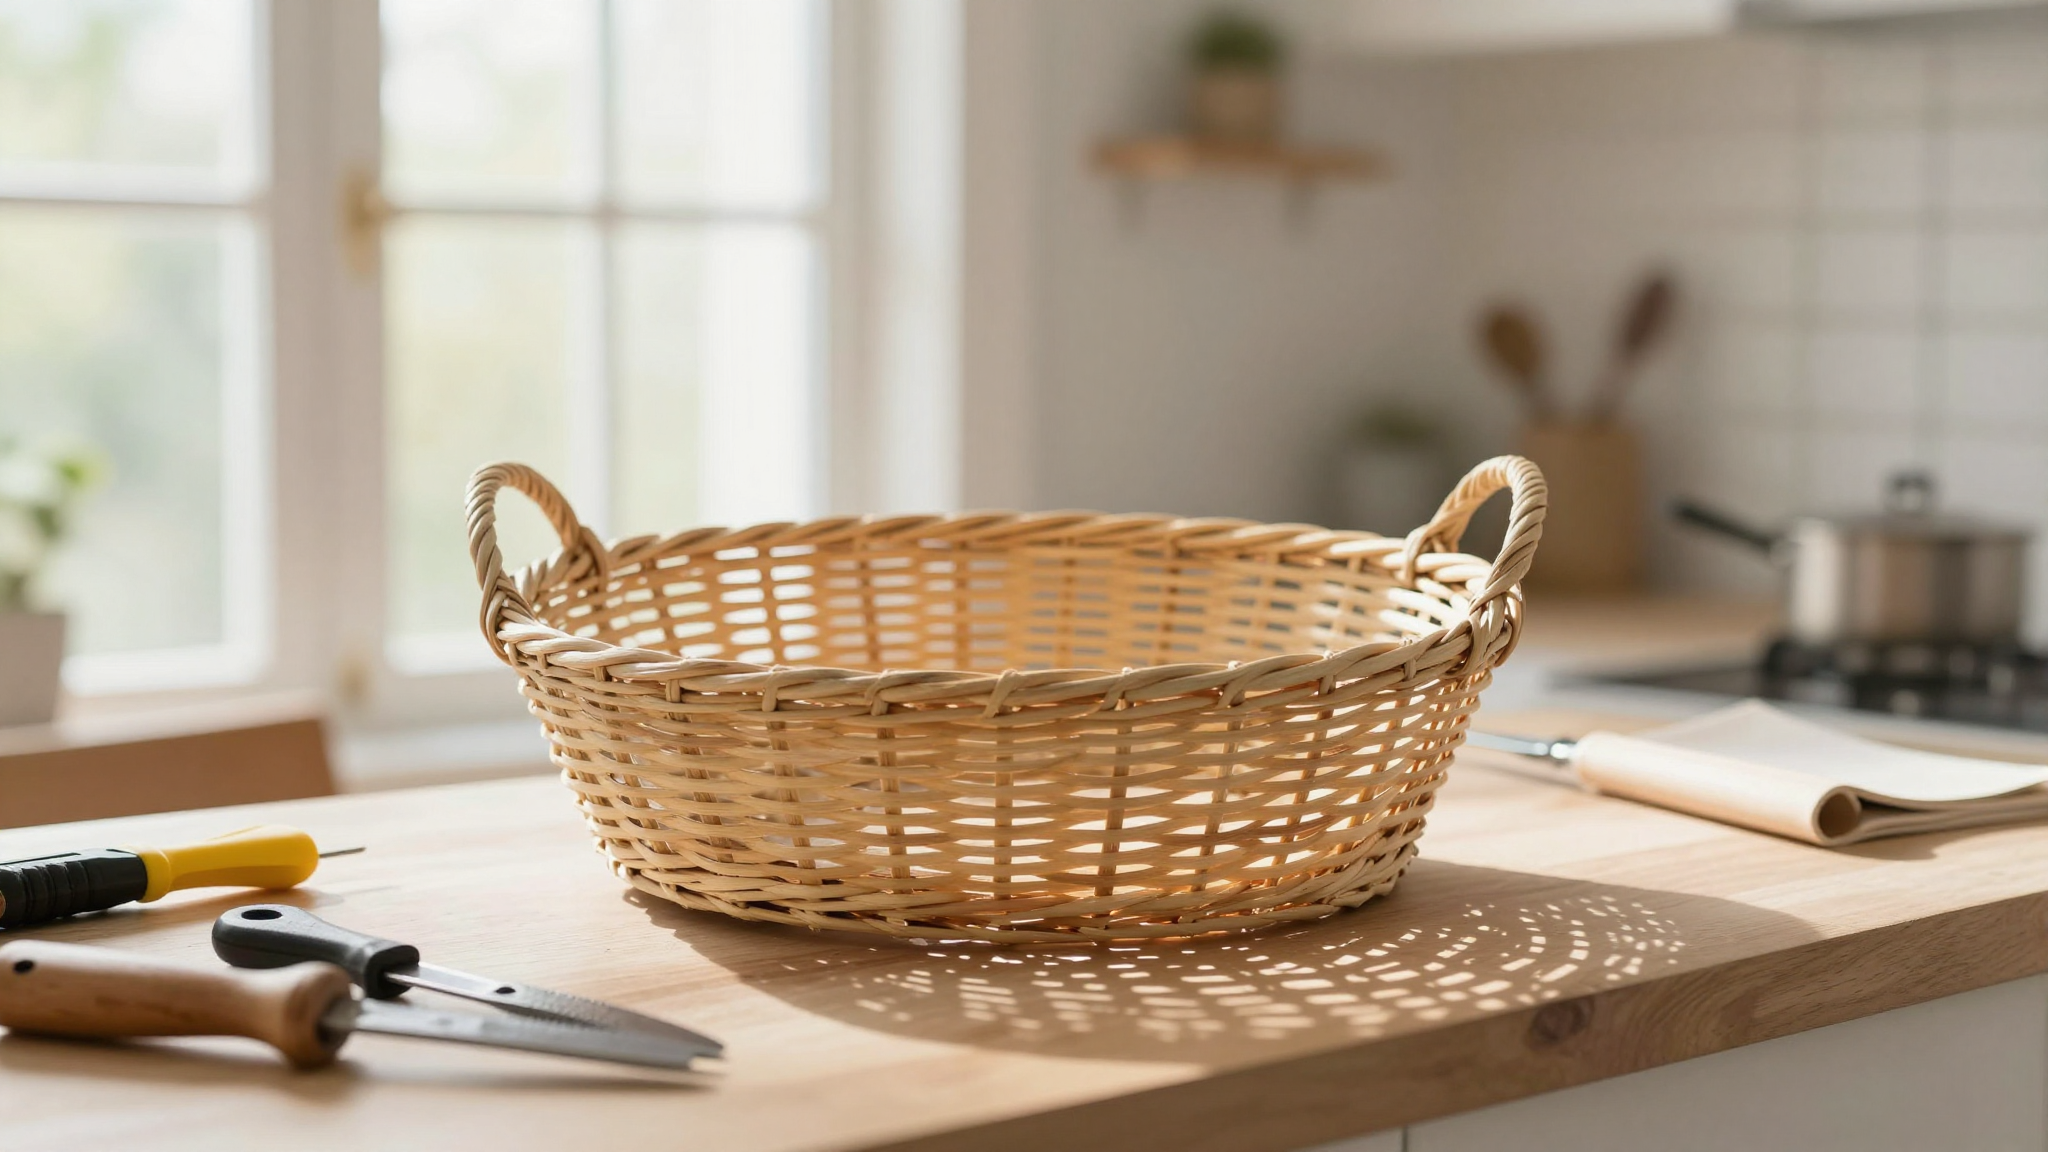
Step 4: Finish the Top and Add Handles (5 minutes)
When your basket reaches your desired height, it’s time to finish the top. Cut your cord, leaving about 6 inches extra. Apply a generous amount of glue to the cut end and tuck it under the previous coil. Hold it in place for a few seconds to make sure it’s secure.
Now for the fun part – adding handles! There are a few ways to do this:
- Simple cord loop: Make a loop with your cord, apply glue to secure it to the side of the basket, then continue coiling over the loop to anchor it in place.
- Fabric handle: Cut a strip of fabric (about 1.5 inches wide), fold it in half, and glue the raw edges together to form a tube. Then glue the ends to the sides of your basket.
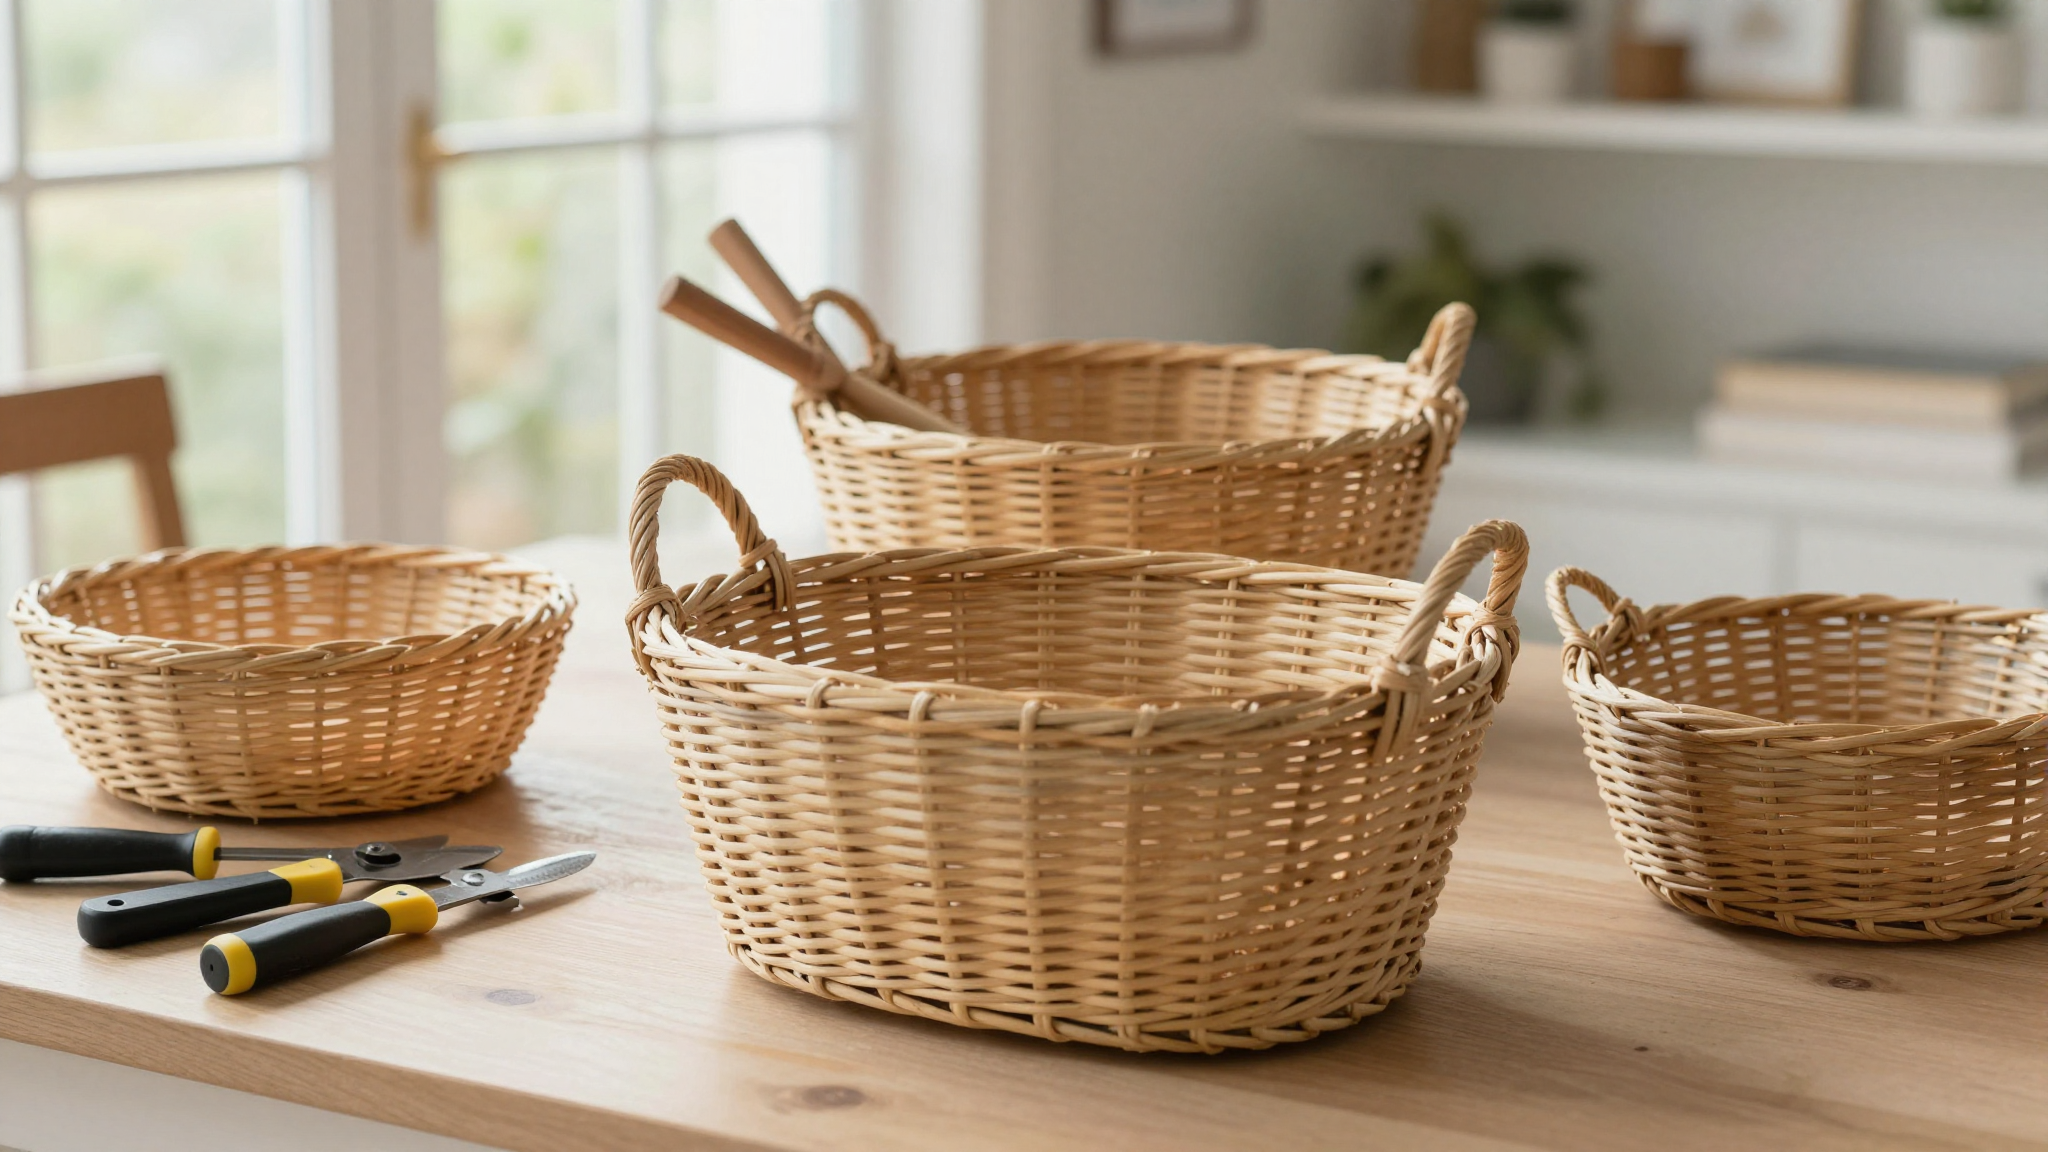
- Leather handle: Cut a strip of leather (I like to use Tandy Leather‘s rose gold leather for a luxe look), punch holes at the ends, and lace it through the basket sides with cord.
I’ve made all three types, and I have to say the leather handles are my favorite for a more polished look. They’re a little more involved, but worth it if you want something that looks store-bought.
Creative Variations (Because Who Doesn’t Love Options?)
One of the things I love most about these rope baskets is how easy they are to customize. Here are a few of my favorite variations:
Fabric-Wrapped Baskets
If you want to add some color or pattern to your basket, try wrapping it with fabric. I did this for my daughter’s room using some of her old bedsheets. Here’s how:
- Cut your fabric into 1.5-inch wide strips (cutting on the bias will help reduce fraying).
- Start at the end of your cord and wrap the fabric strip around it, securing the end with a dab of glue.
- Continue coiling your cord as usual, wrapping the fabric around it as you go. Secure the fabric with glue every inch or so.
- When you reach the end of your fabric strip, overlap it with a new strip and continue.
This technique is great for using up scrap fabric or old clothing. I’ve made baskets using my husband’s old t-shirts, my daughter’s outgrown dresses, and even some vintage tablecloths I found at a thrift store.
Two-Tone Baskets
For a more sophisticated look, try using two different colors of cord. I did this for my bathroom by using a natural jute cord for the base and sides, and a soft gray cord for the top edge. The contrast looks amazing and makes the basket look like it was designed by a professional.
To do this, simply switch to your second color of cord when you’re about 2-3 inches from the top of your basket. Secure the ends together with glue and continue coiling as usual.
Textured Baskets
If you want to add some extra texture to your basket, try using different types of cord. I’ve made baskets using:
- Jute cord for a natural, rustic look
- Chenille cord for a soft, plush feel
- Braided cotton cord for a more structured look
You can even mix and match different types of cord in the same basket for a truly unique look. Just make sure to secure the transitions well with glue.
Common Mistakes (And How to Avoid Them)
I’ve made my fair share of mistakes with these baskets over the years, so let me save you some frustration:
Problem: The basket is wobbly
This usually happens when the base isn’t flat or the coils aren’t secure. To fix it, go back and add more glue to the base and the first few coils. You can also reinforce the base by adding an extra layer of cord.
Problem: The cord keeps slipping
If your cord is slipping as you coil, it might be too smooth. Try using a cord with more texture, like jute or chenille. You can also add a little bit of fabric glue to the cord itself to help it grip better.
Problem: The basket looks messy
If your basket looks uneven or messy, it’s probably because your coils aren’t consistent. Try using a ruler or a straight edge to keep your coils evenly spaced. You can also go back and trim any uneven ends with scissors.
Problem: The glue isn’t holding
If your glue isn’t holding, it might be because you’re not using enough or because your cord is too slippery. Make sure to apply a generous amount of glue every inch or so. If you’re still having trouble, try using a different type of glue, like fabric glue or E6000.
Final Thoughts (And What to Make Next!)
There you have it – everything you need to know to make your own no-sew rope baskets in just 30 minutes. I’ve made dozens of these over the years, and they’re still holding up beautifully. They’re perfect for organizing just about anything, and they look amazing in any room.
If you’re looking for more ways to organize your home, check out my easy bedroom makeover projects or my guide to creating a gallery wall. And if you’re feeling ambitious, try your hand at building a farmhouse coffee table – it’s a great way to add some rustic charm to your living room.
Now it’s your turn! Grab some cord, a hot glue gun, and your favorite bowl, and let’s get coiling. I’d love to see what you create – tag me on Instagram @christinaprojects and show me your baskets!