
Canvas Art Projects Anyone Can Create (Even If You’re a Total Beginner)
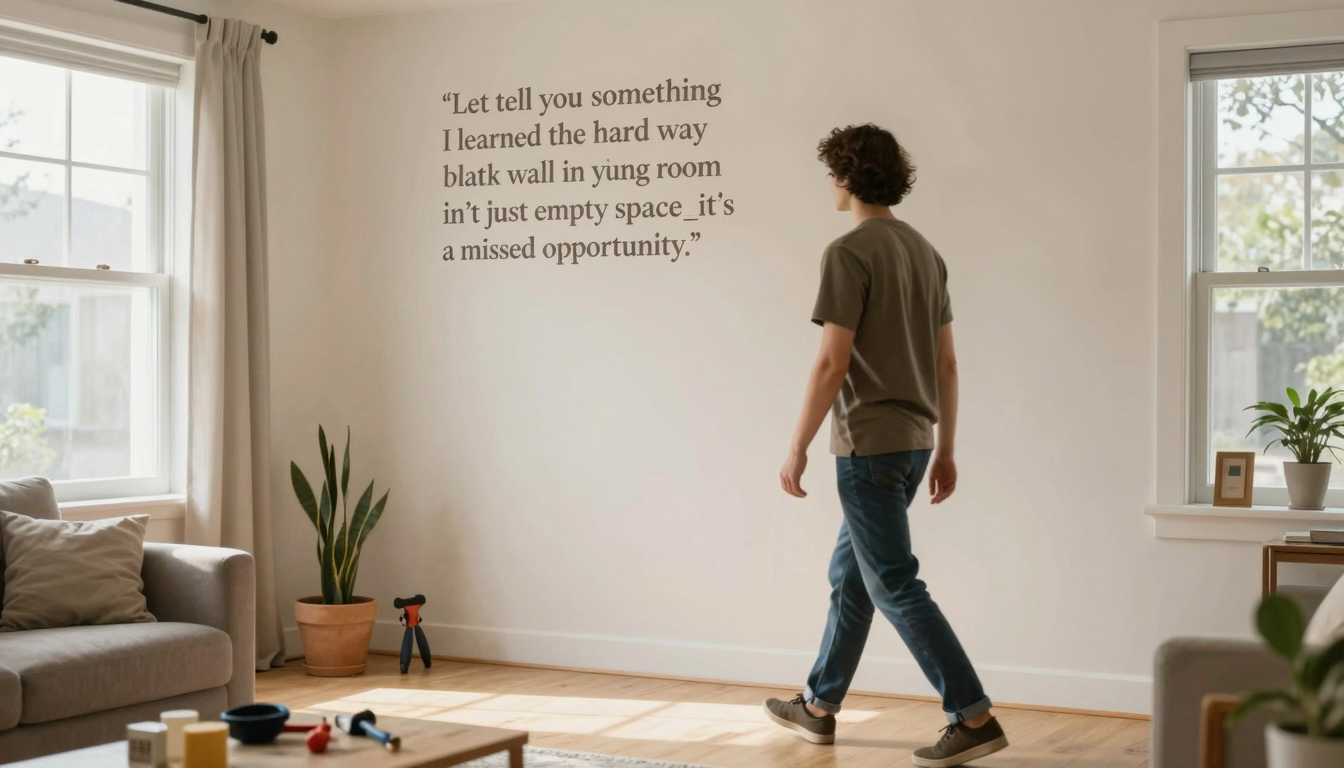
Let me tell you something I learned the hard way: that blank wall in your living room isn’t just empty space,it’s a missed opportunity. I used to walk past mine every day, thinking “I’ll get to it someday,” until I finally did. Now? That wall is my favorite part of the house, and I want to show you how easy it is to create something similar in your own home.
I’m Christina, a mom who’s turned more than a few DIY disasters into decent-looking decor (and kept a few of those disasters as “character pieces” because, well, we all have those). The best part? You don’t need fancy tools, an art degree, or even steady hands to make wall art that actually looks intentional. I’ve spent years testing different techniques,some worked beautifully, others ended up in the “lessons learned” pile (looking at you, that abstract piece that looks suspiciously like a Rorschach test).
What I’ve discovered is that great canvas art comes down to three things: good materials (don’t skimp on the paint!), simple techniques (we’re talking basic brushstrokes, not Renaissance-level detail), and a little bit of confidence (because that first stroke is always the hardest).
In this post, I’ll walk you through:
- Easy projects that work for any skill level (including the “I can barely color inside the lines” crowd)
- My favorite materials and tools (with specific brand recommendations)
- How to mix store-bought prints with your DIY creations for a cohesive look
- Real talk about what works and what doesn’t (spoiler: my kids’ finger-paint “masterpieces” didn’t make the cut)
And if you’re anything like I was, you’re probably thinking, “But Christina, I don’t have an eye for this!” Trust me, I’ve been there. My first attempt at wall art looked like a kindergartener’s finger-painting session (and not in a good way). But with a few key tips and the right approach, you can create pieces that actually look like you meant to do that.
Ready to transform your walls? Let’s get started,no art school required.
Why Canvas Art? (And Why You Should Try It)
I’ll be honest: for years, I avoided putting up wall art because I thought it had to be “perfect.” Then I realized something important,my home should reflect my life, not a Pinterest board. That’s when I started experimenting with canvas art, and I haven’t looked back.
Here’s what I love about working with canvas:
- It’s forgiving. Unlike wallpaper or paint, if you make a mistake, you can usually paint over it (I speak from experience).
- It’s customizable. Want a specific color? Mix it. Need a particular size? Cut it. Canvas gives you freedom.
- It’s durable. When done right, canvas art can last for years without fading or peeling (unlike that cheap poster I put up in college that’s now yellow and curling at the edges).
- It’s personal. You can create pieces that tell your story,whether that’s through colors, patterns, or even family photos.
And the best part? You don’t need to spend a fortune. I’ve created stunning pieces using basic acrylic paints from Michaels and canvas panels from Hobby Lobby (yes, I’ve used their 40% off coupons more times than I can count).
If you’re still not convinced, let me share a quick story. Last year, I decided to spruce up our family room. I had this vision of a cozy, put-together space, but our walls were bare. I was too intimidated to try painting or wallpaper, so I turned to canvas art. I started with one simple project,a color-blocked piece in our family’s favorite colors,and it completely transformed the room. Now, every time I walk in, I feel this sense of pride because I know I created that piece myself.
That’s the magic of canvas art. It’s not just about decorating; it’s about creating something that makes your space feel like yours.
Easy Canvas Art Projects for Beginners (With Real-Life Tips)
Let’s start with the basics. If you’re new to this, don’t worry,I was once too. My first attempt was a disaster (I’ll spare you the details), but I learned a lot from that mistake. Here are some beginner-friendly projects that actually work, along with the tips I wish I’d known from the start.
Project 1: Simple Color Blocking (My Go-To for First-Timers)
This is the project that saved me. It’s foolproof, requires minimal supplies, and looks amazing. Here’s how I do it:
- Gather your supplies:
- A pre-stretched canvas panel (I like the 12″x12″ size for beginners,it’s small enough to not feel overwhelming but big enough to make an impact)
- Acrylic paint in your chosen colors (I recommend starting with 2-3 colors max)
- A cheap set of synthetic brushes (the Princeton Velvetouch set is my favorite,it’s under $20 and lasts forever)
- Painter’s tape (for clean edges)
- A disposable palette or plastic plate for mixing paint
- Plan your design. For color blocking, you can either:
- Divide the canvas into sections (like a square divided into four smaller squares)
- Or go for a more organic look with irregular shapes
Pro tip: Use a pencil to lightly sketch your design first. I learned this the hard way when I painted a section the wrong size and had to repaint.
- Paint your sections. Start with the lightest color and work your way to the darkest. Let each color dry completely before adding the next (this is where I used to rush and regret it,trust me, take the time to let it dry!).
- Add a sealant. Once everything is dry, spray the canvas with a clear acrylic sealer. This protects your work and gives it a nice finish.
That’s it! You’ve just created your first piece of wall art. And the best part? It looks like you put in way more effort than you actually did.
Project 2: Stenciled Designs (Great for Adding Patterns)
If you want a little more detail but don’t trust your freehand skills (same), stenciling is the way to go. I used this technique for a boho-inspired project in our guest bedroom, and it turned out better than I expected.
- Buy or print a stencil design (I found great ones on Etsy for under $5).
- Secure the stencil to your canvas with painter’s tape.
- Use a small foam brush or stencil brush to dab paint over the design. I like to use DecoArt Soft Touch paint because it’s easy to work with and gives a nice, even coat.
- Let it dry, then remove the stencil. Repeat as needed for your design.
- Seal with a clear coat when finished.
Pro tip: If you’re new to stenciling, start with a simple design. My first attempt with a complex floral pattern looked like a kindergartener’s art project (and not in a cute way). Stick to geometric shapes or basic patterns until you get the hang of it.
Project 3: Abstract Brushstrokes (Perfect for Hiding Mistakes)
This is my favorite project for beginners because it’s impossible to mess up. Abstract art is all about expression, not perfection. Here’s how I do it:
- Start with a base color. I like using a light color like white, cream, or soft gray.
- While the base is still wet (this is key!), dip a dry brush into a darker color and drag it across the canvas in different directions. The wet-on-wet technique creates beautiful blends.
- Add more colors and layers. Don’t overthink it,just play with the paint!
- Let it dry completely, then seal with a glossy or matte finish, depending on your preference.
I did this project with my kids once, and even though it looked more like modern art than anything intentional, we loved it so much we hung it in the playroom. The best part? It took less than 30 minutes to make!
Materials You’ll Actually Need (And What to Avoid)
Let’s talk supplies because, trust me, not all paints and canvases are created equal. I’ve made some expensive mistakes (looking at you, that $30 tube of “artist-grade” paint that dried out after one use), so I want to save you from the same pitfalls.
Canvas
You have a few options here:
- Pre-stretched canvas panels. These are my go-to for beginners. They’re already stretched and ready to paint. I like the Hobby Lobby brand,they’re affordable and come in a variety of sizes.
- Canvas rolls. If you’re feeling ambitious, you can buy canvas by the roll and stretch it yourself. I tried this once and ended up with a wonky, uneven canvas that I had to re-stretch. Not worth the hassle for beginners!
- Canvas boards. These are thinner and less expensive, but they’re not as durable. I wouldn’t recommend them for anything you plan to keep long-term.
Pro tip: If you’re buying pre-stretched canvas, check the staples on the back. They should be tight and secure. If they’re loose or rusty, the canvas might warp over time.
Paint
Not all acrylic paints are equal. Here’s what I’ve learned:
- Good: Liquitex Basics or Apple Barrel. These are affordable, easy to find, and come in a huge range of colors.
- Better: Golden Heavy Body. This is what I use for more professional-looking pieces. It’s thicker, blends beautifully, and lasts longer.
- Avoid: Cheap craft store paints that dry out quickly or don’t mix well. I made this mistake early on and ended up with a project that looked streaky and uneven.
Pro tip: If you’re mixing colors, start with a small amount of paint. You can always add more, but you can’t take it out once it’s on the canvas. I learned this the hard way when I mixed too much red into my blue and ended up with an ugly purple.
Brushes
You don’t need a fancy set, but you do need good brushes. Here’s what works for me:
- Synthetic brushes for acrylic paint. I love the Princeton Velvetouch set. It has a variety of shapes and sizes, and the bristles hold up well.
- Foam brushes for stenciling or base coats. They’re cheap and disposable, which is great for messy projects.
- Avoid cheap nylon brushes. They shed bristles and make your paint look streaky.
Pro tip: After each use, rinse your brushes with soap and water, then reshape the bristles. Store them flat or hanging to maintain their shape. I learned this from a local artist, and it’s made a huge difference in how long my brushes last.
Other Essentials
Here are a few more items that have become staples in my art supplies:
- Painter’s tape. I always have a roll of FrogTape on hand. It’s low-tack, so it won’t damage your canvas or walls, and it gives you clean, sharp edges.
- Palettes. I use disposable plastic plates from the dollar store, but you can also get cheap plastic palettes from any craft store.
- Sealer. A good quality sealer protects your work. I like Mod Podge for a matte finish or DecoArt DuraClear for a glossy one.
- Rags or paper towels. For cleaning up spills and wiping excess paint.
Pro tip: If you’re working with kids (or just want to be extra careful), lay down a drop cloth or some old newspapers. Trust me, acrylic paint stains everything, and I’ve ruined more than one shirt because I wasn’t prepared.
Mixing DIY Canvas Art with Store-Bought Prints
Here’s something I’ve learned over the years: you don’t have to choose between DIY and store-bought art. In fact, mixing the two can create a much more interesting and personal display. I did this in our living room, and it turned out better than I expected.
I had created a few canvas pieces myself, but the wall still felt a little sparse. So I decided to add a few Society6 prints to fill in the gaps. The result? A gallery wall that feels cohesive but still unique to our home.
How to Mix DIY and Store-Bought Pieces
Here are a few tips I’ve picked up along the way:
- Stick to a color palette. When I first started, I mixed too many colors and ended up with a chaotic look. Now, I limit myself to 3-4 main colors and use those throughout the display. For our living room, I chose navy blue, cream, and gold, and it tied everything together beautifully.
- Vary the sizes. Don’t be afraid to mix small and large pieces. In our gallery wall, I have a 12″x12″ DIY abstract piece next to a 24″x36″ store-bought print, and it works perfectly.
- Use similar frames or mats. If you’re using frames, stick to a consistent style. For our wall, I used simple black frames for the store-bought prints and left my DIY canvases unframed. The contrast looked intentional!
- Create a focal point. Choose one statement piece (either DIY or store-bought) to anchor the display. In our case, it was a large abstract print I found on Etsy.
- Don’t overcrowd. It’s tempting to fill every inch, but sometimes less is more. I made this mistake in our guest bedroom and had to take down a few pieces to make it feel balanced.
Pro tip: If you’re unsure about how pieces will look together, lay them out on the floor first. I do this with all my gallery walls, and it saves me from having to rehang things multiple times.
Where to Find Great Prints
If you’re looking for store-bought prints to mix with your DIY pieces, here are a few of my favorite places:
- Society6. They have a huge selection of independent artists’ work, and you can find everything from abstract prints to family photos.
- Etsy. Great for unique, one-of-a-kind pieces. I found a beautiful botanical print there that’s now the centerpiece of our dining room.
- Uncommon Goods. They have a curated selection of high-quality prints and posters.
- Art.com. If you want something more classic or traditional, this is a great option.
Pro tip: Look for prints that have a similar color palette or theme to your DIY pieces. For example, if you’ve created a few abstract pieces in blues and greens, look for store-bought prints that incorporate those same colors.
Common Mistakes to Avoid (So You Don’t End Up Like Me)
I’ve made my fair share of mistakes over the years, and I want to save you from some of the same headaches. Here are the most common pitfalls and how to avoid them:
Mistake 1: Skipping the Primer
This is a big one. I used to think priming was optional, but I learned the hard way that it makes a huge difference. Without a primer, your paint can absorb unevenly, and the colors won’t look as vibrant. Plus, primer helps prevent the canvas from warping over time.
What to do instead: Always prime your canvas before painting. I like using Golden Gesso. It’s easy to apply and dries quickly.
Mistake 2: Using Too Much Water
This is something I did in my early projects, and it made my paint look streaky and uneven. Acrylic paint is water-based, but adding too much water can weaken the pigment and make your colors look washed out.
What to do instead: If you need to thin your paint, add a little water or acrylic medium drop by drop until you reach the consistency you want. I’ve found that a 1:1 ratio of paint to water usually works well for most techniques.
Mistake 3: Not Letting Layers Dry
I used to be so excited to finish a project that I’d start adding new layers before the previous ones were completely dry. This can cause colors to bleed, create muddy mixes, and even damage your canvas.
What to do instead: Be patient! Let each layer dry completely before adding the next. If you’re in a hurry, you can use a hairdryer on a low setting to speed up the process, but make sure the paint is completely dry to the touch before moving on.
Mistake 4: Ignoring the Weather
This is a lesson I learned the hard way. I left a freshly painted canvas outside on the deck to dry, and a sudden rainstorm ruined it. Now, I always paint indoors or in a covered area.
What to do instead: Paint in a controlled environment where you can manage the temperature and humidity. If you must paint outside, keep an eye on the weather forecast and be prepared to move your project indoors if needed.
Mistake 5: Using the Wrong Brushes
I used to use whatever brushes I had on hand, which often led to streaky, uneven paint application. Now, I make sure I have the right brush for the job.
What to do instead: Use synthetic brushes for acrylic paint. They hold up better and give you more control. For detailed work, use a small round brush. For larger areas, a flat brush works best.
Mistake 6: Forgetting to Seal
I once created a beautiful piece and hung it up without sealing it first. A few weeks later, I noticed the colors had faded and the surface was dusty. Now, I always seal my work to protect it.
What to do instead: After your piece is completely dry, apply a clear acrylic sealer. This will protect your work from dust, moisture, and UV damage. I like using Mod Podge for a matte finish or DecoArt DuraClear for a glossy one.
Final Tips for Success
Before you start your next project, here are a few final tips that have helped me over the years:
- Start small. If you’re new to canvas art, begin with a small project like a 12″x12″ piece. It’s less intimidating and gives you a chance to practice without a big commitment.
- Embrace imperfection. Remember, abstract art is all about expression, not perfection. Don’t stress if your lines aren’t straight or your colors aren’t perfect. That’s part of the charm!
- Have fun with it. If you’re not enjoying the process, it’s not worth it. Canvas art should be a creative outlet, not a source of stress.
- Learn from mistakes. Every “failed” project is a learning experience. I’ve created some pieces that didn’t turn out as planned, but I’ve learned so much from them.
- Don’t be afraid to experiment. Try new techniques, colors, and styles. You might discover a new favorite!
And if you’re feeling overwhelmed, remember: my first attempt at canvas art looked like a kindergartener’s finger-painting session (and not in a good way). But I kept practicing, and now I create pieces I’m proud to hang in my home. You can too!
Now, grab your supplies and let’s get creative. Your walls are waiting!
Ready to Get Started?
If you’re looking for more inspiration, check out these posts:
- 5 DIY Projects to Instantly Add Charm to Your Home
- Easy DIY Projects to Give Your Bedroom a Makeover
- Upcycling Furniture Tips for a Professional-Looking Finish
And if you’re new to DIY, don’t forget to check out my essential tools list to make sure you have everything you need.
Happy creating! And remember, if your first attempt doesn’t turn out as planned, you can always paint over it and try again. That’s what I do!