
How I Learned to Make Macramé Wall Hangings (And Why You Should Too)
There’s something magical about turning a few strands of rope into something that actually looks intentional. I’ll admit, when I first picked up macramé last year, I was skeptical. My kids had just redecorated their rooms for the third time in six months, and I was desperate for something that would stay on the walls without requiring a PhD in interior design. That’s how I ended up with a living room full of half-finished knots, a very confused golden retriever tangled in my cords, and a newfound respect for patience.
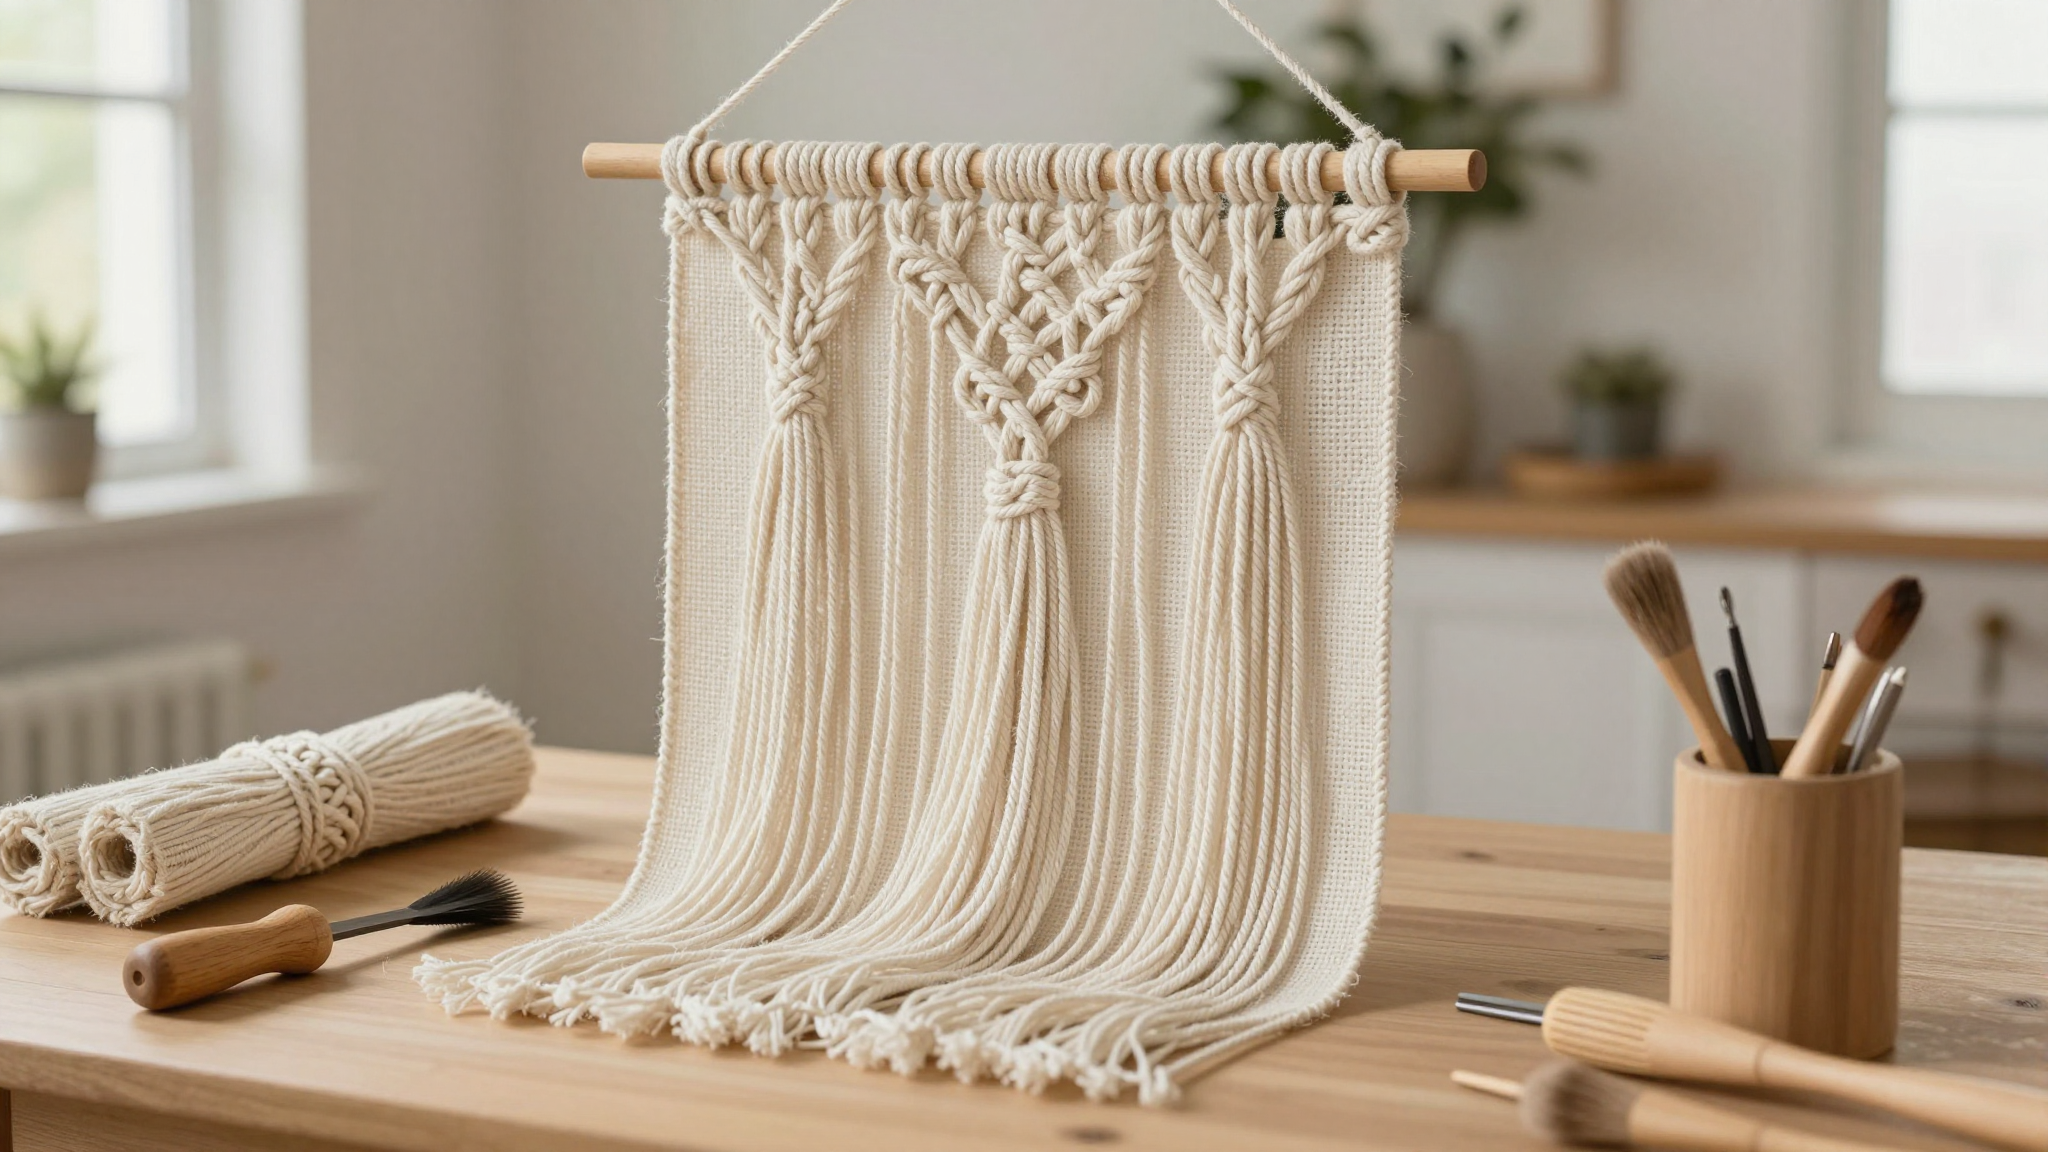
What started as a “quick weekend project” turned into a full-blown obsession. Macramé,those knotted textile patterns that have been around since the 13th century,is having a major moment right now. And honestly? It’s the perfect DIY for anyone who wants to add texture to their home without spending a fortune. My first wall hanging looked like a drunk spider had tried to build a web, but now? I’ve got pieces hanging in my living room, my daughter’s bedroom, and even above our kitchen table (which, by the way, is now the most photographed spot in our house,thanks, Instagram).
If you’re here because you’ve seen those gorgeous boho wall hangings everywhere and thought, “I could do that,” let me be the first to say: You absolutely can. It’s easier than it looks, and I’m going to walk you through exactly how I went from macramé disaster to (mostly) confident crafter. No fancy tools required,just some rope, a dowel, and the willingness to laugh at your first few attempts (trust me, they’re coming).
What You’ll Actually Need (And Where to Get It)
Before we dive in, let’s talk supplies. I’ll be honest,I made the mistake of buying the cheapest cotton cord I could find at the craft store my first time out. Big regret. The threads kept splitting, the knots wouldn’t hold, and I ended up with a wall hanging that looked like it had been chewed on by a very determined Chihuahua.
Here’s what actually works:
- Cotton cord (3mm-5mm thickness) – I swear by the Jones Shipps 3mm cotton cord. It’s soft, holds knots like a dream, and comes in a million colors. Pro tip: Buy way more than you think you need. I always calculate my project length, then double it. You will make mistakes (see: the Chihuahua incident).
- A dowel or driftwood stick – I grabbed mine from Michaels for under $5. If you want something more rustic, check your local hardware store for scrap wood or even a fallen branch from your backyard. Sand it down first unless you enjoy splinters in your fingers.
- Sharp scissors – Not the dull kitchen scissors you’ve been meaning to replace. Get a good pair of craft scissors (I love my Fiskars ones). Trust me, you’ll thank me later.
- Safety pins or clothespins – These are lifesavers for holding knots in place while you work. I keep a whole jar of them next to my crafting spot.
- A measuring tape – Or, if you’re like me and always lose the tape, just use your phone’s measuring app. (Yes, I’m that person.)
- Patience – Okay, this one’s free. But you’ll need it.
Oh, and if you’re feeling fancy, grab some wooden beads or tassels to dress up your finished piece. I added a few to my latest hanging, and now my husband keeps asking when I’m going to “make more of those pretty things.” (Translation: He likes them.)
The 4 Knots You Need to Know (And How I Messed Them Up)
Macramé is all about knots, and there are only a few you’ll need to master to make a wall hanging. I’ll walk you through them, plus the mistakes I made learning each one so you can avoid my pain.
The Lark’s Head Knot: Your New Best Friend
This is the knot that attaches your cord to your dowel. It’s simple, but I still managed to mess it up. Here’s how to do it right:
- Fold your cord in half, creating a loop at the top.
- Place the loop over your dowel.
- Pull the working ends (the long pieces) through the loop.
- Tighten gently. If it’s too loose, your knots will slide. If it’s too tight, you’ll never get it off the dowel (ask me how I know).
I once spent 20 minutes trying to undo a lark’s head knot because I pulled it too tight. My fingers were cramping, and I was about to give up when my son walked in and said, “Just cut it, Mom.” (Thanks, kid.) Moral of the story: don’t pull too tight.
The Square Knot: The Backbone of Your Hanging
This is the knot that gives macramé its signature look. It’s a little trickier, but once you get it, you’ll be flying. Here’s how I do it:
- Take four cords: left (A), middle two (B and C), and right (D).
- Cross A over B/C, then D over A.
- Pull tight to make the first half of the knot.
- Now cross A over D, then B/C over A.
- Pull tight again. You should have a neat little square!
My first square knots looked like lumpy little blobs. Turns out, I wasn’t keeping the middle cords (B and C) straight. Once I started pinching them between my fingers to keep them in place, everything fell into line. Also, if your knot starts to twist, you’ve done a half square knot. Just undo it and try again.
The Half Knot: For When You Want a Little Movement
Half knots are great for adding texture and spirals to your hanging. They’re simpler than square knots, but they can get away from you if you’re not careful.
- Take two cords: left (A) and right (B).
- Cross A over B, then pull A under B and back up through the loop.
- Tighten gently. Repeat to create a spiral effect.
I once made a whole row of half knots, only to realize they were all twisting in different directions. It looked like a tornado had hit my wall hanging. The fix? Undo the row and start over, this time keeping the tension consistent. Now I use a clothespin to hold the previous knot in place while I work on the next one.
The Reverse Lark’s Head: For When You Want to Get Fancy
This is just like the regular lark’s head, but the loop faces downward instead of upward. It’s great for adding visual interest to your hanging. To do it:
- Fold your cord in half and place the loop over your dowel.
- Instead of pulling the working ends through the loop, twist the loop clockwise before pulling the ends through.
- Tighten gently.
I used reverse lark’s head knots in my latest project, and they made such a difference in the overall look. Plus, they’re a great way to hide any uneven edges if you’re not feeling confident in your knots yet.
Step-by-Step: How I Made My First (Mostly) Successful Wall Hanging
Alright, let’s put it all together. I’m going to walk you through the exact steps I used to make my first wall hanging that didn’t look like a kindergartener’s art project.
Step 1: Measure and Cut Your Cord
First, decide how long you want your wall hanging to be. Mine is about 3 feet long, but you can go shorter or longer depending on your space. Then, cut your cord to four times that length. (Yes, really. Trust me on this.)
I cut mine all at once, then realized I’d made a mistake and had to recut a few pieces. To avoid this, I now measure and cut each cord individually. It takes a little longer, but it’s worth it to avoid waste.
Step 2: Attach Your Cord to the Dowel
Use lark’s head knots to attach your cords to the dowel. Space them about 1-2 inches apart. I like to use a ruler to keep them even, but if you’re feeling freeform, go for it!
Pro tip: If you’re using multiple colors or textures, now’s the time to arrange them. I mixed in a few strands of dyed cord for a pop of color, and it made a huge difference in the final look.
Step 3: Start Knotting!
Now for the fun part. I like to start with a row of square knots across all my cords. Here’s how I do it:
- Divide your cords into sets of four.
- Use the outer two cords to tie a square knot over the middle two.
- Repeat across the row.
After the first row, I like to add a row of half knots for some texture. Then I go back to square knots. You can mix and match however you like,just keep the tension consistent!
I made the mistake of pulling my knots too tight at first, which made the next row of knots really hard to do. Now I keep the tension loose enough that I can still slide the cords around if I need to adjust.
Step 4: Add Some Flair (Optional but Recommended)
Once you’ve got your basic pattern down, it’s time to get creative. Here are a few things I’ve tried:
- Beads – I added a few wooden beads to my latest hanging, and they look amazing. Just string them onto your cord before you start knotting.
- Tassels – These are super easy to make. Just cut a few strands of cord, fold them in half, and loop them through the bottom of your hanging.
- Different knot patterns – Once you’re comfortable with square knots and half knots, try mixing in some clove hitches or spiral knots for extra texture.
I also like to trim the ends of my cords at an angle for a cleaner look. It’s a small detail, but it makes a big difference in the final product.
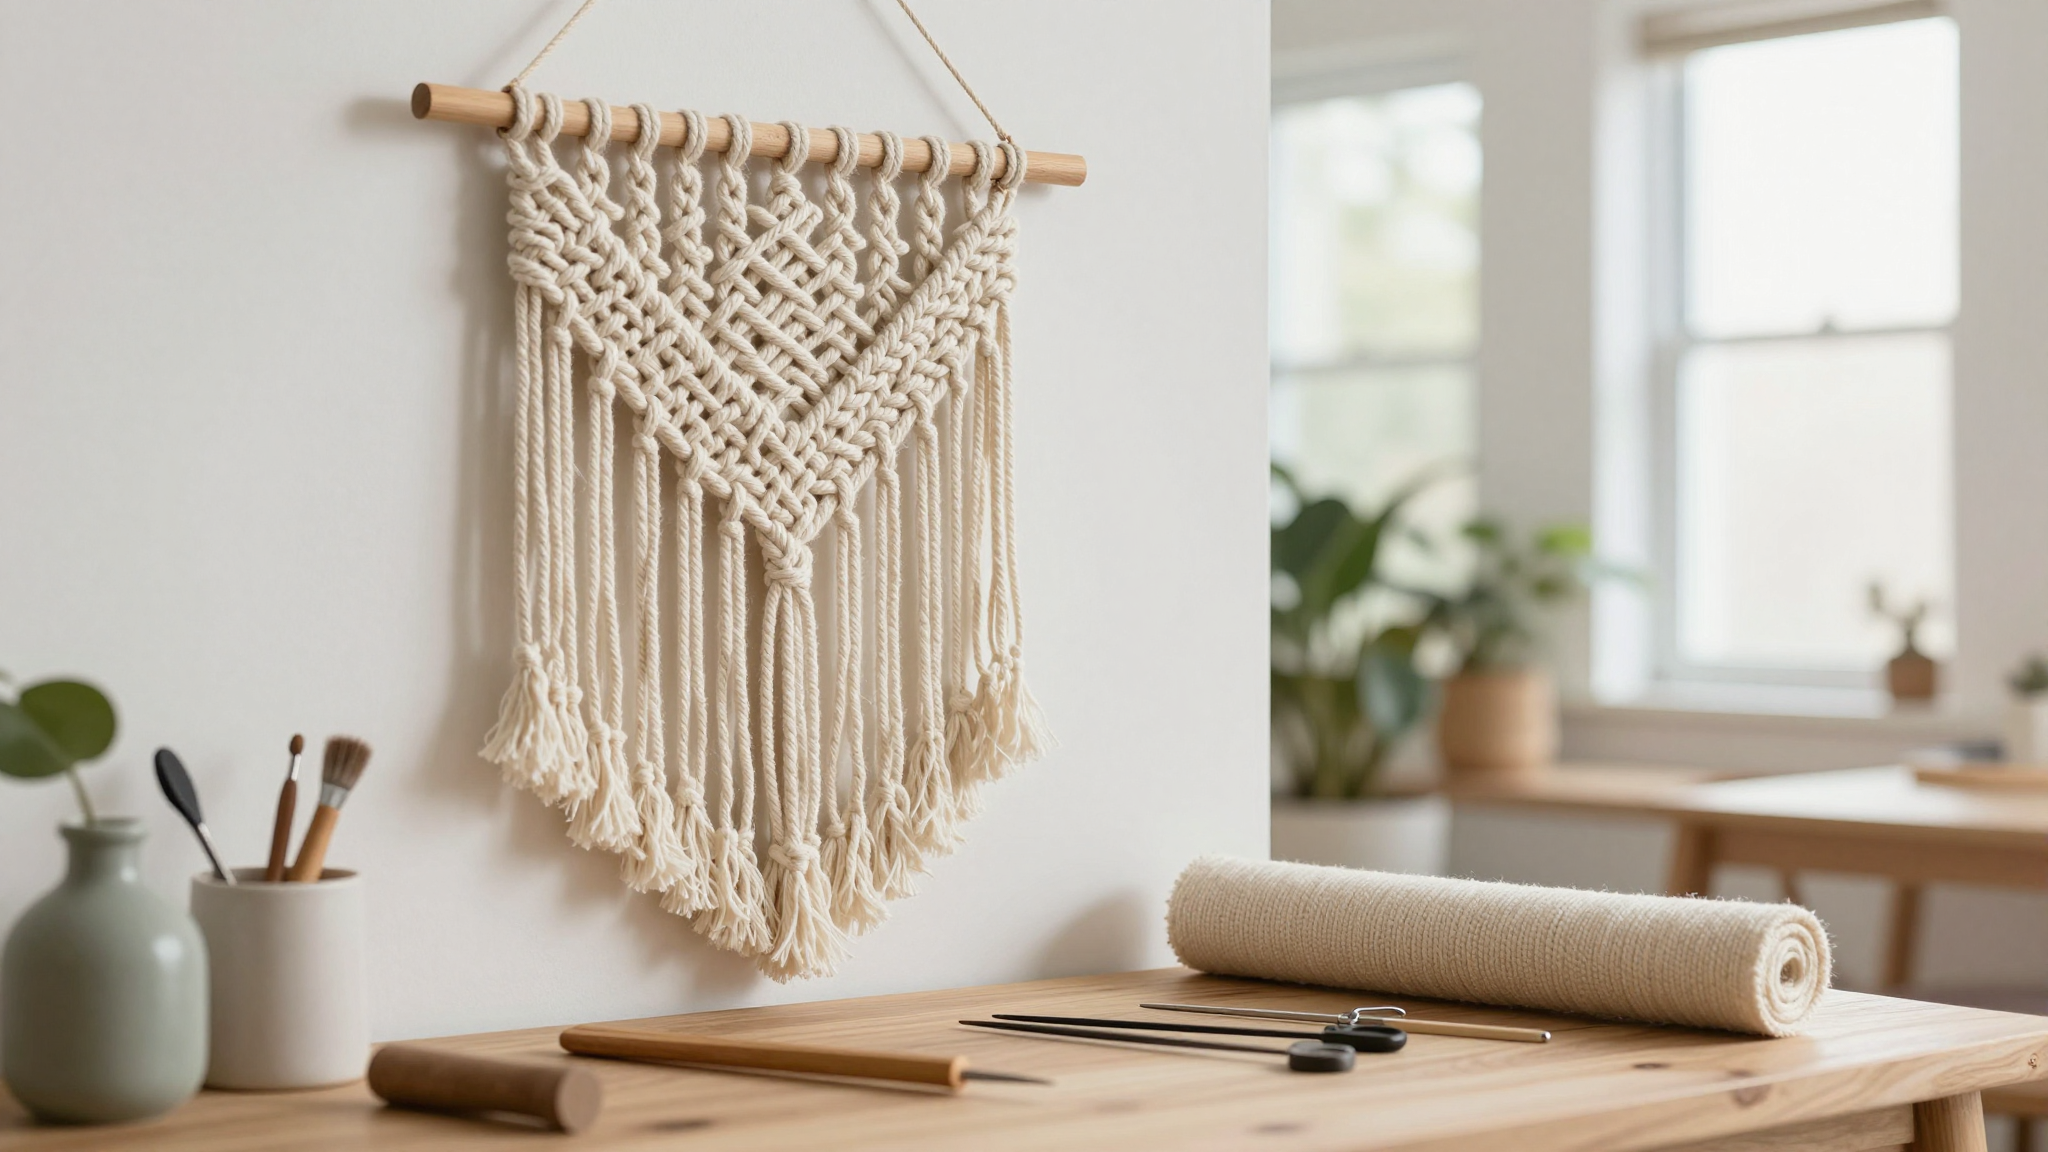
Step 5: Hang It Up and Admire Your Work
Once you’re happy with your wall hanging, it’s time to hang it up! I like to use a simple lark’s head knot to attach it to a nail or hook. Then I step back and admire my handiwork.
My first wall hanging wasn’t perfect, but I loved it anyway. It had a few uneven knots and a couple of places where the tension was off, but it was mine. And you know what? My kids loved it too. They kept asking when I was going to make more, so I did. And now macramé is my go-to project whenever I need a little creative outlet.
Common Mistakes (And How I Fixed Them)
Even after making a few wall hangings, I still run into problems. Here are the most common ones and how I’ve learned to fix them:
Uneven Knots
This is the most frustrating issue, and it usually happens when I’m not paying attention to my tension. If your knots are uneven, try these fixes:
- Undo the row and start over, keeping the tension consistent.
- Use a clothespin to hold the previous knot in place while you work on the next one.
- Check your work frequently. I like to step back every few knots to see how it’s looking from a distance.
I once spent an hour trying to fix a row of uneven square knots, only to realize I’d been holding the cords wrong. Now I make sure to keep the middle cords straight and the outer cords loose enough to tie properly.
Loose Knots
If your knots keep coming undone, they’re probably too loose. To fix this:
- Gently tug on the cords to tighten the knot.
- If it’s still loose, undo the knot and retie it with a little more tension.
- For stubborn knots, a tiny dab of fabric glue can help hold them in place.
I learned this the hard way when I made a wall hanging for my friend’s house. Halfway through the party, one of the knots came undone, and the whole thing started to unravel. (Thankfully, I had a sewing kit in my purse and was able to fix it before anyone noticed.)
Fraying Ends
If your cord is fraying, it’s probably because you’re using a cheap or low-quality cord. To fix this:
- Trim the frayed ends with sharp scissors.
- Apply a tiny bit of clear nail polish or fabric glue to the ends to seal them.
- If you’re really struggling with fraying, try a different type of cord. I’ve had great luck with Jones Shipps cotton cord.
I once spent an entire afternoon trying to fix a wall hanging with frayed ends. I finally gave up and started over with a better quality cord. Lesson learned!
How to Make Your Wall Hanging Truly Yours
Once you’ve mastered the basics, it’s time to get creative. Here are a few ways I’ve personalized my wall hangings:
Mix and Match Knots
Don’t be afraid to mix different knots in the same hanging. I like to alternate between square knots and half knots for a dynamic look. You can also try adding in some clove hitches or spiral knots for extra texture.
For my latest project, I created a pattern of square knots, then added a row of half knots, followed by another row of square knots. It gave the hanging a really interesting texture, and I love how it turned out.
Play with Color
If you’re tired of neutral tones, try adding some color to your wall hanging. I used a few strands of dyed cord in my latest project, and it made a huge difference in the overall look.
You can also add color with beads or tassels. I found some gorgeous wooden beads at my local craft store, and they look amazing in my hanging. Plus, they add a little extra weight, which helps the hanging drape nicely.
Add Some Texture
If you want to add even more texture to your wall hanging, try incorporating different materials. I’ve used jute, hemp, and even some metallic cord in my projects. Just make sure to keep the tension consistent, or your hanging will look messy.
I also like to add tassels to the bottom of my hangings. They’re super easy to make, and they add a nice finishing touch. Plus, they give the hanging a little extra movement when it’s hanging on the wall.
Final Thoughts (And What to Do Next)
So there you have it,my no-nonsense guide to making macramé wall hangings. It’s not as hard as it looks, and once you get the hang of the basic knots, you’ll be flying.
My advice? Start small. Make a few practice knots on some scrap cord before you commit to a full wall hanging. And don’t be afraid to make mistakes,every wall hanging I’ve made has had at least one “oops” moment, but that’s part of the fun.
Once you’ve got the basics down, try experimenting with different knots, colors, and textures. The possibilities are endless, and I guarantee you’ll end up with something you love.
And if you’re feeling really ambitious, check out my post on how to create a gallery wall. Macramé wall hangings look amazing when paired with other DIY art, and it’s a great way to fill up empty wall space in your home.
Now grab some cord, a dowel, and let’s get knotting. Your walls (and your kids) will thank you.)
FAQs (Because I Get These Questions a Lot)
What’s the easiest macramé project for a complete beginner?
If you’re just starting out, I recommend making a simple plant hanger. It’s small, so it’s less intimidating, and you can practice your knots without worrying about making a big mistake. Plus, it’s super functional,you can use it to hang a plant in your kitchen or bathroom. Check out my guide to easy DIY projects for more beginner-friendly ideas.
Do I need any special tools besides cord and a dowel?
Not really! A good pair of scissors, some safety pins or clothespins, and a measuring tape are all you really need. I also like to keep a crochet hook handy for fixing mistakes, but it’s not essential. If you’re serious about macramé, you might want to invest in a few essential tools, but you can start with just the basics.
How do I keep my knots from slipping?
This is a common issue, especially with square knots. The key is to keep your tension consistent. If your knots are slipping, try tightening them a little more. You can also use a tiny dab of fabric glue to hold them in place, but don’t overdo it,you don’t want your hanging to look stiff.
Can I wash my macramé wall hanging?
Yes, but it’s a bit of a process. I like to spot-clean my hangings with a damp cloth and a little mild soap. If they need a deeper clean, I lay them flat in the bathtub and gently scrub them with soapy water. Then I rinse them thoroughly and hang them up to dry. Just make sure they’re completely dry before you hang them back on the wall, or they might start to smell.
What’s the best way to store my macramé supplies?
I keep my cord in a large plastic bin with a lid to protect it from dust and moisture. I also have a smaller bin for my dowels, beads, and other supplies. If you’re short on space, you can hang your cord on a pegboard or in a closet. Just make sure it’s organized so you can find what you need when you’re ready to create.