
Handmade Wreaths for Every Season: My Step-by-Step Guide (With Mistakes & All!)
Let me tell you, there’s nothing like the satisfaction of hanging a wreath you made yourself,especially when your kids ask, *”Mom, did you really make that?”* and you get to say, *”Yep, and I’ll teach you too!”* I’ve been crafting seasonal wreaths for years now, and I’ve learned the hard way (like the time I glued a pinecone upside down and didn’t notice until it was too late). But the best part? These projects are way easier than they look, and they let you refresh your home’s decor without breaking the bank.
I’ve tested all kinds of bases,grapevine, wire frames, even foam,and I’ll walk you through which one works best for your style and budget. Whether you’re going for a rustic fall look with dried leaves or a cozy winter wreath with pinecones and cinnamon sticks, I’ve got you covered. And yes, I’ll even share the tricks I’ve picked up to make them last longer (because nobody wants a wreath falling apart by Halloween).
Oh, and if you’re anything like me, you’ll want to reuse materials year after year. I’ve got tips for that too,like how to store your wreaths so they don’t turn into a sad, tangled mess in your garage.
Why I Love Making My Own Wreaths (And You Will Too!)
I’ll be honest,my first wreath was a disaster. I bought a pre-made one from the craft store, and it looked fine… until my toddler grabbed it and sent pine needles flying everywhere. That’s when I decided: *If I’m going to spend money on decor, it better survive my kids.*
Making your own wreaths isn’t just about saving money (though trust me, you will save,my last store-bought wreath cost $45, and I made a prettier one for $12). It’s about making your home feel like you. No two wreaths are the same, and that’s the fun part. Plus, you can swap out elements as the seasons change,no need to buy a new one every few months.
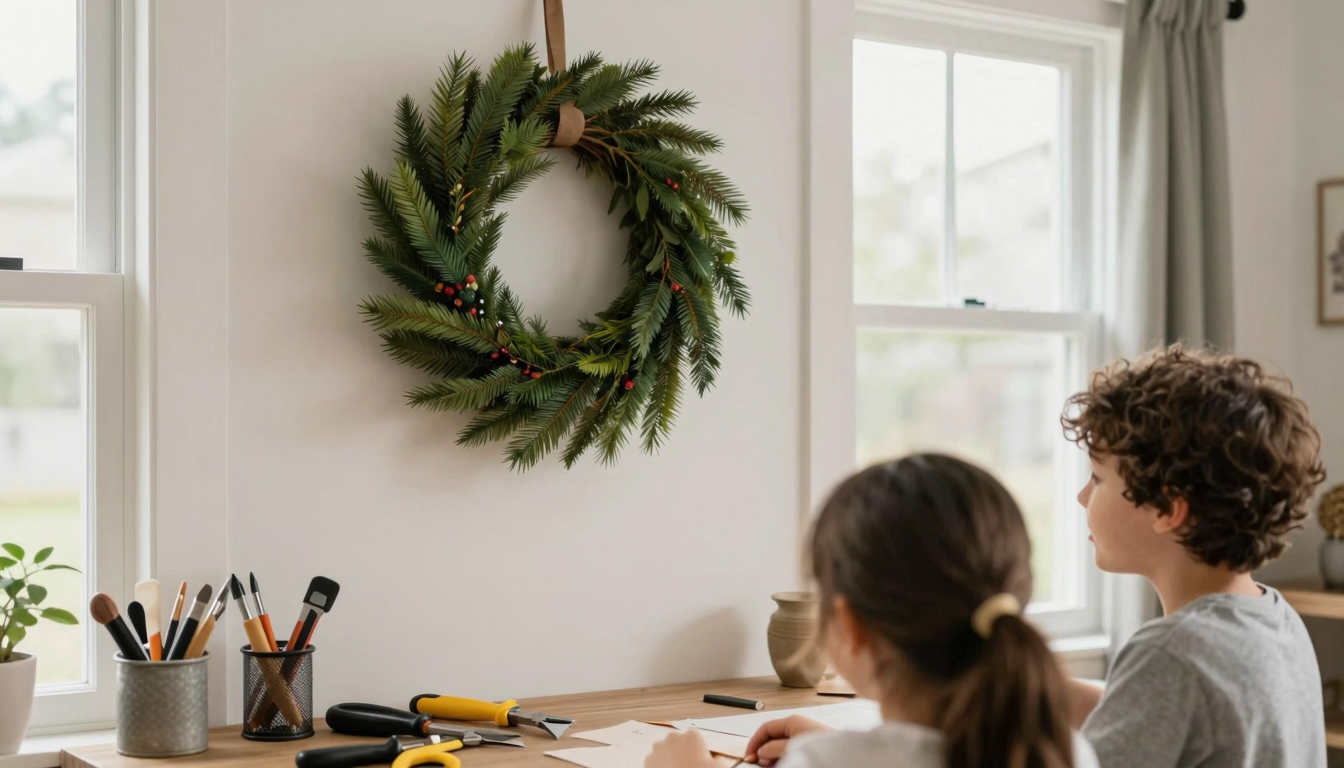
And here’s a little secret: I’ve turned wreath-making into a family activity. My kids love gathering pinecones in the backyard, and my husband (who claims he’s “not crafty”) actually enjoys helping me wire everything together. It’s become one of our favorite ways to spend a Sunday afternoon.
If you’re new to this, don’t worry,I’ll walk you through everything, from picking the right base to securing those tricky embellishments. And if you mess up? Hey, I’ve glued my thumb to a wreath before (don’t ask), so I get it.
Essential Tools & Materials (Plus My Must-Haves)
Before we dive in, let’s talk supplies. You don’t need a ton of fancy tools,just a few key items to make the process smooth. Here’s what I always keep on hand:

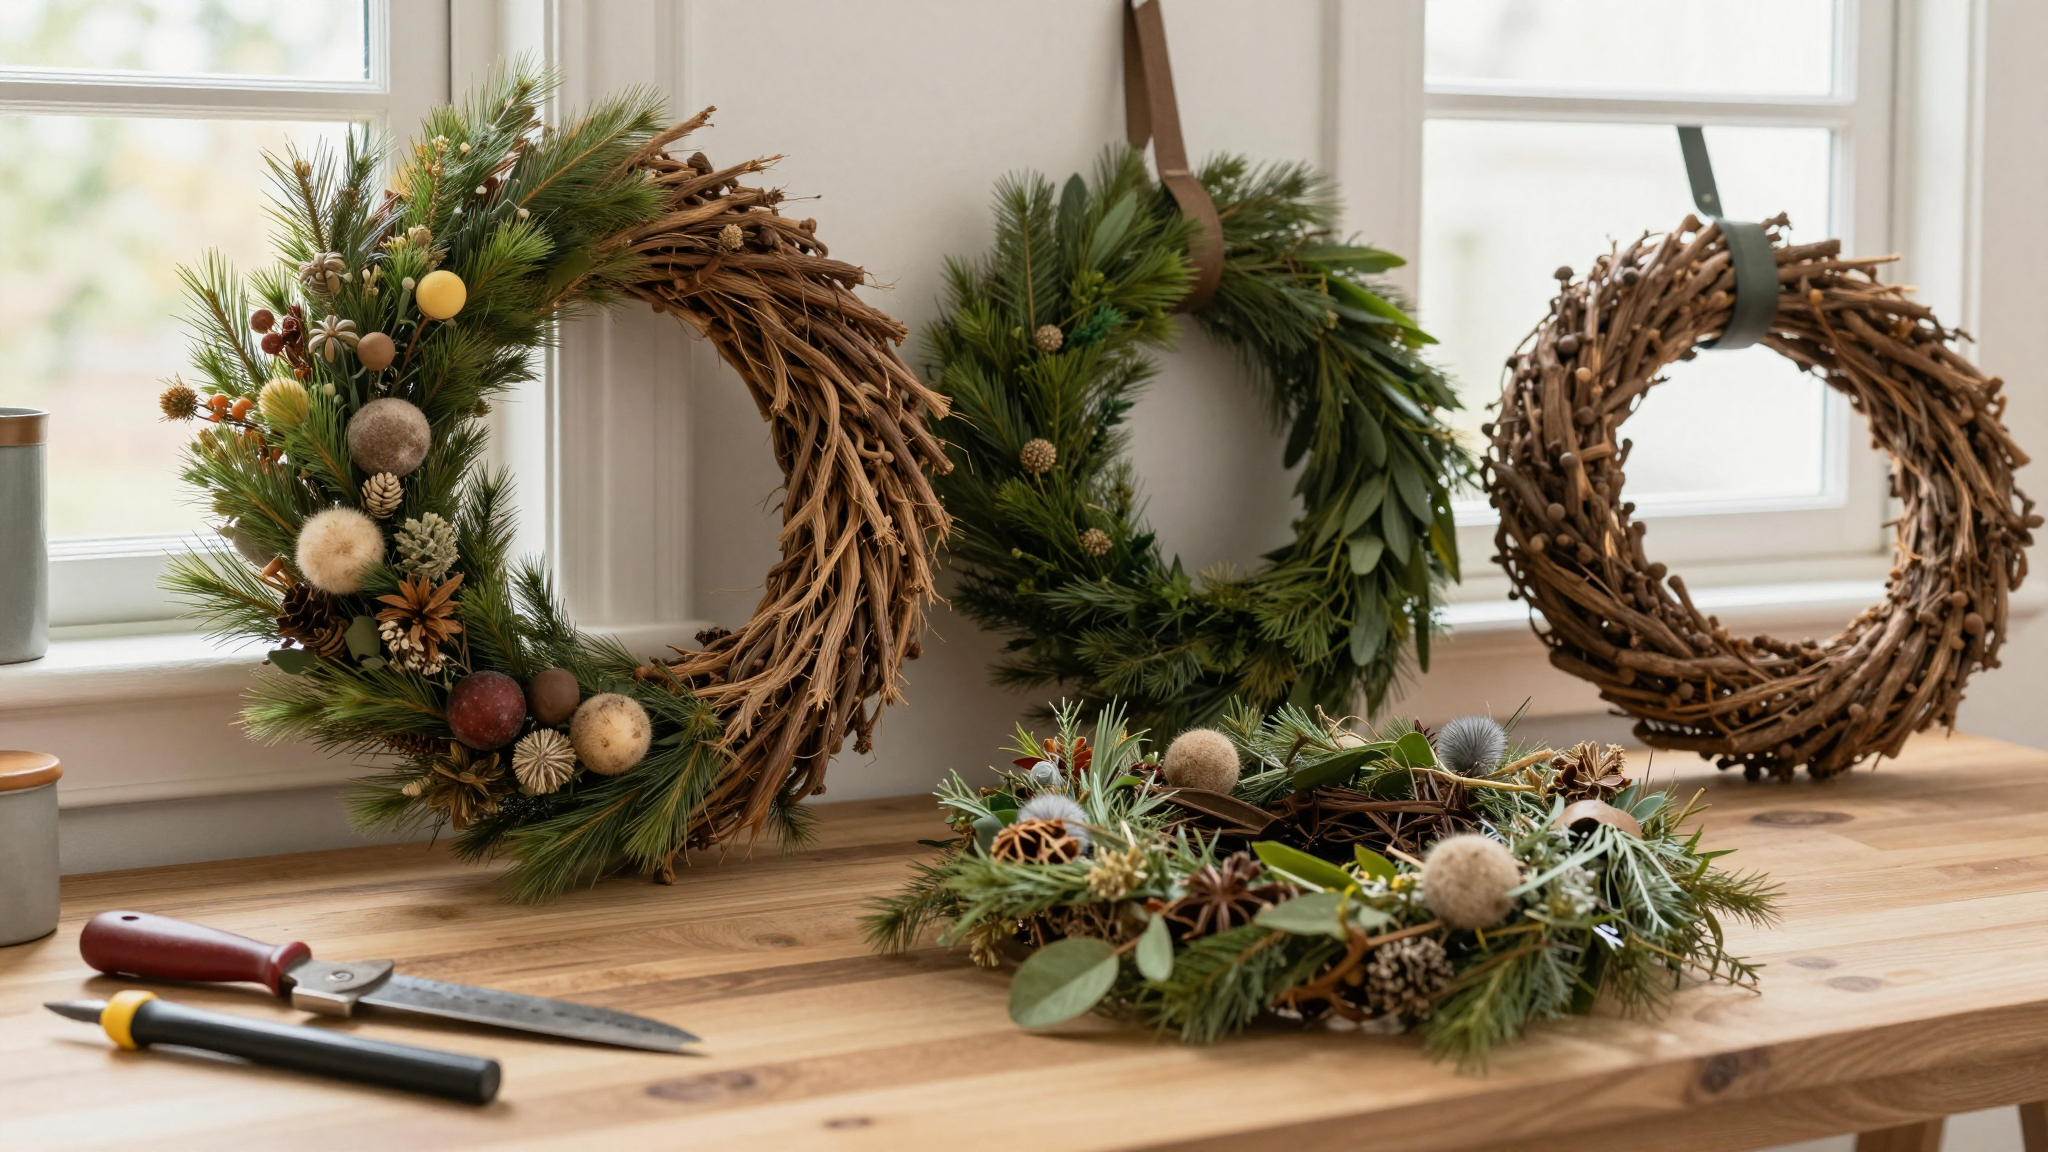
- Wreath base: I swear by grapevine for a natural look, but wire frames are great if you’re adding heavier decorations (like big pinecones or ceramic pieces). Foam is my go-to for lightweight designs, like summer wreaths with seashells.
- Floral wire (22-gauge): This is a game-changer. I used to struggle with glue guns melting my decorations, but wire holds everything in place without the mess. Pro tip: Buy a spool,you’ll use it for way more than just wreaths!
- Floral clippers: Don’t use regular scissors! They’ll crush stems and make your greenery look sad. I love my Fiskars clippers,they’re sharp, durable, and fit perfectly in my craft drawer.
- Hot glue gun: A low-temp one is best so you don’t accidentally melt plastic or dried flowers. I keep a mini glue gun in my craft box for quick fixes.
- Ribbon or burlap: For hanging and adding texture. I always grab a few extra rolls because you never know when you’ll need a pop of color.
Oh, and if you’re on a budget? Check your local craft store’s weekly coupons,Michaels and Hobby Lobby always have discounts on wreath bases and ribbon. I’ve saved so much money this way.
One thing I wish I’d known earlier? Reuse what you have. Last year, I pulled apart an old wreath and reused the bows and pinecones for a new design. It saved me time and money!
Step-by-Step: How I Make a Wreath (With Pictures!)
Alright, let’s get to the fun part,actually making the wreath! I’ll walk you through my process, step by step, with the mistakes I’ve made (so you don’t have to).

Step 1: Pick Your Base
I usually start with a 12-inch wire frame because it’s sturdy and easy to work with. If you’re using a grapevine base, make sure it’s not too brittle,last year, I bought one that snapped when I tried to bend it. Lesson learned!
Before you add anything, check for loose joints. Tighten them with pliers if needed. Trust me, you don’t want your wreath falling apart mid-hang.
Step 2: Gather Your Decorations
This is where the fun begins! For a fall wreath, I love using:
- Dried orange slices (I make these myself,just slice oranges thin, bake at 200°F for 2-3 hours, and let them dry)
- Cinnamon sticks (they smell amazing and add texture)
- Pinecones (I collect these for free in my backyard!)
- Eucalyptus or magnolia leaves (dollar stores often have these for cheap)
For a winter wreath, I switch to:
- Faux snowberries (they look like real snow-covered branches)
- Silver-painted pinecones (spray paint works great for this!)
- Velvet ribbons (they add a luxe touch)
Pro tip: If you’re using real greenery, soak the stems in water for a few hours before arranging. It keeps them fresh longer.
Step 3: Start Attaching Your Decorations
Here’s where I used to struggle,until I learned the clock method. Imagine your wreath is a clock, and you’re placing decorations at the 12, 3, 6, and 9 o’clock positions first. This gives you a balanced starting point.
For each bundle (like a cluster of pinecones or a few eucalyptus sprigs), wrap the stems with floral wire. I like to make 3-4 tight loops to keep everything secure. If you’re using a glue gun, apply a small dab to the back of each piece before wiring it down.
One thing I do now? Rotate the wreath frequently as I work. That way, I catch gaps or uneven spots before they become a problem. (I learned this the hard way after hanging a wreath and realizing one side was bare.)
Step 4: Fill in the Gaps
No wreath is perfect on the first try,mine never are! If you’ve got bare spots, fill them with smaller decorations like:
- Mini pinecones
- Dried flowers
- Acorns or walnuts (great for a rustic look!)
- Decorative picks (I love the ones with berries or tiny pumpkins)
If you’re using a foam base, you can also hot-glue smaller items directly onto it. Just be careful not to overdo it,you want your wreath to look full, not cluttered.
Step 5: Add the Finishing Touches
This is where you can really make your wreath feel special. I like to add:
- A big bow (I use burlap or velvet for a cozy feel)
- A sprig of greenery hanging down (like a eucalyptus stem)
- A small sign or charm (I found a cute “Hello, Fall” tag at a thrift store!)
Once everything is in place, let your wreath dry overnight if you’ve used glue. This gives everything time to set properly.
And there you have it! Your very own handmade wreath, ready to hang on your front door, mantel, or even as a centerpiece for your dining table. (I’ve done all three!)
Creative Wreath Ideas (Plus My Favorite Combinations)
Now that you’ve got the basics down, let’s talk about how to make your wreaths unique. I love mixing unexpected textures and colors to give my decor a personal touch.
Spring Wreath Ideas
Spring is all about fresh, light colors and natural textures. Here’s what I like to use:
- Pastel ribbons (I love the look of soft pink or mint green)
- Dried lavender (it smells amazing and adds a pop of color)
- Mini terra cotta pots (fill them with succulents or tiny flowers)
- Easter eggs (spray-paint them in soft colors for a cute touch)
Last year, I made a wreath with dried baby’s breath, white ribbon, and tiny ceramic bunnies. It looked so sweet on my front door that my neighbor asked where I bought it! (I just smiled and said, *”Oh, I made it!”*)
Summer Wreath Ideas
Summer wreaths should feel breezy and bright. I love using:
- Seashells (collect them on your next beach trip!)
- Sun-bleached driftwood (great for a coastal vibe)
- Citrus slices (dried lemon or lime looks gorgeous)
- Blue and white striped ribbon (it’s so classic!)
One year, I glued seashells onto a driftwood slice and hung it on my door. It was so simple, but it made my whole porch feel like a beach getaway.
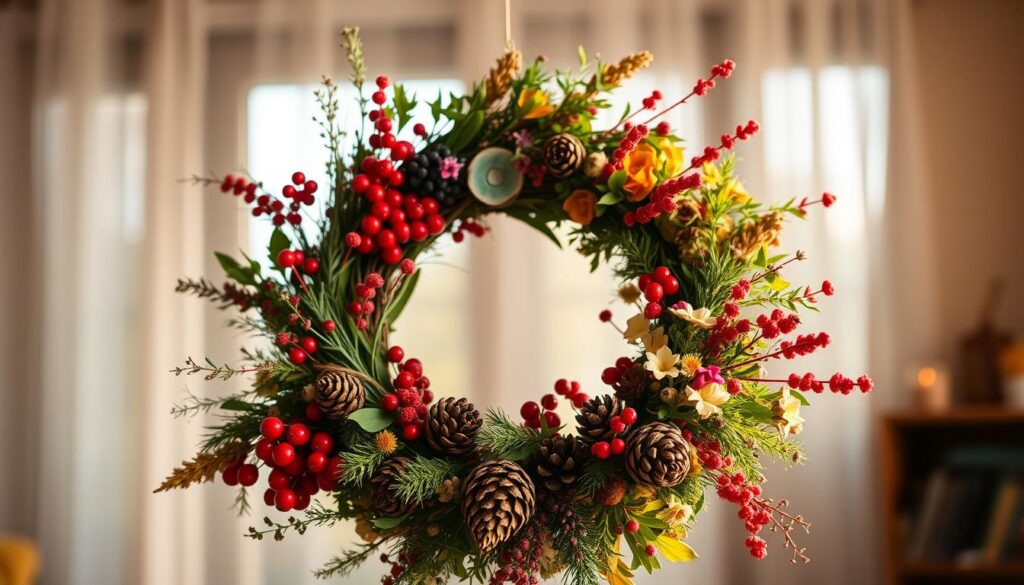
Fall Wreath Ideas
Fall is my favorite time for wreaths because there are so many beautiful natural elements to work with. Here’s what I gather:
- Dried leaves (oak or maple leaves look amazing)
- Pinecones (spray-paint them gold or leave them natural)
- Cinnamon sticks (they smell like fall!)
- Mini pumpkins or gourds (I find these at farm stands for cheap)
I once made a wreath with dried hydrangeas, cinnamon sticks, and a big orange bow. It smelled like a bakery and looked like it belonged in a magazine. (Spoiler: It did get featured in our local paper!)
Winter Wreath Ideas
Winter wreaths should feel cozy and festive. I love using:
- Faux snow (sprinkle it lightly for a wintery touch)
- Silver or gold pinecones (spray paint works great!)
- Velvet or plaid ribbon (it adds texture)
- Mini ornaments (I love the ones shaped like snowflakes)
One year, I made a wreath with white berries, frosted pinecones, and a big red bow. It looked so festive that I kept it up until Valentine’s Day!
FAQ: Your Wreath-Making Questions, Answered!
What tools do I need to start making wreaths?
You don’t need a ton of fancy tools,just the basics:
- A wreath base (grapevine, wire, or foam)
- Floral wire (22-gauge is my favorite)
- Floral clippers (they’re sharper than scissors!)
- A hot glue gun (low-temp is best)
- Ribbon or burlap for hanging
If you’re just starting out, check out my guide to must-have tools,it’ll save you time and money!
How do I choose decorations that match the season?
Look for colors and textures that fit the time of year. For example:
- Spring: Pastels, fresh greenery, flowers
- Summer: Bright colors, seashells, citrus
- Fall: Warm tones, pinecones, dried leaves
- Winter: White, silver, velvet, ornaments
If you’re not sure where to start, check out my guide to seasonal decor,it’s got tons of ideas!
Can I reuse materials from old wreaths?
Absolutely! I reuse bows, pinecones, and ribbon all the time. Just clean them gently and mix them with fresh accents for a new look. It’s a great way to save money and reduce waste.
How do I keep embellishments from falling off?
For heavier items, use floral wire or zip ties. For lighter pieces, a strong adhesive like hot glue works great. Just make sure to let the glue dry completely before hanging your wreath.
What’s the best way to hang a handmade wreath?
Use a sturdy wreath hanger or a strong ribbon loop. Avoid direct sunlight or humid areas,it’ll keep your wreath looking fresh longer. I like to rotate my wreaths every few months so they stay looking their best.
Now it’s your turn! Grab your supplies, pick a season, and start creating. And if you make a wreath you love, tag me on Instagram so I can see your masterpiece! Happy crafting!