
Custom Pantry Shelving: How I Maximized My Kitchen Storage (And Saved $200)
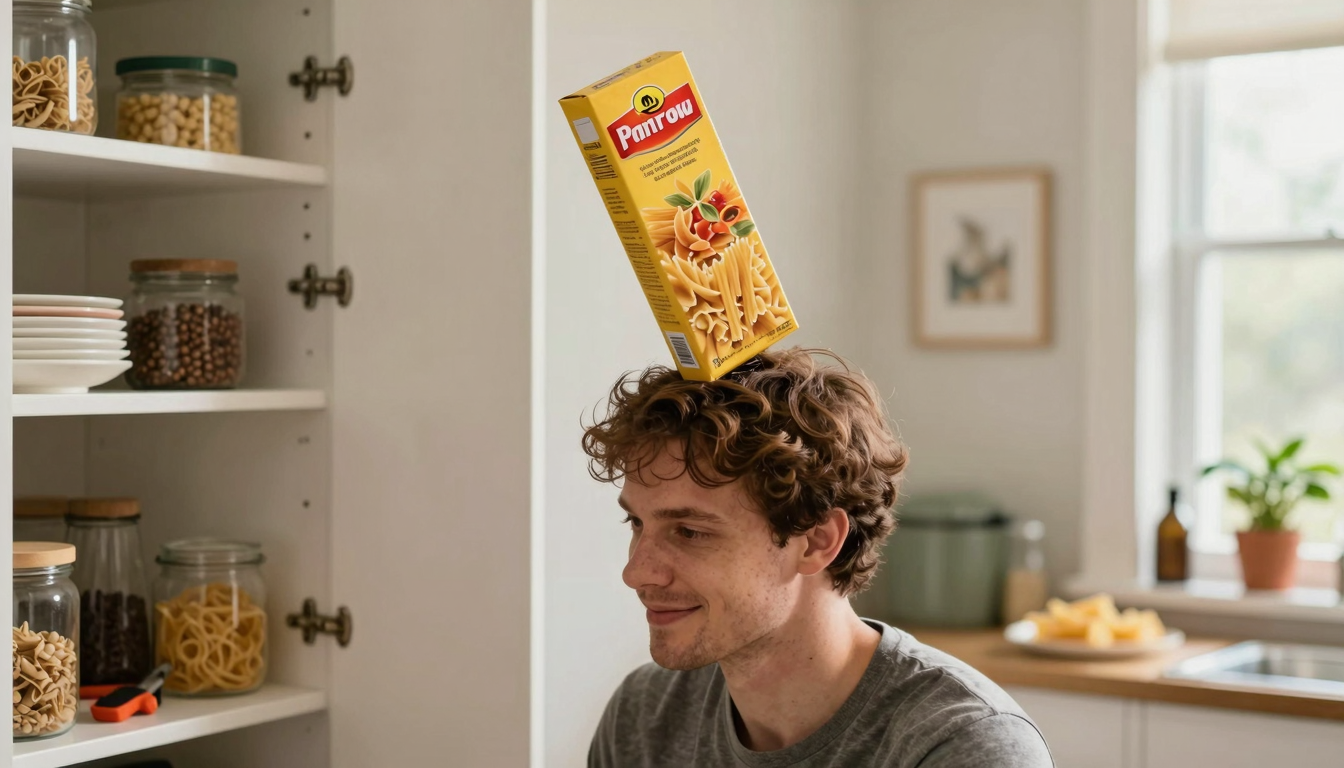
Let me tell you about the time I opened my pantry door and a box of pasta fell on my head. Not because I’m clumsy (okay, maybe a little), but because my shelves were so poorly organized that I couldn’t see what was back there. That was the moment I knew I needed to build custom pantry shelving that actually worked for my family.
As a mom of three with what feels like a bottomless pit for groceries, I’ve tried every storage solution out there. The pre-made units from big-box stores never fit quite right, and those wire racks? Forget it. I needed something that would actually make my life easier, not just look pretty (though, let’s be honest, pretty helps too).
After some trial and error (and one slightly crooked shelf that I had to redo), I figured out how to build custom pantry shelves that maximize every inch of space. The best part? It cost me under $200 and took just a weekend. Here’s exactly how I did it – and where I went wrong so you don’t have to.
Why I Chose Custom Shelving Over Store-Bought
I’ll be honest – I considered buying one of those fancy pantry systems you see in magazines. But when I measured my space and saw how much extra I’d have to pay for features I didn’t need, I knew DIY was the way to go. Here’s what I learned about the differences:
| Feature | Custom Solutions | Pre-Made Systems |
|---|---|---|
| Space Utilization | Fits my weird nook perfectly (including around that awkward outlet) | Left gaps I had to fill with random bins |
| Cost Effectiveness | Under $200 for exactly what I needed | Would have cost $400+ for similar space |
| Flexibility | I could adjust heights for my kids’ cereal boxes and my husband’s giant protein powder containers | Fixed heights that didn’t work for anything |
| Installation | My husband and I did it in a weekend with basic tools | Required professional help for proper anchoring |
The real game-changer was being able to design it specifically for how we actually use our pantry. No more digging through the back to find the olive oil, no more stacks of cans that threaten to topple over. Just organized, accessible storage that actually works for our family.
If you’re thinking about tackling a similar project, you might also want to check out how I added charm to other parts of my home with simple DIY solutions.
Planning My Pantry Shelves (And Avoiding My Mistakes)
This is where most people get overwhelmed, but I promise it’s not as complicated as it seems. My first attempt was a disaster because I didn’t measure properly (I was in a hurry to start building). Here’s what I wish I’d known from the beginning:
Measuring Like a Pro (So You Don’t Have to Redo It)
I used my favorite tape measure – the one with the little case that clips to my tool belt – and measured everything twice. Here’s what I recorded:
- Wall width: 36 inches (but only 34 inches usable space because of the door swing)
- Height: 84 inches to the ceiling (though I only went to 72 inches for the top shelf)
- Depth: 12 inches (I learned this is perfect for seeing everything at a glance)
- Obstacles: One outlet at 42 inches up, and a light switch at 48 inches
Pro tip: I used a stud finder to mark all the stud locations before I started. This saved me so much time during installation because I knew exactly where to screw in my supports.
Budgeting Without Breaking the Bank
I made a simple sketch on graph paper (yes, I still have some from when the kids were little) with all the pieces labeled. This helped me calculate exactly how much wood I needed. Here’s my shopping list:
- 1 sheet of 4’x8′ MDF (for the shelves) – $45
- 2 pieces of 1×2 pine (for trim) – $12
- 1 box of 1.5″ wood screws – $8
- Wood glue – $5
- Paint and primer – $30 (I used leftover paint from our bedroom makeover)
- Shelf pins (for adjustable shelves) – $15
Total: $115 for materials (before tax). I had most of the tools already, but if you don’t, you can see my list of must-have tools.
I also ordered my wood to be cut at the store. Home Depot will cut your MDF for free, and it saves you from making mistakes with your circular saw. Trust me, my first attempt at cutting MDF was… not pretty.
Materials and Tools I Actually Used
Here’s what I ended up using for my project. I’ll be honest – I had to return some things I thought I’d need but didn’t actually use.
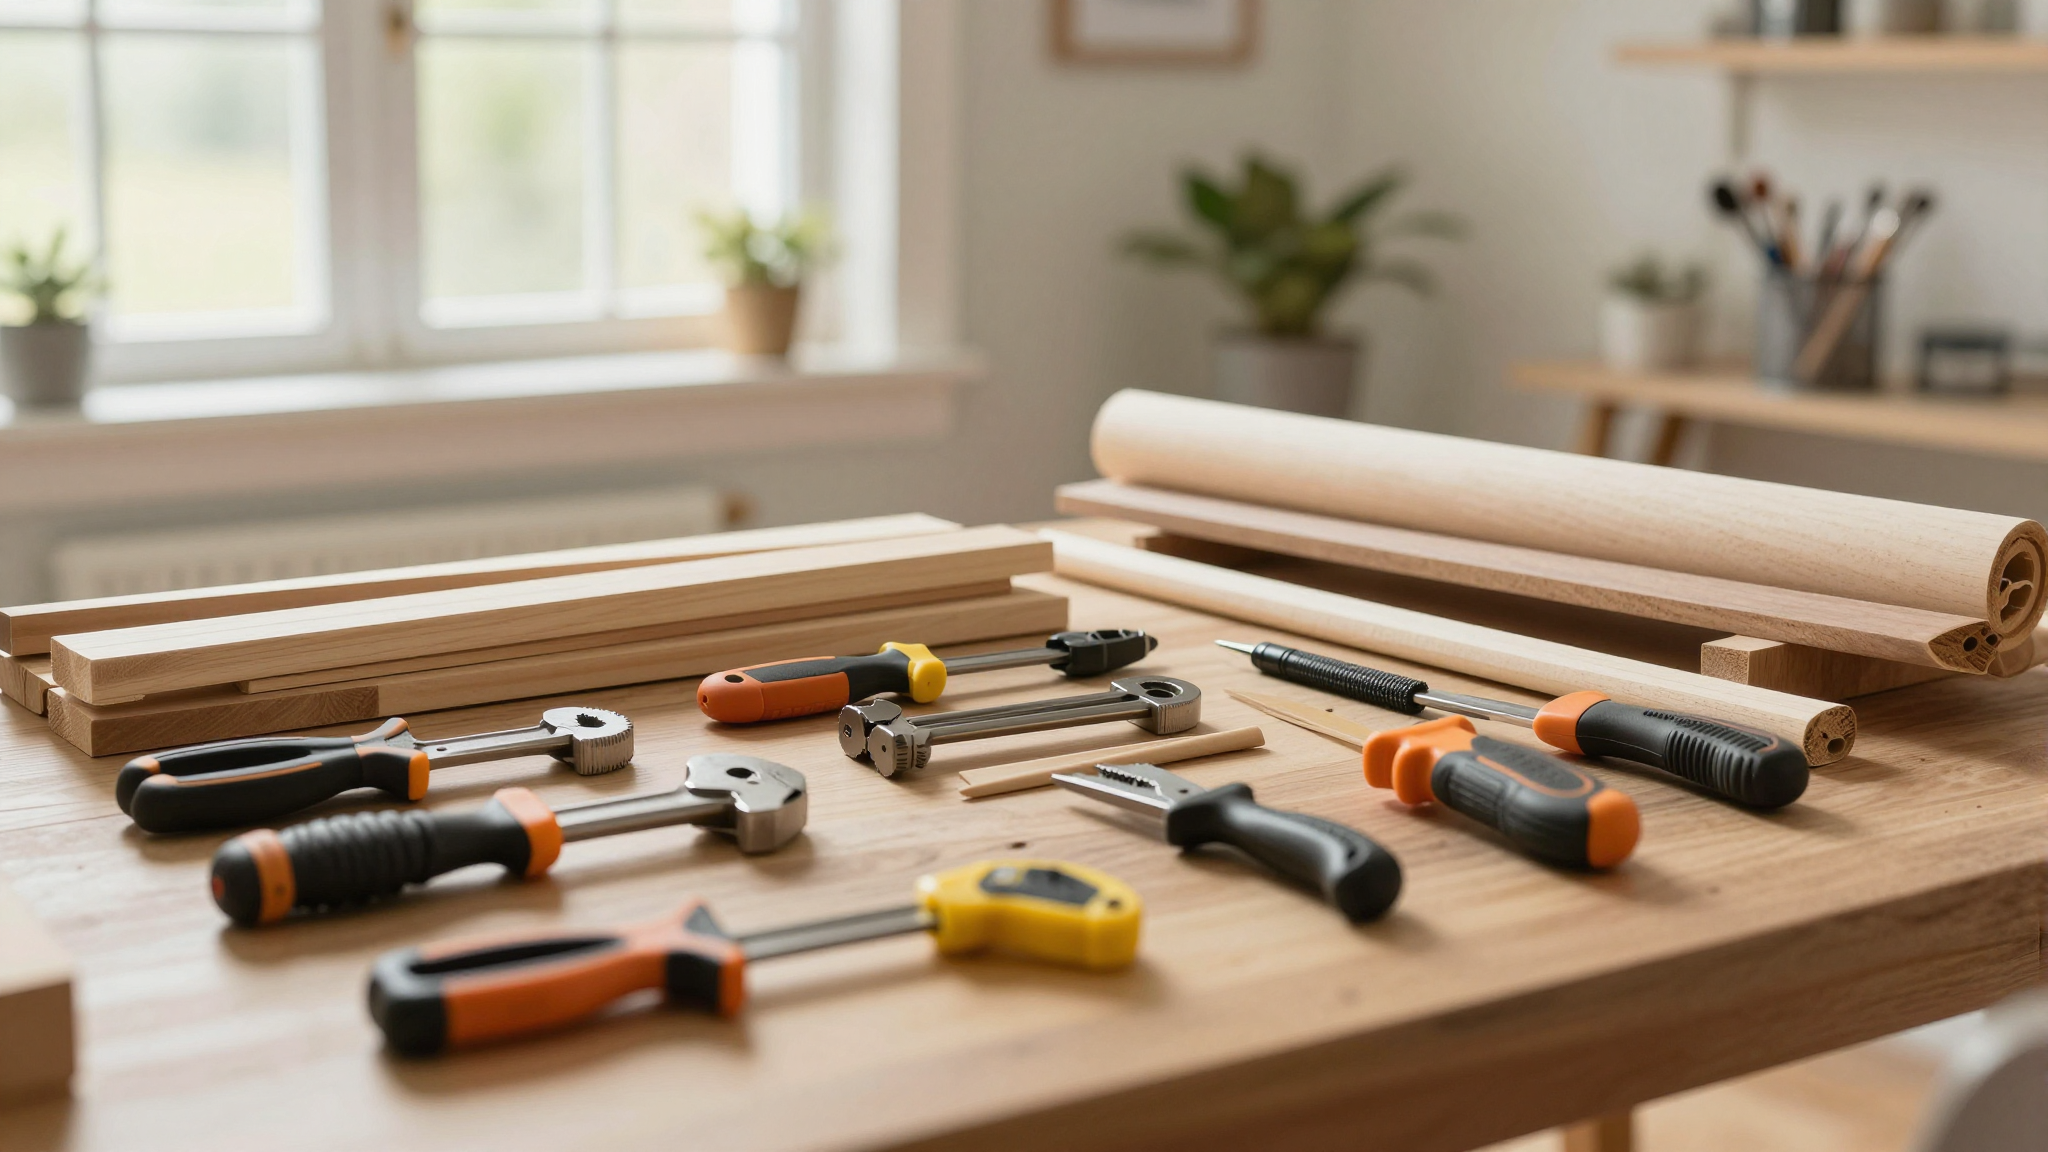
My Tool Collection for This Project
I used my trusty:
- DeWalt drill/driver (my husband’s favorite tool)
- 24″ level (I borrowed this from my neighbor when I realized mine was broken)
- Circular saw (for cutting the pine boards)
- Clamps (to hold pieces steady while I screwed them together)
- Stud finder (this saved me so much time!)
- Safety glasses (non-negotiable, especially when cutting MDF)
I thought I’d need a miter saw for the angles, but I managed just fine with my circular saw and a little extra time.
Materials That Actually Worked
After some research (and a few wrong turns), here’s what I settled on:
- MDF for the shelves: I chose 3/4″ thick MDF because it’s smooth and paints beautifully. I primed it with a tinted primer that matched my paint color, which saved me from having to do three coats.
- Pine for the trim: 1×2 pine boards for the front trim. They hide the raw edges and make everything look more polished.
- Support pieces: I used 3/4″ square pine boards for the vertical supports. They’re sturdy and look good when stained.
- Fasteners: Wood screws for everything, plus wood glue for extra strength. I used 1.5″ screws for the shelves and 2.5″ for the vertical supports.
I also picked up some shelf pins for the adjustable shelves. They were easy to install and give me the flexibility to change things as my kids’ snack preferences change (which is often).
Building the Shelves: Step by Step (With My Real-Life Tips)
This is where the magic happens! I’ll walk you through exactly how I built my shelves, including the mistakes I made and how I fixed them.
Prepping the Space (And Why I Almost Quit)
First, I cleared everything out of the pantry. I mean everything – even the stuff I thought I’d “just move to the side.” Big mistake. I ended up with a pile of random items in the middle of my kitchen that I had to keep stepping around.
Then I had to remove the baseboards. This was harder than I expected because they were nailed in really well. I used a crowbar and a lot of patience. I saved the baseboards thinking I’d reinstall them, but honestly? They look better without them. The clean lines make the space feel more modern.
Pro tip: If you’re working in a small space like I was, wear old clothes. You will get dust everywhere. I learned this the hard way when I had to explain to my husband why his favorite shirt was covered in MDF dust.
Cutting and Assembling the Panels
I took my MDF to Home Depot and had them cut it to size. This was one of the best decisions I made because their cuts are so precise. My first attempt at cutting MDF at home was… well, let’s just say it wasn’t pretty.
For the pine boards, I cut them at home. I clamped two boards together and cut them at the same time to make sure they were identical. This saved me so much time and frustration.
When I was assembling the vertical panels, I realized I hadn’t accounted for the thickness of the MDF. I had to adjust my measurements by 3/4″ to make sure everything fit together properly. This is one of those little details that can make or break your project.
Safety reminder: Always wear safety glasses when cutting wood. I learned this the hard way when a piece of MDF flew up and nearly hit me in the eye. Thank goodness I had my glasses on!
Installing the Shelves (And Fixing My Mistakes)
This is where things got real. I was nervous about getting the shelves level and secure, but I took my time and it turned out great.
Getting Everything Level (First Try)
I used my level constantly to make sure everything was straight. I started by marking where the vertical supports would go on the wall. I used a pencil to make little dots at the top and bottom of each support piece.
Then I held the supports in place and used my level to make sure they were perfectly vertical. I had to adjust a few times, but I got it right in the end. The key was taking my time and not rushing.
I used a stud finder to make sure I was screwing into the studs. This is so important for making sure your shelves are secure. I made the mistake of not checking one of the supports, and it wobbled a little until I added an extra screw into the stud.
Adding the Horizontal Shelves
This is where I had to be really careful. I used a long level to make sure each shelf was perfectly level before I screwed it in. I also made sure to leave a little gap (about 1/8″) between the shelves and the wall so air could circulate.
I used shelf pins for the adjustable shelves. They were super easy to install and give me the flexibility to change the spacing as needed. I also added some small L-brackets at the corners for extra support.
One thing I wish I’d known: I should have pre-drilled the holes for the screws. This would have made the installation so much easier and prevented the MDF from cracking in a few spots.
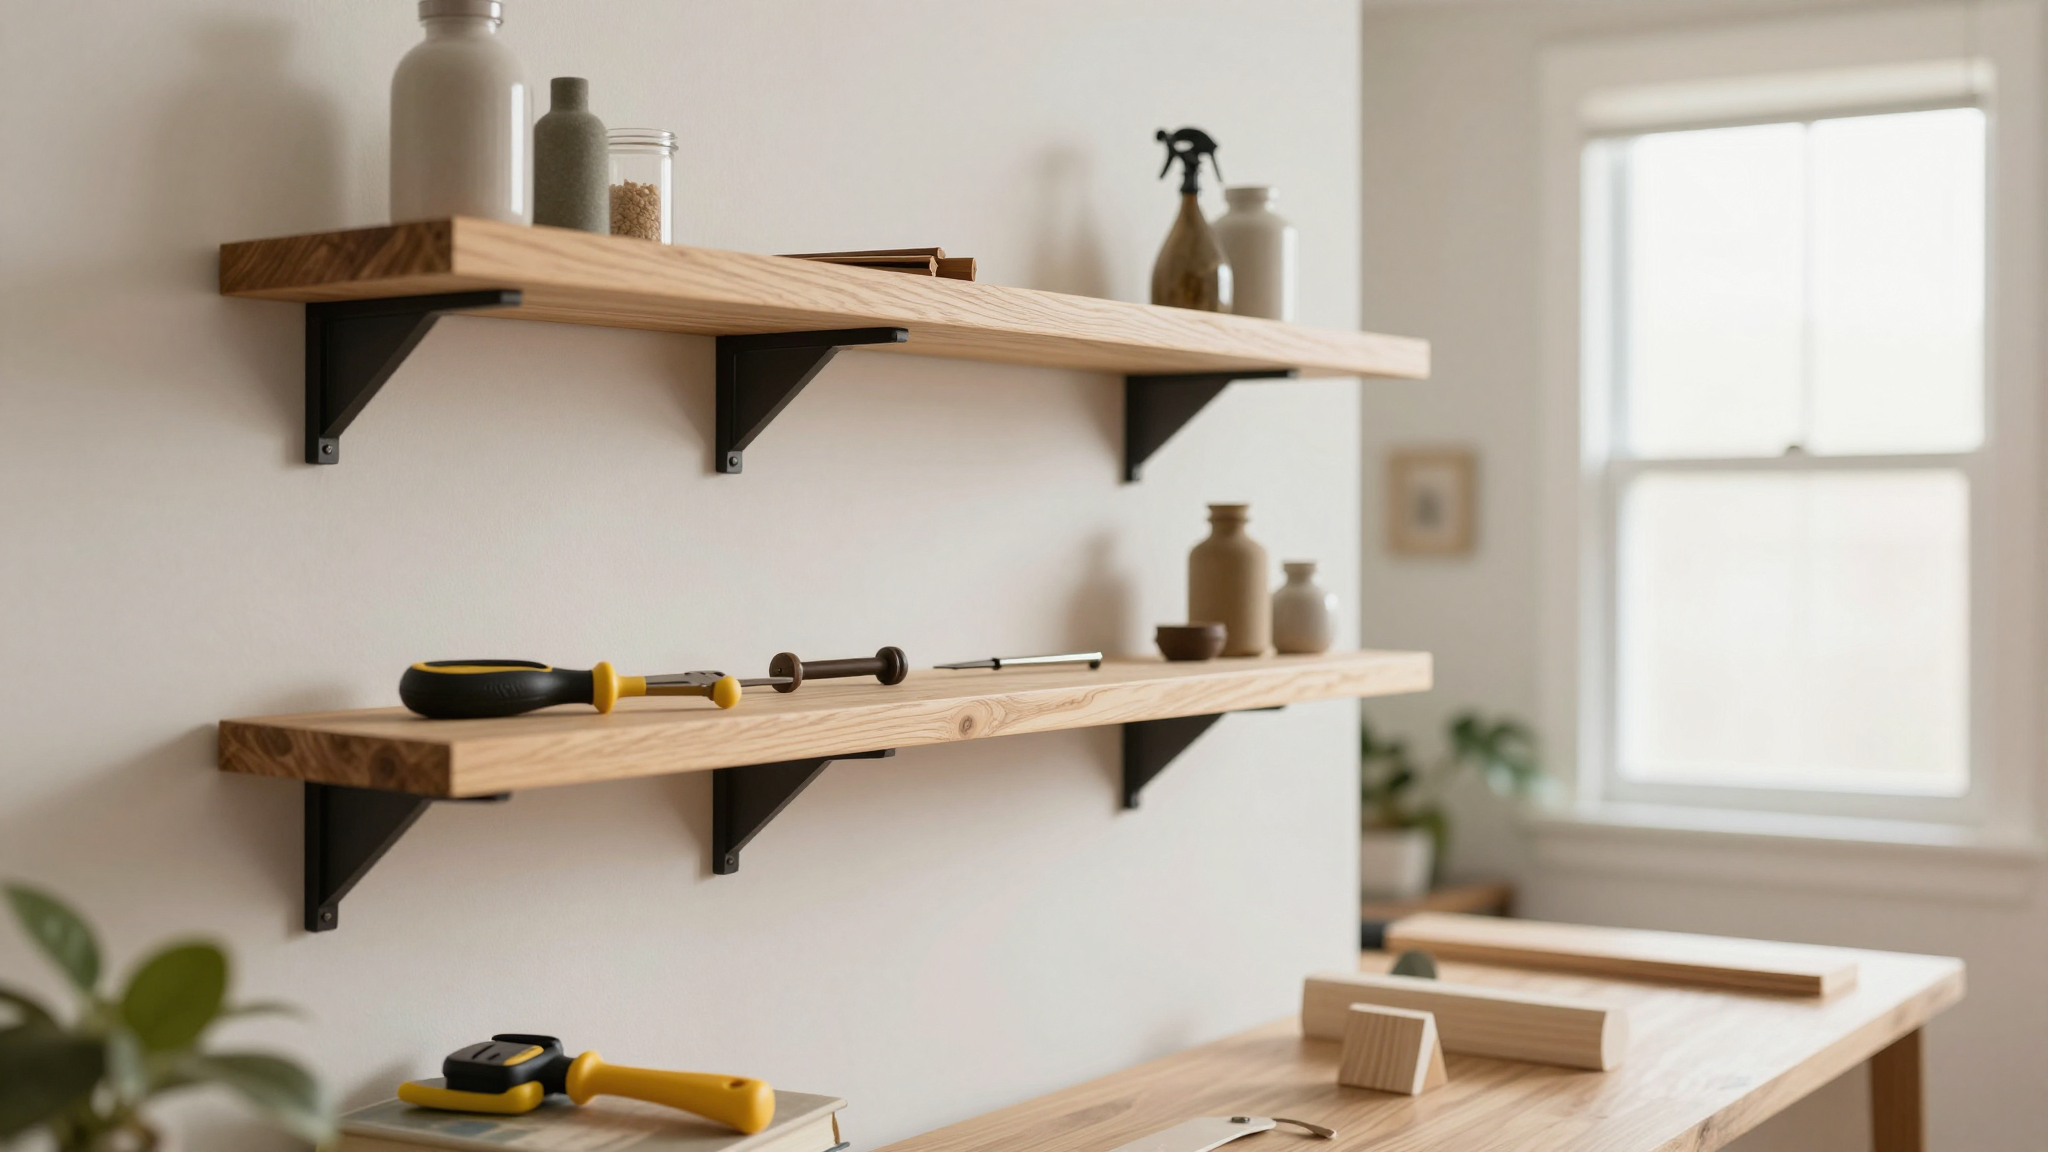
Finishing Touches (That Make All the Difference)
This is where your project goes from “functional” to “fantastic.” The finishing touches are what make your custom shelves look like they were built by a professional.
Painting Like a Pro (Without the Mess)
I painted my shelves before I installed them. This made it so much easier to get into all the nooks and crannies. I used a small foam roller for the large areas and a paintbrush for the edges.
I used a tinted primer that matched my paint color. This saved me from having to do three coats of paint. I also used a high-quality satin paint that’s easy to clean. Trust me, you’ll be wiping down these shelves regularly.
Pro tip: If you’re painting MDF, make sure to seal the edges first. MDF absorbs moisture like a sponge, and if you don’t seal it, the edges will swell and look terrible.
Adding the Trim (The Secret to a Polished Look)
The front trim pieces make a huge difference in how professional your shelves look. I used 1×2 pine boards and stained them to match the vertical supports. I attached them with wood glue and finish nails.
I used a nail set to sink the nail heads below the surface, then I filled the holes with wood filler and sanded everything smooth. This gave me a clean, professional look.
I also added some caulk around the edges where the shelves met the wall. This made everything look seamless and built-in.
Making the Most of a Small Pantry
Our pantry isn’t very big, so I had to get creative with the space. Here’s what I learned about maximizing a small area:
Depth Matters (And Why 12 Inches Is Perfect)
I originally thought I wanted deeper shelves, but after some research, I realized that 12 inches is the perfect depth. It’s deep enough to hold most items but shallow enough that I can see everything at a glance.
I also added some small shelves on the sides of the pantry. These are great for holding things like spices or small jars that don’t need a lot of space.
Vertical Space Is Your Friend
I used the full height of the pantry, even though it meant I had to stand on a step stool to reach the top shelf. It’s amazing how much more you can store when you go vertical.
I also added some small shelves above the door. These are perfect for holding things like baking supplies or extra canned goods.
Pull-Out Shelves (A Game-Changer)
I added pull-out shelves in the back of the pantry. These are great for holding things like cereal boxes or baking supplies. I can pull them out and see everything without having to dig through the back.
I used simple drawer slides that I found at Home Depot. They were easy to install and make a huge difference in how functional my pantry is.
Keeping My Pantry Organized (And Looking Pretty)Now that I have my custom shelves, I want to make sure they stay organized and look good. Here’s how I keep everything in place:
Baskets and Containers (The Secret to a Pretty Pantry)
I use a mix of woven baskets and clear containers to keep everything organized. The woven baskets are great for holding things like snacks or pasta, while the clear containers are perfect for things like rice or flour.
I also use small bins for things like spices or tea bags. These keep everything contained and make it easy to find what I need.
Pro tip: I label everything with little chalkboard tags. This makes it easy to see what’s in each container, and it looks cute too!
Regular Maintenance (So It Doesn’t Get Messy)
I try to do a quick tidy-up of my pantry every few weeks. This keeps everything in its place and prevents clutter from building up.
I also do a deep clean once a year. I take everything out, wipe down the shelves, and reorganize. It’s amazing how much better everything looks after a good cleaning.
Final Thoughts (And What I’d Do Differently Next Time)
Building custom pantry shelves was one of the best DIY projects I’ve ever done. It’s amazing how much more functional my kitchen is now that everything has a place.
If I were to do it again, I’d make a few changes:
- I’d pre-drill all the holes to prevent the MDF from cracking.
- I’d use a miter saw for the angles to make them look more professional.
- I’d add more pull-out shelves for better accessibility.
But overall, I’m really happy with how it turned out. It’s functional, it looks great, and it was a fun project to do with my husband.
If you’re thinking about tackling a similar project, I say go for it! It’s easier than you think, and the results are worth it. Plus, you’ll have a great story to tell about how you built your own custom pantry shelves.
And if you need more inspiration, check out how I updated my fireplace or redid my stairs for more DIY ideas that make a big impact.
Frequently Asked Questions
What’s the best type of wood to use for pantry shelves?
For a great balance of strength and cost, I used pine for the supports and MDF for the shelves. The MDF gave me a smooth surface to paint, and the pine added some warmth. If you’re going for a high-end look, hardwoods like maple or oak are beautiful but more expensive.
How do I make sure my DIY shelves are strong enough?
I made sure to screw everything into the wall studs for maximum support. I also added extra support pieces behind the shelves and used shelf pins for the adjustable ones. If you’re worried about weight, you can always add more supports or use heavier-duty hardware.
Can I build custom shelves in a very small closet or pantry?
Absolutely! I built mine in a small nook, and it turned out great. The key is to use vertical space and shallow shelves (around 12 inches deep). You can also add pull-out shelves or small bins to maximize every inch.
What’s the easiest way to paint my new shelves?
I used a tinted primer that matched my paint color, which saved me from having to do multiple coats. I also used a small foam roller for the large areas and a paintbrush for the edges. If you’re painting MDF, make sure to seal the edges first to prevent swelling.
My shelves are a little wobbly after installation. How can I fix this?
This usually means the panels need better anchoring to the wall. I added some small L-brackets at the connections between the vertical and horizontal pieces, and that fixed the wobble. You can also check that your supports are screwed directly into the wall studs.
Are adjustable shelves difficult to build?
They require a bit more planning, but they’re not too difficult. I used shelf pins, which were easy to install and give me the flexibility to change the spacing as needed. You can also use drawer slides for a smoother pull-out option.