
Every spring when the weather finally warms up in mid-April, my kids and I get that unmistakable urge to plant. Learning how to build diy raised garden beds on a budget was the single best decision we ever made for our backyard. Instead of spending hundreds of dollars on flimsy store-bought kits, building your own sturdy planting boxes gives you total control over your soil and yields fresh vegetables all summer long.
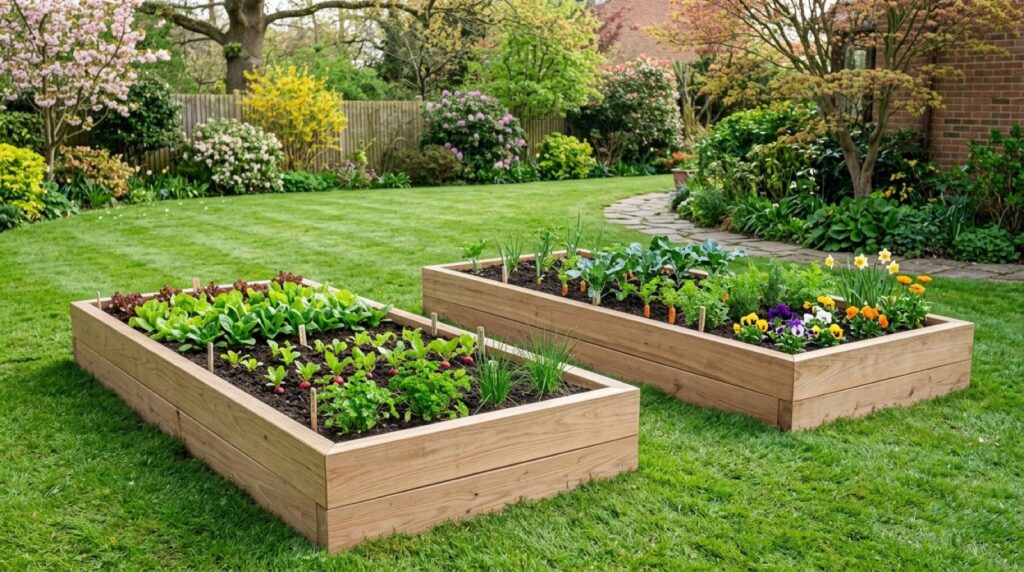
If you have ever wrestled with compacted backyard dirt, stubborn weeds, or poor drainage, raised planters offer an easy and affordable solution. Welcome back to Christina Projects, where we tackle practical home and garden updates without draining your wallet. In this step-by-step guide, I am sharing our exact cut list, lumber recommendations for edible gardening, simple soil math, and tips to get your whole family involved in the build.
Why DIY Raised Garden Beds Are Worth Every Penny
When we bought our home, our backyard ground was dense clay that turned into a muddy swamp every time spring rains hit. Our first attempt at in-ground planting drowned our tomato seedlings before summer even began. That frustrating experience convinced us to build raised boxes, and the difference in harvest yield was night and day.
Raised garden beds warm up significantly faster in the spring sun than ground-level turf. This allows you to sow cool-weather crops like spinach, lettuce, and radishes several weeks earlier. Because you never step on the soil inside the perimeter, the growing medium stays loose and aerated so roots can stretch out easily.
Drainage is another major benefit, since excess rainwater flows freely through your custom soil mix instead of suffocating plant stems. Furthermore, elevating your garden 10 to 12 inches off the ground saves your lower back and knees during weeding and harvesting. If you enjoy quick weekend builds, you can also explore our tutorial on outdoor planters you can build with basic tools for smaller porch spots.
Choosing the Right Lumber: Cedar, Pine, and Food Safety
Choosing the right lumber is the most important decision when planning your garden woodworking. You want materials that are durable, completely safe for homegrown vegetables, and friendly to your family budget.
Cedar and Redwood
Western red cedar and redwood are naturally rot-resistant and insect-resistant without requiring chemical treatments. A cedar bed can easily last 10 to 15 years outdoors. However, cedar is the most expensive option, often costing two to three times more than standard construction timber. If your budget allows for an upfront investment, it is a wonderful option, but it is by no means required for a thriving garden.
Untreated Pine and Douglas Fir
Standard untreated 2-inch construction lumber, such as Douglas fir, white pine, or spruce, is our top recommendation for budget-friendly diy raised garden beds. A standard 2x10x8 untreated pine board typically costs between $12 and $18. These thick boards will reliably last 4 to 7 years in most backyard climates, giving you years of bountiful harvests at a fraction of the cost of cedar.
What About Pressure-Treated Wood for Edibles?
Many beginners ask if green pressure-treated wood is safe for food crops. Prior to 2004, residential treated lumber used Chromated Copper Arsenate (CCA), which contained arsenic that could leach into edible root systems. Never use reclaimed vintage pressure-treated wood for vegetables.
Modern pressure-treated lumber uses copper-based treatments that meet residential safety standards, but many organic gardeners still prefer untreated pine or cedar to avoid all chemical contact. If you do choose modern treated lumber for longevity, staple heavy-duty food-grade plastic sheeting along the inside walls as a protective physical barrier.
Sizing Your Garden Bed: The 4-Foot Reach Rule
Getting your box dimensions right prevents frustration later in the growing season. The ideal dimension for backyard vegetable gardening is 4 feet wide by 8 feet long.
The 4-foot width is crucial because the average adult reach is approximately 2 feet from either side. A 4-foot wide box allows you to easily tend, weed, and harvest plants in the center without stepping into the bed and compacting your soft soil. If you place your box against a fence or garage wall, reduce the width to 2 or 3 feet so you can reach across comfortably.
An 8-foot length maximizes standard lumber dimensions with minimal cutting and zero wasted wood. For depth, 10 to 12 inches is the sweet spot. Using 2×10 boards gives you a true 9.25-inch depth, which provides plenty of room for deep-rooting vegetables like carrots, peppers, and tomatoes.
Tools and Materials Cut List for a 4×8 Raised Bed
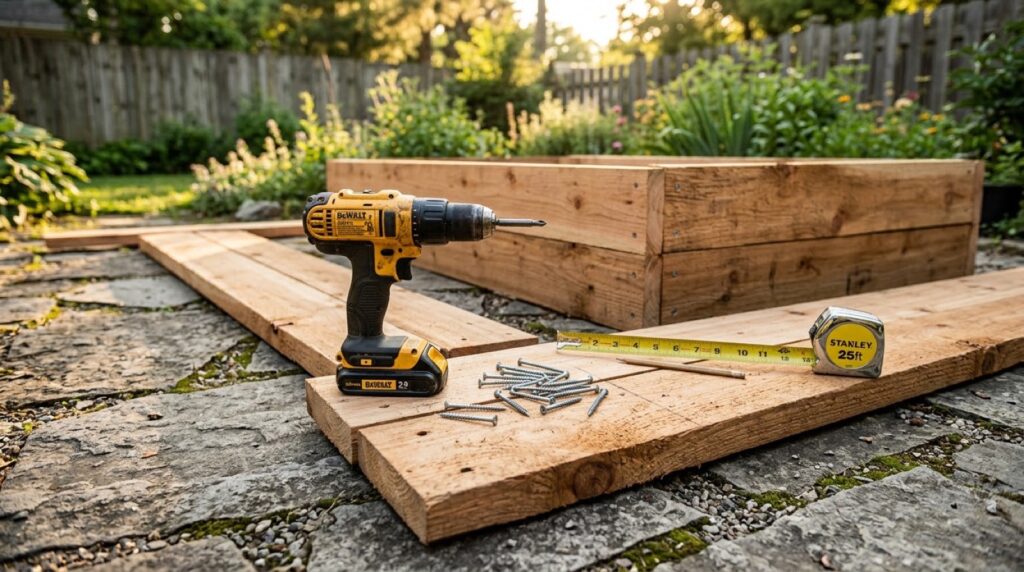
You do not need an extensive workshop to tackle this project. A simple cordless drill, a circular saw or hand saw, a tape measure, and a rafter square are all you need. If you are building up your home tool collection, check out our guide to essential tools every homeowner should have.
Materials Needed:
- Three 2x10x8 lumber boards: Untreated Douglas fir, pine, or cedar. Two boards form the long 8-foot sides, while the third board is cut in half for the end caps.
- One 2x4x8 lumber board: Cut into four corner cleats and two center wall stiffeners.
- One box of 3-inch exterior deck screws: Ceramic-coated star-drive screws that resist outdoor rust.
- One roll of 1/2-inch galvanized hardware cloth: To line the bottom against burrowing pests.
- Heavy-duty staple gun with galvanized staples: For attaching hardware cloth and cardboard.
- Clean cardboard boxes: With all plastic tape removed, to suppress grass and weeds.
The Cut List:
- Long Side Walls: 2 boards at 96 inches (8 feet, uncut)
- Short End Walls: 2 boards at 48 inches (cut one 8-foot board in half)
- Corner Support Cleats: 4 pieces of 2×4 cut to 9.25 inches
- Center Stiffeners: 2 pieces of 2×4 cut to 9.25 inches
Step-by-Step Guide: Assembling Your Garden Bed
Assembling these boxes is a quick, satisfying weekend task. Follow these steps for square, long-lasting corners and rock-solid construction.
Step 1: Prep and Level the Site
Select a backyard location that receives at least 6 to 8 hours of direct daily sunlight. Mark your 4×8 footprint and use a level across a spare board to check for high spots. Shave down bumps in the turf with a flat spade shovel so the wood sits evenly on the ground without rocking.
Step 2: Pre-Drill Pilot Holes
Measure and cut your 2×10 end board in half, and cut your 2×4 cleats to 9.25 inches. Pre-drill three pilot holes through the ends of each 2×10 board using a 1/8-inch drill bit. Pre-drilling prevents thick construction lumber from splitting when driving large screws near the edges.
Step 3: Fasten the End Assemblies
Lay a 4-foot end board flat on your workspace. Align a 2×4 corner cleat flush along the outer edge. Drive three 3-inch exterior screws through the pre-drilled face into the cleat. Repeat on the opposite end, and assemble the second 4-foot board the same way to create two completed end caps.
Step 4: Attach the Long Side Rails
Stand your two end caps on edge. Position an 8-foot sideboard against the corner cleats. Use your rafter square to confirm a clean 90-degree corner, then drive three 3-inch screws through the 8-foot board into each cleat. Repeat on the other side to complete your 4×8 rectangular frame.
Step 5: Add Center Wall Bracing
When an 8-foot bed is filled with damp soil, the long walls can bow outward over time. To prevent bowing, fasten a 2×4 vertical stiffener to the inside center of each 8-foot wall at the 4-foot mark. This simple step keeps your bed straight and sturdy for years.
Step 6: Install Hardware Cloth for Gophers
Flip the assembled wooden box upside down. Roll out 1/2-inch galvanized hardware cloth over the entire open bottom. Staple the metal mesh securely every 3 inches along the perimeter boards. This impenetrable wire barrier stops burrowing gophers and moles from eating your plant roots.
Step 7: Line with Cardboard to Block Weeds
Flip the box right-side up and position it in your leveled garden spot. Lay two overlapping layers of clean cardboard across the bottom. The cardboard smothers underlying grass and dandelions, gradually breaking down into rich organic matter that feeds beneficial earthworms.
Filling the Bed: Soil Mix Math and the Hugelkultur Budget Trick
Calculating your soil needs before heading to the nursery prevents unexpected expenses when filling your diy raised garden beds.
The Soil Math
To find the soil volume needed for a rectangular bed, multiply Length × Width × Depth in feet:
Volume = 8 ft (Length) × 4 ft (Width) × 0.8 ft (Depth) = 25.6 cubic feet
At approximately 26 cubic feet, filling an entire 4×8 box with bagged store soil would require 13 to 17 large bags, costing well over $100 per box.
The Hugelkultur Method: Cut Soil Costs in Half
To slash your filling costs, use the Hugelkultur gardening technique. Fill the bottom 3 to 4 inches of your box with fallen tree branches, untreated logs, dried autumn leaves, and grass clippings from your yard. As this wood slowly breaks down over several seasons, it acts like a giant moisture sponge that stores rainwater and feeds fungal nutrients to plant roots. This free organic base saves you roughly 40% on bagged soil purchases.
The Ideal Topsoil Mix
For the top 6 inches of growing depth, avoid dense native dirt and blend the following components:
- 50% Quality Screened Topsoil: Provides mineral structure and weight.
- 30% Organic Compost: Delivers essential nutrients and beneficial soil biology.
- 20% Coco Coir or Peat Moss: Keeps the soil airy, light, and moisture-retentive.
Getting the Kids Involved in the Garden Project
Gardening is one of the most rewarding family activities because children get to see raw seeds grow into fresh food they can harvest. For more backyard play inspiration, see our guide on creating a kid-friendly backyard play area on a budget.
Here are fun and safe ways to involve your kids in building diy raised garden beds:
- Measuring and Marking: Let kids use a carpenter pencil to mark cut lines along the tape measure.
- Cardboard Stomping: Kids love stomping down the cardboard weed barrier inside the frame before filling.
- Stick Gathering: Send little helpers on a backyard hunt to collect sticks and pine cones for the Hugelkultur base layer.
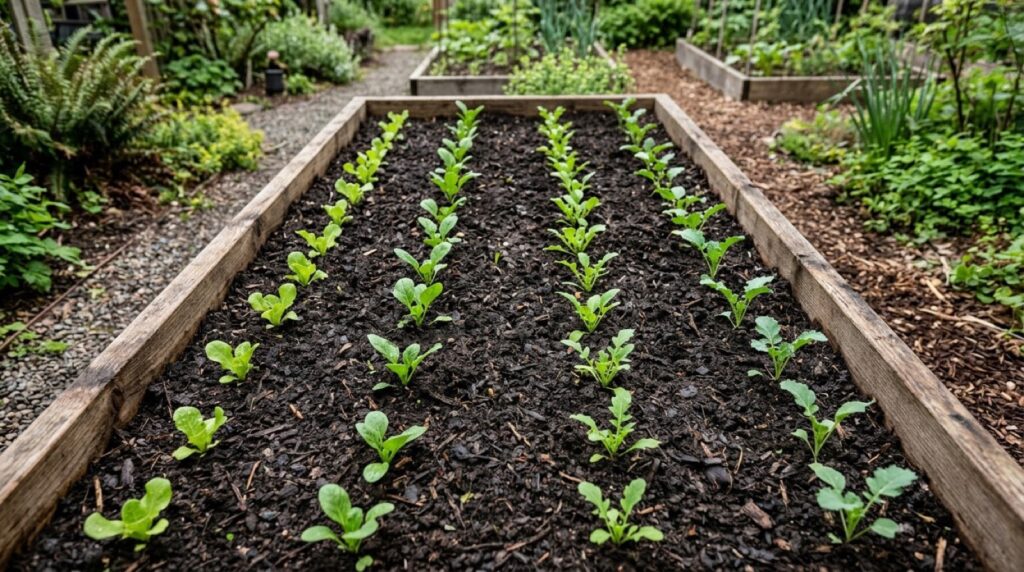
- Planting Seeds: Give children easy-to-handle seeds like sugar snap peas, bush beans, and sunflowers to plant in neat rows.
As you plan more outdoor family projects for the sunny months ahead, take a look at our favorite summer backyard DIYs to boost your outdoor space.
Total Cost Breakdown: DIY vs. Store-Bought Kits
Here is an honest cost comparison between building your own 4×8 raised bed using untreated pine versus cedar lumber. Actual prices will vary slightly by region and local retailer.
| Material Item | Pine Budget Build | Cedar Premium Build | Money-Saving Notes |
|---|---|---|---|
| Frame Lumber (Three 2x10x8 boards) | $42.00 – $54.00 | $110.00 – $145.00 | Choose straight boards with minimal knots and no deep warps. |
| Corner Cleats (One 2x4x8 board) | $4.50 – $6.50 | $12.00 – $16.00 | Repurpose leftover scrap 2×4 or 4×4 pieces if you have them. |
| Exterior Deck Screws (3-inch box) | $7.50 – $9.50 | $7.50 – $9.50 | Star-drive coated screws prevent stripped heads during driving. |
| 1/2-Inch Galvanized Hardware Cloth | $15.00 – $19.00 | $15.00 – $19.00 | Essential barrier to keep burrowing rodents from eating roots. |
| Cardboard Barrier and Hugelkultur Base | $0.00 (Free) | $0.00 (Free) | Use shipping boxes and yard branches instead of store fabric. |
| Topsoil, Compost, and Coco Coir Fill | $32.00 – $46.00 | $32.00 – $46.00 | Buy soil amendments in bulk or split a scoop with a neighbor. |
| Total Estimated Cost Per Bed | $101.00 – $135.00 | $176.50 – $235.50 | Saves $100 to $200 compared to pre-made cedar kits with soil! |
Building your own bed with untreated pine and filling it with Hugelkultur layers keeps your total cost around $100 to $135, including all wood, screws, wire mesh, and organic soil. In contrast, pre-assembled 4×8 cedar kits often cost $200 or more before adding any dirt.
Our Top 10 Picks for Building and Filling Raised Garden Beds
Here are our top 10 recommended supplies, tools, and organic amendments to make your garden build fast, durable, and budget-friendly.
- Untreated 2x10x8 Construction Lumber: Sturdy 2-inch thick untreated Douglas fir or pine provides excellent wall strength and a generous 9.25-inch soil depth for deep vegetable roots. Typical price range: $12.00 to $18.00 per board.
- Coated Exterior Deck Screws (3-Inch): Ceramic-coated star-drive wood screws resist exterior rust and prevent stripped heads when fastening thick corners. Typical price range: $8.00 to $12.00 per 1 lb box.
- Cordless Drill and Driver Kit: A dependable cordless power drill makes pre-drilling pilot holes and driving 3-inch exterior screws fast and effortless. Typical price range: $59.00 to $129.00.
- Aluminum Rafter Speed Square: An essential 7-inch square allows you to quickly mark straight 90-degree cut lines and verify that all frame corners are square. Typical price range: $9.00 to $15.00.
- Galvanized Hardware Cloth (1/2-Inch Mesh): Heavy-duty galvanized wire mesh creates an impenetrable barrier across the bottom to keep gophers and moles out of your garden. Typical price range: $16.00 to $28.00 per roll.
- Heavy Duty Hand Staple Gun: A sturdy manual staple gun drives heavy galvanized staples into wood frames to secure wire mesh and cardboard quickly. Typical price range: $18.00 to $26.00.
- Organic Garden Compost: Rich organic compost supplies slow-release plant nutrients, beneficial microbes, and moisture retention for healthy seedling growth. Typical price range: $6.00 to $12.00 per 1.5 cu ft bag.
- Compressed Organic Coco Coir Block: An eco-friendly peat moss alternative that expands in water to lighten heavy soils and retain moisture during hot summer weather. Typical price range: $12.00 to $19.00 per block.
- Adjustable Garden Hose Spray Nozzle: An ergonomic spray nozzle with gentle shower and mist settings waters delicate young seedlings without washing away topsoil. Typical price range: $14.00 to $22.00.
- Kids Garden Hand Tool Set: Sturdy, colorful hand trowels and watering cans let little family helpers assist safely with soil filling and seedling planting. Typical price range: $12.00 to $20.00.
Frequently Asked Questions
What is the cheapest wood to use for raised garden beds?
The most budget-friendly lumber is standard 2-inch untreated construction pine, spruce, or Douglas fir. While pine does not have the natural rot resistance of cedar, 2-inch thick boards will reliably last 4 to 7 years in most backyard climates at a fraction of the cost.
How deep should a raised garden bed be for vegetables?
A depth of 10 to 12 inches is ideal for almost all backyard crops, including tomatoes, peppers, carrots, squash, and leafy greens. Using standard 2×10 lumber provides 9.25 inches of planting depth, giving roots ample room to thrive while keeping soil fill costs manageable.
Do I need to put anything at the bottom of my raised garden bed?
Yes, lining the bottom is highly recommended. Staple 1/2-inch galvanized hardware cloth to the base if you have burrowing gophers or moles, and add two layers of plain cardboard over the ground to smother weeds and turf. The cardboard breaks down naturally into organic matter.
How do I calculate how much soil I need for a 4×8 raised bed?
Multiply length by width by depth in feet. For a 4-foot by 8-foot bed that is 1 foot deep, you need 32 cubic feet of soil (4 × 8 × 1 = 32). If you use the Hugelkultur method and fill the bottom 4 inches with yard branches and leaves, you only need about 20 to 22 cubic feet of soil mix.
Should I stain or seal the wood on my raised garden beds?
For edible vegetable gardens, it is best to leave the interior wood raw or seal it with a non-toxic natural oil like raw linseed oil. Avoid standard chemical deck stains on the inside walls where compounds could leach into soil. You can paint the outside exterior with non-toxic exterior latex paint for decoration.
Bringing It All Together for a Thriving Spring Garden
Building your own raised garden boxes is a deeply rewarding weekend project that sets your family up for fresh homegrown vegetables all season long. With three boards of lumber, a handful of deck screws, and an afternoon of effort, you can transform an empty yard into a thriving food garden.
There is nothing quite like watching your children harvest crisp sugar snap peas and sweet cherry tomatoes that they helped plant themselves. Grab your tools, pick a sunny weekend spot, and get planting. Let me know in the comments what you plan to grow in your garden this year!