
How I Built a Kitchen Island from Stock Cabinets (Without Losing My Mind)
Let me tell you about the time I tried to build a kitchen island from stock cabinets. I had this vision of a beautiful, functional centerpiece that would finally give me the extra counter space I’d been dreaming of. What I didn’t have was a clear plan for how to actually make it happen without spending a fortune or ending up with something that looked like it belonged in a college dorm.
After several false starts (and one particularly embarrassing trip to the hardware store where I had to admit I didn’t know the difference between a pocket hole and a pocket square), I figured it out. The key? Using affordable, ready-to-assemble stock cabinets from places like Ikea and my local home improvement store. These standard units might not look like much at first, but with some careful planning and a little elbow grease, they can become the heart of your kitchen.
This isn’t some magical transformation,it’s a practical project that anyone with basic DIY skills can tackle. I’m not claiming to be a professional carpenter (my husband still teases me about the time I mixed up the measurements for our bookshelf and ended up with a wonky lean), but I can promise you that with the right approach, you can build something you’ll be proud of. And the best part? You’ll save a ton of money compared to custom cabinetry.
In this guide, I’ll walk you through exactly how I did it,from sizing and design to construction and those little finishing touches that make all the difference. We’ll talk about modifying standard base cabinets to create a freestanding island, how to plan for electrical needs, and why traffic flow is more important than you might think. By the end, you’ll have the confidence to tackle this project yourself, and you’ll end up with a kitchen island that actually fits your space and your style.
Oh, and one more thing,if you’re anything like me, you’ll want to spruce up the rest of your kitchen while you’re at it. A fresh coat of paint or some new hardware can make a world of difference!
Why I Chose Stock Cabinets (And Why You Should Too)
I’ll be honest,I was skeptical at first. Could something as simple as stock cabinets really give me that high-end look I wanted? Turns out, the answer is a resounding yes. The secret? Getting creative with how you combine and customize them.
I started by browsing the selection at my local Home Depot and Lowe’s, and even ordered a few pieces from Ikea for their sleek, modern look. The best part? These cabinets come in consistent sizes that work together seamlessly. Standard base units are typically 24 inches deep, while upper cabinets are usually 15 inches deep. By combining these different depths, you can create a custom configuration that fits your space perfectly.
One of the biggest advantages of this approach? Flexibility. You’re not stuck with pre-set dimensions. Instead, you can build exactly what your kitchen needs. And let me tell you, that was a game-changer for me. My kitchen has an odd nook near the entrance, and I was able to design the island to fit snugly into that space without wasting any room.
But here’s the real kicker,the cost savings. Building with stock cabinets can cut your expenses by half compared to custom work. And you still get premium features like soft-close mechanisms and smooth-sliding drawers. Plus, you have complete control over the final design. I chose door styles that matched the rest of my kitchen and selected drawer configurations that fit my storage needs perfectly. The result? A truly personalized island that looks like it was custom-made for my space.
If you’re anything like I was, you might be worried about the learning curve. But trust me, it’s easier than you think. I made my fair share of mistakes (like the time I forgot to account for the thickness of the countertop and ended up with a gap that was way too small), but each one taught me something valuable. And now? I’m proud to say that my kitchen island is one of my favorite DIY projects ever.
Planning Your Kitchen Island: Where I Went Wrong (And How You Can Avoid It)
Let me save you some headaches right now,planning is everything. I learned this the hard way when I rushed into my first attempt and ended up with an island that was just a little too big for my kitchen. It wasn’t a disaster, but it was a pain to maneuver around, and I had to do some creative rearranging to make it work.
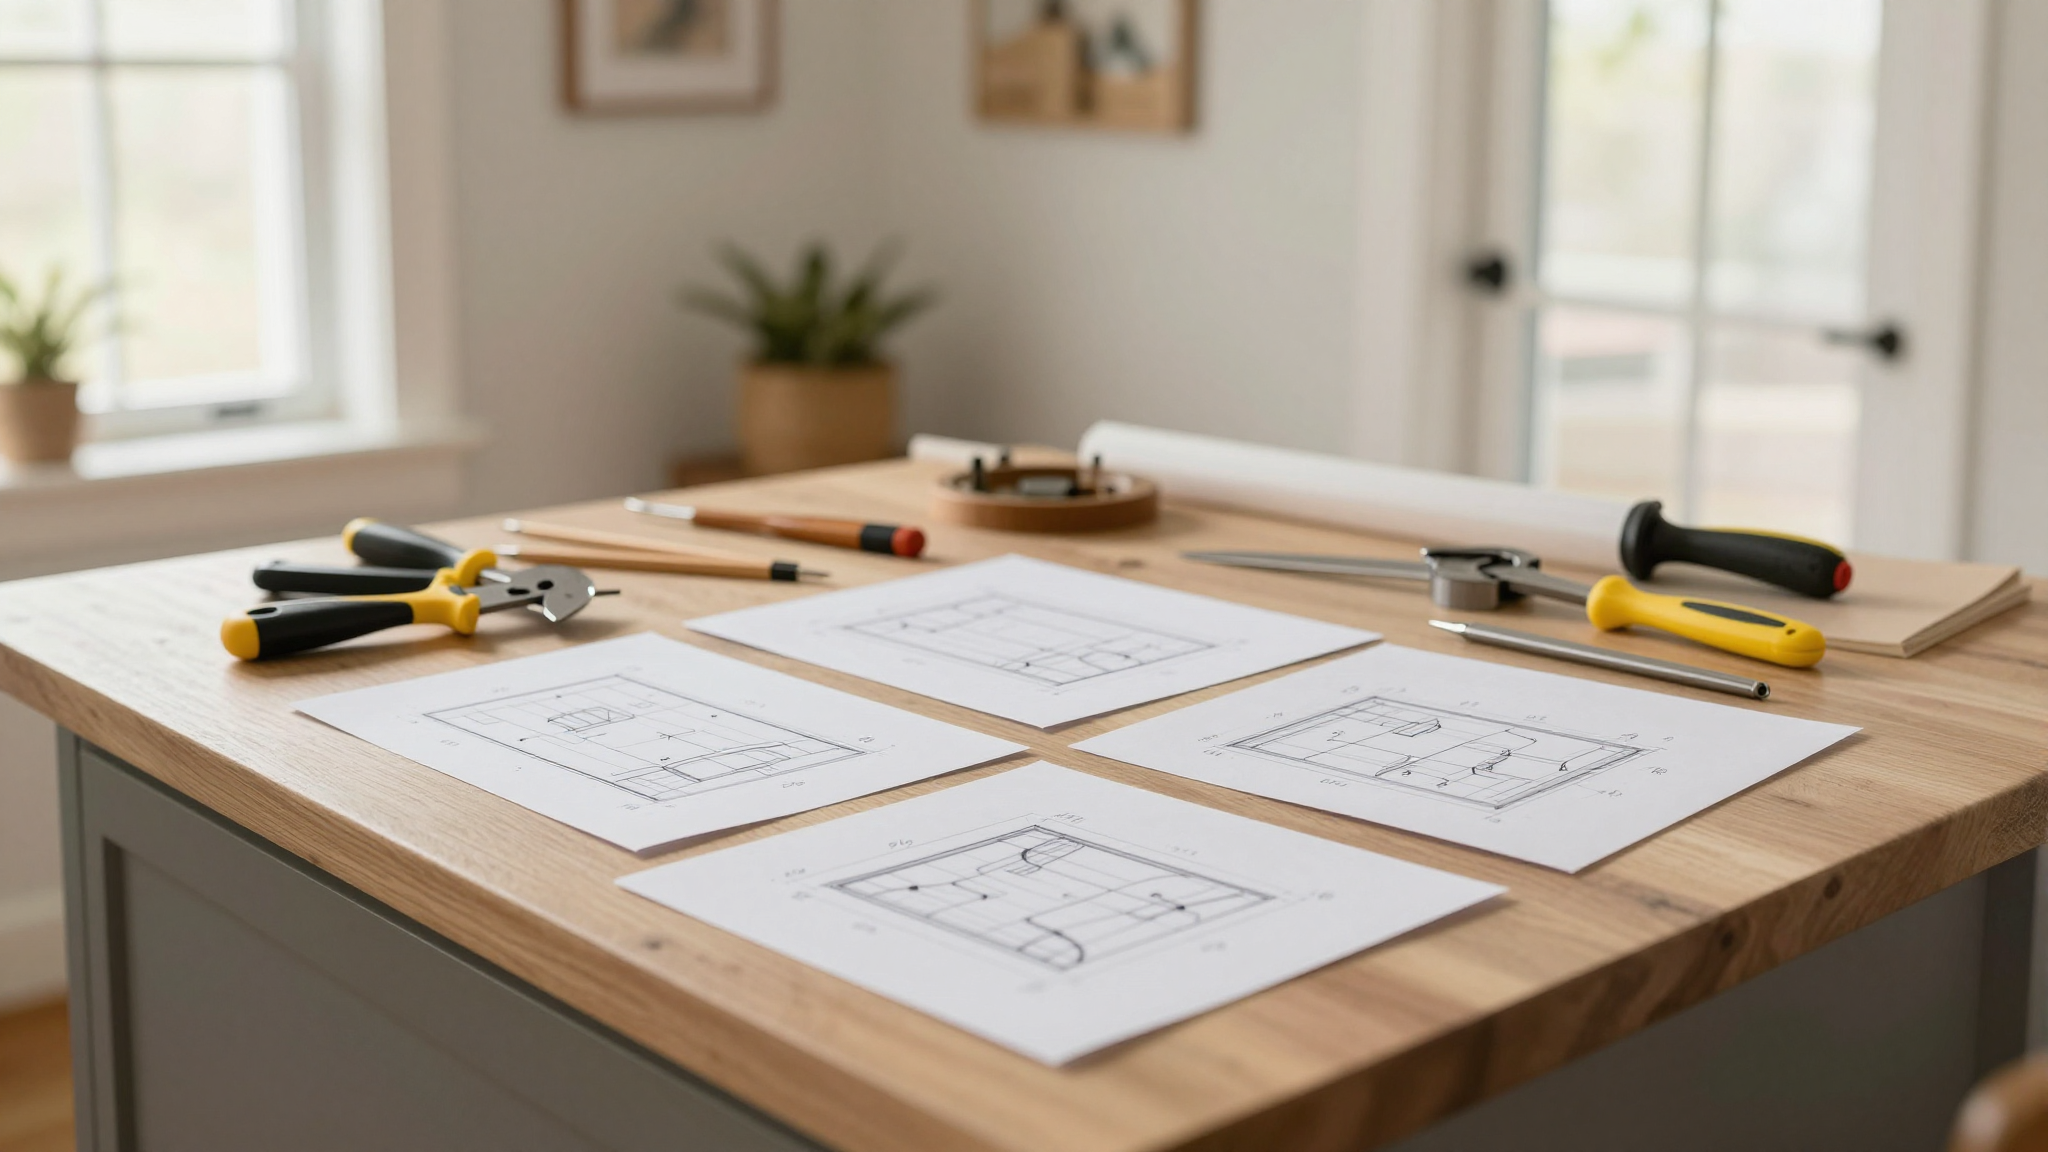
So, before you even think about buying cabinets, grab a notebook (or your phone’s notes app,no judgment here) and start planning. Here’s what I wish I’d known from the beginning:
Measuring Your Space (And Why You Should Do It Twice)
The first step is to measure your kitchen carefully. I measured once, thought I had it, and then measured again,only to realize I’d misjudged by a good six inches. Always measure twice, cut once, right? Well, in this case, it was more like measure three times to avoid a headache.
When you’re measuring, make sure to leave enough space for walking around the island. I like to have at least 36 to 42 inches of clearance on all sides. This gives me room to move comfortably, especially when I’m cooking with my kids “helping” (read: making a mess).
You’ll also want to think about traffic flow. If multiple people are in the kitchen at once, you’ll need extra clearance space. And don’t forget about appliance door clearance! Nothing is more frustrating than realizing your fridge door won’t open all the way because the island is in the way.
Pro tip: If you’re working with an existing floor, check to see if it extends under where you plan to place the island. If not, you’ll need to account for that in your design. I had to adjust my plans when I realized my vinyl plank flooring didn’t extend far enough, and I ended up adding a small rug to cover the gap. It worked out, but it’s something to think about ahead of time.
Budgeting Like a Pro (Or at Least Like Someone Who Learned the Hard Way)
One of the biggest mistakes I made was underestimating the cost of materials. I thought I had a solid budget, but then I realized I’d forgotten to account for things like countertop materials, hardware, and electrical work. Suddenly, my “affordable” project wasn’t looking so budget-friendly anymore.
Here’s what I recommend:
- Countertop materials: This is where you can really save (or spend a lot). I went with a butcher block countertop because it was affordable and gave my kitchen a warm, rustic feel. If you want something more durable, quartz or granite are great options, but they’ll cost more. Just be aware that larger surfaces might require custom fabrication or seams, which can add to the price.
- Hardware: Don’t skimp on this! I learned the hard way that cheap hardware can make your island look cheap, no matter how nice the cabinets are. I ended up replacing the knobs and pulls I initially bought with higher-quality ones, and it made a huge difference.
- Electrical work: If you’re adding outlets or a light, make sure to factor in the cost of an electrician. I tried to DIY the electrical part of my project and quickly realized it was over my head. Hiring a pro saved me a lot of stress (and a potential fire hazard).
As for the timeline, I’d recommend setting aside 2-4 weekends, depending on how complex your design is. I thought I could knock it out in a weekend, but between measuring, building, and troubleshooting (see: the time I accidentally drilled a hole in the wrong place), it took me a little longer than I expected. Order your materials early, too,delays happen, and you don’t want to be stuck waiting for a shipment.
Oh, and one more thing: check your local electrical codes. I had to redo part of my wiring because I didn’t realize there were specific requirements for outlet placements in kitchens. It was a pain, but it’s better to do it right the first time.
Designing Your Island: Where Form Meets Function (And How to Get It Right)
This is where the fun really starts,designing your island to be both beautiful and functional. I spent hours sketching out different configurations, only to realize that some of my ideas just wouldn’t work in my space. But that’s okay! Trial and error is part of the process.
Cabinet Configuration: The Art of Symmetry (And Why It Matters)
One of the biggest lessons I learned was the importance of symmetry. I wanted my island to look intentional, not like a hodgepodge of cabinets thrown together. To achieve that, I made sure to place matching cabinet sizes on either side of central features like the sink. This created a balanced look that made the whole island feel cohesive.
I also used filler strips strategically to fine-tune the overall length. These little strips helped me achieve perfect spacing between units and even created space for electrical outlets. They’re a small detail, but they make a big difference in the final look.
When it comes to storage, I found that drawers are so much more practical than door cabinets. With drawers, you can see everything at a glance, and you don’t have to kneel down to dig around in the back. I placed drawer banks on the front-facing side of the island, where I’d be working most often, and used door cabinets for less-frequent storage needs on the back side.
If you’re anything like me, you’ll want to mix things up a bit. I combined drawer banks with door cabinets to create a layout that was both functional and visually interesting. And don’t forget about small details like flush-mounted toe kicks,they give your island that built-in look and hide any unsightly gaps.
Choosing Your Countertop: Where Practicality Meets Aesthetics
This was one of the hardest decisions I had to make. I wanted something that looked beautiful but was also durable enough to handle daily use (and the occasional spilled glass of wine). After a lot of research, I settled on a butcher block countertop. It gave my kitchen a warm, rustic feel and was a lot more affordable than quartz or granite.
If you’re going with a butcher block, I highly recommend sealing it properly. I made the mistake of skipping this step at first, and my countertop started to stain after just a few months. A little oil and elbow grease fixed it, but it was a lesson learned.
When it comes to overhang, I went with a 14 to 15-inch overhang on the side where I wanted seating. This gave me enough room for bar stools without blocking access to the cabinet doors. If you’re planning to use the island for dining, make sure to leave enough space for people to sit comfortably without feeling cramped.
One thing to keep in mind: if you’re going with a large countertop, you might need to consider seams. I was lucky enough to find a butcher block that came in one large piece, but if you’re working with something like quartz or granite, you might need to plan for a seam. It’s not a big deal,just make sure it’s in a spot where it won’t be too noticeable.
Building Your Island: The Step-by-Step Process (And What I Learned Along the Way)
Now for the fun part,actually building your island! This is where all your planning pays off, and you get to see your vision come to life. But fair warning: it’s not always smooth sailing. I had my fair share of hiccups (like the time I realized I’d forgotten to account for the thickness of the countertop and had to adjust my frame), but it all worked out in the end.
Building a Sturdy Base: The Foundation of Your Island
The first step is to build a solid wood frame that matches the footprint of your combined cabinets. I used 3/4-inch plywood for the base because it’s sturdy and affordable. I also added vertical supports where the cabinet seams would meet,this was a game-changer for stability.
Here’s where I made a mistake: I didn’t level the base properly at first. I thought it looked fine, but when I went to attach the cabinets, I realized it was slightly crooked. I had to take everything apart and start over, using shims to ensure perfect alignment. Lesson learned: leveling is everything. If your base isn’t level, your entire island will be off, and it’ll be a pain to fix later.
Once the base was level, I secured it to the floor with screws. This was a crucial step,I didn’t want my island wobbling every time someone leaned on it. Then I positioned the cabinets on top and fastened them to the base, making sure to connect adjacent units together. I used a Kreg Jig for pocket hole joinery, which made the connections strong and nearly invisible.
Toe Kicks and Finishing Edges: The Little Details That Make a Big Difference
Toe kicks are one of those small details that make a huge difference in the final look. They hide the underlying structure and give your island a polished, built-in appearance. I attached them with glue and small nails to keep the fasteners as invisible as possible.
For the finishing edges, I used pre-finished plywood panels to cover the exposed sides. They matched the cabinets perfectly and gave the whole island a cohesive look. If you’re going for a more custom look, you can order custom panels, but I found that the pre-finished ones worked just fine for my project.
One thing I didn’t do at first (and regretted later) was leave a small gap between back-to-back cabinet rows. This gap is essential for running electrical wiring without having to drill through the cabinet backs. I ended up having to adjust my wiring plan, which was a bit of a hassle. If you’re planning to add outlets or lighting, make sure to leave that space!
And here’s a tip I wish I’d known sooner: check your level and square frequently. It’s so much easier to make adjustments early on than it is to fix things later. I learned this the hard way when I realized one of my cabinet doors wasn’t closing properly because the frame was slightly out of square. A few adjustments with my favorite level fixed it, but it was a pain I could have avoided.
Joinery and Finishing: Where the Magic Happens
This is where your island starts to look like a professional build instead of a DIY project. The joinery techniques you use will determine both the strength and appearance of your final product. And let me tell you, I was very glad I took the time to do this part right.
Pocket Hole Joinery: My Secret Weapon for Strong, Clean Connections
I can’t recommend pocket hole joinery enough. It’s one of the easiest ways to create strong, clean connections without visible fasteners. I used a Kreg Jig to create precise holes, and then I joined the wood pieces with pocket hole screws and wood glue. The result? A frame that was both sturdy and looked like it belonged in a high-end kitchen.
If you’re new to pocket hole joinery, don’t worry,it’s easier than it sounds. I was a little nervous at first, but after a few practice runs, I got the hang of it. Just make sure to use the right screws and wood glue for maximum strength. And if you’re working with plywood, like I did, make sure to pre-drill your holes to avoid splitting the wood.
Integrating Wood, Plywood, and Trim: The Finishing Touches
When it comes to materials, I found that 3/4-inch plywood is perfect for the main structural elements. It’s sturdy, affordable, and easy to work with. For the back panels, I used 1/4-inch plywood, which was thin enough to fit in the tight spaces but still strong enough to do the job.
One of the biggest lessons I learned was to measure carefully and cut as I went. I thought I could measure everything first and then cut all the pieces at once, but that led to some frustrating mismatches. Instead, I measured and cut each piece as I built, and that made a huge difference in the final fit.
Trim pieces are what really elevate the look of your island. They hide seams, create clean edges, and give your project that custom, built-in appearance. I used simple wood strips for the sides and ends, and I was amazed at how much of a difference they made. Just make sure to attach them securely,nothing is more frustrating than trim that comes loose after a few months.
And here’s a pro tip: if you’re painting your cabinets, make sure to fill any nail holes and sand everything smooth before you start. I skipped this step at first and ended up with a less-than-perfect finish. A little extra time spent on prep work saved me a lot of headaches later.
Optimizing Functionality: Making Sure Your Island Works as Hard as It Looks
Now that the structure is in place, it’s time to think about functionality. A beautiful island is great, but a beautiful and functional island? That’s the goal. I wanted my island to be more than just a pretty face,I wanted it to actually make my life easier.
Drawers vs. Doors: The Storage Showdown
This was one of the biggest decisions I had to make: drawers or doors? At first, I thought doors would be fine, but then I realized how much easier drawers would be for daily use. With drawers, I can see everything at a glance, and I don’t have to kneel down to dig around in the back. It’s a small thing, but it makes a huge difference in my workflow.
I placed the drawer banks on the front-facing side of the island, where I’d be working most often. This is where I keep my most-used items like utensils, pots, and pans. The back side has door cabinets for less-frequent storage needs, like my slow cooker and extra baking sheets.
Symmetry is key here. I made sure to mirror the cabinet configurations on either side of the sink to create a balanced look. It’s one of those little details that makes the whole island feel intentional and well-planned.
And don’t forget about the small details! Flush-mounted toe kicks give your island that built-in look, and quality hardware elevates the entire design. I splurged on some nice knobs and pulls, and it was worth it,they make the whole island look more polished.
One thing I wish I’d done differently? I didn’t take enough time with the final touches. I rushed through filling the nail holes and sanding, and it showed in the finish. If I could do it over, I’d spend a little extra time on those details. They make a big difference in the final look!
Integrating Appliances and Custom Features: The Final Touches
This is where your island really comes to life. Adding appliances and custom features turns it from a pretty piece of furniture into a functional hub for your kitchen. But here’s where I made a few mistakes that I want to save you from.
Planning for Outlets, Sinks, and Microwaves: Where Electrical Codes Come In
First things first: check your local electrical codes. I learned this the hard way when I had to redo part of my wiring because I didn’t realize there were specific requirements for outlet placements in kitchens. It was a pain, but it’s better to do it right the first time.
I ended up installing outlets in the front face of the island, which made them accessible without compromising the look of the end panels. If you’re adding a sink, make sure to choose the right base cabinet first,standard sizes are typically 30 or 36 inches wide. And don’t forget to plan for plumbing access! I had to adjust my design when I realized my plumbing wouldn’t reach where I’d initially planned to put the sink.
If you’re adding a microwave, make sure to account for the cabinet opening dimensions. I went with an under-counter microwave, and I had to adjust the height of the cabinet to make sure it fit properly. It’s a small detail, but it’s important to get it right.
Built-In Storage and Unique Elements: Thinking Outside the Cabinet
Filler strips aren’t just for spacing,they can also serve as the perfect spot for electrical boxes. I used them to hide the wiring for my outlets, and it worked like a charm. Plus, they helped me achieve the perfect length for my island.
I also added adjustable interior shelf brackets instead of permanent attachments. This was a game-changer because it allowed me to modify the storage as my needs changed. For example, I initially used the shelves for extra pots and pans, but now I’ve reconfigured them to hold my kids’ art supplies (which, let’s be honest, takes up a lot of space!).
If you’re feeling creative, you can add all sorts of custom features. I installed a pull-out trash bin, which has been a lifesaver. No more digging around in the cabinet for the trash can! I also added a spice drawer insert, which keeps my spices organized and easy to access. Even the bottom and back areas of the cabinets can include additional storage features,don’t waste that space!
Here’s a quick reference table for some of the features I added and how I planned for them:
| Feature Type | Planning Consideration | Best Placement | Special Requirements |
|---|---|---|---|
| Electrical Outlets | Check local codes for placement requirements | Front face or filler strips | GFCI protection required in kitchens |
| Sink Installation | Plan plumbing access routes early | 30-36 inch base cabinet | Water supply and drain lines |
| Built-in Microwave | Measure cabinet opening dimensions carefully | Under-counter position | Ventilation and clearance |
| Custom Storage | Use adjustable shelving for flexibility | Interior cabinet space | Bracket system for easy adjustments |
One thing I didn’t do at first (and wish I had) was plan for cutouts in the countertop. I added a small cutting board area later, and it was a bit of a hassle to cut the countertop after it was already installed. If you’re planning to add any special features like a sink or a built-in knife block, make sure to account for them in your countertop design from the beginning.
Final Thoughts (And What I’d Do Differently Next Time)
If you’ve made it this far, congratulations! You’re well on your way to building a kitchen island that you’ll love for years to come. And let me tell you, there’s nothing quite like the feeling of seeing your hard work pay off. When I first rolled my island into place, I was so proud of myself. Sure, it wasn’t perfect,I still laugh at the slightly crooked toe kick on one side,but it was mine, and it worked.
If I could go back and do it all over again, there are a few things I’d do differently:
- I’d take more time with the planning phase. I rushed through some of the measurements and ended up with a few headaches later. If you can, spend a weekend just sketching out your design and making sure everything fits before you start building.
- I’d invest in better tools upfront. I tried to save money by using cheap screws and basic hardware, but it showed in the final product. If you’re going to do this, do it right! A good Kreg Jig, some quality screws, and nice hardware will make a huge difference.
- I’d plan for the countertop cutouts from the beginning. I added a few features later, and it was a pain to cut the countertop after it was already installed. If you’re adding a sink or any other special features, make sure to account for them in your design from the start.
But here’s the thing: even with all the mistakes and hiccups, I wouldn’t change a thing. This project taught me so much, and I’m proud of what I created. Plus, my kitchen is so much more functional now. I have extra counter space for prepping meals, a place for the kids to do their homework (when they’re not driving me crazy), and even a spot for my coffee maker, which is basically the most important appliance in my house.
So, what are you waiting for? Grab your measuring tape, your favorite playlist, and let’s get building! And if you run into any snags (like I did), just remember: every expert was once a beginner. You’ve got this!
Oh, and if you’re looking for more DIY inspiration, check out my posts on adding charm to your home or upcycling furniture. Happy building!