
Mason Jar Crafts: Real Ways to Upcycle Glass (Without Looking Like a Pinterest Fail)
Let me tell you about the time I spent $20 on a “rustic farmhouse” candle holder at Target, only to realize my kitchen already had three identical ones collecting dust. That’s when I discovered the magic of mason jars – those humble glass containers that can transform from jam storage to home decor superstars with just a little creativity (and maybe some glitter).
I’ve turned my kitchen into a makeshift craft studio more times than I can count, and these jars have saved me from more than one DIY disaster. Whether you’re looking to add charm to your home or create thoughtful gifts, these projects are my go-to solutions for making something beautiful from what you already have.
Here’s the thing about mason jar crafts: they’re not about perfection. They’re about personality. That lopsided painted jar? It’s got character. The one with the slightly crooked ribbon? That’s what makes it special. And if you’re anything like me, you’ll find yourself collecting jars like they’re going out of style – because they’re not just containers, they’re blank canvases waiting for your personal touch.
So let’s get started. I’ll share the projects that have worked for me (and the ones that didn’t), the tools I swear by, and how to make your creations look like they belong in a magazine – even if your crafting space is currently your kitchen table covered in newspaper.
Why I Love Mason Jar Crafts (And You Will Too)
I first fell in love with mason jar crafts when I was trying to decorate our first apartment on a shoestring budget. We had exactly $50 to spend on decor, and I was determined to make it look like we’d spent $500. That’s when I discovered the magic of upcycling – turning everyday items into something special without breaking the bank.
What I love most about these projects is how they let you express your personality. That perfect Pinterest photo? It’s not about copying it exactly. It’s about taking the inspiration and making it your own. My first attempt at a painted jar ended up looking more like modern art than farmhouse chic, but you know what? I loved it. It had character. It had me all over it.
And here’s a secret: mason jar crafts are my go-to when I need a quick mood booster. There’s something so satisfying about taking something ordinary and turning it into something beautiful. Plus, they make great gifts – because who doesn’t love a handmade present?
I’ve made everything from herb gardens to snow globes, and each project has taught me something new. Like that time I learned the hard way that not all paint sticks to glass (thanks, cheap craft store acrylic!). Or when I discovered that a little bit of glitter can turn even the most basic jar into something magical.
If you’re new to upcycling, don’t worry – I’ll walk you through everything. We’ll talk about the best tools to use (and which ones to avoid), how to find the perfect jars, and some of my favorite projects that have worked for me. And if you make a mistake? That’s okay. As I always tell my kids, “It’s not a mistake, it’s a happy little accident.”
My Essential Mason Jar Crafting Tools
Before we dive into projects, let me tell you about the tools I can’t live without. I’ve tried all the budget options, and while some work in a pinch, these are the ones that have saved me time and frustration:
- E6000 glue – This stuff is a game-changer. It dries clear, holds strong, and works on almost everything. I used it to attach decorations to my snow globes, and they’ve held up for years.
- Mod Podge – Perfect for sealing painted designs. I keep the matte finish on hand for a more rustic look and the glossy for something a little more polished.
- Precision paintbrushes – A set of small, high-quality brushes makes all the difference. I picked up a set from Amazon for under $15, and they’ve lasted me years.
- Sandpaper – You’d be surprised how much smoother glass feels after a quick sand with 220-grit paper. It helps the paint stick better too.
- Rubbing alcohol – My secret weapon for cleaning up mistakes. A little on a cotton ball, and suddenly that smudge is gone.
I also keep a stash of essential tools handy for when projects get a little more ambitious. Like that time I decided to drill holes in jars for hanging planters – let’s just say I learned the importance of a good drill bit the hard way!
Where to Find the Perfect Mason Jars
One of the best things about mason jar crafts is that you don’t need to buy anything new. In fact, some of my favorite jars have come from the most unexpected places.
I remember the first time I went thrifting specifically for jars. I found a beautiful vintage set at a local antique shop for just $3. They had the most amazing patina, and I knew they’d be perfect for a project I had in mind. That’s when I realized that the best jars often have a little history to them.
Here’s where I look for jars:
- Thrift stores – You’d be surprised what you can find. I once scored a set of blue glass jars that I turned into beautiful candle holders.
- Flea markets – Great for finding unique shapes and sizes. I picked up a set of tiny jars that I used to make mini snow globes.
- Your own kitchen – Before you buy anything, check what you already have. I’ve used everything from pasta sauce jars to pickles containers.
- Craft stores – If you need something specific, like a particular size or color, this is where to go. I always check the clearance section first.
- Online marketplaces – Etsy has some amazing vintage jars, but be sure to read the reviews. I learned that the hard way when I ordered a set that turned out to be smaller than expected.
Pro tip: Always check for cracks or chips before you start a project. I once spent an hour painting a jar, only to realize it had a hairline fracture. It’s a good lesson in inspecting your materials first!
New vs. Vintage Jars: What’s the Difference?
I get asked this all the time, so let me break it down for you. New jars are great for modern, clean designs, while vintage jars add character and history to your projects.
| Feature | New Jars | Vintage Finds |
|---|---|---|
| Cost | $1-$3 each (or free if you already have them!) | $0.50-$2 at thrift shops – sometimes even cheaper! |
| Character | Smooth, uniform glass – perfect for modern designs | Unique textures and patina that add history to your projects |
| Best For | Minimalist snow globes or geometric designs | Farmhouse-style planters or rustic decor |
I love using a mix of both in my projects. For example, I might use a new clear jar for a modern candle holder but pair it with a vintage lid I found at a thrift store. It’s all about balancing the old with the new!
Seasonal Mason Jar Crafts: Year-Round Inspiration
One of the things I love most about mason jar crafts is how they can change with the seasons. What I decorate in winter is totally different from what I do in summer, and that keeps things fresh and exciting.
Spring and Easter Crafts
Spring is all about fresh starts and new beginnings, and my jars reflect that. I love creating speckled egg lookalikes by flicking paint onto clean containers. It’s a fun, easy project that my kids love to help with (even if it does mean a little more cleanup!).
For Easter, I fill jars with faux grass and plastic eggs, then add a ribbon for a cute centerpiece. It’s simple, but it always gets compliments. I also like to make tiny terrariums with moss and tiny flowers – they’re like little worlds in a jar!
If you’re looking for more spring inspiration, check out my easy Easter crafts for the whole family. We’ve tried them all, and they’re perfect for a fun weekend project.
Summer Projects
Summer is all about light and brightness, and my jars reflect that. I love making lanterns with citronella oil and dried lavender. You can add LED string lights for a magical glow, and they’re perfect for keeping bugs away on a summer evening.
I also like to wrap jars in burlap or twine for a rustic look. It’s amazing how a simple wrap can transform a basic jar into something special. And if you’re hosting a summer party, these make beautiful drink holders or snack displays.
Fall and Winter Crafts
When the weather turns colder, I love making cozy winter projects. My favorite is creating snow globes with distilled water, glycerin, and tiny plastic figurines. It’s like capturing a little bit of winter magic in a jar!
For the holidays, I cluster LED-lit jars adorned with metallic ribbon and faux pine sprigs. They look amazing on the mantel or as part of a centerpiece. I also like to make holiday gifts by filling jars with cookies or hot cocoa mix and tying them with a pretty ribbon.
One year, I made a set of glitter-dipped candle holders that became the hit of my holiday party. They reflected the twinkling tree lights and added a touch of sparkle to the room. It’s amazing how a little glitter can transform something simple into something magical!
DIY Gifts and Home Decor: My Favorite Projects
If there’s one thing I’ve learned from making mason jar crafts, it’s that they make the perfect gifts. There’s something so special about giving someone a handmade present – it shows that you put thought and care into it.
Creative Savings Solutions
I love turning jars into functional decor. One of my favorites is making a coin bank. I spray paint the jar (I used a matte black for a modern look), add a rubber gasket lid, and then let my kids decorate it with stickers or markers. We’ve made everything from “Adventure Fund” banks to “College Savings” jars.
For a more decorative touch, I like to add hand-lettered labels. It’s a great way to personalize the jar and make it feel special. I use a good set of paint pens for crisp lettering, and then seal it with clear acrylic to protect it.
Atmospheric Lighting
Lighting is one of the easiest ways to transform a room, and jars make the perfect candle holders. I drilled small holes in the lid of a jar and filled the base with sand for a coastal look. Then I added a tea light, and it cast the most beautiful patterns on the wall.
If you’re not comfortable with drilling, no problem! You can create the same effect with battery-operated tea lights. They’re safer (no fire risk!) and just as pretty. I also like to use frosted glass spray for a soft, diffused glow.
For a more dramatic look, I cluster different sizes of jars together. I wrap some in lace or burlap, add dried flowers or colored sand, and it becomes an instant focal point. It’s amazing how a few simple touches can turn something ordinary into something extraordinary.
Unique Mason Jar Ideas You Haven’t Tried Yet
I’m always looking for new ways to upcycle my jars, and I’ve found some really unique ideas that I think you’ll love. These aren’t your typical painted jar projects – they’re a little more unexpected!
Innovative Craft Techniques
One of my favorite techniques is dipping jars in chalkboard paint. It’s so easy – just dip the jar in the paint, let it dry, and then you can write on it with chalk. I use mine for grocery lists, kids’ art, or even as a menu board for dinner parties.
I also love using concrete overlay for a modern look. It’s a little more advanced, but the results are worth it. I made a set of planters that look like they belong in a high-end boutique, not in my craft room!
Budget-Friendly Craft Projects
You don’t need to spend a lot to make something beautiful. Some of my favorite budget-friendly projects include:
- Wrapping jars in scrap fabric and securing with rubber bands, then spray-painting for a stenciled effect
- Using broken jewelry to create 3D designs on the lids
- Making tea light holders with dried citrus slices
I remember the first time I tried the fabric wrap technique. I had some old neckties that I didn’t wear anymore, and I thought, “Why not use them for a project?” I wrapped them around a jar, secured with a rubber band, and then spray-painted the whole thing. When I removed the fabric, I was left with a beautiful stenciled pattern. It was so easy and looked amazing!
Repurposing Jars for Festive Holiday Decor
The holidays are my favorite time to get creative with my jars. There’s something so magical about transforming simple glass into festive decor. And the best part? You can reuse these projects year after year!
Designing Christmas Centerpieces
One of my favorite holiday projects is creating snow globes. I fill a clean jar with distilled water and glycerin, add some plastic figurines (I like to use tiny trees or snowmen), and then seal the lid tightly. When I shake it, it looks like a little winter wonderland!
For a table centerpiece, I cluster several jars together. I fill them with faux snow, add some battery-operated fairy lights, and top them with metallic ribbon. It’s so easy, but it looks amazing on the dining table.
Holiday Party Jar Crafts
If you’re hosting a holiday party, jars are a great way to add a personal touch. I like to make drink holders by lining jars with lace doilies and adding a sprig of faux holly. They look so elegant and are perfect for holding wine glasses or champagne flutes.
For a fun activity with kids, we make “snow globes” using glycerin and plastic figurines. It’s a great way to keep them entertained while you’re cooking, and they love shaking their creations to see the “snow” fall.
One year, I made a set of glitter-dipped candle holders that became the talk of the party. I dipped the rims of the jars in silver glitter, let them dry, and then added battery-operated tea lights. They looked like they belonged in a fancy boutique, not in my craft room!
Creating Custom Jar Displays and Centerpieces
One of the things I love most about mason jar crafts is how they can be arranged to create beautiful displays. It’s not just about the individual jars – it’s about how they work together to make something special.
Arranging Jars for Visual Impact
I’ve learned a few tricks for arranging jars that make a big difference. First, I like to mix different heights and sizes. It creates visual interest and makes the display more dynamic. I also like to use odd numbers – three jars look better than two, and five look even better than three.
Lighting is another key element. I love adding battery-operated fairy lights to my displays. They cast a warm glow and make everything look cozy. I also like to use metallic accents – like painting the lids gold or silver – to reflect the light.
One of my favorite displays is a mix of jars filled with dried flowers, fairy lights, and a few personal touches. I add handwritten notes or small trinkets that have special meaning to me. It’s like creating a little story with each jar.
Styling Tips for Different Rooms
Jars can be styled to fit any room in your home. Here are a few of my favorite ideas:
- Kitchen: I love using jars for herb gardens or as utensil holders. I fill them with fresh herbs like basil, rosemary, and thyme, and they look beautiful on the windowsill. I also use them to organize cooking tools – wooden spoons, whisks, and measuring cups all have a home in my jar collection.
- Bathroom: Jars make great holders for cotton balls, Q-tips, or bath salts. I like to wrap them in twine or lace for a spa-like feel. I also use them to store makeup brushes or jewelry.
- Living Room: I arrange jars on bookshelves or the mantel for a cozy touch. I fill them with fairy lights, dried flowers, or even small succulents. It’s amazing how a few simple touches can transform a room.
I also like to rotate my displays with the seasons. In the summer, I use bright colors and fresh flowers. In the winter, I switch to warm tones and cozy textures. It’s a great way to keep your home feeling fresh and inviting!
Upcycling Tips: Vintage to Modern Mason Jar Techniques
One of the things I love most about mason jar crafts is how they can bridge the gap between vintage and modern styles. It’s all about finding the right balance and letting each piece tell its own story.
Vintage Charm and Modern Twists
I remember the first time I combined a vintage jar with a modern paint technique. I found an old, slightly chipped jar at a thrift store and decided to give it a modern makeover. I used a matte black spray paint to cover the chipped areas, then added geometric patterns with a paint pen. The result was a beautiful blend of old and new!
I also love using metallic accents to update vintage jars. A little gold or silver leafing can make an old jar look brand new. I’ve used this technique to create elegant candle holders, sophisticated vases, and even modern snow globes.
Enhancing Durability and Style
One of the things I’ve learned over the years is that durability is just as important as style. I want my creations to last, not just look pretty for a little while. That’s why I always use high-quality sealants and adhesives.
For outdoor projects, I use a weather-resistant sealant to protect against the elements. For indoor projects, I like to use a matte varnish to give a more finished look. And I always test my finishes on the bottom of the jar first – just in case!
I also like to use museum-grade wax for a more professional finish. It’s a little more expensive, but it’s worth it for projects that I want to last. I’ve used it on everything from snow globes to painted jars, and I’m always amazed at how it makes everything look so polished.
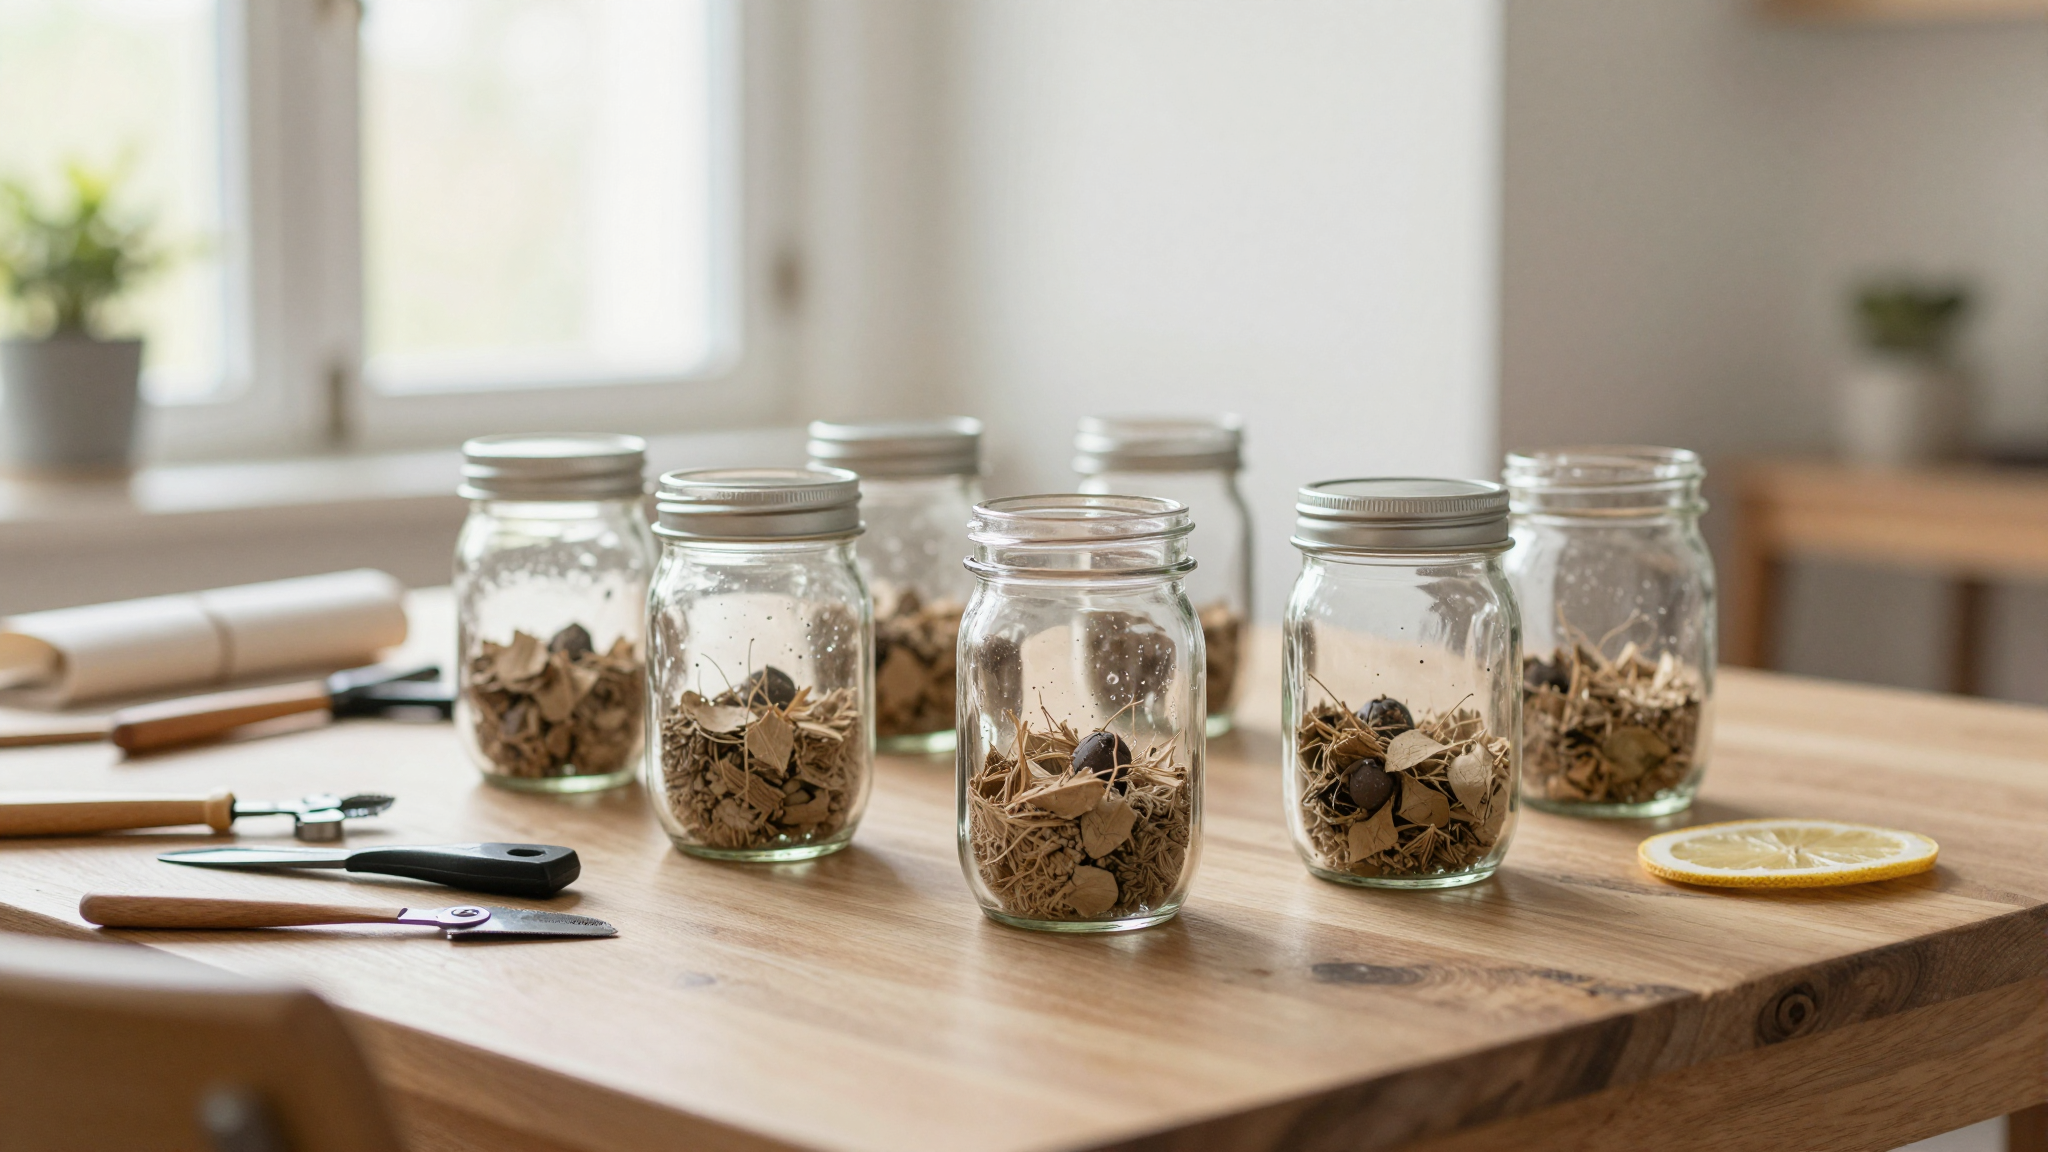
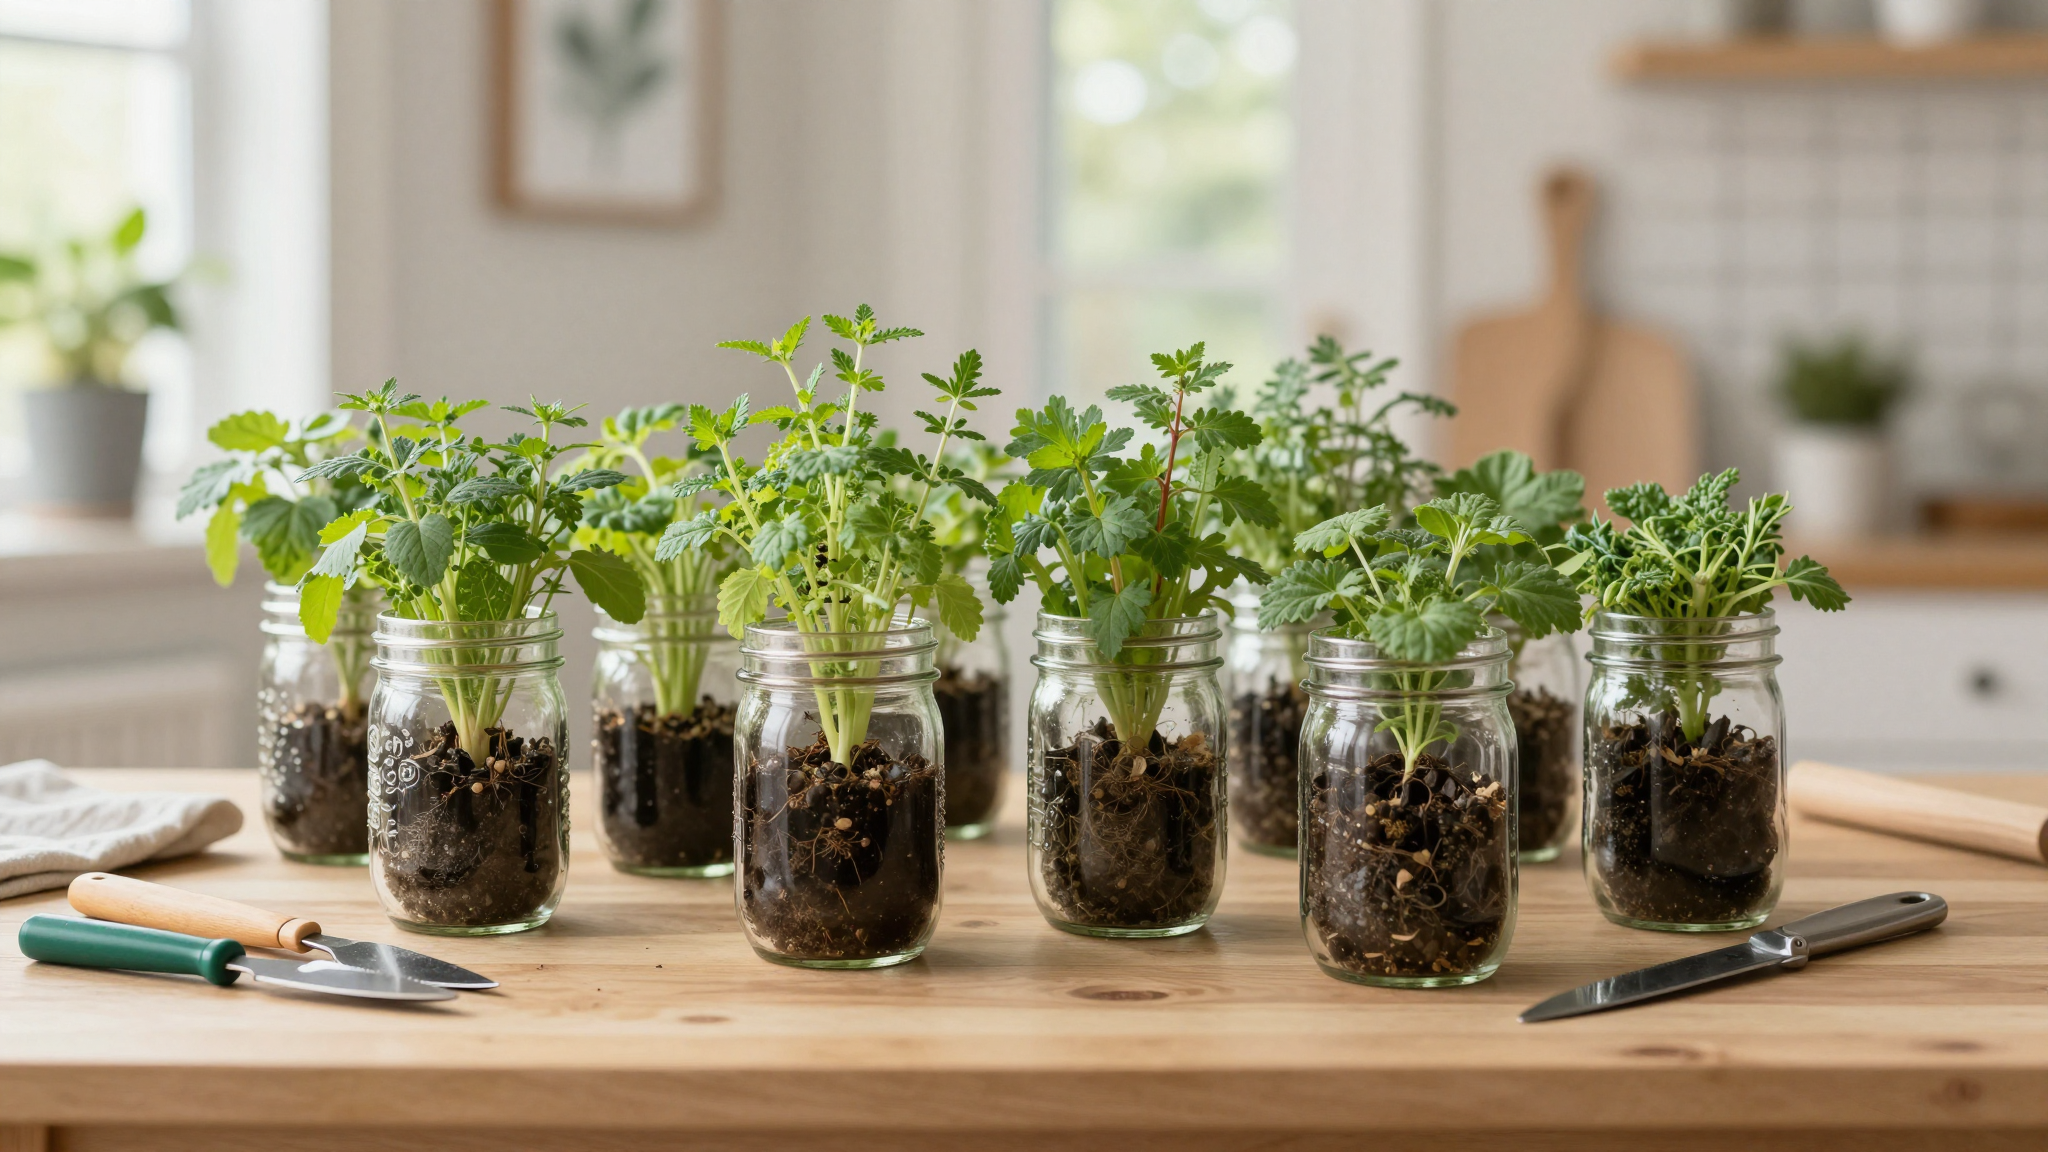
Creative Ideas for Indoor Herb Gardens Using Jars
One of my favorite ways to use mason jars is for indoor herb gardens. There’s something so satisfying about growing your own herbs, and jars make it easy to do it in even the smallest space.
Planting Techniques and Care Tips
I remember the first time I tried growing herbs in jars. I was a little nervous – would they actually grow? Would they stay alive? But I gave it a try, and I was amazed at how easy it was. Now, I have jars of herbs all over my kitchen!
Here are a few tips that have worked for me:
- Always use jars with drainage holes, or add a layer of pebbles at the bottom to prevent root rot.
- Use a good-quality potting soil mixed with perlite for airflow.
- Place your jars near a sunny window – most herbs need at least 6 hours of sunlight a day.
- Water sparingly – herbs like rosemary and thyme prefer drier soil, while basil and parsley like it a little more moist.
I like to label my jars with chalkboard paint or engraved tags. It’s a great way to personalize them and make them feel special. I also like to rotate my jars so that each herb gets equal sunlight. It’s amazing how a little care and attention can make all the difference!
One of my favorite herb garden projects is creating a “window farm.” I arrange several jars in a wooden frame and fill them with different herbs. It’s a great way to maximize space and create a beautiful display. Plus, it’s so satisfying to snip fresh herbs for cooking!
Unique Ways to Personalize Glass Jar Crafts
What I love most about mason jar crafts is how personal they can be. Each project is a reflection of your style, your personality, and your creativity. And the best part? There are so many ways to make each piece unique!
Custom Painting Methods
I’ve tried all kinds of painting techniques, and some of my favorites include:
- Sponging: I dip a natural sponge in paint and dab it onto the jar for a textured look. It’s perfect for creating a rustic, handmade feel.
- Stenciling: I use reusable stencils and secure them with spray adhesive. It’s amazing how a simple stencil can transform a basic jar into something special.
- Drip technique: I pour thinned paint along the rim of the jar and let it drip down. It creates a beautiful, organic look that’s perfect for a boho-style project.
I always seal my painted designs with a matte varnish. It protects against scratches and gives a more finished look. I also like to use metallic waxes on the edges for a little extra sparkle.
Engraving and Embellishment Ideas
Engraving is another great way to personalize your jars. I use etching cream to create frosted designs, like monograms or simple patterns. It’s so easy – just apply the cream through a stencil, let it sit for a few minutes, then rinse off. The result is a beautiful, professional-looking design!
For 3D effects, I like to add beads, twine, or even vintage buttons. I use E6000 glue to secure them in place, and it holds strong. I’ve created everything from geometric patterns to floral designs using these techniques.
One of my favorite projects was a set of jars I decorated for a wedding. I engraved each one with the couple’s initials and added a ribbon in their wedding colors. They made beautiful favors, and the bride loved them!
Mason Jar Crafts for Kids and Family Projects
One of the best things about mason jar crafts is that they’re perfect for kids. They’re safe, easy, and fun – and they make great gifts too! I’ve done so many projects with my kids, and they always love the results.
Easy Crafts for Beginners
If you’re looking for simple, kid-friendly projects, here are a few of my favorites:
- Glitter lanterns: Coat the inside of a jar with glue, swirl glitter, and add a battery-operated tea light. It’s so easy, and the kids love shaking the glitter!
- Memory jars: Fill a jar with small treasures – seashells, rocks, or even little notes. It’s a great way to capture memories and create a keepsake.
- Snack stations: Fill jars with colorful candies or popcorn and tie a ribbon around the top. They make great party favors or treats for friends.
I remember the first time we made glitter lanterns. My kids were so excited to see the glitter swirl around when they shook the jar. And the best part? They still use them in their rooms to create a cozy glow.
Fun Projects for Family Bonding
One of my favorite family projects is building a mini terrarium. We layer pebbles, soil, and moss, then add tiny plants or figurines. It’s amazing how a little creativity can turn a simple jar into a tiny world!
Here’s how we do it:
- Layer pebbles at the bottom for drainage.
- Add a layer of soil and press it down gently.
- Plant small succulents or air plants.
- Add decorative elements like tiny figurines or fairy lights.
- Cover the top with a piece of mesh or lace for a finished look.
We’ve made everything from fairy gardens to underwater scenes. The possibilities are endless, and it’s a great way to spend quality time together.
Troubleshooting Common Upcycling Challenges
Even the best-laid plans can go wrong sometimes. That’s why I always keep a few troubleshooting tips up my sleeve. Here are some of the most common challenges I’ve faced – and how I fixed them!
Overcoming Design Obstacles
One of the biggest challenges I’ve faced is getting paint to stick to glass. I’ve tried everything from cheap craft store acrylic to expensive artist paints, and I’ve learned that not all paints are created equal. My solution? Always use a good-quality paint and sand the glass lightly before painting. It makes all the difference!
Another common issue is foggy glue residue. I’ve had this happen more times than I can count, especially when I’m using clear glue. My trick? Always test your glue on the bottom of the jar first. If it leaves a residue, switch to a different type.
I’ve also had problems with paint chipping. To fix this, I always seal my designs with a matte varnish. It protects against scratches and gives a more professional finish. And if the paint does chip, I just touch it up with a little more paint and seal it again.
Quick Fixes for Common Problems
Here are a few more quick fixes for common upcycling challenges:
- Uneven textures: Use chalk paint for a matte, even finish. It’s perfect for covering up imperfections.
- Mismatched lids: Wrap twine around the neck of the jar and secure with hot glue. It’s a great way to hide mismatched lids and add a rustic touch.
- Faint scratches: Fill them with glitter or beads for a textured look. It’s a great way to turn a flaw into a feature!
I remember the first time I had a paint mishap. I was trying to create a geometric design on a jar, and it ended up looking more like modern art than farmhouse chic. Instead of starting over, I embraced the “happy accident” and turned it into a one-of-a-kind piece. It’s now one of my favorite jars!
Final Thoughts and Actionable Tips
Mason jar crafts have become a staple in my home, and I hope they’ll become a favorite for you too. They’re a great way to express your creativity, add personal touches to your decor, and even create thoughtful gifts for friends and family.
Here are a few final tips to get you started:
- Start with what you have. Don’t go out and buy a bunch of new jars – check your kitchen first!
- Embrace imperfections. They’re what make handmade projects special.
- Experiment with different techniques. Try painting, engraving, or embellishing – there are so many ways to personalize your jars.
- Have fun! The best part of crafting is the joy it brings. Don’t worry about making mistakes – they’re just part of the process.
If you’re looking for more inspiration, check out my 5 DIY projects to instantly add charm to your home. They’re all easy, budget-friendly, and perfect for beginners!
Now, grab a jar and let your creativity flow. Who knows? You might just create something amazing!