
Handmade Soap: My Beginner-Friendly Recipes (and What I Learned the Hard Way)
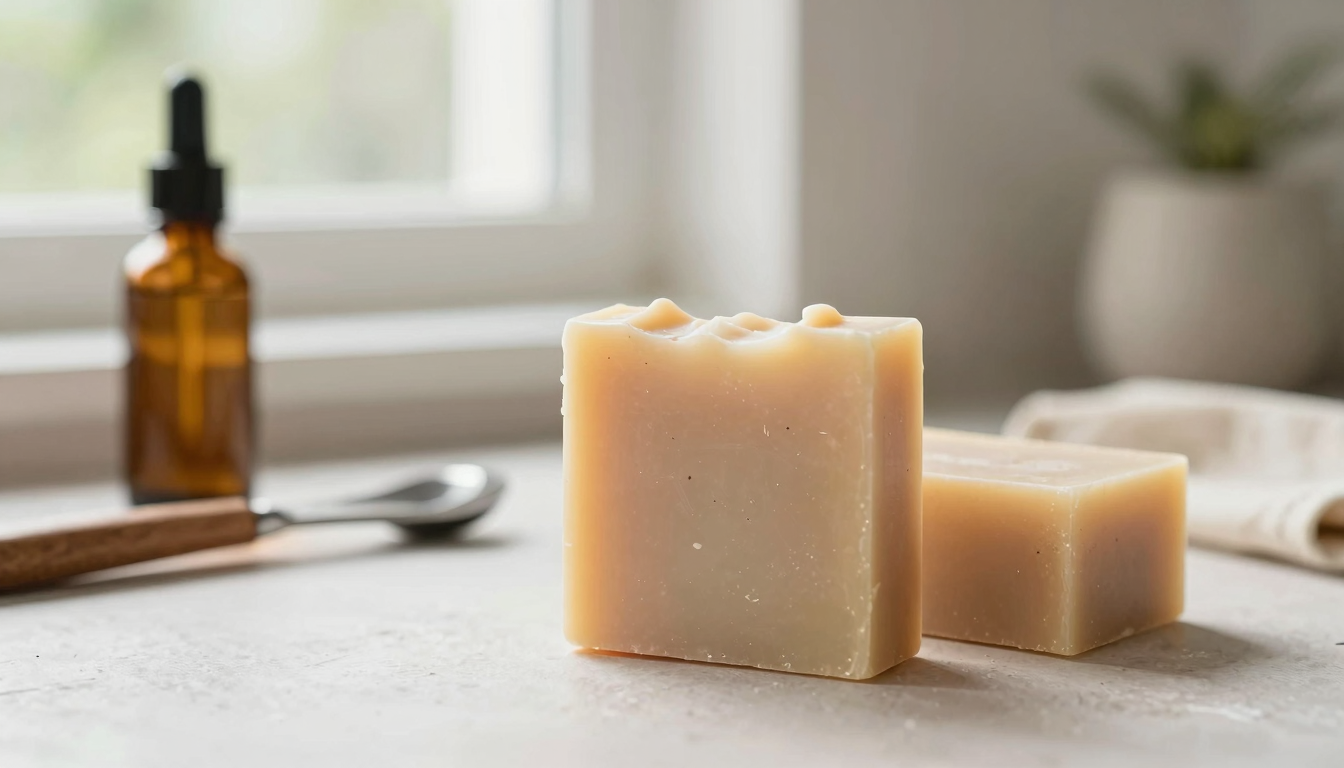
There’s something magical about turning simple oils and lye into a bar of soap that smells like your favorite memory and feels like a spa treatment. I’ll admit,I was skeptical at first. The idea of handling lye sounded intimidating, and I wasn’t sure I could pull off anything better than the generic bars at the grocery store. But after my first (messy, but successful) batch, I was hooked. Now, I make soap for my family, friends, and even sell a few bars at our local farmers’ market. The best part? It’s cheaper, customizable, and,once you get the hang of it,oddly satisfying.
If you’re just starting out, don’t worry,I’ll walk you through everything, including the mistakes I made (like the time I accidentally added too much lye and had to rebatch my entire mixture). By the end, you’ll have the confidence to experiment with scents, colors, and textures, just like I did.
Why I Switched to Handmade Soap (and Why You Should Too)
I used to buy soap in bulk at Costco,you know, the kind that lasts forever but leaves your skin feeling dry. Then, one day, my daughter developed eczema, and her pediatrician suggested switching to fragrance-free, natural soaps. I tried a few store-bought options, but they either irritated her skin or didn’t last more than a week. That’s when I decided to make my own.
Here’s what I discovered:
| Feature | Homemade Soap | Store-Bought Soap |
|---|---|---|
| Ingredients | Olive oil, coconut oil, essential oils, and herbs,nothing synthetic | Preservatives, detergents, and artificial fragrances |
| Customization | I can make lavender-oatmeal bars for my daughter, citrus-soap for my husband, and even fun-shaped soaps for the kids | Limited to whatever’s on the shelf |
| Cost Over Time | About $0.50 per bar (once you buy oils in bulk) | $3–$6 per bar |
Plus, there’s something deeply rewarding about creating something useful with your own hands. It’s like those little DIY projects that make your home feel personal,only this one you can use every day.
Now, let’s get into the basics. Spoiler: It’s easier than you think, and I’ll tell you exactly where I went wrong so you don’t have to.
Understanding the Basics (and What I Wish I Knew Earlier)
Soap making is simple chemistry: you mix oils, water, and lye (sodium hydroxide), and they undergo a process called saponification. This is just a fancy word for the reaction that turns those ingredients into soap. The key here is balance,too much lye, and your soap will be harsh; too little, and it won’t harden properly.
When I first started, I thought I could eyeball the measurements. Big mistake. My first batch turned out too soft because I didn’t use a scale. Now, I swear by my digital kitchen scale,it’s the most important tool in my soap-making kit. Even a tiny mismeasurement can throw off the entire batch.
Here are the oils I use most often, and why:
- Olive oil: It’s the base of most of my recipes because it’s gentle on skin and creates a long-lasting bar. I buy extra virgin olive oil in bulk from a local olive oil shop,it’s cheaper and higher quality than the stuff at the grocery store.
- Coconut oil: This is what gives soap its bubbly lather. I love using unrefined coconut oil because it has a slight coconut scent, which pairs perfectly with vanilla or citrus essential oils.
- Castor oil: Just a little bit (about 5% of your total oil weight) adds a creamy, luxurious feel to the soap. It’s also great for hard water areas because it helps the soap lather up even when the water is full of minerals.
One thing I didn’t realize at first? The order in which you add ingredients matters. For example, if you add essential oils too early, they can accelerate the saponification process and make your soap go through trace (more on that later) too quickly. Now, I wait until the mixture is at light trace before adding scents or colors.
Oh, and one more thing,safety first. Lye is caustic, but as long as you handle it correctly, it’s totally manageable. I’ll cover that in the next section, but trust me, wearing gloves and goggles isn’t optional. I learned that the hard way when I got a little lye splash on my arm. (Don’t worry, I rinsed it off immediately and was fine, but it stung like crazy!)
Safety First: How I Handle Lye Without Freaking Out
When I first heard I’d be working with lye, I pictured some kind of dangerous, explosive chemical. Turns out, it’s more about respect than fear. As long as you follow a few simple rules, you’ll be fine. Here’s how I do it:
Protective Gear: My Non-Negotiables
I treat soap making like a science experiment,gloves, goggles, and a long-sleeved shirt are mandatory. I use nitrile gloves because they’re chemical-resistant and fit well. For goggles, I grabbed a pair from the hardware store,they’re cheap and do the job. And yes, I wear an apron, even if it makes me look like I’m about to bake a cake. (My kids think it’s hilarious.)
Pro tip: If you don’t have goggles, safety glasses from a hardware store work in a pinch. Just make sure they seal tightly around your eyes.
Mixing Lye: The One Rule You Can’t Break
This is where most beginners go wrong. You always add lye to water,never the other way around. The first time I made soap, I was tempted to pour water into the lye because it seemed easier. Thank goodness I double-checked my recipe! Adding water to lye causes a volcanic reaction, and you do not want lye splashing everywhere.
Here’s how I do it:
- Put on my gloves, goggles, and apron.
- Measure out my distilled water (I use distilled because it’s free of minerals that can interfere with saponification).
- Slowly sprinkle the lye into the water while stirring with a stainless steel spoon. The mixture will heat up and turn clear.
- Let it cool to between 100–130°F before mixing with oils.
I also keep a spray bottle of vinegar nearby. If any lye splashes, vinegar neutralizes it immediately. (I’ve only had to use it once, but it’s good to be prepared!)
Storage: Keeping Lye Safe at Home
I store my lye in its original container, sealed tightly, in a high cabinet where my kids can’t reach it. I also label it clearly with a big, bold “LYE,DO NOT TOUCH” sign. Better safe than sorry!
One more thing: Never reuse your lye container for food. I learned that lesson when I accidentally grabbed the wrong container for my coffee creamer. (Luckily, I caught myself before I took a sip!)
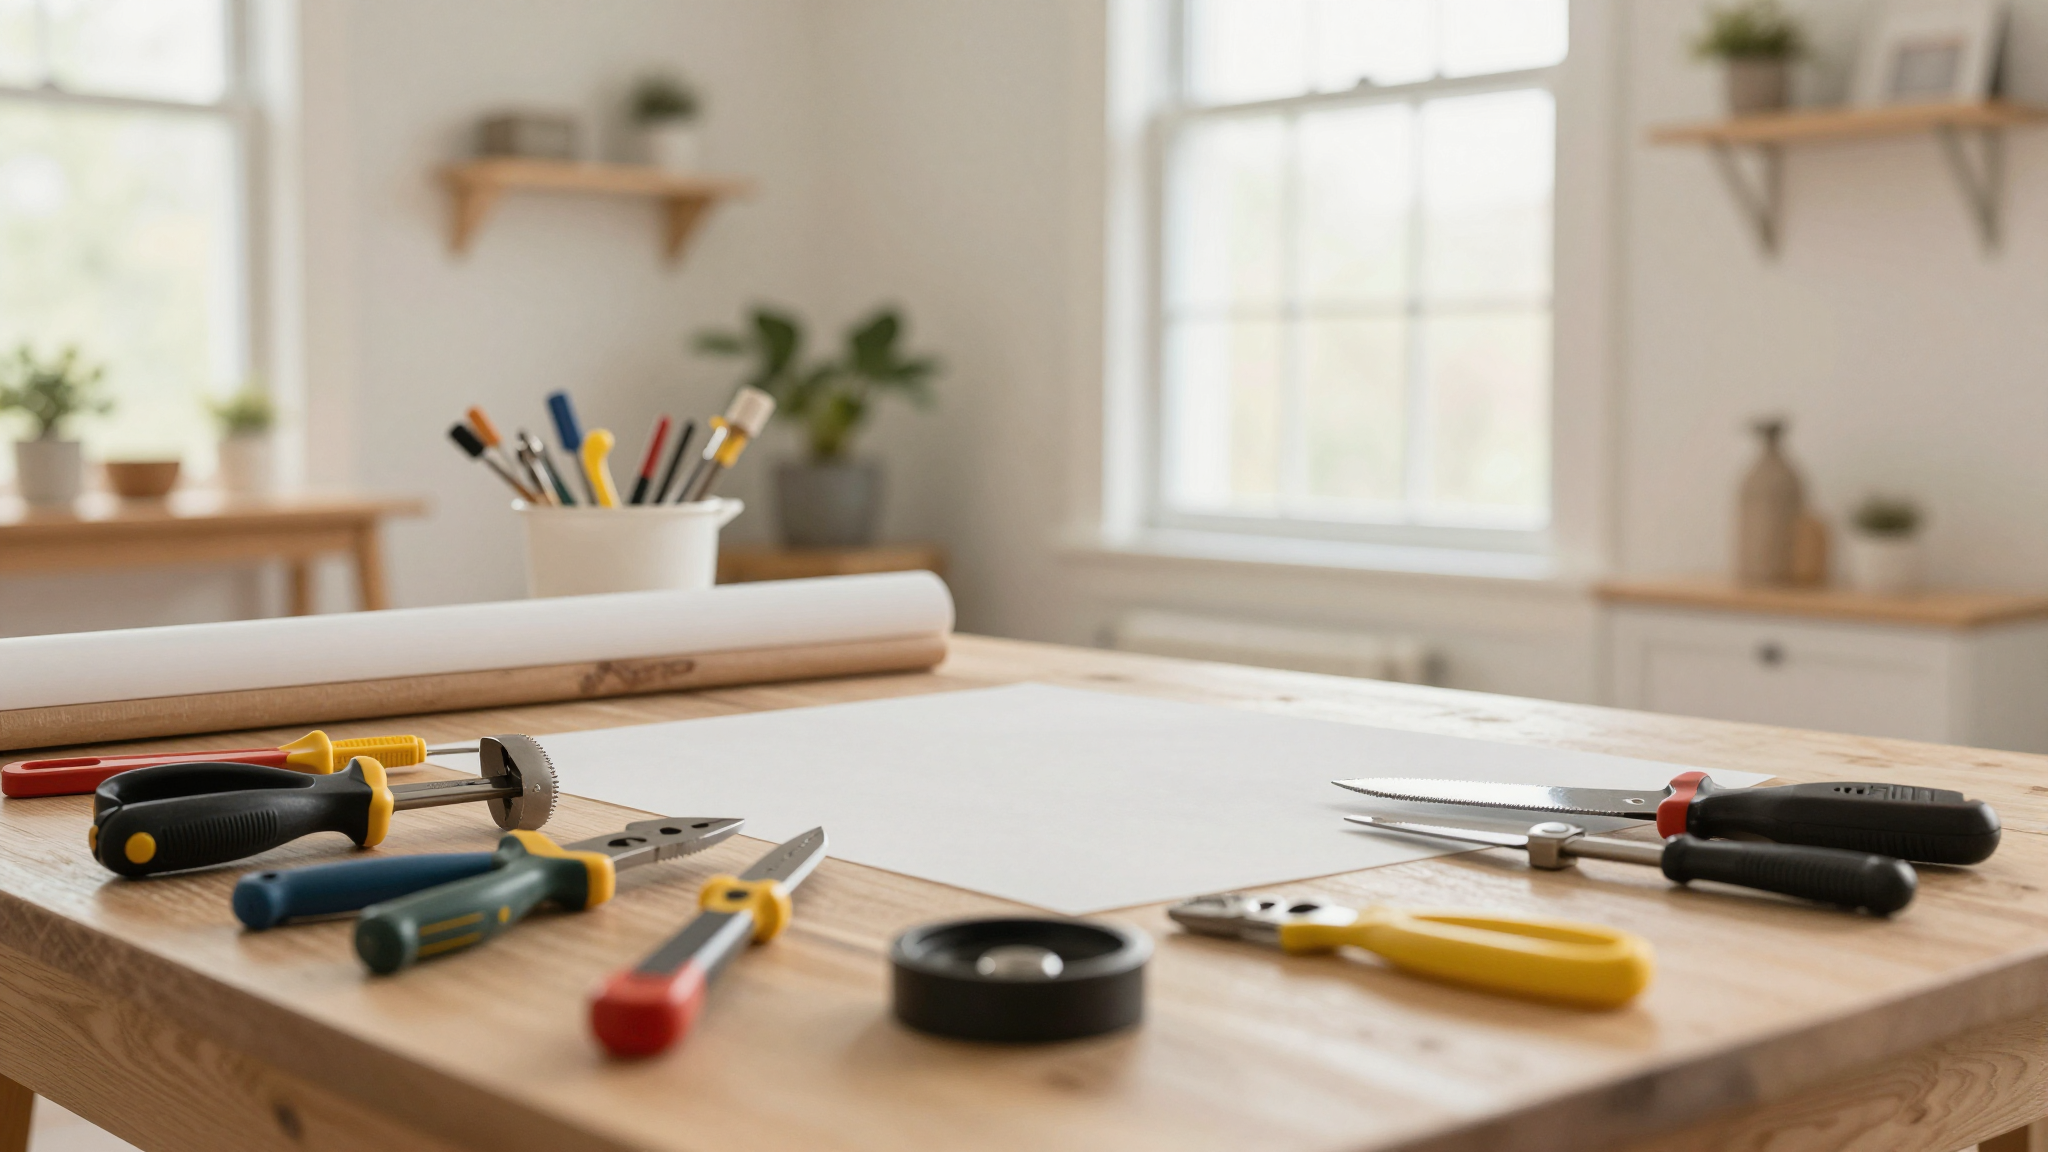
Let’s Get Started: Essential Tools and Ingredients
You don’t need a fancy lab to make soap,just a few key tools and some quality ingredients. Here’s what I use:
Tools: What’s Actually Worth Buying
When I first started, I tried to make do with what I had in my kitchen. Big mistake. Here’s what I’ve learned:
- Digital scale: This is non-negotiable. I use a 0.1-gram precision scale because even tiny measurement errors can ruin a batch. I keep it just for soap making,no mixing it up with baking!
- Immersion blender: This speeds up the process of mixing oils and lye water. I have a basic one from Amazon, and it’s been a game-changer. No more arm fatigue from stirring!
- Silicone molds: I started with simple rectangle molds, but now I have a few fun shapes, like hearts and flowers. I got mine from Bramble Berry, a soap-making supply company that’s great for beginners.
- Stainless steel pots: I use these for mixing because they’re heat-resistant and easy to clean. I have a set of stainless steel pots that I only use for soap making.
Oh, and one more thing: I line my wooden molds with parchment paper. It makes unmolding so much easier and prevents the soap from sticking.
Ingredients: What to Buy (and What to Avoid)
Not all oils are created equal. Here’s what I look for:
- Olive oil: I buy extra virgin olive oil in bulk from a local supplier. It’s cheaper and higher quality than the stuff at the grocery store. Avoid “pure olive oil” or “light olive oil”,they’re more processed and don’t work as well in soap.
- Coconut oil: I use unrefined coconut oil because it has a slight coconut scent and is better for your skin. Refined coconut oil is cheaper, but it doesn’t add as much lather or scent.
- Lye: I buy food-grade sodium hydroxide from Bramble Berry or SoapCalc. Avoid drain cleaner,it has additives that can irritate your skin.
Pro tip: If you’re just starting out, buy smaller quantities of lye. You can always order more later, and it’s safer to have less around the house.
Setting Up Your Workspace: How I Organize Mine
Before you start, you need a dedicated space. I set up mine in my kitchen because it’s well-ventilated and has easy access to water. Here’s how I do it:
Choosing the Right Spot
I work near an open window or by the back door so any fumes can escape. I also make sure my kids and pets are out of the area,no distractions or accidents!
Prepping Your Tools
I sanitize my countertops with white vinegar before I start. Then, I lay out all my tools in the order I’ll use them:
- Gloves, goggles, and apron (ready to go!)
- Digital scale and measuring cups
- Stainless steel pot for lye water
- Another pot for oils
- Immersion blender
- Molds and parchment paper
- Essential oils, colors, and add-ins (like oatmeal or honey)
- Vinegar spray (for emergencies!)
I also keep a timer nearby because timing is everything in soap making. For example, you need to let the lye water cool to the right temperature before mixing it with oils.
One thing I didn’t do at first? Label my tools. Now, I have a little bin just for soap making, and everything stays organized. It makes cleanup so much easier!
Step-by-Step: Mixing Lye and Water (Without Burning Down the Kitchen)
This is where things get real. If you mess up here, your whole batch could be ruined. But don’t worry,I’ll walk you through it step by step, just like my mom walked me through baking my first cake.
The Golden Rule: Lye Goes in First
I cannot stress this enough: always add lye to water. The first time I made soap, I was tempted to pour water into the lye because it seemed easier. Thank goodness I double-checked my recipe! Adding water to lye causes a volcanic reaction, and you do not want lye splashing everywhere.
Here’s how I do it:
- Put on my gloves, goggles, and apron.
- Measure out my distilled water (I use distilled because it’s free of minerals that can interfere with saponification).
- Slowly sprinkle the lye into the water while stirring with a stainless steel spoon. The mixture will heat up and turn clear.
- Let it cool to between 100–130°F before mixing with oils.
Pro tip: If your lye water cools too slowly, you can place the container in a larger bowl of ice water. Just don’t stir it,you don’t want to create uneven temperatures.
Checking the Temperature
I use a digital thermometer to check the temperature every 10 minutes. If it’s too hot, I let it cool longer. If it’s too cold, I can gently reheat it in a double boiler.
One thing I learned the hard way? If your lye water is too hot when you mix it with oils, it can cause the soap to seize (turn grainy). Now, I always wait until it’s between 100–130°F before proceeding.
Step-by-Step: Melting and Blending Oils (and How I Avoid Disasters)
Now that your lye water is ready, it’s time to prep your oils. This is where I used to rush,and ended up with a batch that was too soft. Here’s how I do it now:
Melting the Oils
I use a double boiler to melt my solid oils (like coconut oil and shea butter). It’s slower than microwaving, but it gives you more control over the temperature. I chop my coconut oil into small chunks first,it melts faster that way.
If I’m in a hurry, I’ll microwave the oils in 30-second bursts, stirring between each one. But I always check the temperature with my thermometer. If it gets too hot, the oils can scorch, and your soap will have a weird smell.
Pro tip: I keep my oils in a separate pot from the lye water. Cross-contamination is a real risk, and you don’t want to accidentally mix them up!
Blending the Oils
Once all my oils are melted and at the right temperature, I combine them in a stainless steel pot. Then, I use my immersion blender to mix them until they’re fully combined. I blend in short bursts,about 10 seconds at a time,because over-blending can generate too much heat.
One thing I didn’t realize at first? The temperature of your oils matters just as much as the lye water. If they’re too cold, they won’t mix properly. If they’re too hot, they can cause the soap to seize. Now, I always aim for 100–130°F for both.
Achieving Trace: The Magic Moment When Soap Comes to Life
This is the part that feels like magic. When you mix the lye water with the oils, they undergo a chemical reaction called saponification. As this happens, the mixture thickens, and that’s when you know your soap is coming together. This is called trace, and it’s the moment when your soap starts to “come alive.”
What Does Trace Look Like?
Trace happens when the mixture thickens enough to leave a temporary mark on its surface. Think of it like pancake batter: when you drizzle some onto the surface, it should hold a visible line before sinking back in. There are three stages of trace:
| Trace Stage | Consistency | Best For |
|---|---|---|
| Light | Thin, like melted ice cream | Swirl designs (if you’re feeling fancy!) |
| Medium | Pudding-like texture | Adding herbs, clays, or other add-ins |
| Thick | Stiff peaks form | Layered patterns or embedding flowers |
To test for trace, I lift my immersion blender out of the mixture. If the batter drips but leaves a faint imprint on the surface, you’ve reached light trace. If it’s thicker and holds its shape a little more, you’re at medium trace. Thick trace is when it’s stiff enough to hold peaks, like whipped cream.
Using Your Immersion Blender Like a Pro
My immersion blender is my best friend when it comes to soap making. Here’s how I use it:
- I blend in short bursts,about 10 seconds at a time,because over-blending can generate too much heat and cause the soap to seize.
- I stir between bursts to make sure the mixture is even.
- I always add the lye water to the oils first. This is crucial for achieving trace smoothly.
- I wait until medium trace to add essential oils, colors, or other add-ins. Adding them too early can accelerate the saponification process and make your soap go through trace too quickly.
One thing I learned the hard way? If your mixture gets too thick too fast, it can be hard to pour into molds. Now, I keep an eye on the consistency and slow down my blending if it starts to thicken too quickly.
Customizing Your Soap: How I Make It My Own
This is the fun part,the part where you get to make your soap truly unique. Whether you want it to smell like a spa, look like a work of art, or feel like a cloud, the possibilities are endless. Here’s how I customize my soap:
Choosing Essential Oils
I love using essential oils because they not only smell amazing but also have skin benefits. For example:
- Lavender: Calms irritated skin and helps with sleep. I add 10 drops per pound of oils to my daughter’s soap.
- Peppermint: Energizing and great for sore muscles. I use 5 drops per pound in my husband’s soap.
- Tea Tree: Antiseptic and great for acne-prone skin. I add 5 drops per pound to my teen’s soap.
Pro tip: Always use 100% pure essential oils. Synthetic fragrance oils can fade during curing and may irritate sensitive skin.
Adding Natural Add-Ins
I love adding natural ingredients to my soap because they not only look pretty but also have skin benefits. Here are some of my favorites:
- Colloidal oatmeal: Soothes dry, itchy skin. I add 1 tablespoon per pound of oils at light trace.
- Raw honey: Moisturizes and has antibacterial properties. I add 2 teaspoons per pound of oils at medium trace.
- Dried lavender buds: Add a pretty touch and a light scent. I sprinkle them on top of the soap before it hardens.
One thing I didn’t realize at first? Some add-ins can affect the saponification process. For example, milk can accelerate trace, so I add it at the very end. Now, I always test small batches before committing to a full recipe.
Experimenting with Colors
I love making my soap look as good as it feels. Here are some of my favorite natural colorants:
- Spirulina powder: Gives a vibrant green color. I add 1 teaspoon per pound of oils at medium trace.
- Beetroot powder: Creates a pretty pink hue. I use 1 teaspoon per pound of oils.
- Turmeric: Adds a golden yellow color. I add ½ teaspoon per pound of oils.
Pro tip: If you want brighter colors, add the colorant to a small amount of the soap batter first, then mix it back in. This helps distribute the color evenly.
Molding and Insulating Your Soap: How I Get Perfect Bars Every Time
Now that your soap batter is ready, it’s time to pour it into molds. This is where the magic happens,your soap starts to take shape, and you get to see your hard work come together. Here’s how I do it:
Choosing the Right Mold
I have a few different molds, and each one has its pros and cons:
- Silicone molds: These are my favorites because they’re non-stick and easy to clean. I have a few fun shapes, like hearts and flowers, that I use for gifts.
- Wooden molds: These insulate well, which helps the soap harden evenly. I line them with parchment paper to make unmolding easier.
- PVC pipes: These are great for making round bars. I cut them to the right length and line them with parchment paper.
Pro tip: If you’re using wooden or PVC molds, make sure to line them with parchment paper. It prevents the soap from sticking and makes unmolding a breeze.
Insulating for the Gel Phase
After pouring your soap into molds, it goes through a phase called the “gel phase.” This is when the saponification process really kicks into high gear, and the soap can get quite hot. Insulating your molds helps this process along and ensures your soap hardens evenly.
Here’s how I do it:
- I wrap my molds in a towel or blanket. This traps the heat and helps the soap harden faster.
- I let them sit for 24 hours. During this time, the soap will go through the gel phase and start to harden.
- I resist the urge to peek! Opening the molds too soon can cause uneven hardening or cracks.
One thing I learned the hard way? If your soap doesn’t go through the gel phase, it can turn out soft or uneven. Now, I always insulate my molds and give them plenty of time to harden.
Curing and Cutting Your Soap: Patience Is a Virtue
Now comes the hardest part: waiting. Curing is when your soap hardens and the excess water evaporates. This is also when the pH balances out, making your soap gentler on the skin. Here’s how I do it:
Curing Time and Conditions
I let my soap cure for 4–6 weeks. During this time, I keep it in a cool, dry place with good airflow. I use a wire rack or a piece of parchment paper to let air circulate underneath the bars.
Here’s what I’ve learned about curing:
- Humidity is the enemy. If your soap is curing in a humid environment, it can take longer to harden and may even develop mold. I keep mine in a dry spot, like a closet or pantry.
- Temperature matters. I aim for a consistent temperature between 65–75°F. If it’s too cold, the soap can harden too slowly. If it’s too hot, it can melt or sweat.
- No direct sunlight. Sunlight can cause your soap to fade or discolor. I keep mine in a dark place until it’s fully cured.
Pro tip: If you’re in a hurry, you can speed up the curing process by using a fan to circulate air. Just make sure the fan isn’t blowing directly on the soap,you don’t want it to dry out too quickly.
Cutting Your Soap
After 4–6 weeks, your soap should be hard and ready to cut. Here’s how I do it:
- I score the loaf lightly with a knife. This helps guide the cuts and prevents jagged edges.
- I use a stainless steel knife or a multi-wire cutter for clean, even cuts. If I’m feeling fancy, I use a guitar cutter for perfectly sized bars.
- I let the bars cure for another week or two before using them. This gives them time to harden even more and ensures they last longer in the shower.
One thing I didn’t realize at first? If you cut your soap too soon, it can crumble. If you wait too long, it can be hard to cut. Now, I wait until the soap is fully hardened but still easy to cut.
Saving Money and Reducing Waste: My Thrifty Soap-Making Tips
Making soap at home is already cheaper than buying it at the store, but there are ways to save even more money,and reduce waste,while you’re at it. Here’s how I do it:
Buying in Bulk
I buy my oils in bulk from a local supplier. For example, I buy olive oil in 5-gallon containers and coconut oil in 25-pound blocks. This cuts my costs by about 30–40% compared to buying smaller quantities at the grocery store.
Pro tip: If you don’t have a local supplier, check out Bramble Berry or SoapCalc. They sell oils and other supplies in bulk at great prices.
Repurposing and Upcycling
I’m a big fan of upcycling, and soap making is a great way to reduce waste. Here are some of my favorite tips:
- I reuse containers for storing oils and add-ins. For example, I save glass jars from pasta sauce to store my essential oils.
- I use old milk cartons as molds. I line them with parchment paper and cut them open after the soap has hardened.
- I turn leftover soap scraps into “soap confetti.” I grate them up and use them in the shower for an exfoliating boost.
One thing I didn’t realize at first? You can rebatch old soap if it’s gotten too soft or dry. Just grate it up, add a little water, and melt it down. Then, you can add new scents or colors and pour it into molds again!
Storing Ingredients Properly
I store my oils and lye in airtight containers to keep them fresh. I keep them in a cool, dark place, like a pantry or closet. This helps prevent them from going rancid or losing their potency.
Pro tip: If you’re not sure if your oils are still good, do a quick smell test. If they smell off or rancid, it’s time to toss them and buy new ones.
Troubleshooting Common Soap-Making Issues
Even the best soap makers run into problems sometimes. Here are some of the most common issues I’ve faced,and how I fixed them:
Trace Issues
If your soap isn’t thickening, it’s usually because of one of these reasons:
- Incorrect measurements: Double-check your lye and oil quantities. Even a small error can throw off the saponification process.
- Temperature issues: Make sure your oils and lye water are within 10°F of each other. If one is too hot or too cold, it can slow down trace.
- Overmixing: If you blend too much, the soap can seize (turn grainy). I’ve learned to blend in short bursts and check the consistency frequently.
If your soap isn’t thickening, try these fixes:
- Add 1 teaspoon of beeswax per pound of oils to help accelerate trace.
- Reduce the water content by 10–15%. This can help speed up the saponification process.
- Make sure your oils and lye water are at the right temperature (100–130°F).
Texture and Curing Problems
If your soap turns out crumbly or soft, it’s usually because of one of these reasons:
- Too much lye: This can make your soap harsh and crumbly. If this happens, you may need to rebatch your soap with more oils.
- Incomplete curing: If your soap is still soft after 4–6 weeks, it may need more time to harden. Try extending the curing time to 8 weeks.
- Soda ash: This is a white, powdery residue that can form on the surface of your soap. It’s harmless but can be unsightly. To fix it, spritz your soap with rubbing alcohol after pouring it into molds.
If your soap has soda ash, try these fixes:
- Spritz the surface with rubbing alcohol after pouring the soap into molds.
- Steam the finished bars in the shower for a few minutes. This can help dissolve the soda ash.
- Use a fan to circulate air during curing. This can help prevent soda ash from forming in the first place.
One thing I’ve learned? Imperfections add character. My first few batches weren’t perfect, but they worked just fine,and they reminded me that soap making is a learning process.
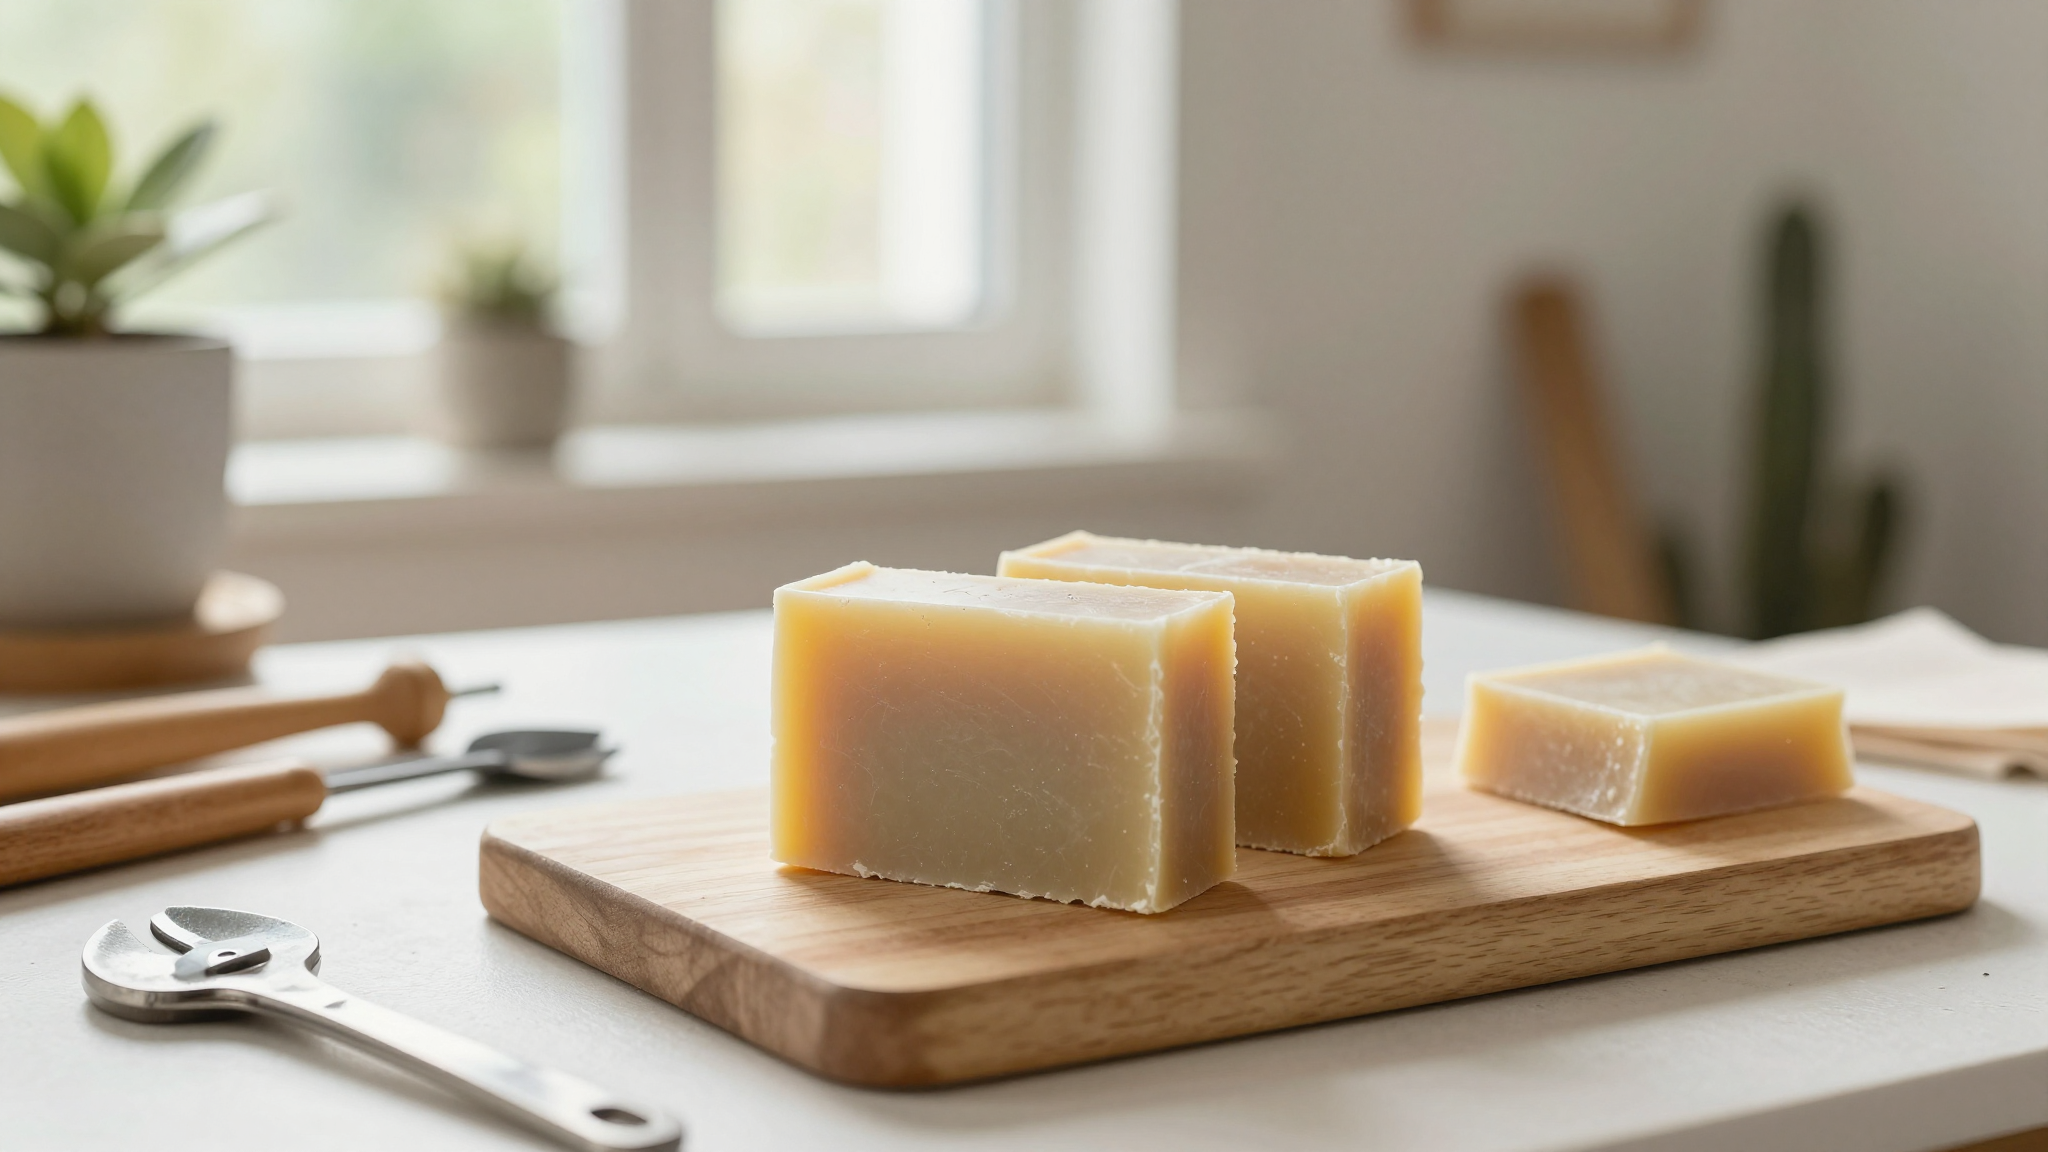
Ready to Try Your First Recipe? Here’s My Go-To Beginner Formula
Now that you know the basics, let’s make some soap! Here’s my favorite beginner-friendly recipe. It’s gentle, moisturizing, and customizable,just like I promised.
Oatmeal & Honey Soap
This recipe makes about 4 pounds of soap, which is perfect for a first-timer. It’s gentle enough for sensitive skin and has a lovely, creamy lather.
Ingredients
- 60% olive oil (24 oz)
- 30% coconut oil (12 oz)
- 10% castor oil (4 oz)
- 5.3 oz lye
- 12.5 oz distilled water
- 1 tbsp colloidal oatmeal (per pound of oils)
- 2 tsp raw honey (per pound of oils)
- 10 drops lavender essential oil (optional)
Instructions
- Safety first! Put on your gloves, goggles, and apron.
- Measure out your distilled water and lye. Always add lye to water,never the reverse!
- Stir the lye into the water until it’s fully dissolved. Let it cool to 100–130°F.
- Melt your oils together in a stainless steel pot. Let them cool to 100–130°F.
- Slowly pour the lye water into the oils while blending with your immersion blender.
- Blend until you reach light trace. Then, add your colloidal oatmeal and honey.
- Blend again until you reach medium trace. Then, add your essential oils.
- Pour the soap into your molds and insulate them with a towel or blanket.
- Let the soap harden for 24 hours. Then, unmold and cut it into bars.
- Let the bars cure for 4–6 weeks before using them.
Pro tip: If you want to add color, stir in a natural colorant like spirulina powder or beetroot juice at medium trace.
Variations to Try
Once you’ve mastered the basic recipe, here are a few fun variations to try:
| Variation | Add-In | Best For |
|---|---|---|
| Energizing Citrus | Orange zest + 5 drops grapefruit essential oil | Morning showers |
| Exfoliating Coffee | Ground coffee + 5 drops vanilla essential oil | Body buffing |
| Hypoallergenic Chamomile | Chamomile tea infusion | Sensitive skin |
Don’t be afraid to experiment! Soap making is all about trial and error. Your third batch will likely be your favorite,just like mine was.
Final Thoughts (and What I’m Making Next)
Soap making has become one of my favorite hobbies. It’s creative, practical, and,once you get the hang of it,oddly satisfying. Plus, there’s nothing like giving someone a bar of soap you made yourself. It’s personal, thoughtful, and way more unique than anything you’d find at the store.
I’m always experimenting with new recipes. Right now, I’m working on a charcoal and clay detox soap for my husband (he loves anything that makes him feel “clean”). I’m also thinking about making some fun-shaped soaps for the kids,maybe stars or dinosaurs. The possibilities are endless!
If you’re just starting out, don’t be discouraged if your first batch isn’t perfect. Mine wasn’t either! But with each batch, you’ll learn more and get better. And who knows? Maybe you’ll end up with a new favorite hobby, just like I did.
Now, go grab your gloves, double-check those lye measurements, and let’s get making!