
Our Family Photo Timeline: How We Turned a Blank Wall Into a Living Memory
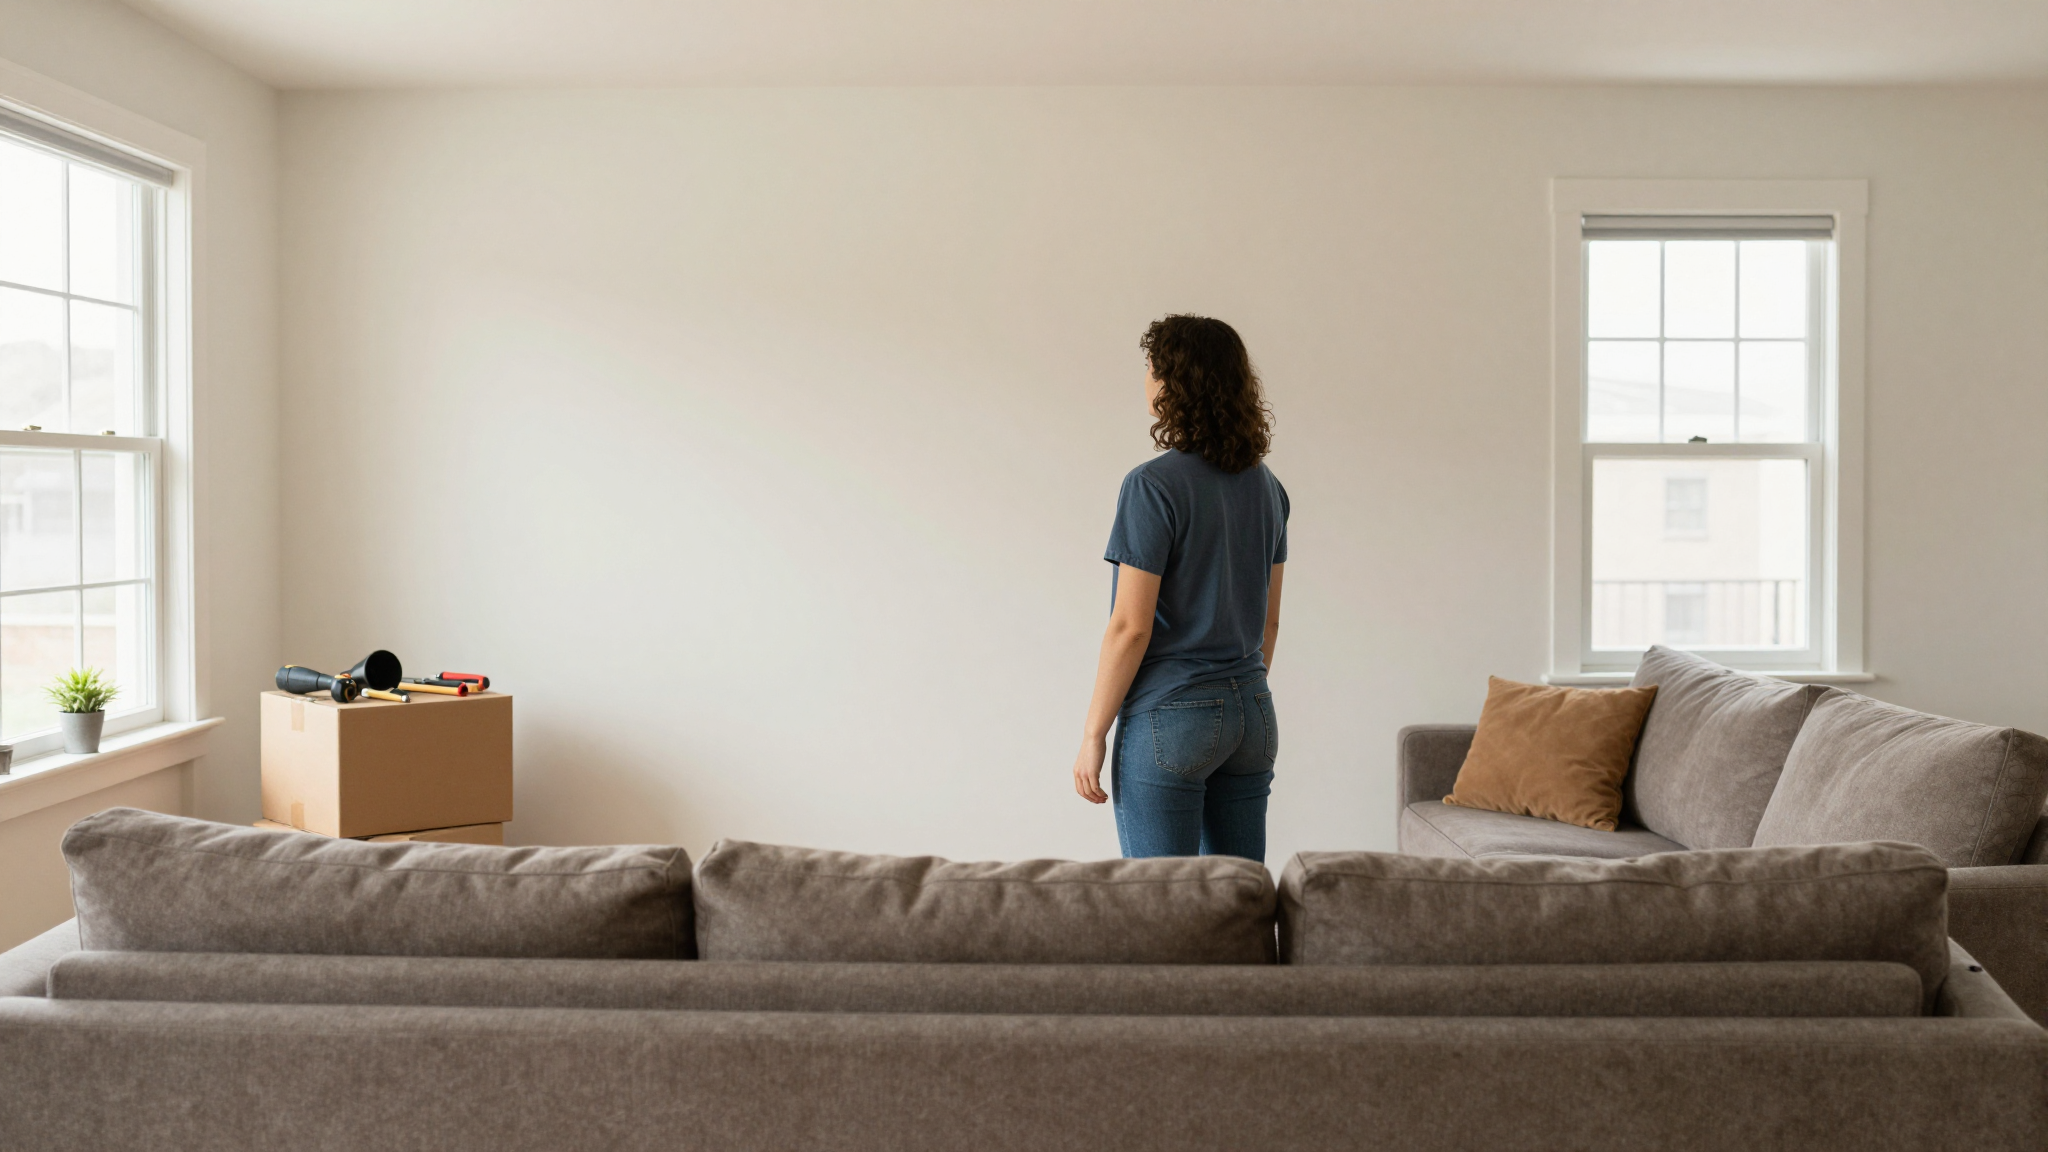
I’ll never forget the day I stood in our empty living room, staring at that big blank wall above the couch. We’d just moved into our first house, and while I loved the space, something felt… missing. That’s when it hit me: we had boxes of photos gathering dust, and our kids were growing up faster than I could blink. Why not turn that wall into something that actually meant something?
What started as a simple weekend project became one of my favorite parts of our home. It’s not just decor,it’s our family story, growing right there on the wall. And the best part? It’s constantly changing as our lives do. Last month, we added my nephew’s baby pictures next to our son’s first birthday photo. The contrast between the two made me laugh out loud,same chubby cheeks, different decades!
If you’re thinking about creating your own family photo timeline, I want to share exactly how we did it,including the mistakes I made (like that one crooked frame that took me three tries to level properly) and the little tricks that made it all come together. This isn’t about perfect Pinterest boards. It’s about creating something real that makes your house feel like a home.
Why We Chose a Photo Timeline Over Other Gallery Walls
I considered doing a more traditional gallery wall,you know, the kind with mismatched frames and eclectic spacing. But something about that didn’t feel right for us. Our family photos tell a story, and I wanted that story to be the star, not the frames.
What ended up working best was arranging our photos in a loose chronological order. We started with my grandparents’ wedding photo (which I had to scan from an old negative,more on that adventure later) and moved forward through time. Seeing my kids’ baby pictures right next to my own childhood photos gives me chills every time. It’s like holding our entire family history in one glance.
The other thing I love about this approach? It’s alive. When my daughter had her first dance recital last month, we printed the photo and added it right where it belonged in the sequence. No empty spaces, no “oh, we should put something there someday” moments. It just grows with us.
I did some research before starting (okay, fine, I binge-watched about 50 YouTube tutorials), and I found that most gallery wall guides focus on aesthetics over storytelling. But our wall isn’t about looking perfect,it’s about feeling real. That’s why I’m sharing our actual process, warts and all.
My Biggest Lesson: Less Is More (I Had to Learn This the Hard Way)
My first attempt at this wall was a disaster. I tried to include every photo we owned, and it looked like a visual clutter bomb. The wall was so crowded you could barely see the individual pictures. I had to take half of them down and start over.
What worked better was being more selective. I picked photos that:
- Captured genuine emotions (no forced smiles!)
- Marked important milestones (first days, graduations, vacations)
- Showed our family’s personality (like that hilarious picture of my husband trying to cook Thanksgiving dinner)
I also learned that spacing is everything. I used my trusty laser level (yes, I’m that person now) to make sure each photo had breathing room. And I grouped similar photos together,all the beach vacation shots in one section, all the holiday pictures in another.
Finding the Perfect Spot for Our Timeline
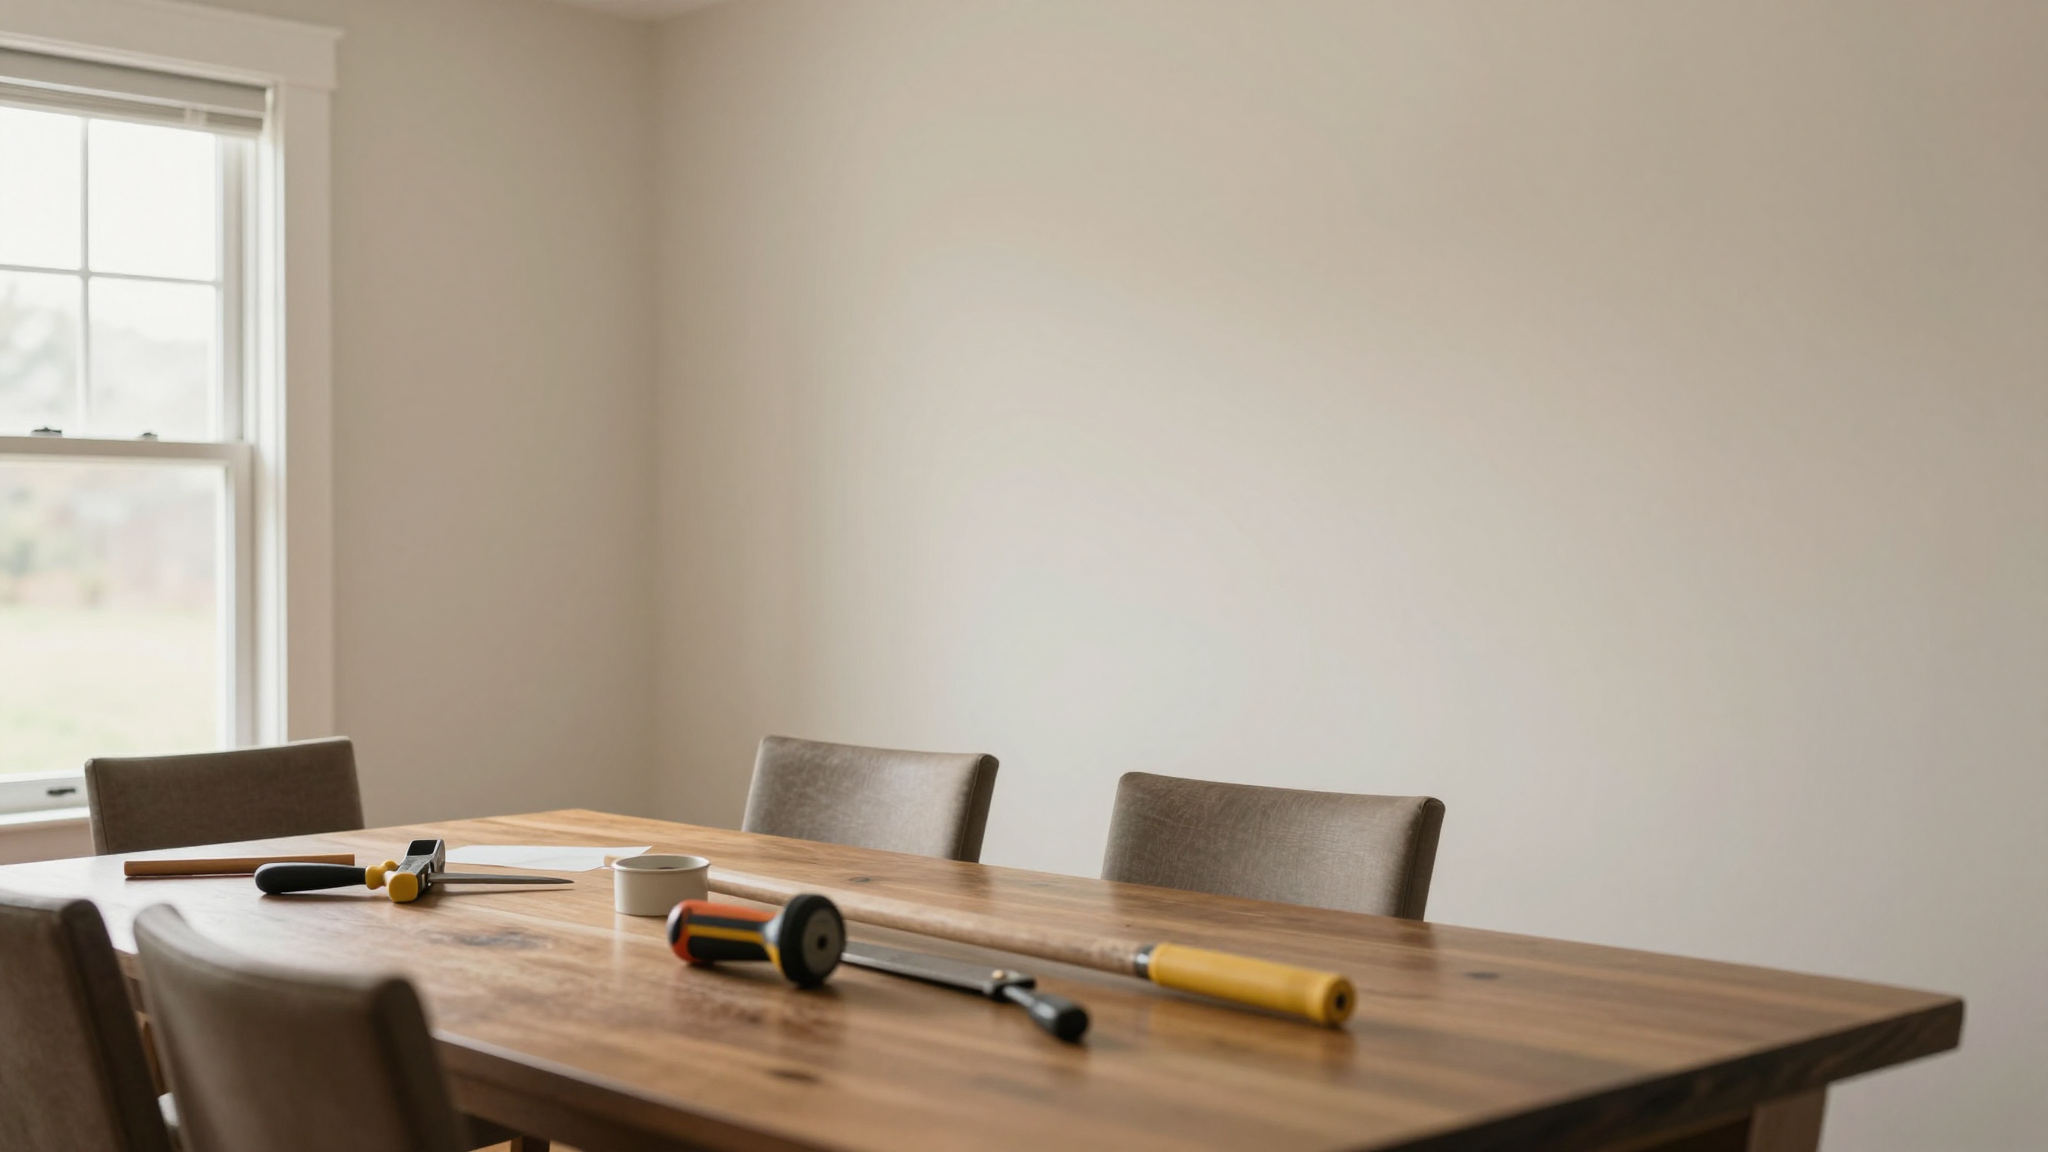
Not all walls are created equal when it comes to photo timelines. I made the mistake of initially choosing our formal dining room wall. It looked nice, but we almost never spend time in there. The photos might as well have been in a museum!
What ended up working perfectly was our main hallway. Here’s why:
- We walk past it multiple times a day
- It gets great natural light from the window at the end
- It’s the first thing guests see when they come in
- It’s long enough to accommodate our growing collection
I also considered our staircase, but decided against it because:
- The angle made it hard to see the photos clearly
- We have a lot of foot traffic up and down, which might damage the frames
- The lighting was too dim for the photos to shine
Pro tip: If you’re using a hallway like we did, make sure to arrange your photos so they flow in the direction people walk. We started with the oldest photos at the beginning of the hall and moved forward in time as you progress toward the living room. It creates this amazing “walk through our history” effect.
The One Wall I Regret Not Using
I wish I had thought to use the wall in our kids’ playroom. It gets tons of natural light, and it’s where they spend most of their time. I could have created a timeline just for them,showing their growth, their artwork, their little personalities. Instead, I put up some generic kid-themed decor that doesn’t mean half as much.
If you’re creating a family photo timeline, think about where your family actually lives. That’s where your photos will have the most impact.
How We Chose and Arranged Our Photos
This was the part that took the most time,and the most heart. I spent an entire weekend sorting through boxes of photos, both digital and printed. Here’s how I approached it:
Digital vs. Printed: What We Chose to Include
I started by pulling all our printed photos out of storage. We have boxes from when my parents were kids, my own childhood photos, and then our family photos. I was surprised by how many I’d never even looked at before!
For digital photos, I used my favorite photo editing software (I’m a big fan of Lightroom for its simplicity) to print out the ones that felt most special. I avoided anything too heavily filtered,natural photos feel more authentic on our wall.
One thing I didn’t do? Canvas prints. I tried one a few years ago, and it just felt… off. Too commercial, too much like something you’d see in a model home. Our family photos deserve better than that. Stick to simple frames for that authentic feel.
Our Selection Criteria
Not every photo made the cut. Here’s what we prioritized:
- Emotional impact: Photos that make us laugh, cry, or remember something specific
- Milestones: First days, graduations, weddings, vacations
- Everyday moments: The candid shots that show our real lives (like my son covered in spaghetti sauce)
- Multigenerational connections: Photos that show our family across different eras
I also made sure to include photos that represent different stages of our kids’ lives. That way, when they’re older, they can look back and see how much they’ve grown.
Arranging the Photos: Our Trial and Error Process
I’ll admit, I spent way too much time arranging and rearranging these photos before I was happy with the layout. Here’s what worked for us:
First, I laid all the photos out on the floor in the order I wanted them to appear on the wall. This let me see the flow and make adjustments before I started hanging anything.
Then, I used painter’s tape to create a grid on the wall. This gave me a guide for spacing and helped me visualize how everything would look. (Pro tip: Use a level! I learned this the hard way when my first attempt was crooked.)
We ended up with a mix of:
- Chronological sections (like all the baby photos together)
- Thematic groupings (all our vacation photos in one area)
- Individual standout photos (like our wedding picture)
I also made sure to leave some space between sections. This prevents the wall from looking too crowded and gives each group of photos room to breathe.
Frame Selection: What We Used and Why
Frames are where I initially went wrong. My first attempt was all over the place,different colors, different sizes, no cohesion. It looked like a middle school art project. Not exactly the vibe I was going for!
Here’s what I learned about choosing frames:
Stick to a Cohesive Color Palette
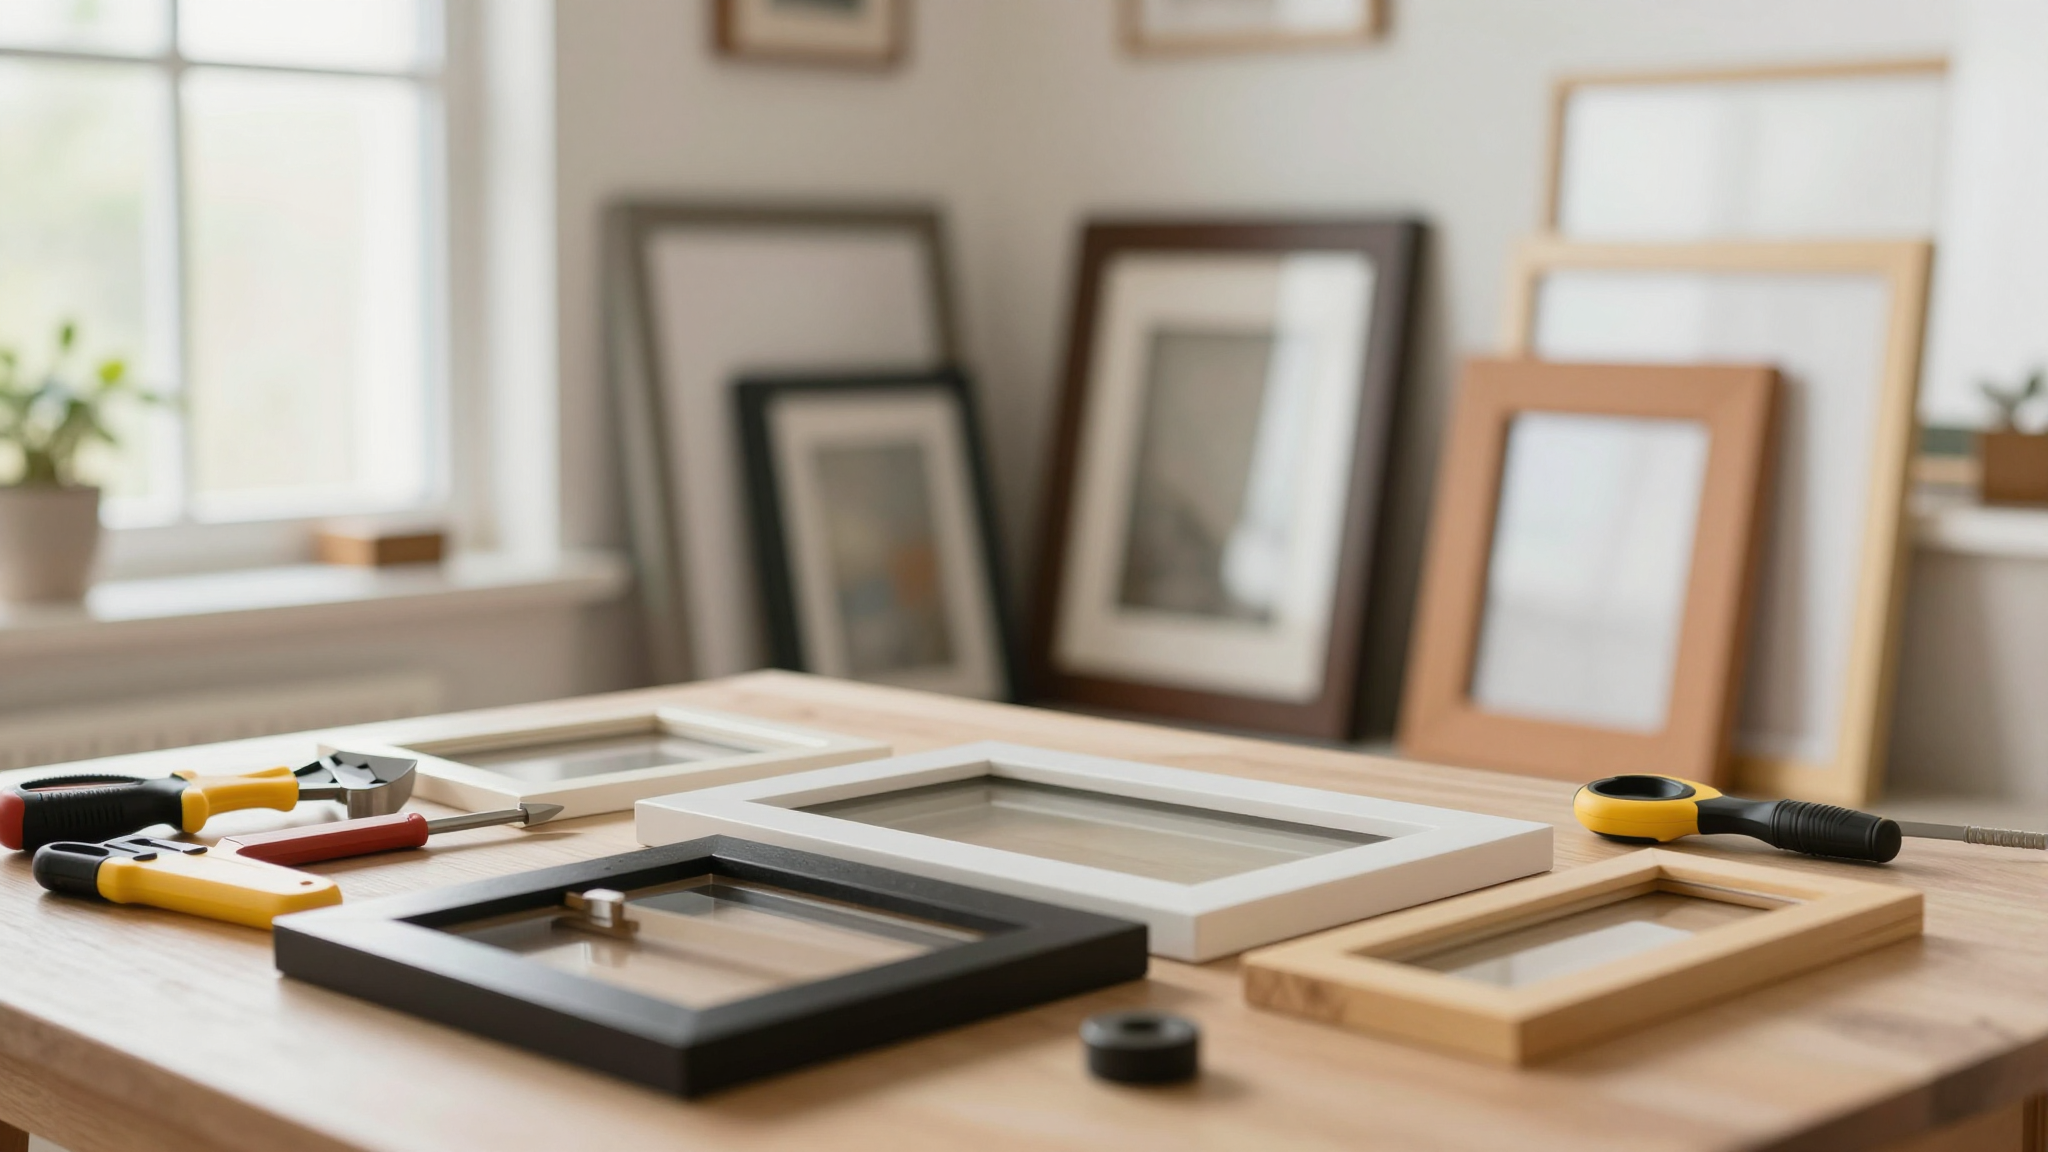
We chose a mix of black and white frames for our timeline. The black frames give it a modern, sophisticated look, while the white frames keep it bright and airy. I also added a few wood frames for warmth.
Where I found our frames:
- Amazon – Great for bulk purchases and consistent quality
- Local thrift stores – I found some beautiful vintage frames for a fraction of the cost
- IKEA – Affordable and simple options
I avoided anything too ornate or decorative. Simple frames let the photos be the star of the show.
Size Matters (More Than I Thought!)
I started with a mix of 5×7 and 8×10 frames, but then I added a few 11×14 prints for our most important photos. The variety adds visual interest, but I made sure to keep the sizes within a similar range so the wall doesn’t look too busy.
One thing I regret? Not using mats. I thought they were unnecessary, but now I see how they could have added another layer of cohesion to our wall. If I were to redo it, I’d use white mats in all the frames to tie everything together.
Hanging the Frames: My DIY Hanging System
I wanted a system that was:
- Easy to install
- Damage-free (we rent, so no drilling into studs!)
- Flexible (so I can rearrange as our family grows)
Here’s what I did:
- Used Command Strips for most of the frames. They hold up to 16 pounds each, which was perfect for our photos.
- For the larger frames, I used small nails with picture hooks. I was careful to place them in the seams of the drywall to minimize damage.
- I used a level to make sure everything was straight. (I learned this lesson the hard way when my first attempt was noticeably crooked.)
If you’re renting or just want a damage-free option, Command Strips are a game-changer. They’re strong enough for most framed photos and come off cleanly when you’re ready to move.
Maintaining and Updating Our Timeline
One of the things I love most about our photo timeline is that it’s not static. It grows and changes with our family. Here’s how we keep it fresh:
Adding New Photos
Every few months, I go through our recent photos and pick a few to add to the wall. It’s amazing how much our kids change in just a short time! Last month, we added photos from my daughter’s first dance recital, and it was so fun to see her little face light up when she saw them on the wall.
I also like to rotate some photos in and out. This keeps the wall feeling fresh and gives us a chance to display different memories. For example, we might take down some summer vacation photos in the fall and replace them with holiday pictures.
Keeping It Clean and Dust-Free
Dust is the enemy of photo walls! I’ve found that a simple microfiber cloth works best for cleaning the frames and glass. I try to dust the wall every few weeks to keep it looking its best.
For the photos themselves, I use a soft brush to gently remove any dust. I’ve also found that a slightly damp (not wet!) cloth can help with stubborn dust spots. Just be sure to dry the photos thoroughly afterward.
Making Room for Future Memories
One thing I’m already thinking about is how to accommodate future photos. Our wall isn’t completely full yet, but I want to make sure there’s always room for new memories.
Here’s what I’m considering:
- Adding a second row of photos above the existing ones
- Incorporating some vertical sections for taller photos
- Using a mix of frame sizes to create more visual interest and space
I also like the idea of creating a “future memories” section where we can add photos as they happen. This way, the wall always feels like it’s growing and changing with us.
Final Thoughts (and a Challenge for You!)
Our family photo timeline has become one of my favorite parts of our home. It’s not just decor,it’s a living, breathing record of our lives. Every time I walk past it, I see something new that makes me smile or remember a special moment.
If you’re thinking about creating your own photo timeline, I challenge you to start small. Pick one wall, gather your favorite photos, and give it a try. You don’t have to do it all at once. Our wall has evolved over time, and it’s still not “finished.” That’s the beauty of it,it’s always growing with us.
And if you’re feeling overwhelmed, remember: it doesn’t have to be perfect. It just has to be yours. Our wall has crooked frames, mismatched spacing, and a few photos that aren’t perfectly aligned. But that’s what makes it special. It’s real. It’s us.
Now, if you’ll excuse me, I need to go add a few more photos to our wall. Our dog just had her first “professional” photoshoot, and I can’t wait to see her little face up there with the rest of our memories.