
Kid-Friendly Furniture Makeovers Using Non-Toxic Paint
Let me tell you,there’s nothing more satisfying than transforming a hand-me-down dresser into something my kids actually want to use. Last summer, I turned our scratched-up oak dresser into a rainbow art station using nothing but chalk paint and some silicone knobs. My daughter still talks about how “cool” it is, and the best part? No toxic fumes or health worries.
I’ve learned the hard way that not all paints are created equal when it comes to safety. That first attempt with regular latex paint left me coughing for hours and gave my son a headache. Since then, I’ve become obsessed with finding non-toxic alternatives that actually work. The good news? There are plenty of beautiful, durable options that won’t make your family sick.
In this guide, I’ll walk you through exactly how I’ve been refreshing our furniture,safely and stylishly. We’ll cover everything from choosing the right non-toxic paints to adding those little details that make pieces truly kid-approved. And yes, I’ll share my mistakes too (like the time I used the wrong primer and had to sand everything down).
Why I Love DIY Furniture Makeovers for Kids’ Spaces
There’s something magical about giving old furniture new life, especially when it’s for your kids. That beat-up bookshelf? It can become a colorful reading nook. The wobbly nightstand? A spaceship command center. The best part? You control every detail,from the colors to the safety of the materials.
I remember when my son brought home a “boring” wooden stool from school. We painted it together using ECOS Paints (my new favorite non-toxic brand), and he still uses it daily. It’s not just furniture,it’s a keepsake that tells a story.
Plus, DIY projects save money. That dresser I mentioned? Cost me $20 in paint and supplies. A new one would’ve been $200. The money I saved went toward art supplies instead.
What You’ll Learn in This Guide
- How to choose truly non-toxic paints (and which brands I trust)
- Step-by-step prep techniques that actually work (I’ll tell you about my sanding fails)
- Creative ideas for adding kid-friendly details without compromising durability
- How to involve your kids in the process safely
- Maintenance tips to keep your pieces looking fresh for years
Planning Your Kid-Friendly Furniture Makeover
Before you grab that paintbrush, let’s talk planning. I learned this the hard way when I started painting a bookshelf without measuring first,it ended up being too wide for the space. Now I always sketch a quick plan and gather all my supplies beforehand.
Setting Your Objectives and Design Vision
First, ask yourself: What’s the purpose of this piece? Is it for storage, play, or homework? My daughter’s art station needed wipeable surfaces, so I used a water-based polyurethane sealer. For my son’s toy chest, I focused on easy-access handles.
I always involve my kids in the planning. Last time, my daughter picked out rainbow colors for her bookshelf. She still gets excited every time she sees it. Pro tip: Use free apps like Canva to create mood boards,kids love picking colors and patterns.
Budgeting and Timeline Considerations
Here’s what I’ve learned about budgeting: Always add 20% to your estimated cost for unexpected supplies. That time I thought I had enough sandpaper? I didn’t. And timing? Be realistic. I once rushed a project and ended up with sticky fingerprints all over the paint job.
| Project Type | Average Cost | Time Needed |
|---|---|---|
| Small table refresh | $25 (I did mine for $18 using leftover supplies) | 2 days (I took 3 because I got distracted) |
| Dresser transformation | $45 (found great deals at my local hardware store) | 4 days (added an extra day for drying) |
My essential toolkit includes:
- 220-grit sandpaper (I prefer the 3M brand,it’s less dusty)
- Angled brushes (Purdy brushes are my favorite,they hold paint well)
- Drop cloths (I use old bedsheets,saves money!)
- Safety goggles (non-negotiable, especially when sanding)
Choosing the Right Non-Toxic Paint
This is where I made my biggest mistake early on. I grabbed what looked like the cheapest option at the store, only to find out it had high VOCs. My kids were coughing for days. Now I only use paints that are:
- Certified by GreenGuard Gold or EC1 Plus
- Water-based (no harsh fumes)
- Low-odor (I can actually paint indoors without headaches)
| Paint Type | Key Features | Drying Time | Best For |
|---|---|---|---|
| Chalk Paint | No sanding needed, matte finish (great for vintage looks) | 1-2 hours (I can usually do a second coat the same day) | Vintage looks, furniture with intricate details |
| Mineral Paint | Zero odor, UV-resistant (perfect for outdoor pieces) | 4-6 hours (I like to do this project over a weekend) | Outdoor items, high-traffic furniture |
| Milk Paint | Biodegradable, natural pigments (my kids love the earthy colors) | 30 minutes (dries super fast,great for impatient kids!) | Eco-focused designs, rustic furniture |
My go-to brand is ECOS Paints. It’s pricier than regular paint, but worth it. I also love BioShield for its durability. Pro tip: Always test your paint color on a small area first,colors dry darker than they look wet!
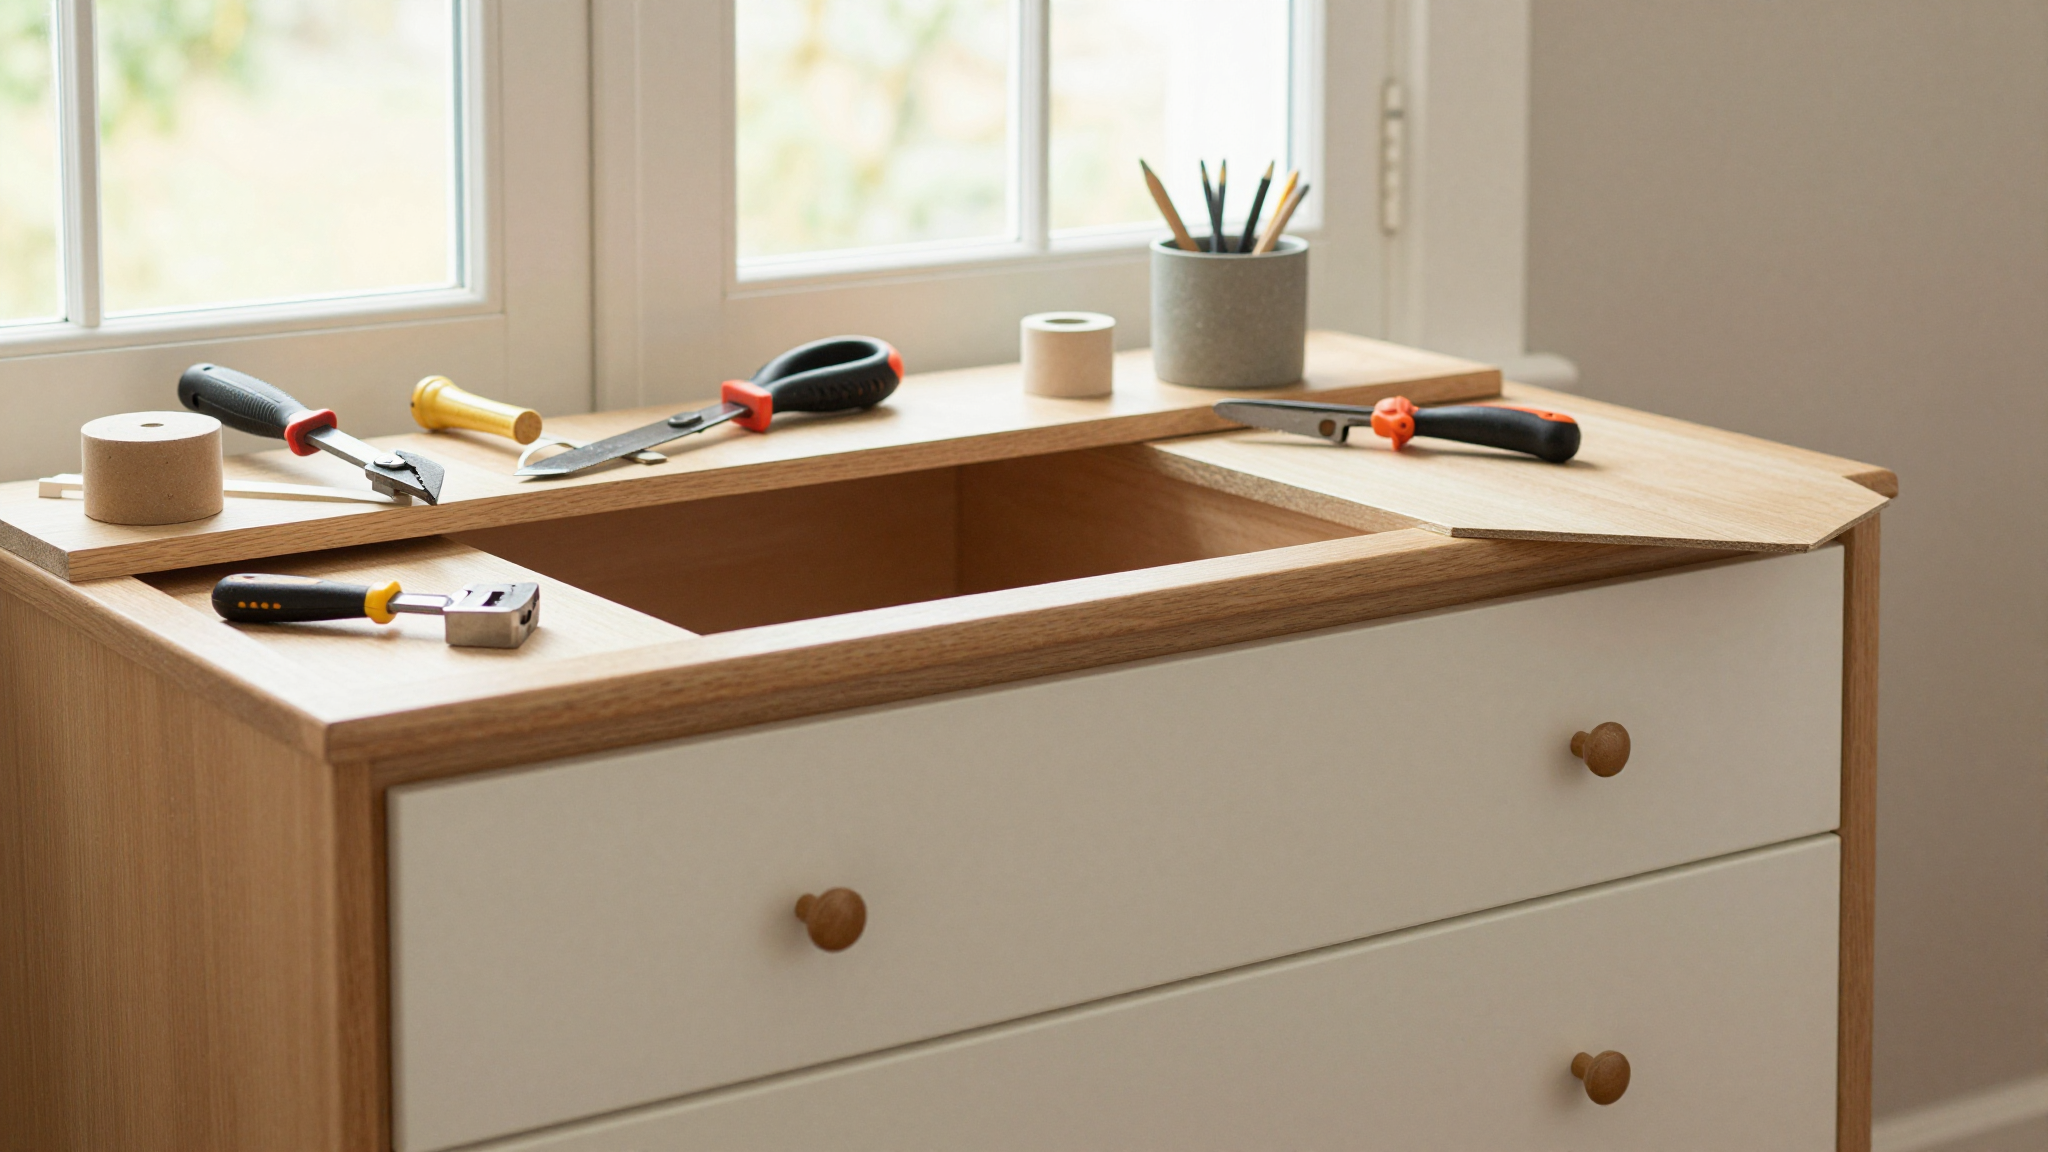
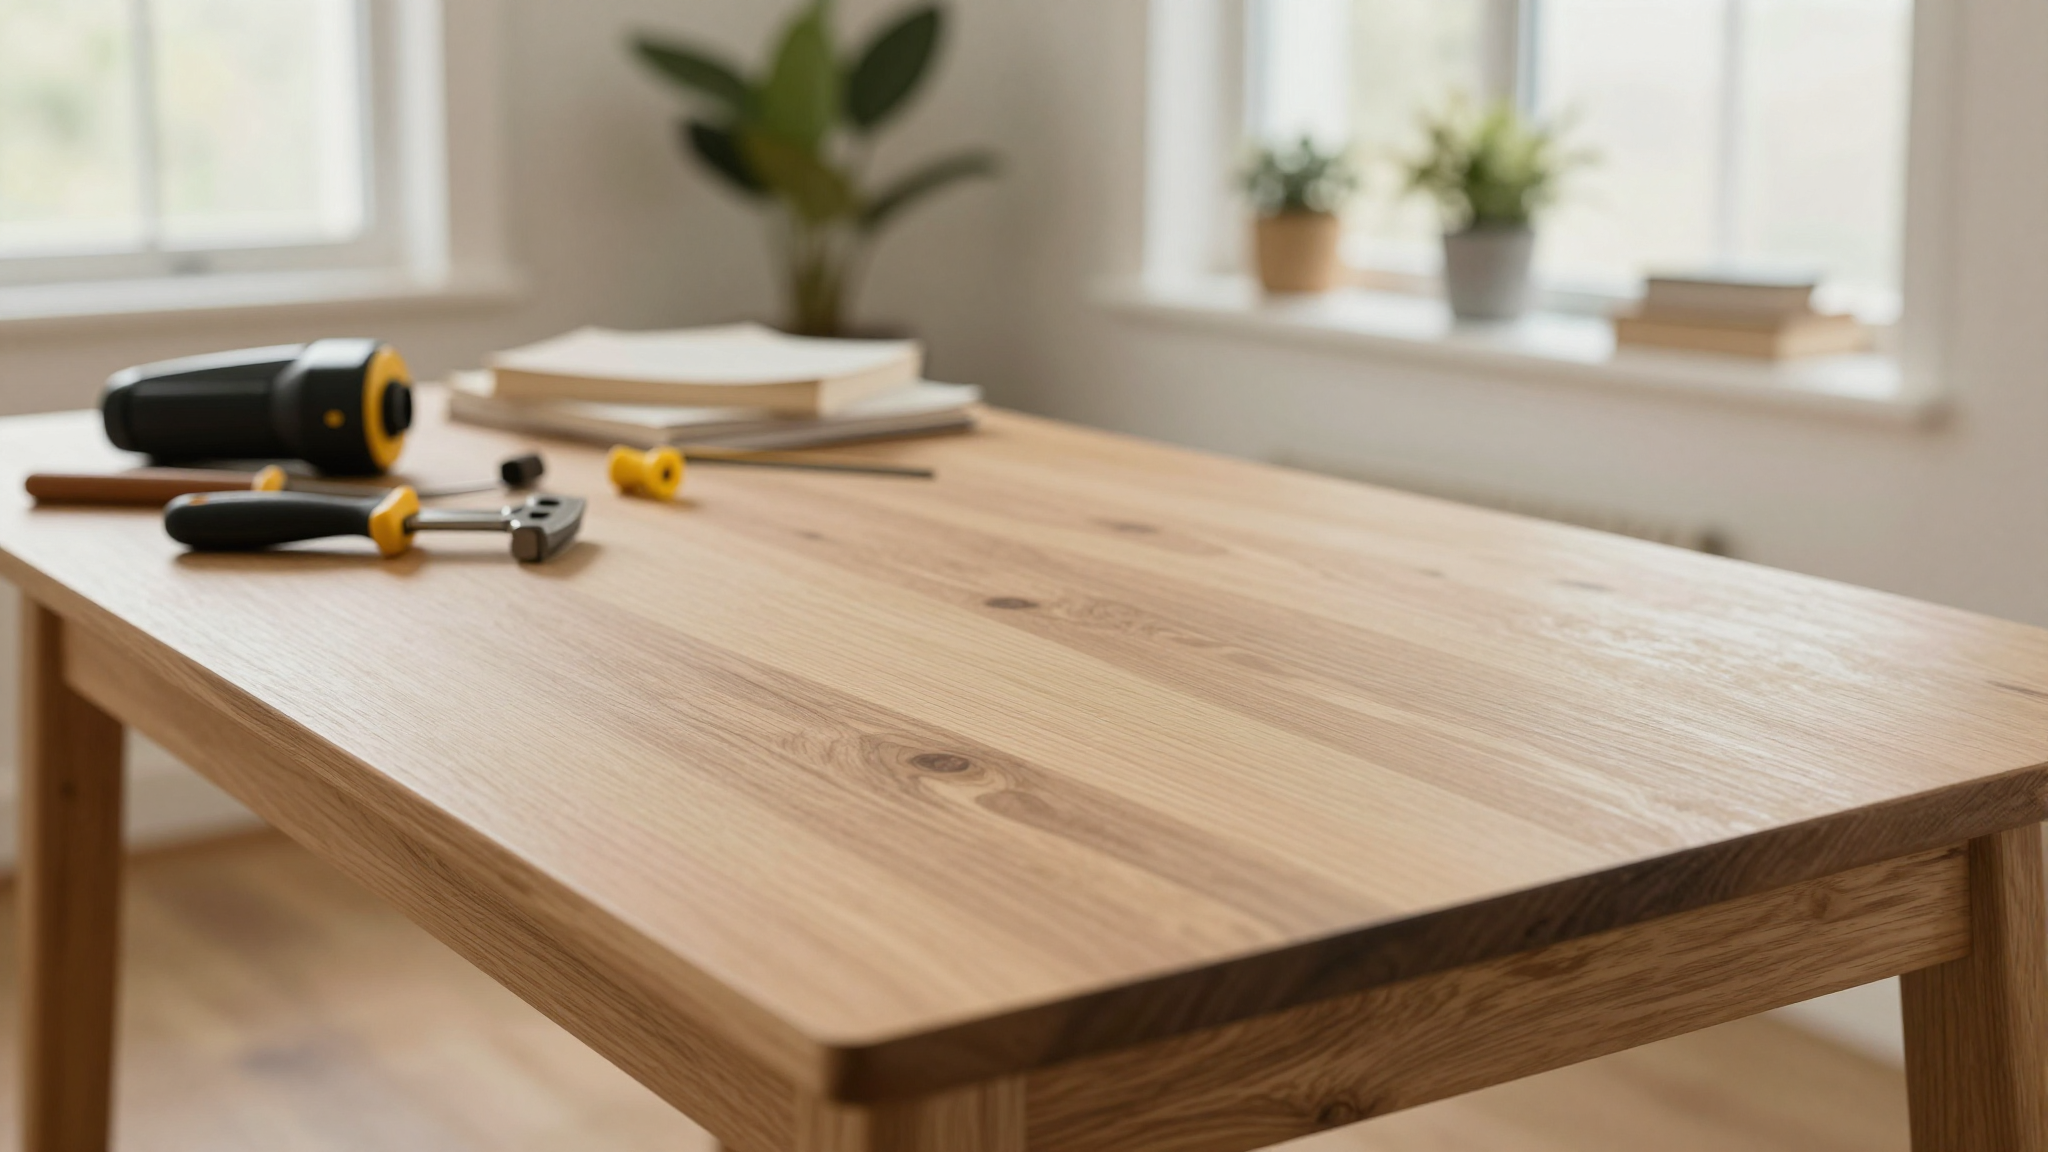
Preparing Furniture for a Successful Transformation
This is where most people (including me) cut corners and end up with a messy finish. Don’t skip prep work! That time I didn’t sand properly? The paint peeled after two weeks. Now I spend extra time on this step.
Cleaning, Sanding, and Repairs
First, I clean everything with a mix of warm water and Dawn dish soap. It removes grease and grime that can make paint stick poorly. For stubborn stains, I use a magic eraser,it works wonders on crayon marks!
Sanding is non-negotiable. I use 220-grit sandpaper and go with the grain. For curved legs, I switch to a sanding sponge,it gets into all the nooks. Pro tip: Wipe dust with a tack cloth instead of a regular rag. It picks up way more dust particles.
| Step | Tool | Purpose |
|---|---|---|
| Cleaning | Microfiber cloth + Dawn soap | Removes grease and grime |
| Repairs | Wood filler (I like Minwax) | Smooths imperfections |
| Sanding | Orbital sander (or my hands when I’m feeling lazy) | Creates paint-ready surface |
Proper Surface Priming Techniques
Primer is like the glue that makes your paint stick. I learned this the hard way when I skipped primer on a pine dresser,the paint chipped after a week. Now I always use a water-based primer like Kilz.
Here’s my priming process:
- Apply a thin coat with a foam roller (it gives the smoothest finish)
- Let it dry completely (usually 1-2 hours)
- Lightly sand with 320-grit paper for a “tooth” that helps paint grip
- Wipe away dust with a tack cloth
For tricky wood knots, I seal them with shellac first. It stops that nasty sap from bleeding through your topcoat. Trust me, you don’t want to deal with that!
Step-by-Step Guide to a Stunning Makeover
Now for the fun part,actually transforming that furniture! I’ll walk you through my process, including the mistakes I’ve made along the way.
Surface Prep: The Foundation of Success
Start by wiping everything down with a vinegar-water mix (1 part vinegar to 3 parts water). It’s a great final clean before painting. For stubborn finishes, I use a liquid deglosser like Krylon‘s product,it works better than sanding for some surfaces.
When I’m disassembling furniture, I label each part with masking tape. That way, I know exactly where everything goes when I put it back together. (I learned this after spending 20 minutes trying to figure out which drawer went where!)
Painting Like a Pro
I always use angled brushes for corners and details. For large flat surfaces, I switch to a foam roller,it gives the smoothest finish. My biggest painting mistake? Using too much paint at once. It causes drips. Thin coats dry faster and look better.
Here’s my painting routine:
- Start with the top and work downward (this catches drips before they dry)
- Paint in small sections (about 2 feet at a time)
- Let each coat dry completely (I set a timer,2 hours for water-based paints)
- Do a final inspection with good lighting to catch missed spots
For sealers, I love beeswax for its natural look and safety. It’s perfect for kids’ furniture because it’s non-toxic and easy to reapply. I also use water-based polyurethane for high-traffic areas like tabletops.
Creative Flourishes That Pop
This is where you can really have fun! My daughter loves when I add special touches to her furniture. Some of our favorites:
- Chalkboard panels on drawer fronts (we use them for grocery lists and doodles)
- Removable decals shaped like stars and clouds (I get them from DecalGirl)
- Colorful knobs made from recycled materials (I’ve used old buttons and wooden beads)
For a whimsical touch, I stencil geometric patterns using painter’s tape. It’s easier than freehand painting and looks professional. Check out my guide to upcycling furniture for more stenciling tips.
I also let my kids add their own personal touches. My son used washable markers to draw dinosaurs on his nightstand. It’s not perfect, but it’s meaningful,and we can always paint over it when he outgrows it!
Creative Kid-Friendly Design Ideas
This is where the magic happens! You can create furniture that’s both functional and fun. Here are some ideas that have worked in our home:
- Paint chair legs in alternating rainbow colors (my kids think it looks like candy!)
- Add scalloped edges to tabletops using peel-and-stick trim (I got mine from Home Depot)
- Use removable wallpaper on drawer interiors for surprise patterns (my daughter loves changing hers monthly)
| Modern Element | Vintage Touch | Kid Appeal |
|---|---|---|
| Neon yellow base | Floral stencil details | Bright + nostalgic (my kids love the contrast!) |
| Geometric shelves | Distressed edges | Textured interest (great for little hands to explore) |
One of my favorite projects was turning a basic dresser into a puppet theater. We painted the frame navy blue, added gold star decals, and hung curtains from the top. Now it’s both storage and a stage for my kids’ puppet shows!
Incorporating Playful and Functional Decorative Elements
It’s the little details that make kid-friendly furniture truly special. Here are some of my favorite touches:
- Adhesive chalkboard panels on table edges (perfect for quick doodles)
- Color-coded storage labels using laminated felt shapes (my kids can “read” their toys!)
- Glow-in-the-dark decals along bookshelf edges (helpful for nighttime reading)
| Element | Function | Style Impact |
|---|---|---|
| Magnetic strips | Display artwork | Rotating gallery wall (my kids love switching their drawings) |
| Pom-pom trim | Softens sharp edges | Textured focal point (great for sensory play) |
| Patterned contact paper | Protects surfaces | Adds hidden surprises (my kids love peeling it back to see the patterns) |
For chairs, I’ve tried:
- Painting legs in alternating rainbow hues (my daughter’s favorite)
- Attaching removable seat cushions with Velcro (easy to wash!)
- Stenciling numbers on chair backs (we use them for learning games)
I found these accent wall ideas helpful when planning color schemes. The key is to let your kids have input,it makes them more excited about the final result!
Revamping Dressers, Tables, and Desks
Large pieces like dressers and desks can be transformed into family favorites with some creativity. Here’s how I’ve approached different types of furniture:
Dressers
I turned an old oak dresser into a colorful art station by:
- Painting the drawers in pastel colors
- Adding chalkboard paint to the top
- Replacing knobs with animal-shaped pulls
For a farmhouse look, I:
- Stripped old varnish from the legs
- Stained them walnut
- Added hairpin legs for a lifted look
Tables
My son’s play table got a makeover with:
- White base with natural wood top
- Mismatched chairs for a fun look
- Chalkboard paint on one side for drawing
Desks
For my daughter’s homework desk, I:
- Painted the frame sage green
- Added a pegboard back for art supply storage
- Installed a pull-out tray for easy access to supplies
| Before | After | Farmhouse Twist |
|---|---|---|
| Scratched pine table | White base + natural top | Mismatched chairs (thrift store finds!) |
| 1980s laminate desk | Navy lower cabinets | Brass cup pulls (found at a flea market) |
| Plain dresser | Two-tone drawers | Rope handles (my kids helped tie them!) |
When repairing high-traffic pieces, I always:
- Fill deep gouges with wood filler
- Sand edges smooth to prevent splinters
- Use water-based polyurethane for durability
Embracing Vintage Thrift Store Finds
Some of my best furniture pieces have come from thrift stores and garage sales. That mid-century desk in my daughter’s room? Cost me $15 at a garage sale!
Finding Hidden Gems
Here’s what I look for:
- Solid wood construction (avoid particleboard)
- Intact joinery (no wobbly parts)
- Minimal structural damage (small scratches are easy to fix)
Pro tips for scoring great finds:
- Go mid-week when new stock arrives
- Bring a tape measure (so you don’t get home with something that doesn’t fit!)
- Ask about discounts on items needing minor repairs
Adapting Vintage Pieces
I turned a 1970s record cabinet into an art supply station by:
- Adding pull-out trays for easy access
- Painting it bright colors
- Installing hooks for hanging artwork
For safety, I always:
- Replace glass knobs with rounded silicone ones
- Sand sharp edges smooth
- Use magnetic catches on upper cabinets
Refreshing Living Room and Bedroom Pieces
Our living room and bedrooms see the most action, so durability is key. Here’s how I’ve made our spaces both safe and stylish:
Living Room
For our coffee table, I:
- Used wipeable mineral paint on the top
- Added pom-pom trim around the edges (my kids love the texture!)
- Installed felt pads on the legs to protect the floor
Bedroom
In my daughter’s room, I:
- Added rounded corner guards to her bookshelf
- Used glow-in-the-dark decals on the edges of her nightstand
- Painted her desk with chalkboard sides for notes and drawings
| Room | Item | Safety Feature | Playful Element |
|---|---|---|---|
| Living Room | Ottoman | Waterproof coating | Removable pom-pom trim (my kids change the colors seasonally!) |
| Bedroom | Bookshelf | Wall anchors (safety first!) | Glow-in-the-dark edges (helpful for nighttime reading) |
| Bedroom | Desk | Rounded edges | Patterned drawer liners (my daughter picks new ones monthly) |
I love tying a room together with matching elements. For example, I used the same mint green color for my daughter’s desk and her storage bins. It creates cohesion without being overwhelming.
Troubleshooting Common DIY Furniture Challenges
Even the best-laid plans can hit snags. Here’s how I’ve fixed common problems:
Paint Imperfections
If you end up with streaks or bubbles (like I did on my first project!), here’s what to do:
- Let the paint dry completely
- Lightly sand with 320-grit paper
- Wipe with a tack cloth
- Apply a thin repair coat
For bubbles, make sure you’re not shaking the paint can too vigorously. And always work in a well-ventilated area,even with non-toxic paint!
Upcycling Hurdles
Warped wood or loose joints can be tricky, but they’re fixable:
- For wobbly chairs: Disassemble, apply wood glue to joints, and clamp for 24 hours
- For stubborn hardware: Soak rusty screws in vinegar overnight
My go-to tools for repairs:
| Problem | Essential Tool | Time Needed |
|---|---|---|
| Stuck drawers | Paraffin wax (rub it on the tracks) | 10 minutes |
| Splintered edges | Wood filler | 2 hours |
| Stained surfaces | Bleach pen | 30 minutes |
Remember: Patience is key. Let repairs cure properly before moving on to painting. It’s worth the wait!
Maintaining and Caring for Your Newly Made Pieces
To keep your furniture looking fresh, I follow these simple routines:
Cleaning
I dust weekly with a microfiber cloth. For spills, I use a damp rag with mild soap. Never use harsh cleaners,they can strip your non-toxic finishes.
Inspection
I check edges monthly for wear. If I find any damage, I touch it up with leftover paint. I keep a small touch-up kit with:
- Mini paint jars
- 320-grit sandpaper squares
- Beeswax sticks for quick repairs
Protection
I use washable contact paper on high-traffic surfaces. And I always use placemats and tray tables to protect furniture from spills and scratches.
Teaching my kids to respect their furniture has been surprisingly easy. They’re proud of the pieces we’ve created together and want to keep them looking nice!
Personalizing Your Furniture with Bold Colors and Finishes
This is where you can really let your (and your kids’) creativity shine! Here are some of my favorite techniques:
Using White Paint for Contrast
White paint is my secret weapon. I use it to:
- Highlight intricate carvings on drawer fronts
- Create crisp borders between rainbow stripes
- Refresh legs and trim for a modern look
I always apply two coats of white under bright colors. It makes the colors pop and hides wood grain for a smooth finish.
Adding Texture
Texture makes pieces more interesting. Try:
- Sponge-painting clouds on chair backs
- Adding metallic wax highlights to drawer pulls
- Stenciling geometric patterns with matte sealers
Remember, your creations should evolve with your kids’ tastes. If that lime-green dresser doesn’t work anymore, sand it down and repaint it terracotta. The possibilities are endless!
Final Thoughts and Your Next Project
There you have it,everything I’ve learned about transforming furniture safely and stylishly for kids. The best part? You don’t need to be a professional to create beautiful, durable pieces. Just start with non-toxic materials, take your time on prep work, and most importantly, have fun with it!
Now, what should you tackle first? That thrifted dresser in your garage? That scratched-up nightstand? Grab your paintbrush and get started. And if you hit a snag, remember,even my “mistakes” have turned into beloved family pieces.
I’d love to see what you create! Share your projects on Instagram and tag me @christinaprojects. Happy painting!