
Let me tell you, there’s nothing quite like walking into your living room and seeing those throw pillows you made yourself,no sewing machine required,perfectly tied together with your sofa and bedding. I still remember the first time I tried making pillow covers without stitching. It was a rainy Saturday afternoon, my kids were napping, and I had this vision of these gorgeous boho-patterned pillows I’d seen in a magazine. The problem? I didn’t own a sewing machine, and the thought of learning made me want to hide in my craft closet. Turns out, I didn’t need to. With just some fabric glue, an iron, and a little patience, I created pillows that looked like they came from a boutique,except they cost me a fraction of the price and gave me way more satisfaction.
What I love most about this no-sew approach is how it lets you refresh your space whenever you feel like it. Need a seasonal change? Swap out summer florals for autumn plaids in 20 minutes. Want to test a new color palette? No problem. It’s the perfect way to experiment without the commitment (or cost) of buying new furniture. And honestly, after years of DIY projects, I can tell you that sometimes the simplest solutions are the most rewarding.
Why I Swore Off Sewing Machines (For Pillows, Anyway)
Here’s the thing: I’m not anti-sewing. I actually love having a sewing machine for bigger projects like upholstery or curtains. But for throw pillows? Overkill. The first time I tried sewing a pillow cover, I ended up with crooked seams and a pillow that looked like it had been through a war. (My husband still teases me about it.) No-sew methods let me bypass all that frustration while still getting professional-looking results.
What changed everything for me was discovering fabric adhesives and iron-on tapes. I was skeptical at first,would they really hold up?,but after testing a few brands (I’ll never forget the disaster with that cheap glue that melted my iron), I found the right products that actually work. Now I keep a stash of Tear-Aid Fabric Adhesive and HeatnBond Ultrahold in my craft drawer for quick projects. They’re not perfect for everything, but for pillows? Game-changer.
When No-Sew Pillow Covers Make Sense
I use no-sew techniques for:
- Quick refreshes – When I need to update a room fast (like before my book club meets at my house)
- Kids’ rooms – Because let’s be real, anything sewn in there will get destroyed within a week
- Seasonal swaps – I rotate my pillows with the seasons, and sewing new ones every few months would be insane
- Gift giving – I’ve made custom pillow covers for friends’ houses, and they always ask how I got them to look so perfect
That said, I’ll be honest,no-sew isn’t always the best choice. If you’re working with super slippery fabrics like silk or very thick materials, you might want to break out the sewing machine. But for 90% of my projects? No-sew is my go-to.
Picking Fabrics That Actually Work (And Ones to Avoid)
One of the biggest mistakes I made early on was choosing fabrics that looked pretty in the store but were nightmares to work with. I’ll never forget trying to make pillow covers out of this gorgeous (but extremely slippery) satin fabric. The adhesive wouldn’t stick, the iron burned it, and I ended up with a pile of fabric scraps that went straight to the donation bin.
Now I stick to these fabrics that actually work well with no-sew methods:
My Top Fabric Picks
- Cotton – My absolute favorite. It’s breathable, easy to work with, and holds adhesive beautifully. I use it for almost everything in my house.
- Linen – Gives that perfect “lived-in” look that I love for boho-style rooms. Just be prepared for some wrinkling (which I actually think adds character).
- Polyester blends – Great for high-traffic areas because they’re stain-resistant and durable. I used a polyester-cotton blend for my kids’ room pillows.
- Faux leather – Surprisingly easy to work with if you use the right adhesive. I made some statement pillows for my reading nook that get tons of compliments.
Fabrics to approach with caution:
- Silk or real leather – They require special adhesives and can be tricky
- Super stretchy knits – They don’t hold their shape well with no-sew methods
- Very thin or sheer fabrics – They can shift when you’re trying to apply adhesive
Pro tip: Always pre-wash your fabric before cutting. I learned this the hard way when I made pillows that shrank after the first wash. Now I wash, dry, and press my fabric before I even start cutting.
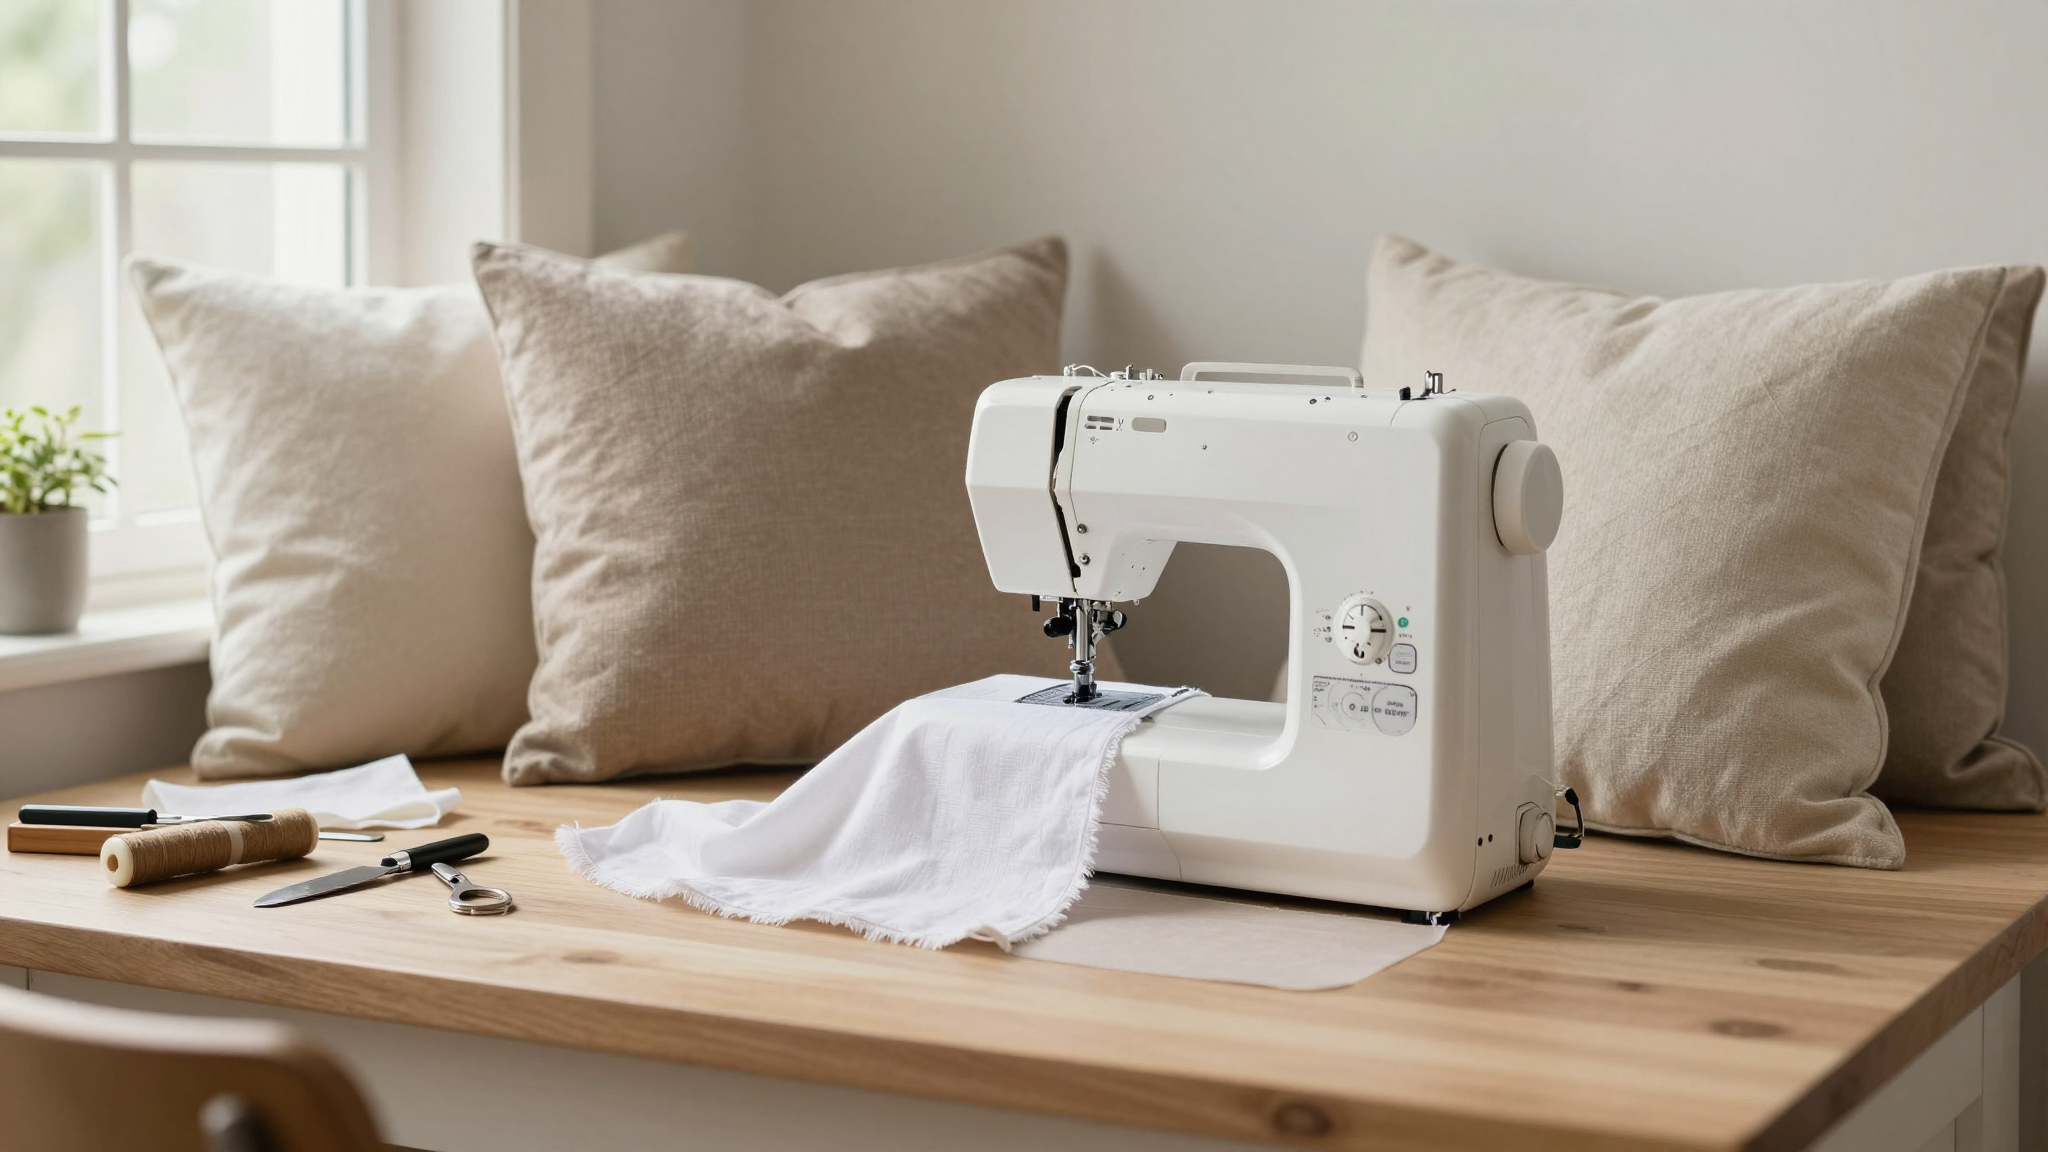
The Tools I Actually Use (And Ones You Can Skip)
You don’t need a fancy setup to make no-sew pillow covers. Here’s what I keep in my craft station:
Essential Tools
- Fabric scissors – I swear by my Gingher 8″ Dressmaker’s Shears. They’re sharp enough to cut through multiple layers of fabric cleanly.
- Iron and ironing board – For heat-activated adhesives. My Rowenta Steam Force is my holy grail for DIY projects.
- Fabric adhesive – I love Tear-Aid for general use and HeatnBond for crisp edges.
- Measuring tape – A good quality one that doesn’t stretch. I keep mine clipped to my cutting mat.
- Parchment paper – To protect my iron and fabric when using heat-activated adhesives.
Nice-to-Have Extras
- Fabric marker or chalk – For marking cuts
- Clips or binder clips – To hold fabric in place while adhesive dries
- Fabric glue pen – For touch-ups and small repairs
- Rotary cutter and cutting mat – If you’re making a lot of pillows, this speeds up cutting
What you can skip:
- Expensive sergers or overlockers – Not needed for pillows
- Specialty pressing tools – A regular iron works fine
- High-end design software – Just use your eyes and measure carefully!
Step-by-Step: How I Make No-Sew Pillow Covers (With My Real-Life Tips)
Alright, let’s get to the good stuff. Here’s exactly how I make no-sew pillow covers, including the mistakes I’ve made and how to avoid them.
Step 1: Measure Your Pillow Insert
This is where most people go wrong. You can’t just eyeball it. I learned this the hard way when I made pillows that were too small and looked sad and squished. Here’s how I do it properly:
- Measure your pillow insert from corner to corner (the diagonal measurement). Write this down.
- Add 3 inches to this measurement. This gives you enough fabric to wrap around the pillow with a 1.5-inch overlap on all sides.
- If your pillow is rectangular (like a lumbar pillow), measure the length and width separately, then add 3 inches to each dimension.
For example, my standard 20×20 inch pillow inserts actually need 26×26 inches of fabric (20 + 3 inches on each side).
Step 2: Cut Your Fabric
Lay your fabric out on a clean, flat surface. I use my dining room table when I’m working on bigger projects. Fold the fabric in half with the right sides together (if you’re using a pattern) or just lay it flat if you’re making a simple cover.
Use your measurements to mark the cutting lines. I like to use a fabric marker that washes out. Then, cut carefully along your lines. Sharp scissors make a huge difference here,don’t skimp on this!
Pro tip: If you’re making multiple pillows, cut all your fabric pieces at once. It saves time and ensures consistency.
Step 3: Apply Adhesive
This is where the magic happens. I have two favorite methods:
Method 1: Fabric Glue (For Removable Covers)
- Apply a thin, even line of fabric glue along one edge of your fabric.
- Press the other edge over the glue, aligning it carefully.
- Use binder clips to hold it in place while the glue dries (usually 15-30 minutes).
- Repeat for all edges, leaving one side open if you want a removable cover.
I use this method for pillows I want to be able to wash separately from the insert.
Method 2: Iron-On Adhesive (For Permanent Covers)
- Cut pieces of iron-on adhesive to match your fabric edges.
- Place the adhesive between your fabric layers, with the adhesive side against the “wrong” side of the fabric.
- Cover with parchment paper to protect your iron and fabric.
- Press with a hot iron according to the package instructions (usually 20-30 seconds per section).
- Let cool completely before moving the fabric.
I prefer this method for pillows that will stay on the insert permanently.
Step 4: Add Your Personal Touches
This is where you can really make your pillows unique. Some of my favorite additions:
- Fabric paint – I used this to add hand-painted florals to some linen pillows. It was easier than I thought!
- Iron-on patches – Great for adding fun designs or monograms. I got some cute ones from Etsy that my kids love.
- Trim and fringe – I added pom-pom trim to some boho pillows. It was so easy,just glue it along the edge!
- Embroidery – If you’re feeling fancy, you can hand-embroider designs before assembling.
One of my favorite projects was making pillows with my kids’ handprints. We used fabric paint to trace their little hands on plain cotton fabric, then made pillows that now have a special place in their rooms.
Step 5: Let It Dry and Insert Your Pillow
This is the hardest part,waiting! But trust me, rushing this step leads to peeling and mess. I usually let my pillows dry overnight just to be safe.
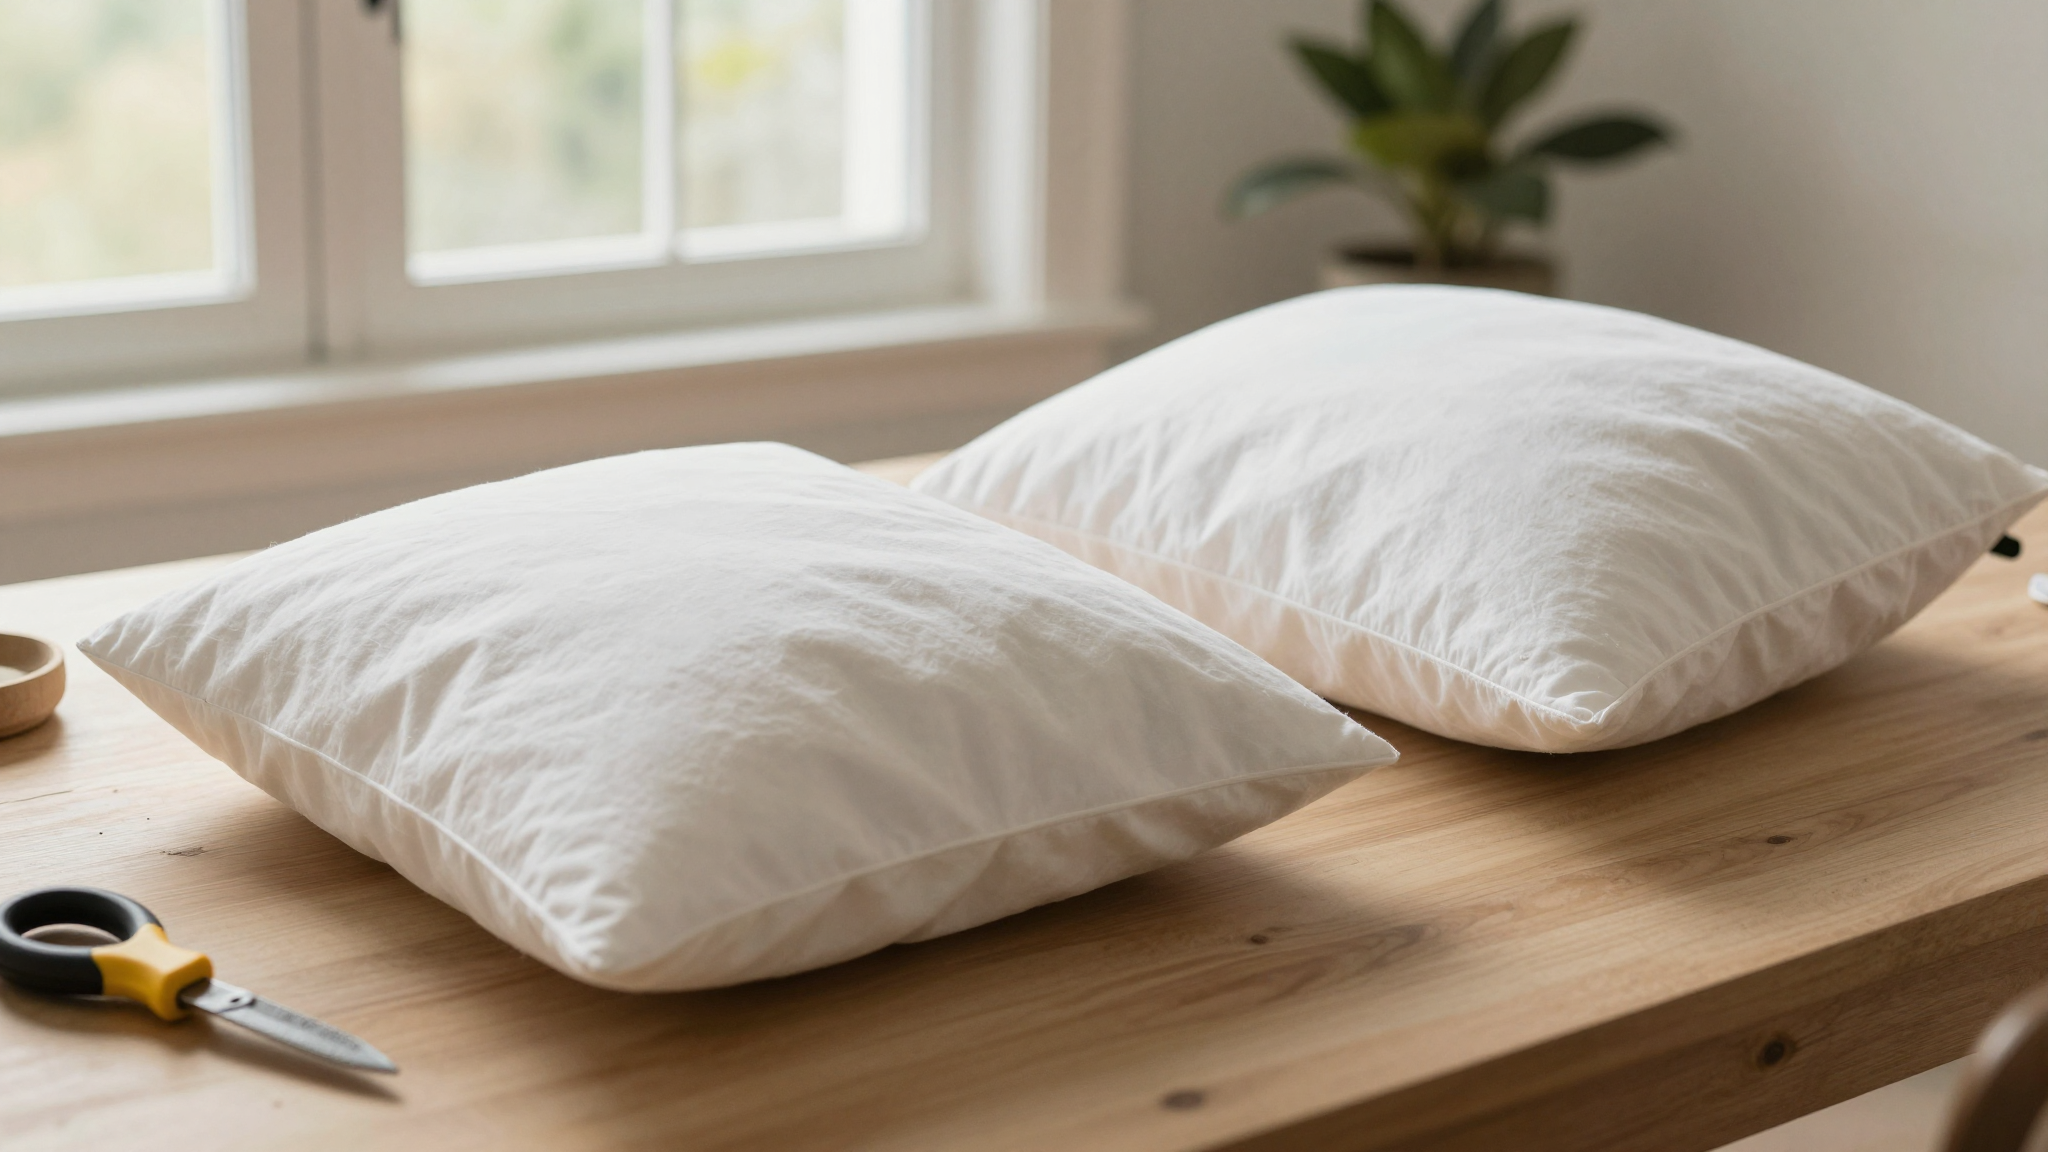
Once dry, gently slide your pillow insert into the cover. If you left one side open (for a removable cover), just tuck the insert in and fluff it up. For permanent covers, you might need to do a little wiggling to get the insert all the way in.
And that’s it! You’ve just made a custom pillow cover without sewing. I still get a little thrill every time I see them on my sofa or bed.
Making Your Pillows Look Like a Million Bucks (Even If They Cost Pennies)
Here’s the secret: it’s all about the details. I’ve had people ask me where I bought my pillows, thinking they were expensive designer pieces. The truth? Most of them cost me less than $10 in fabric and took me an afternoon to make.
Color Combinations That Always Work
I used to stress so much about picking the “right” colors. Now I have a few go-to combinations that always work:
- Neutral base + bold accent – White or beige pillows with one or two bright colored ones. This is my default for guest rooms.
- Monochromatic – Different shades of the same color. I did this in my bedroom with various blues,it looks so sophisticated.
- Complementary colors – Colors opposite each other on the color wheel (like blue and orange). I used this in my kids’ playroom for a fun, energetic look.
- Earthy tones – Beiges, greens, and browns. This is my go-to for the living room,it’s cozy and timeless.
Pro tip: If you’re not sure about colors, start with neutral fabrics and add colorful accents with trim or patches. You can always change the accents later if you don’t love them.
Texture Combinations That Wow
Texture is what takes pillows from “cute” to “wow.” Here are some of my favorite combos:
- Smooth + rough – Like a satin pillow next to a linen one. I did this in my reading nook and love how the textures play off each other.
- Fuzzy + smooth – A chenille pillow with a velvet one. This combo is perfect for winter.
- Metallic + matte – Gold or silver trim on a solid color pillow. I added this to some black pillows for a glam look.
- Layered textures – A pillow with fringe next to one with tassels. This works great for boho-style rooms.
One of my favorite texture experiments was making pillows with different weaves. I found some beautiful upcycled fabrics at a thrift store,some with visible stitching, others with nubby textures,and combined them for a really unique look.
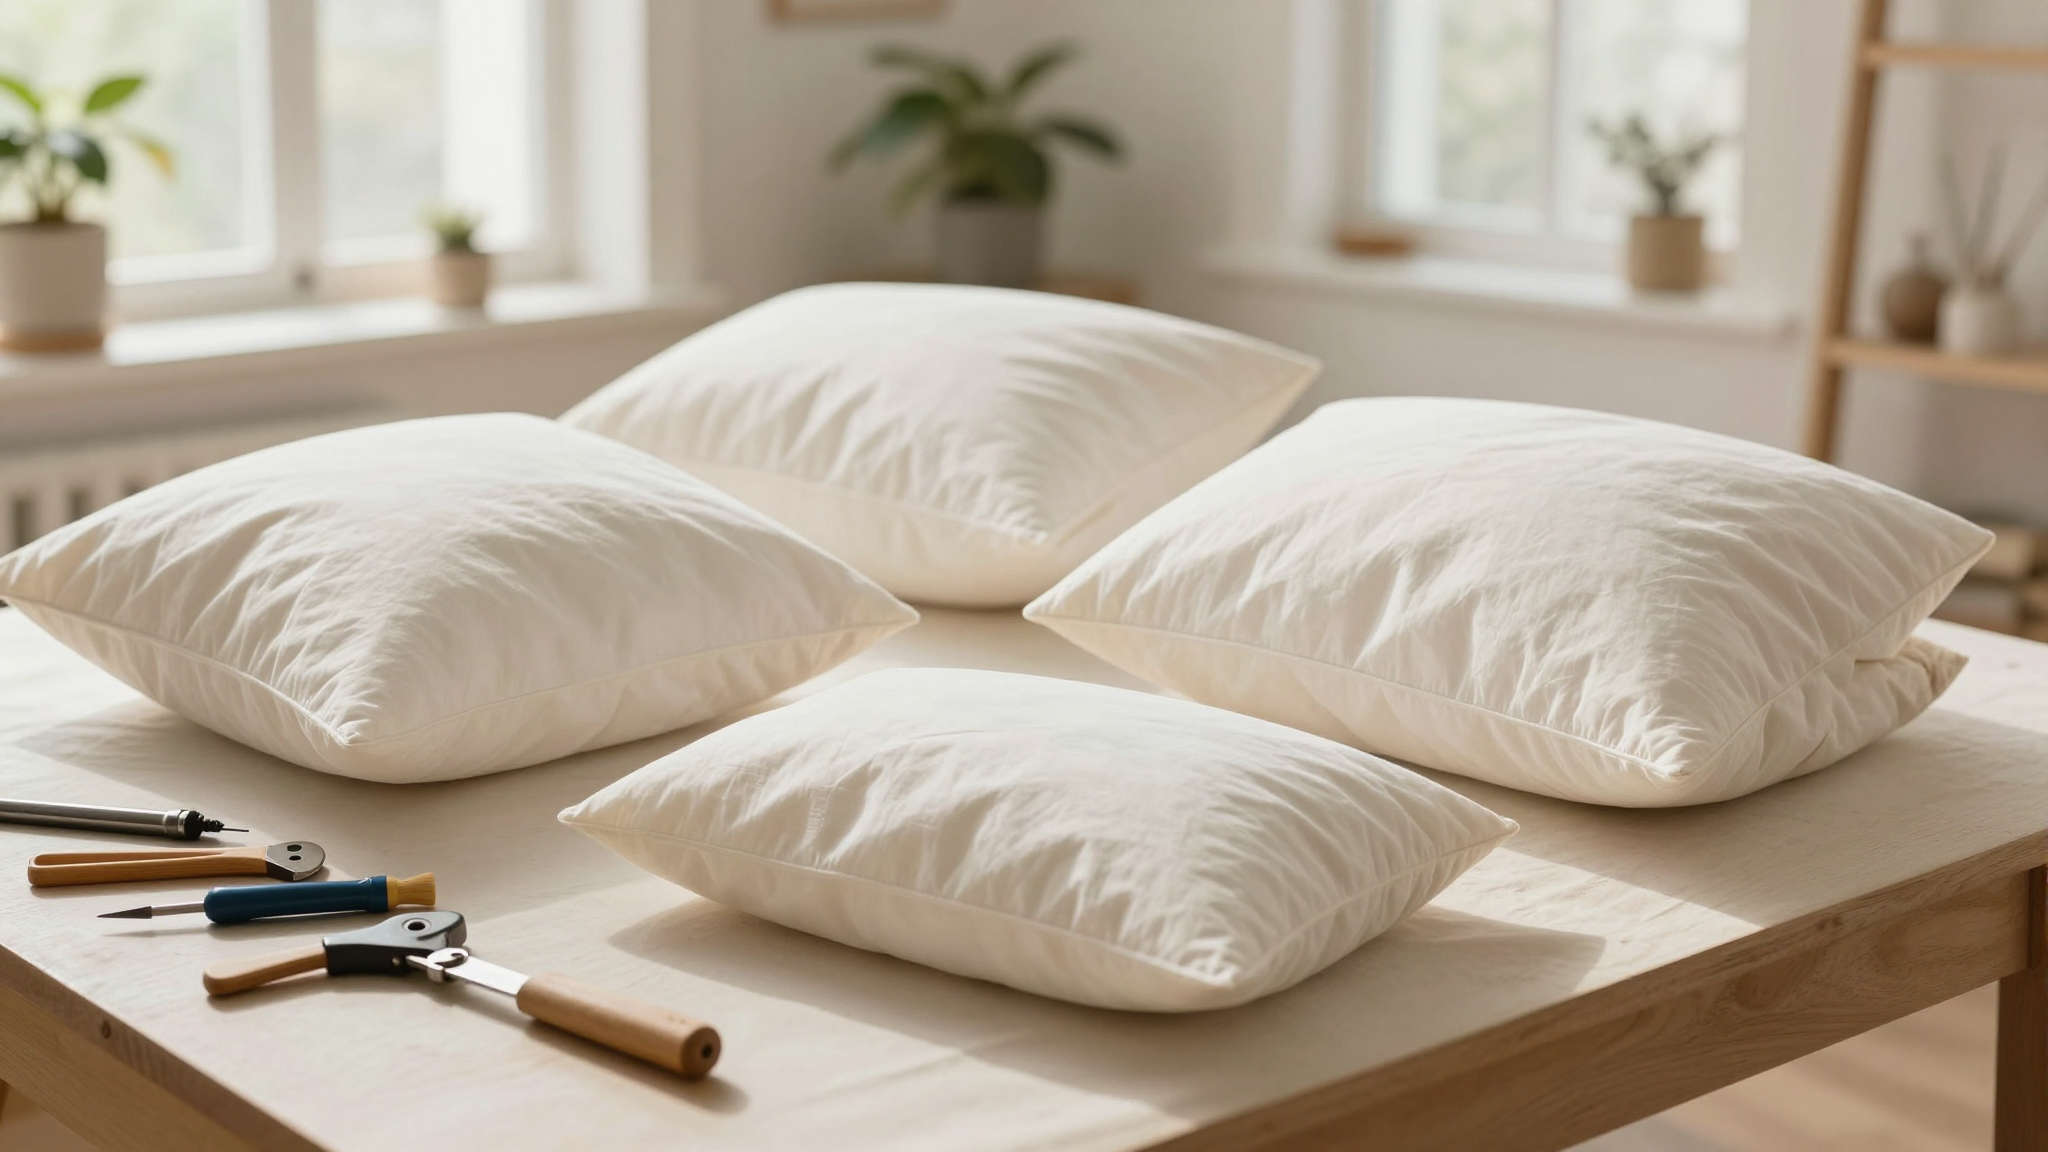
How to Style Your Pillows Like a Designer (Without the Designer Price Tag)
Styling pillows is where the real fun begins. I’ve learned a few tricks over the years that make my spaces look like they’re straight out of a magazine.
The Odd Number Rule
I always arrange pillows in odd numbers,3, 5, or 7. It just looks more balanced. For my sofa, I usually do 3 pillows: one large, one medium, and one small. It creates visual interest and makes the arrangement feel complete.
Vary the Heights
Not all pillows should be the same size! Mix in some lumbar pillows or even a small decorative pillow on top of a larger one. This adds dimension to your sofa or bed.
Coordinate with Your Throw Blanket
I always pick out my throw blanket first, then choose pillows that coordinate with it. For example, if I have a chunky knit throw in cream, I’ll add some cream pillows with textured fabrics, plus a few in deeper colors for contrast.
Seasonal Swaps
I change my pillows with the seasons. In summer, I go for light, breezy fabrics like cotton or linen. In winter, I switch to heavier materials like velvet or corduroy. It’s an easy way to refresh your space without a big project.
One year, I made a set of pillows with autumn leaf patterns for fall, then swapped them out for snowflake-printed ones in winter. My kids thought it was magical how the room changed with the seasons!
Common Mistakes (And How I Fixed Them)
Even after years of making pillow covers, I still make mistakes sometimes. Here are the ones I see most often,and how to avoid them.
Problem: The Fabric Won’t Stay Together
This usually happens when I don’t use enough adhesive or when I rush the drying process. Now I always:
- Use a thin, even line of adhesive (not globs)
- Press the edges together firmly for at least 30 seconds
- Let it dry completely (usually overnight) before using
- Use binder clips to hold edges while drying
Problem: The Pillow Looks Lumpy
This is almost always because the pillow insert is too big for the cover. I learned this the hard way when I made pillows that looked like they were stuffed with potatoes. Now I:
- Measure my inserts carefully before cutting fabric
- Make sure to add enough extra fabric for a good overlap (1.5 inches minimum)
- Fluff the insert before putting it in the cover
Problem: The Edges Are Messy
This happens when I don’t cut my fabric straight or when I don’t align the edges properly. My solution:
- Use a rotary cutter and cutting mat for super straight lines
- Fold the fabric carefully before applying adhesive
- Use painter’s tape to hold edges in place while the adhesive dries
Problem: The Colors Don’t Match My Decor
This is the easiest to fix! I now:
- Buy fabric swatches first to test colors in my space
- Take photos of my room and use them to match colors digitally
- Remember that lighting changes colors,what looks good in the store might not look good at home
Final Tips from My DIY Journey
After making probably 50+ pillow covers over the years, here’s what I’ve learned:
- Start simple – Your first few pillows don’t need to be perfect. Mine weren’t! But each one taught me something new.
- Embrace imperfections – A slightly crooked edge or a small glue spot? No one will notice (except maybe you). Focus on the big picture.
- Make it personal – Add your kids’ handprints, a favorite quote, or fabrics that remind you of a special place. That’s what makes DIY special.
- Have fun with it – If you’re not enjoying the process, it’s not worth it. Put on some music, pour a glass of wine, and make it a relaxing project.
- Don’t be afraid to experiment – I’ve tried so many different fabrics and techniques, and even the “failures” taught me something valuable.
My most recent project was making pillows for my daughter’s bedroom. She picked out the fabrics (all different patterns,very eclectic!), and we spent a weekend working on them together. Now she has pillows that are uniquely hers, and she loves telling her friends that we made them together. That’s the real reward of DIY.
So, what are you waiting for? Grab some fabric, pick a project, and start creating. Your home (and your soul) will thank you.)