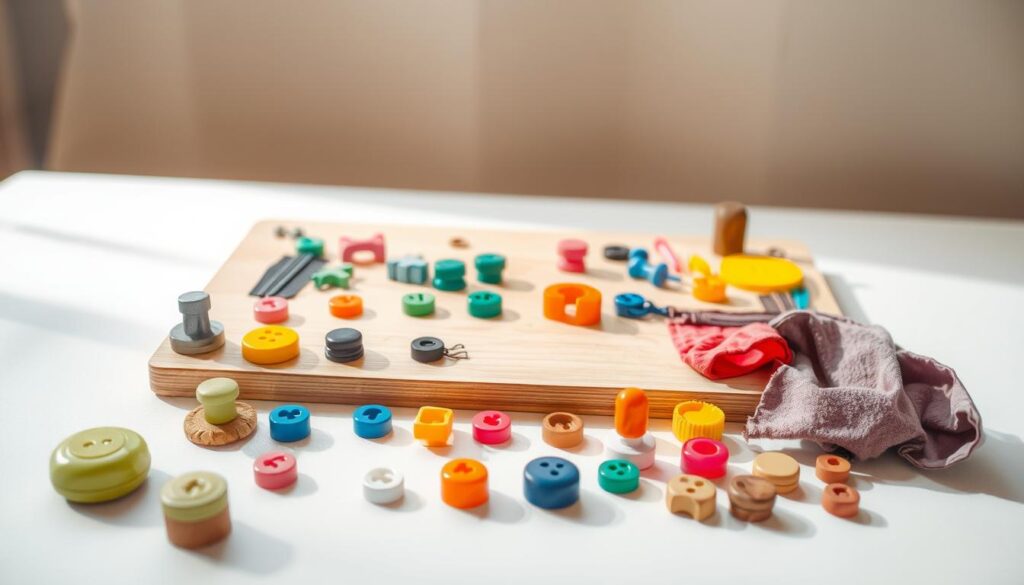
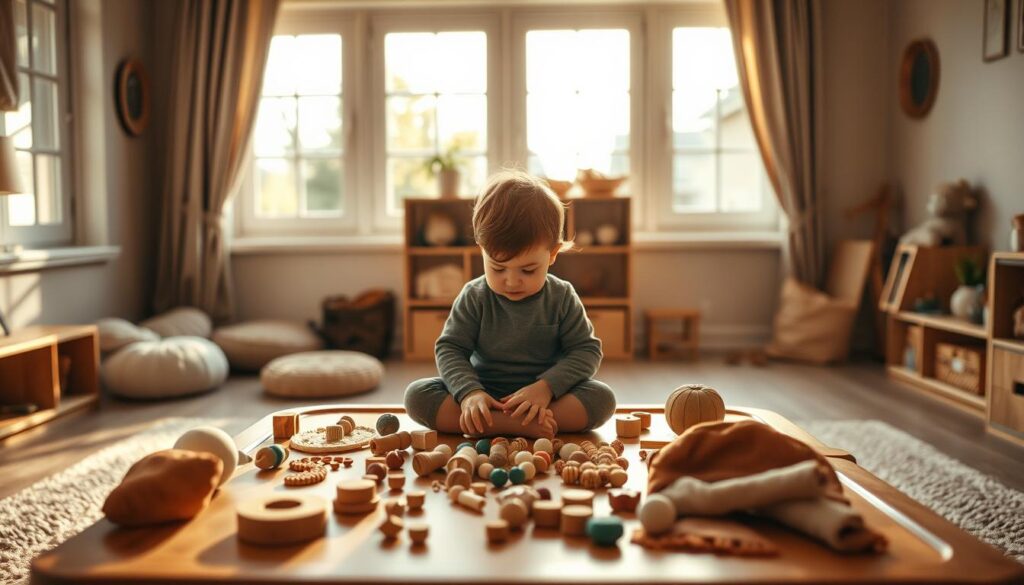
Looking for a creative way to spark your little one’s curiosity while boosting their growth? Crafting DIY projects at home can turn everyday items into powerful learning tools. Inspired by Autism Awareness Month, one family recently designed an engaging activity board using supplies from their local Home Depot. Their project highlights how simple materials can nurture exploration and development.
These hands-on creations let toddlers discover textures, colors, and sounds in a safe, controlled space. By choosing items like soft fabrics, chunky knobs, and rattling objects, parents blend creativity with security. The process becomes a bonding experience—from planning the design to securely attaching each piece.
Interactive boards encourage motor skills and language development as kids describe what they see, hear, or touch. They also introduce concepts like cause-and-effect through playful experimentation. Best of all, building one requires no expertise—just enthusiasm and a trip to your nearest hardware store!
Key Takeaways
- Handmade activity boards promote learning through play and tactile discovery.
- Local stores like Home Depot offer affordable, safe materials for DIY projects.
- Mixing textures, sounds, and visuals supports cognitive and motor skill growth.
- Involving kids in the creation process strengthens engagement and bonding.
- Upcoming sections will cover material lists, safety checks, and step-by-step guides.
Materials and Safety Tips for DIY Sensory Boards
Creating a hands-on learning tool begins with smart choices at your neighborhood hardware store. With items like plywood, knobs, and colorful tapes, you can design a playful space that grows with your child’s curiosity.
Choosing the Right Materials from Local Stores
Stores like Home Depot offer budget-friendly supplies perfect for repurposing. Look for:
- Durable surfaces: Leftover plywood or sanded planks work best.
- Non-toxic finishes: Craft paints or sealants labeled kid-safe.
- Varied textures: Felt pads, rubber grips, or smooth ceramic tiles.
Painter’s tape helps map layouts before permanent fixes. This step-by-step guide shows how to arrange pieces for maximum engagement.
Ensuring Security and Safe Assembly
Every item needs a stress test. Check for:
- Screws shorter than your board’s thickness
- No sharp edges (use a Dremel to smooth rough spots)
- Wood glue applied sparingly to avoid sticky residue
Rotate knobs and latches repeatedly to confirm stability. Remember: loose parts become choking risks. Double-check each attachment point before playtime begins!
Step-by-Step Guide for Creative Toddler Projects
Transform everyday objects into engaging learning tools with this simple blueprint. Start by gathering materials that invite exploration while keeping safety front-and-center.

Gathering Supplies and Planning the Layout
Hit your local hardware store armed with a mission: collect textured fabrics, colorful latches, and noise-making items. A leftover plywood sheet becomes your canvas. Lay out components like puzzle pieces – place bumpy surfaces near smooth ones for contrast.
Snap photos of your arrangement before securing anything. This visual roadmap helps recreate designs later. Pro tip: Let kids point to their favorite items during setup. Their choices often spark unexpected creative combos!
Documenting and Marking Each Section
Grab painter’s tape and a ruler to map zones. Mark boundaries for:
- Textured patches
- Moving parts like wheels or dials
- Sound-making elements
Double-check every screw and adhesive bond. Wiggle test each piece – if it moves more than a quarter-inch, reinforce it. For extra ideas, this interactive guide shows clever ways to combine textures and mechanics safely.
Remember: The best projects grow with your child. Leave space to swap out pieces as their skills develop!
Engaging Sensory Activities to Boost Toddler Development
Turn playtime into discovery time with activities that blend touch, sight, and sound. These experiences help little ones make sense of their world while building essential skills through hands-on fun.

Exploring Textures, Colors, and Sounds
Mix materials like fuzzy felt squares with cool metal washers to create contrast. Bright acrylic shapes in primary colors grab attention, while crinkly fabric scraps add surprise sounds. Try these combinations:
- Bumpy rubber drawer liners paired with silky ribbons
- Smooth wooden circles beside scratchy Velcro strips
- Jingling keychains next to quiet foam puzzle pieces
This variety helps children understand differences through direct experience. When they press a squeaky button or spin a colorful wheel, they learn cause-and-effect relationships naturally.
Interactive Play That Sparks Conversation
Moving parts become conversation starters. Ask questions like “What happens when you flip the latch?” or “Can you find the shiny red star?” as kids explore. Rattling chains and spinning gears encourage descriptions of actions and observations.
These exchanges build vocabulary while strengthening finger muscles. A secured rotating dial lets toddlers practice twisting motions, preparing them for future tasks like turning doorknobs. Always use non-toxic paints and secure attachments to keep exploration both stimulating and safe.
Rotate elements monthly to maintain interest. Add seasonal items like jingle bells in December or textured leaves in fall for ongoing learning adventures.
Conclusion
Building your own interactive learning tool combines creativity with practical skill-building. These DIY projects offer lasting developmental benefits while letting families repurpose everyday items into engaging play stations.
Quality materials from stores like Home Depot ensure safety and durability. Secure assembly remains crucial—double-checking screws and edges prevents hazards. Following the step-by-step guide helps create zones for texture exploration and mechanical discovery.
Hands-on activities strengthen fine motor control through twisting, pulling, and grasping motions. They also spark conversations about colors, sounds, and actions. The process becomes a bonding experience as parents and children design together.
Ready to start? Grab sanded wood, child-safe paints, and varied textures from your local hardware store. Prioritize safety checks, then enjoy watching little hands explore. These collaborative projects don’t just build skills—they create cherished memories of playful learning.

