
How I Keep My Washing Machine Running Like New (Without Calling a Repairman)
Let me tell you,nothing ruins a lazy Sunday like a washing machine that smells like a gym locker or leaves your whites looking gray. I learned the hard way that “set it and forget it” doesn’t work with appliances, especially when you’ve got three kids who go through socks like they’re disposable. After replacing a hose that burst (and flooded my laundry room,thanks, 7-year-old rubber), I swore I’d never ignore maintenance again.
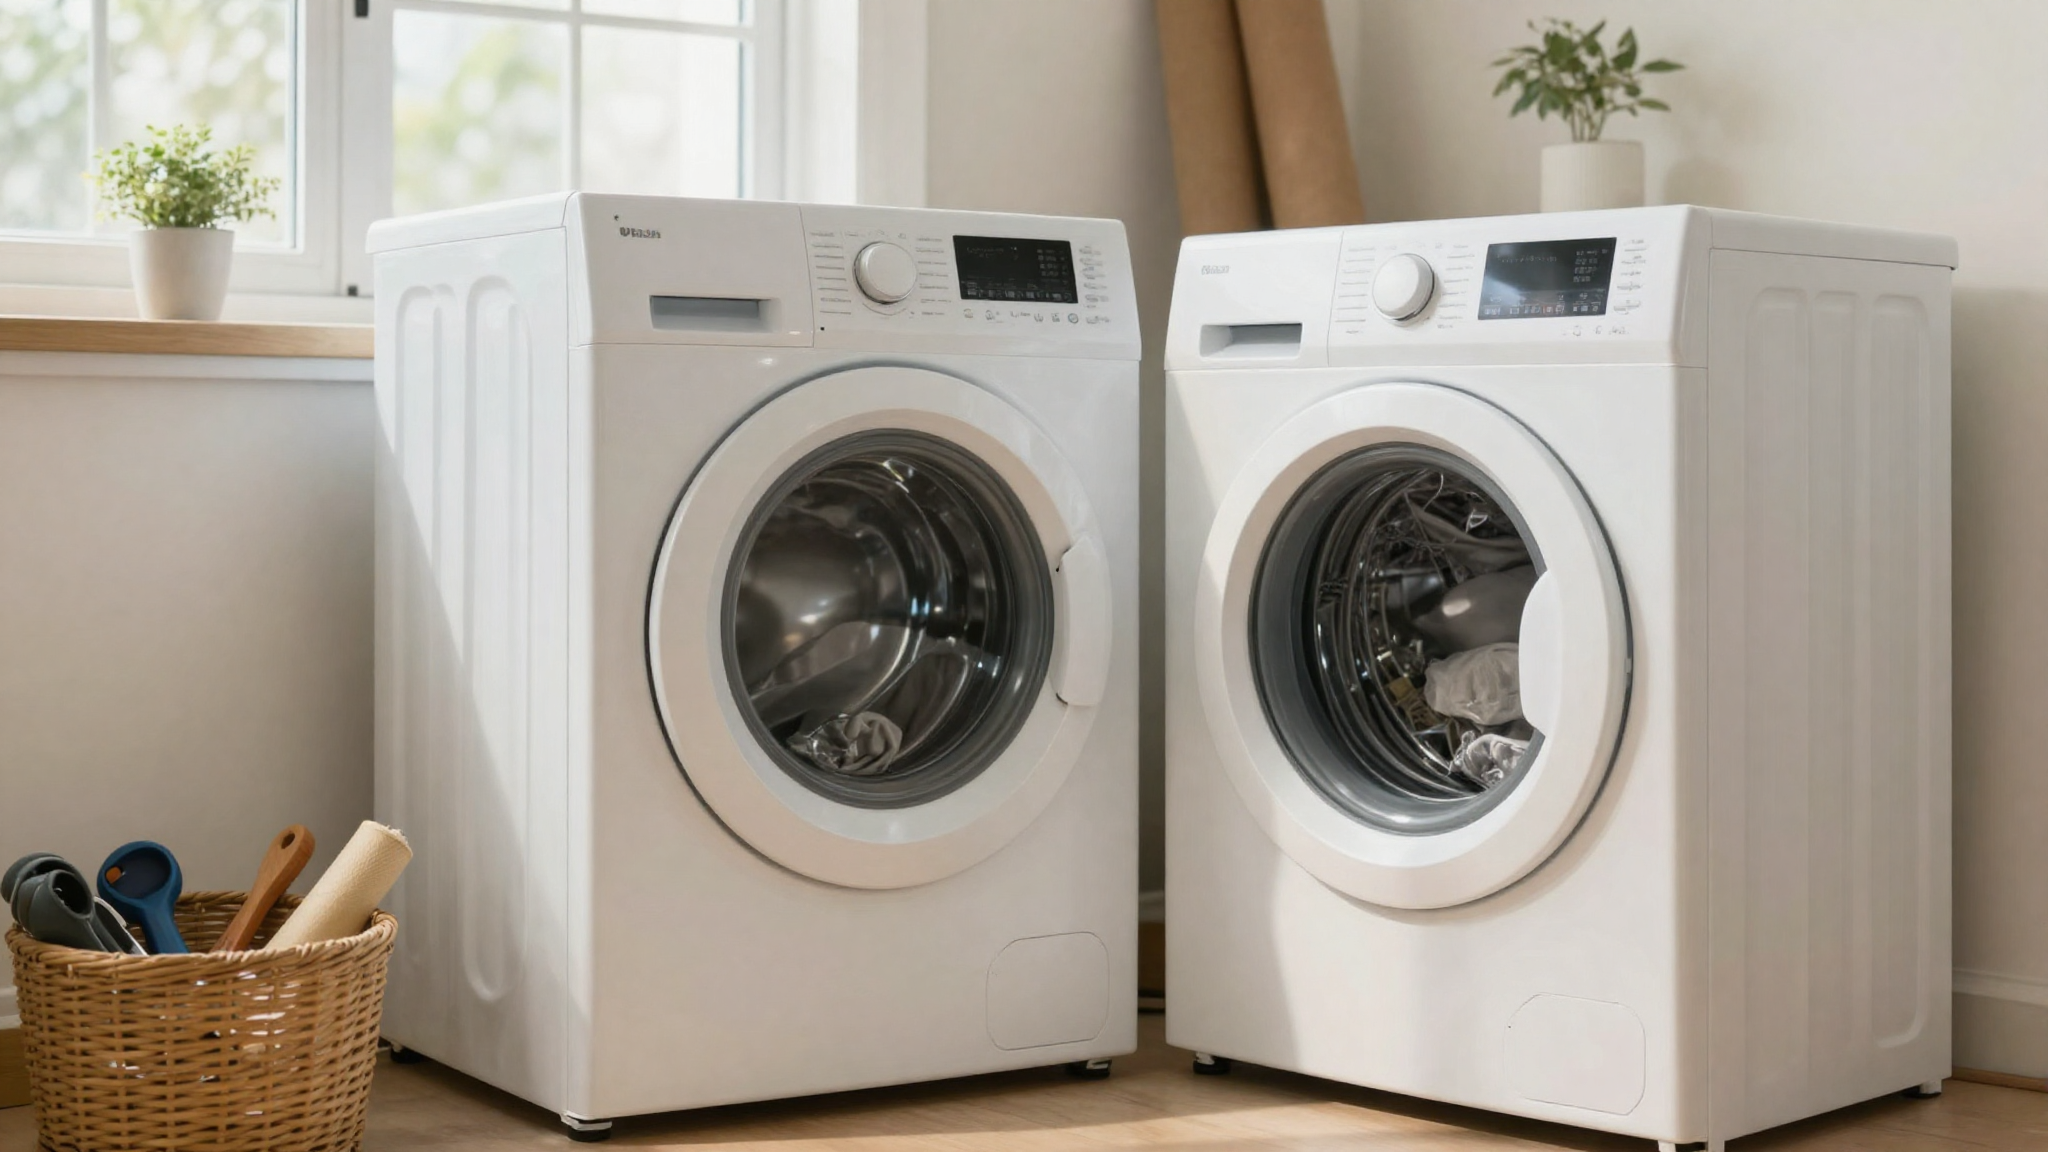
Here’s what actually works: a few daily habits, a monthly 20-minute check, and a deep clean every few months. No fancy tools, no expensive cleaners,just stuff I already have in my DIY toolkit. Follow these, and your machine will last years longer, your clothes will stay fresher, and you’ll avoid the kind of surprises that make you want to scream into a pillow.
Why Your Washing Machine Hates You (And How to Make Friends)
I used to think that as long as I added detergent, my washer would do its job. Boy, was I wrong. Modern washers use way less water than the old top-loaders my mom had, which means detergent doesn’t rinse away like it used to. Instead, it builds up in the drum, the door seal, and the dispenser, turning into a grimy, smelly sludge that clings to your clothes. And if you’ve ever pulled out a load that still smells like wet dog? Yeah, that’s residue talking.
Here’s the thing: a washing machine is basically a wet, dark cave with a lot of nooks and crannies. Mold and mildew love it. So do detergent gunk, fabric softener buildup, and lint,all of which trap odors and make your machine work harder. The result? Dull clothes, longer wash cycles, and a higher chance of needing a repair (or worse, a replacement).
But here’s the good news: most of this is preventable with a little consistency. I’m not asking you to become a laundry obsessive (though if you do, let me know your secrets). Just a few small changes,like the ones I wish I’d started years ago,will keep your machine running smoothly.
Signs Your Washing Machine Is Screaming for Help
I’ve learned to spot trouble before it becomes a full-blown disaster. Here’s what to watch for:
- Musty smells,If your laundry smells like a damp basement, your machine is growing mold. (I once had to throw out a load of towels because they smelled so bad. Never again.)
- Clothes that aren’t clean,If your whites aren’t white or your colors look dull, residue is probably coating your drum.
- Leaks or slow draining,A clogged filter or a failing hose can cause water to pool or drain slowly. (Pro tip: always check the floor after a cycle.)
- Weird noises,If your machine sounds like it’s doing the cha-cha, something’s off. (Mine once started vibrating so hard it walked across the floor. Not cool.)
If you catch these early, you can usually fix them with a little elbow grease. Ignore them, and you’ll be Googling “emergency laundry repair services” at 10 p.m. on a Friday.
Daily Habits That Save You Time (And Your Sanity)
These take less than five minutes but make a huge difference. I keep a microfiber cloth and a spray bottle of vinegar water next to my washer for this stuff.
1. Move Wet Clothes to the Dryer Immediately
I used to let laundry sit in the washer for hours,big mistake. Damp clothes in a closed drum? That’s mold’s favorite buffet. Now, I set a timer on my phone (yes, really) to remind me to transfer loads right away. If I’m not home, I’ll at least crack the door open to let air circulate.
Pro tip: If you’re washing towels or workout clothes, hang them to dry first. Tossing them damp into the hamper is how you end up with a musty-smelling laundry room.
2. Leave the Door or Lid Open After Every Load
This is my number one habit, and it’s free. After a cycle, I leave the door or lid open for 15–30 minutes to let the drum air out. It sounds silly, but it dramatically reduces mold and mildew. I also wipe down the door seal with a dry cloth,any leftover water is an invitation for grossness.
I learned this the hard way when I came home to a washer that smelled like a swamp. Never again.
3. Hang Damp Towels and Washcloths
Towels are the worst offenders for spreading odors. If you toss them damp into the hamper, they’ll smell funky by the time you wash them again. Now, I hang them over the shower rod or a drying rack until they’re completely dry. It takes two minutes and saves me from rewashing stinky towels.
Trust me,your nose will thank you.
Monthly Maintenance: Your 20-Minute Washer Tune-Up
Once a month, I spend about 20 minutes giving my washer a little TLC. It’s not glamorous, but it keeps things running smoothly. Here’s what I do:

1. Wipe Down High-Moisture Zones
I grab a microfiber cloth and a little bit of vinegar (or my go-to all-purpose cleaner) and wipe down:
- The detergent dispenser (gunk loves to hide in there)
- The door edges and rubber seal (especially for front-loaders)
- The drum lip (where water tends to pool)
- The exterior seams (because, weirdly, dirt collects there too)
I used to skip this, but after I noticed black mold growing in the door seal of my front-loader, I never skip it again.
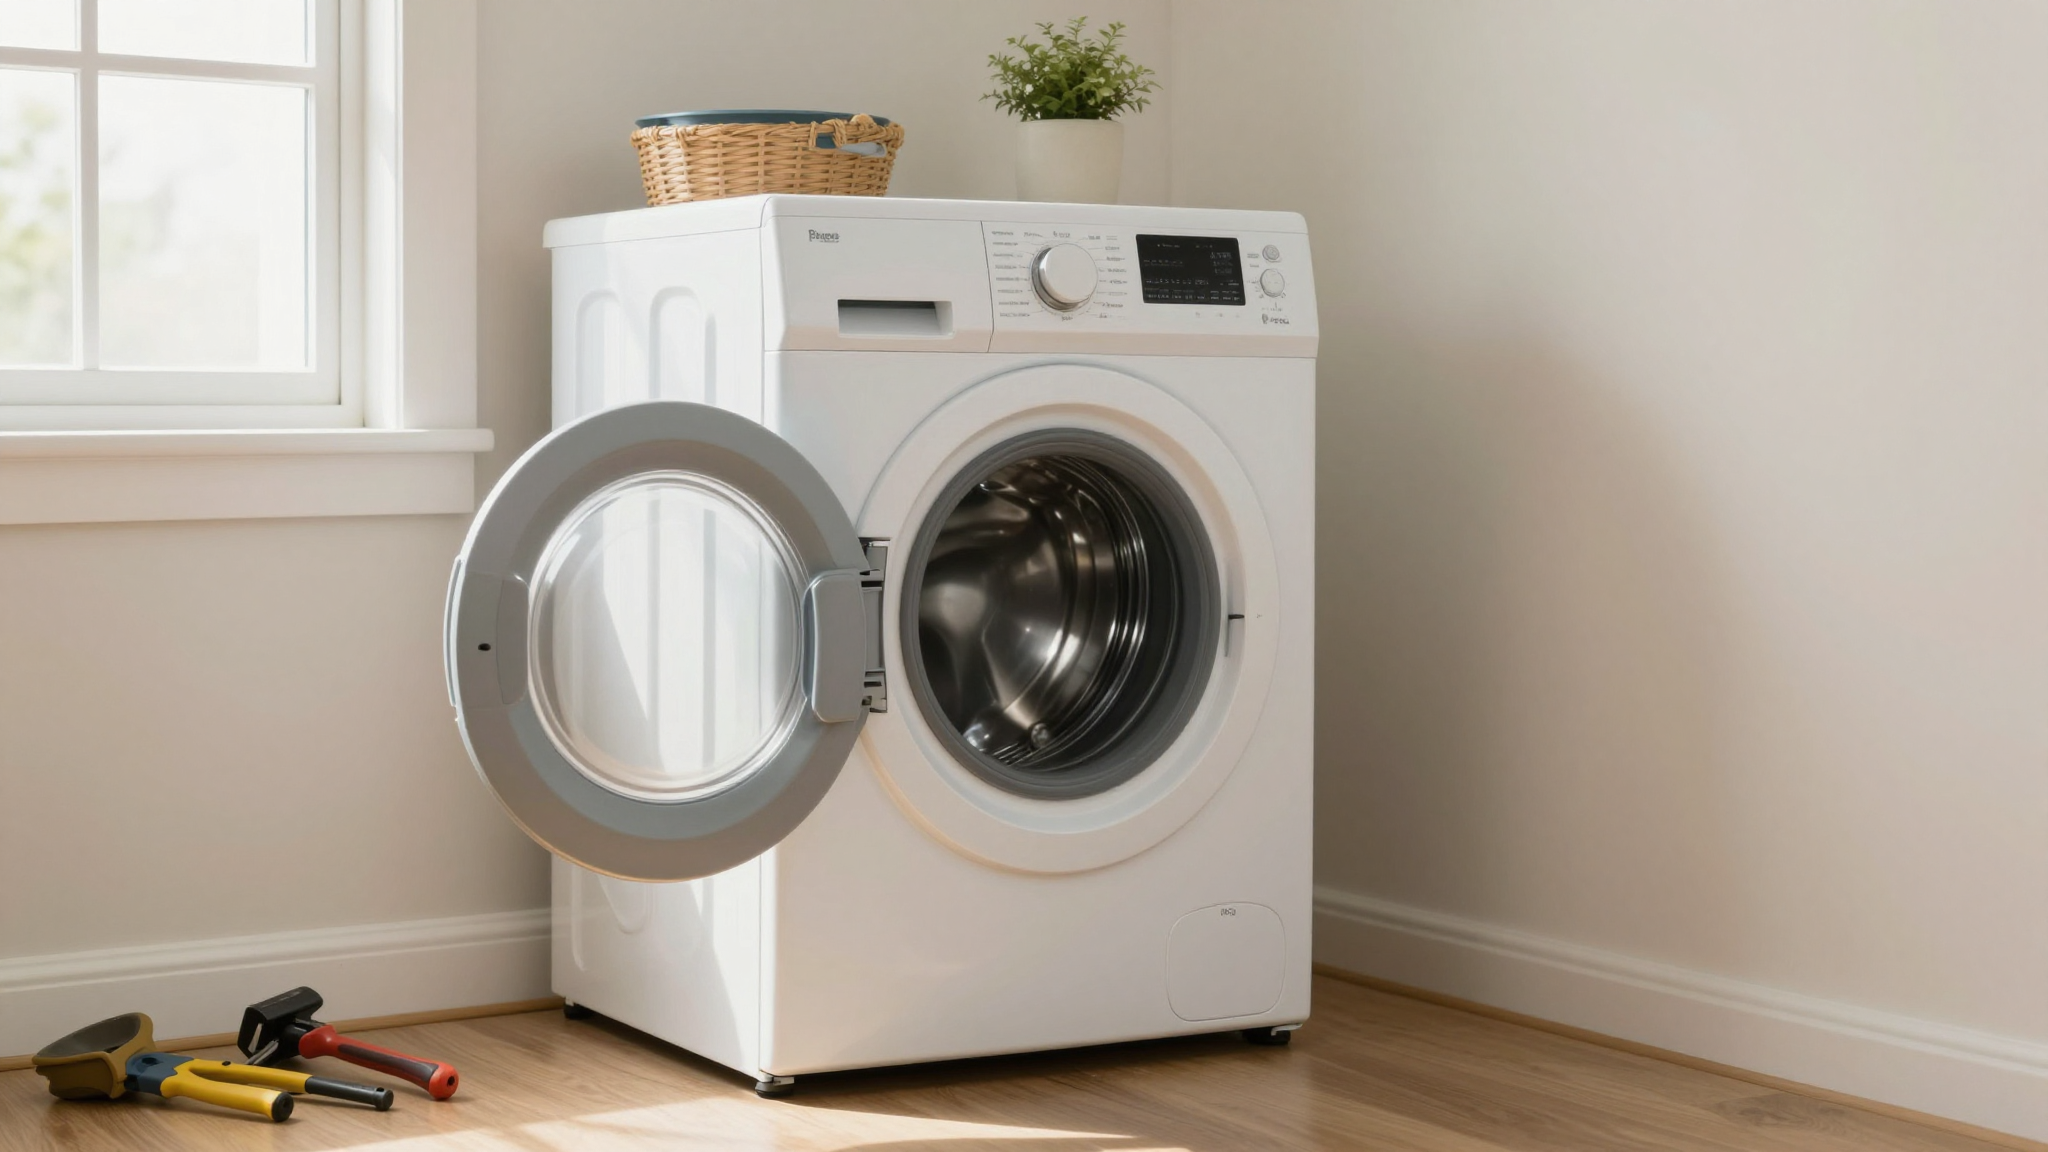
2. Clean the Door Gasket (Front-Loaders Only)
This is where the grossest buildup happens. I gently pull back the rubber gasket and wipe away any hair, lint, or detergent gunk with a damp cloth. If it’s really grimy, I use a toothbrush to get into the crevices.
Warning: If the gasket looks warped or doesn’t sit flat, it might need replacing. (I had to do this on my last washer, and it was not fun, but it fixed the smell.) Check your owner’s manual for part numbers if you’re not sure.
3. Run a Hot Cleaning Cycle
I set my washer to the hottest, longest cycle it has (usually the “Clean Washer” or “Tub Clean” setting) and let it run empty. If my machine doesn’t have a dedicated cleaning cycle, I add 2 cups of white vinegar to the drum and let it go.
For extra grime, I’ll sprinkle ½ cup of baking soda into the drum halfway through the cycle. The vinegar and baking soda combo cuts through residue without damaging the machine.
After the cycle, I wipe everything down again and leave the door open to dry.
4. Check the Drain Filter
This is the part most people forget, but it’s critical. A clogged filter can cause poor drainage, leaks, and even damage to your machine. Where it’s located depends on your model:
- Front-loaders: Usually behind a small access panel at the front or bottom.
- Top-loaders: Sometimes inside the agitator or behind a panel at the back.
I pull out the filter (it’s usually a small mesh or plastic trap), rinse it under warm water, and scrub off any lint or debris with a brush. If it’s really gross, I soak it in warm, soapy water for 10 minutes first.
Pro tip: If your filter is full of hair or lint, it’s time to clean it more often. (We have a long-haired dog, so I check mine every two weeks.)
Deep Cleaning: When Your Washer Needs a Reset
Every 3–6 months, I do a deep clean to really cut through the grime. This is especially important if your washer starts smelling bad again or your clothes aren’t coming out clean.
Front-Load Washer Deep Clean (Vinegar + Baking Soda Method)
- Set the washer to the hottest, longest cycle available.
- Add 2 cups of white vinegar directly to the drum.
- Let the cycle run without interruption.
- When the cycle is halfway done, pause it and add ½ cup of baking soda to the drum.
- Let the cycle finish, then wipe down the drum, door seal, and dispenser with a damp cloth.
- Leave the door open to air dry.
This method works like magic for cutting through detergent buildup and killing mold. I’ve used it on two different washers, and both times, it made a huge difference in how fresh my laundry smelled.
Top-Load Washer Deep Clean (Vinegar or Bleach Method)
- Fill the tub with the hottest water setting.
- Add 2 cups of white vinegar and let it agitate for a few minutes.
- Pause the cycle and let the vinegar soak in the tub for about an hour (if you have time).
- Restart the cycle and let it finish.
If your washer is really grimy, you can follow up with a bleach cycle (but never mix vinegar and bleach,they create toxic fumes). For bleach:
- Run a hot water cycle with ½ cup of bleach (check your manual for the correct amount).
- Let it agitate, then pause and let it soak for 30–60 minutes.
- Restart the cycle and let it finish.
Important: If you use bleach, never mix it with vinegar or other cleaners. And always check your owner’s manual first,some machines have specific instructions for deep cleaning.
Finishing Touches
After the deep clean, I:
- Wipe down every surface with a damp microfiber cloth (including the dispenser drawer).
- Dry the drum and door seal thoroughly with a clean towel.
- Leave the door open for at least a few hours to let everything air out completely.
This step is non-negotiable. If you skip it, you’ll just end up with mold growing again in a few days.
Hose and Plumbing Checks: The Forgotten Step That Saves You from Disaster
I’ll admit,I used to ignore the hoses on my washing machine. Big mistake. A burst hose can flood your laundry room in minutes, and by the time you notice, it’s often too late. Now, I check mine every month, and I replace them every 3–5 years (even if they look fine).
What to Look For
Grab a flashlight and inspect your hoses (both the supply hoses and the drain hose) for:
- Bulges or cracks,These are signs the hose is weakening and could burst.
- Kinks or fraying,These can cause slow leaks or restrict water flow.
- Age,If your hoses are older than 5 years, it’s time to replace them, even if they look okay.
I had a hose burst in my last washer, and it flooded the laundry room and the kitchen below. (Yes, it was as bad as it sounds.) Now, I replace hoses like clockwork.
How to Replace Hoses (Safely!)
Replacing hoses is easier than it sounds. Here’s how I do it:
- Turn off the water supply and unplug the washer.
- Place a towel or bucket under the hoses to catch any leftover water.
- Unscrew the old hoses from the washer and the wall valves. (You might need adjustable pliers,I keep a pair in my toolkit.)
- Attach the new hoses, making sure the hot hose goes to the hot valve and the cold hose goes to the cold valve.
- Tighten the connections by hand, then give them a quarter turn with pliers (don’t overtighten!).
- Turn the water back on and check for leaks at both ends.
- Run a short cycle to make sure everything is working properly.
Pro tip: If you’re not comfortable with this, call a plumber. It’s a small job, but water damage is not worth the risk.
Drain Hose Tips
If your drain hose is kinked or clogged, it can cause poor drainage or even backflow into your washer. To check it:
- Unplug the washer and pull it away from the wall.
- Inspect the drain hose for kinks, cracks, or blockages.
- If it’s clogged, you can try flushing it with water or using a drain snake.
- If the hose is damaged, replace it.
I once had a clogged drain hose that caused water to back up into my washer. It was a mess, and I had to call a repairman. Now, I check mine every few months.
Keeping Your Washer Stable (So It Doesn’t “Walk” Across the Floor)
Nothing is more annoying than a washing machine that vibrates so hard it moves across the floor. I’ve had mine “walk” into the dryer, and it’s a nightmare to fix. Here’s how I keep mine in place:
1. Level the Washer
If your washer is wobbly, the first step is to level it. Most washers have adjustable feet at the bottom. Here’s how I do it:
- Turn the washer off and unplug it.
- Use a level (or your phone’s level app) to check if the washer is even.
- Adjust the feet by turning them clockwise to lower or counterclockwise to raise.
- Check the level again and repeat until the washer is even on all sides.
- Plug it back in and run a short cycle to test.
If your floor is uneven, you might need to use shims under the feet to keep it stable.
2. Don’t Overload the Washer
I used to stuff my washer as full as possible to save time. Bad idea. Overloading causes excessive vibration, which can damage the machine over time. Now, I follow the “two-finger test”: if I can’t fit two fingers between the clothes and the edge of the drum, it’s too full.
For bulky items like comforters or towels, I reduce the load size even more to keep the machine balanced.
3. Leave Space Around the Washer
Your washer needs room to breathe,literally. I keep at least 4 inches of space on all sides (especially behind it) to allow for airflow and hose access. This helps prevent overheating and reduces the risk of hoses getting pinched or kinked.
I also make sure the floor is clean and dry under the washer. A wet or slippery floor can cause the machine to vibrate more.
Smart Laundry Habits That Keep Your Washer (and Your Clothes) Happy
How you do laundry makes a huge difference in how well your washer performs. Here’s what I’ve learned over the years:
1. Use the Right Detergent
Not all detergents are created equal. If you have a high-efficiency (HE) washer, you must use HE detergent. Regular detergent creates too many suds, which can leave residue and damage your machine over time.
I switched to HE detergent a few years ago, and it made a huge difference in how clean my clothes came out. I also noticed fewer odors and less buildup in my washer.
2. Measure Your Detergent (Yes, Really)
I used to just “eyeball” the detergent, and my clothes would come out dull and smelly. Turns out, using too much detergent leaves residue that traps grime and odors. Now, I measure it carefully using the cap lines on the bottle.
For hard water, I might use a little extra, but I’ve found that following the instructions on the detergent bottle works best. If your water is really hard, you might want to consider a water softener or a detergent designed for hard water.
3. Don’t Overload the Washer
I know, I already mentioned this, but it’s worth repeating. Overloading your washer can cause it to vibrate excessively, wear out the motor faster, and even damage the suspension system. Aim to fill the drum about 75% full for most loads.
For bulky items like comforters or thick towels, I reduce the load size even more to keep the machine balanced. And I always make sure the load is evenly distributed,no one wants a washing machine that sounds like it’s doing the salsa.
Final Thoughts (And What to Do Next)
Look, I get it,laundry is the last thing you want to think about. But taking care of your washing machine is like flossing: it’s boring, but you’ll regret it if you skip it. The good news? It doesn’t take much time, and the payoff is huge.
Here’s what I want you to do today:
- Move your wet laundry to the dryer right now (if you have any sitting in the washer).
- Leave the washer door or lid open to air out.
- Set a reminder on your phone to check the drain filter next week.
That’s it. Two minutes of effort now will save you hours of headache later. And if you want to go the extra mile, grab a microfiber cloth and wipe down the door seal and detergent dispenser. Your future self will thank you.
If you’re serious about keeping your appliances in top shape, check out my posts on winterizing your home and HVAC maintenance for more tips. And if you’ve got a washer that’s on its last legs, maybe it’s time for a DIY project to distract you from the repair bills.
Happy laundering!