
How I Built Custom Flower Box Planters That Actually Last (And Look Amazing)
There’s nothing quite like walking into your home and feeling that little spark of pride when you see something you made with your own hands. That’s exactly how I felt when I finished my first set of DIY flower box planters last spring. What started as a simple “let’s try this” project turned into my favorite weekend hobby,and now my front porch and kitchen windowsill are bursting with color thanks to these custom containers.
I’ll be honest,my first attempt was a disaster. I bought some cheap lumber from the discount bin at Lowe’s, threw together a box without proper measurements, and ended up with a lopsided planter that leaked every time I watered it. But that failure taught me more than any YouTube tutorial could have. Now, after building half a dozen different designs, I’ve learned what actually works (and what to avoid at all costs).
If you’re thinking about adding some personality to your space with handmade planters, let me walk you through exactly how I do it,with all the hard-earned lessons included.
Why I Switched from Store-Bought to DIY Planters
I used to buy those generic plastic planters from Home Depot every spring. You know the ones,cheap, flimsy, and all exactly the same. After three seasons of watching them crack in the sun and fade to a sad, dull color, I decided enough was enough. That’s when I discovered that building my own planters wasn’t just cheaper,it was better in every way.
My first real breakthrough came when I found some cedar wood on sale at The Home Depot. I’d always heard cedar was naturally rot-resistant, but I didn’t realize how beautiful the grain would look once it was weathered. I paired it with some powder-coated metal brackets I found in the hardware section, and suddenly my plain wooden box had this modern farmhouse vibe that matched my front door perfectly. The best part? It cost me about half what I would have paid for a similar-looking planter in the garden center.
Now, I build planters for every corner of my house. The deep wooden boxes on my porch hold my tomato plants, the sleek metal ones by my back door are perfect for herbs, and the colorful ceramic pots in my kitchen window make even my sad little basil plant look intentional. The key is that each one was made to fit its specific spot,and that makes all the difference.
Want to see how I transformed my entire porch with just a few DIY projects? Check out my five favorite ways to add charm to any home,including the planters that started it all.
Materials That Actually Stand Up to the Elements
Not all planter materials are created equal. I learned that the hard way when my first attempt (remember the lopsided disaster?) fell apart after just one summer. Now I stick to materials that can handle whatever Mother Nature throws at them,and still look good doing it.
Here’s what I’ve found works best:
- Cedar wood – Naturally resists rot and insects. I love how it weathers to a beautiful silver-gray over time. My farmhouse coffee table is made from the same wood, and it’s held up beautifully for years.
- Powder-coated metal – Doesn’t rust and comes in so many colors. I used black powder-coated steel for my modern herb planters, and they look just as good now as they did the day I finished them.
- Fiberglass – Lightweight but tough. I have a few fiberglass planters that have survived three Chicago winters without a single crack. They’re perfect for areas that get a lot of moisture.
- Concrete – Heavy but durable. I used a concrete mix to make some geometric planters for my patio, and they’ve become a favorite spot for my succulents.
Pro tip: If you’re working with wood, always use an outdoor-rated stain or sealant. I swear by Ready Seal,it’s water-based, dries clear, and actually repels water instead of just sitting on top like some of those other stains. One coat, and my cedar planters stay protected for years.
For metal planters, I like to add a rubber liner at the bottom to prevent rust. You can find these at any hardware store for just a few dollars, and it makes a huge difference in how long your planters last.
Tools I Can’t Live Without (And One I Regret Buying)
You don’t need a fancy workshop to build great planters, but there are a few tools that make the process so much easier. Here’s what I keep in my DIY arsenal:
- Cordless drill/driver – My DeWalt 20V Max is my most-used tool. It’s powerful enough to drive screws through wood and metal, and the battery lasts all day. I bought the cheaper version first and regretted it,don’t skimp on the drill!
- Orbital sander – For smoothing wood edges. I have an old Black+Decker that still works great, but if you’re buying new, get one with variable speed control.
- Measuring tape and square – A good tape measure is non-negotiable. I have a Stanley 25-foot that I’ve had for years, and it’s never let me down.
- Clamps – At least two strong ones. I use Bessey clamps because they’re adjustable and hold like a dream. They’re worth the investment.
- Jigsaw – For cutting curves and intricate shapes. My Bosch jigsaw has a laser guide that makes cutting perfect circles a breeze.
And here’s the one tool I wish I hadn’t bought: a cheap miter saw. I thought I needed it for precise cuts, but after a few frustrating sessions where it kept binding, I realized my circular saw with a guide does just as good a job for planters. Save your money and get a good circular saw instead.
If you’re just starting out, don’t feel like you need to buy everything at once. I built my first few planters with just a drill, saw, and measuring tape. As you take on more projects, you can add to your tool collection. For a full list of essential tools every homeowner should have, check out my ultimate tool guide.
Design Ideas That Actually Work (With Pictures of My Mistakes)
One of the best things about DIY planters is that you can make them exactly how you want. But not all designs are created equal,some work beautifully, while others (looking at you, my first attempt) end up in the fire pit. Here are the designs that have worked for me, plus a few I’d avoid.
What Works: My Favorite Planter Designs

This cedar planter is my go-to design. It’s simple but sturdy, with a sloped front to make planting and watering easier. I built it in three sizes,small for herbs, medium for annuals, and large for tomatoes,and they all fit perfectly on my porch.
Key features:
- Raised front edge for easy access
- Drainage holes in the bottom (I used a hole saw for this)
- Metal brackets for extra support
- Weather-resistant stain (Ready Seal in natural)
I filled mine with red geraniums and trailing ivy, and it’s become the star of my porch. The best part? It cost me about $30 to build, and it’s held up perfectly for two years now.
What Doesn’t Work: Lessons from My Failures

This was my first attempt, and let’s just say it did not go well. Here’s what I did wrong:
- Used cheap pine wood that warped in the rain
- Didn’t pre-drill holes for screws, so the wood split
- Forget to add drainage holes (big mistake!)
- Used a regular wood stain instead of an outdoor sealant
After two weeks, the wood was swollen, the screws were popping out, and it was leaking every time I watered it. I ended up using it as a firewood holder until it fell apart completely. Live and learn, right?
Creative Ideas for Different Spaces
Planters don’t just have to live outside. I’ve found creative ways to use them indoors and out:
- Kitchen windowsill – I built shallow wooden boxes to hold my herbs. They fit perfectly on the sill and get just the right amount of sunlight. I painted them a soft sage green to match my cabinets.
- Bedroom accent wall – I created a floating shelf system with built-in planters. It’s the perfect spot for my peace lilies and adds a touch of greenery to the room.
- Backyard seating area – I made a long, low planter box to define the space around my patio furniture. It’s filled with lavender and boxwood, and it smells amazing in the summer.
- Bathroom – I found a small ceramic planter at a thrift store and filled it with a bamboo plant. It adds a little life to the space without taking up much room.
If you’re looking for more ways to add greenery to your home, check out my easy bedroom makeover ideas. A few well-placed planters can make a huge difference!
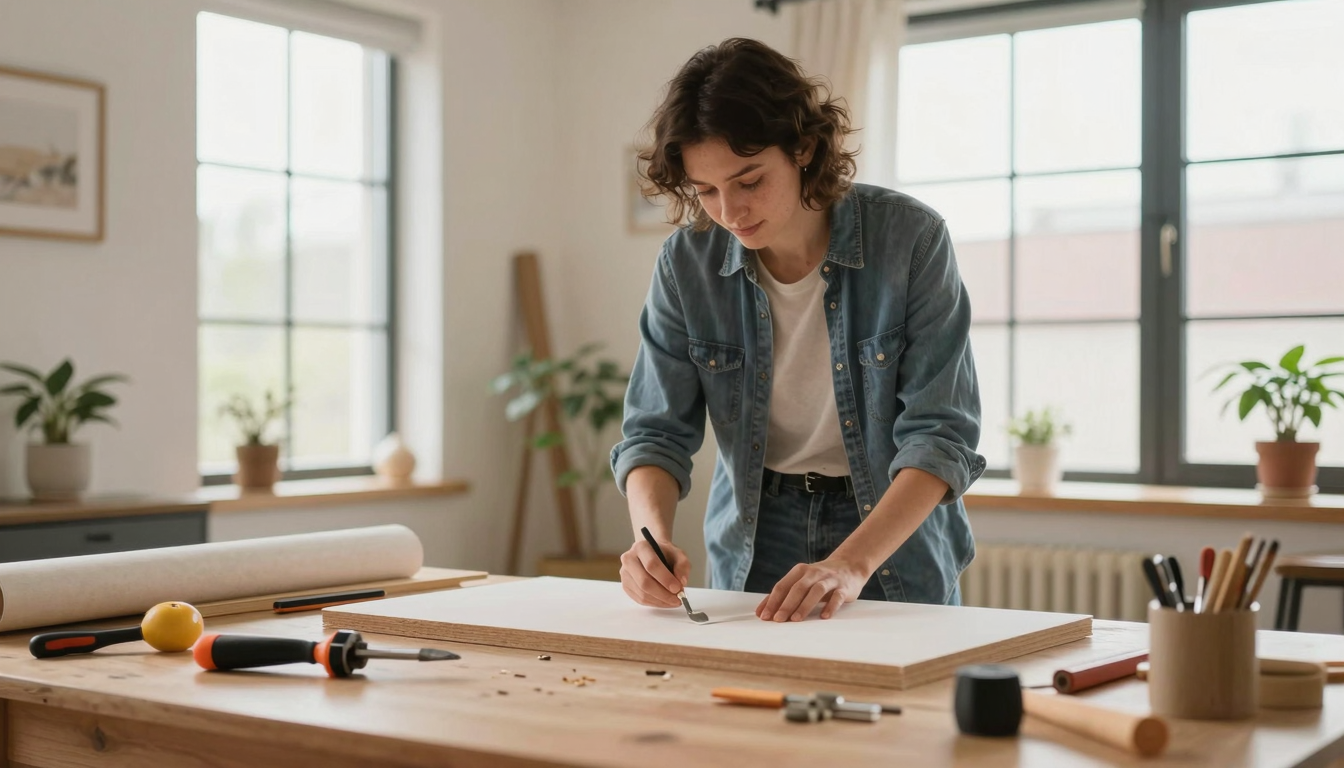
Step-by-Step: How I Build a Cedar Flower Box Planter
Now that you’ve seen what works (and what doesn’t), let me walk you through exactly how I build my cedar flower box planters. This is the design I’ve used for most of my projects, and it’s perfect for beginners.
Materials List
- 1 (4′ x 8′) cedar board, 1″ thick
- 2 (2′ x 4′) cedar boards, 1″ thick (for ends)
- 2 (1′ x 2′) cedar boards, 1″ thick (for reinforcement)
- 2.5″ exterior wood screws
- 1.5″ exterior wood screws
- 1″ hole saw (for drainage)
- Ready Seal outdoor wood stain (or your choice of sealant)
- Sandpaper (80 and 120 grit)
- Wood glue (optional, for extra strength)
Tools List
- Circular saw (or miter saw)
- Drill/driver
- Orbital sander
- Measuring tape
- Pencil
- Clamps (2)
- Paintbrush (for stain)
Step 1: Measure and Cut
First, decide on the size of your planter. My standard size is 24″ long, 12″ wide, and 10″ deep. This works well for most annuals and herbs.
Cut your materials as follows:
- 1 piece: 24″ long (front)
- 1 piece: 24″ long (back)
- 2 pieces: 10″ long (ends)
- 2 pieces: 22″ long (sides,2 inches shorter than the front/back to create a lip)
- 2 pieces: 24″ long (reinforcement strips for the bottom)
Pro tip: If you’re using a circular saw, ask the hardware store to cut your cedar board in half lengthwise for you. It’s easier (and safer) than trying to do it yourself.
Step 2: Sand All Edges
Before assembling, sand all edges and surfaces with 80-grit sandpaper. This will remove any rough spots and help the stain absorb evenly. Follow up with 120-grit for a smooth finish.
I learned this the hard way,my first planter had splinters everywhere because I skipped the sanding step. Trust me, take the extra 10 minutes to sand!
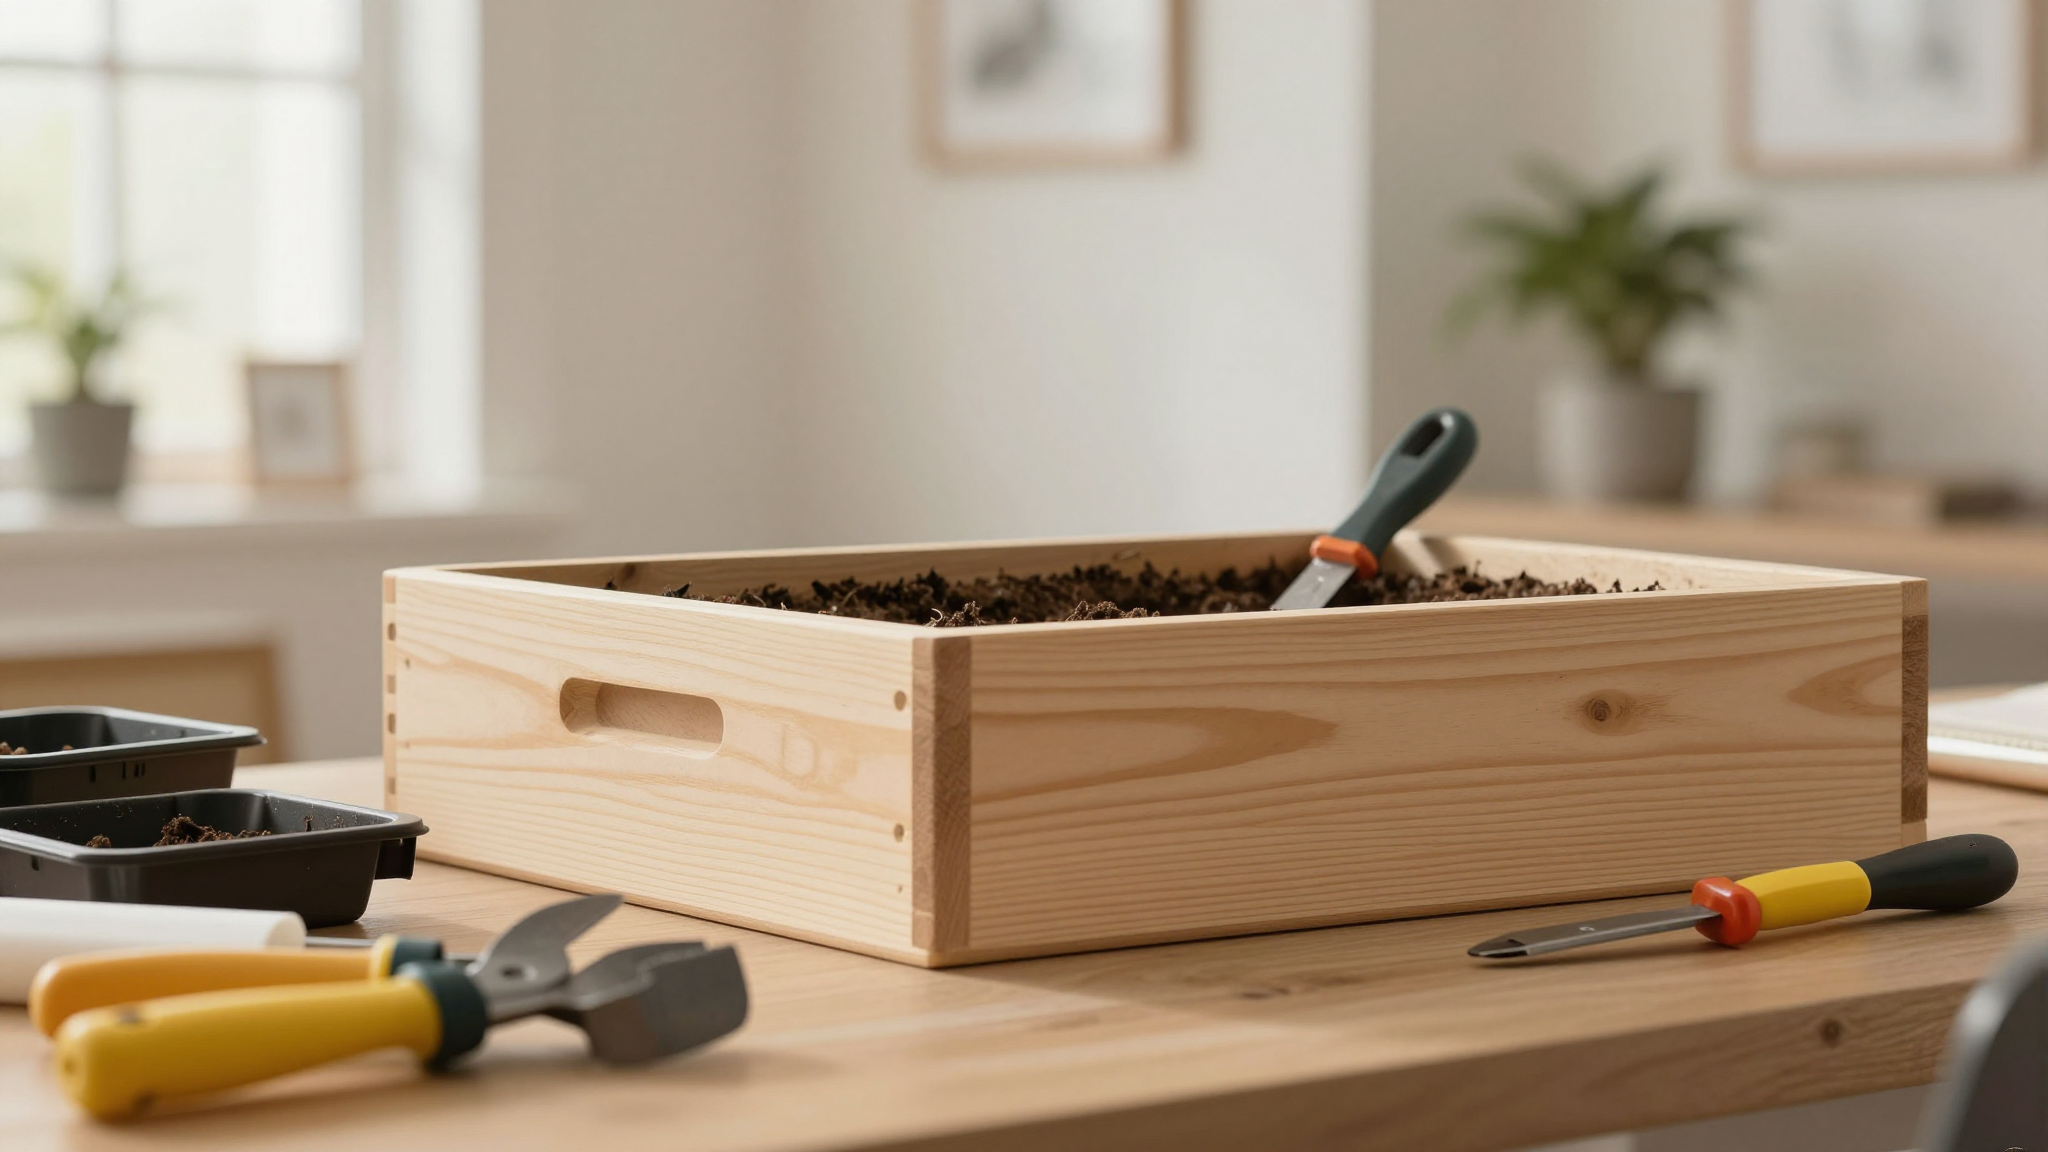
Step 3: Assemble the Box
Lay out your pieces on a flat surface. Apply wood glue to the edges if you want extra strength (I usually skip this for planters, but it’s good for heavier boxes).
Attach the sides to the front and back pieces using 2.5″ screws. Pre-drill your holes to prevent splitting. I like to space the screws about 12″ apart for a secure hold.
Then, attach the end pieces. Again, pre-drill and use 2.5″ screws.
Flip the box over and add the reinforcement strips to the bottom. These will give your planter extra strength and help it hold its shape over time. Use 1.5″ screws to attach them.
Step 4: Add Drainage Holes
This is one of the most important steps,always add drainage holes to your planters. I use a 1″ hole saw to drill holes in the bottom of the box, spaced about 6″ apart. If you don’t have a hole saw, you can use a drill bit and carefully widen the holes.
I made this mistake on my first planter, and the roots rotted because the water had nowhere to go. Don’t let this happen to you!
Step 5: Stain or Seal
Before staining, wipe down your planter with a damp cloth to remove any dust. Then, apply your chosen stain or sealant with a brush. I like to use Ready Seal because it’s easy to apply and dries clear.
Let it dry completely (usually 24 hours), then apply a second coat if desired. I usually do two coats for extra protection.
Step 6: Add a Liner (Optional)
If you want to protect your planter from moisture and extend its life, you can add a liner. I like to use landscape fabric, but you can also use a plastic liner with drainage holes.
To install, cut the liner to fit the inside of your planter, then staple or glue it in place. Make sure to poke holes in the liner to match your drainage holes.
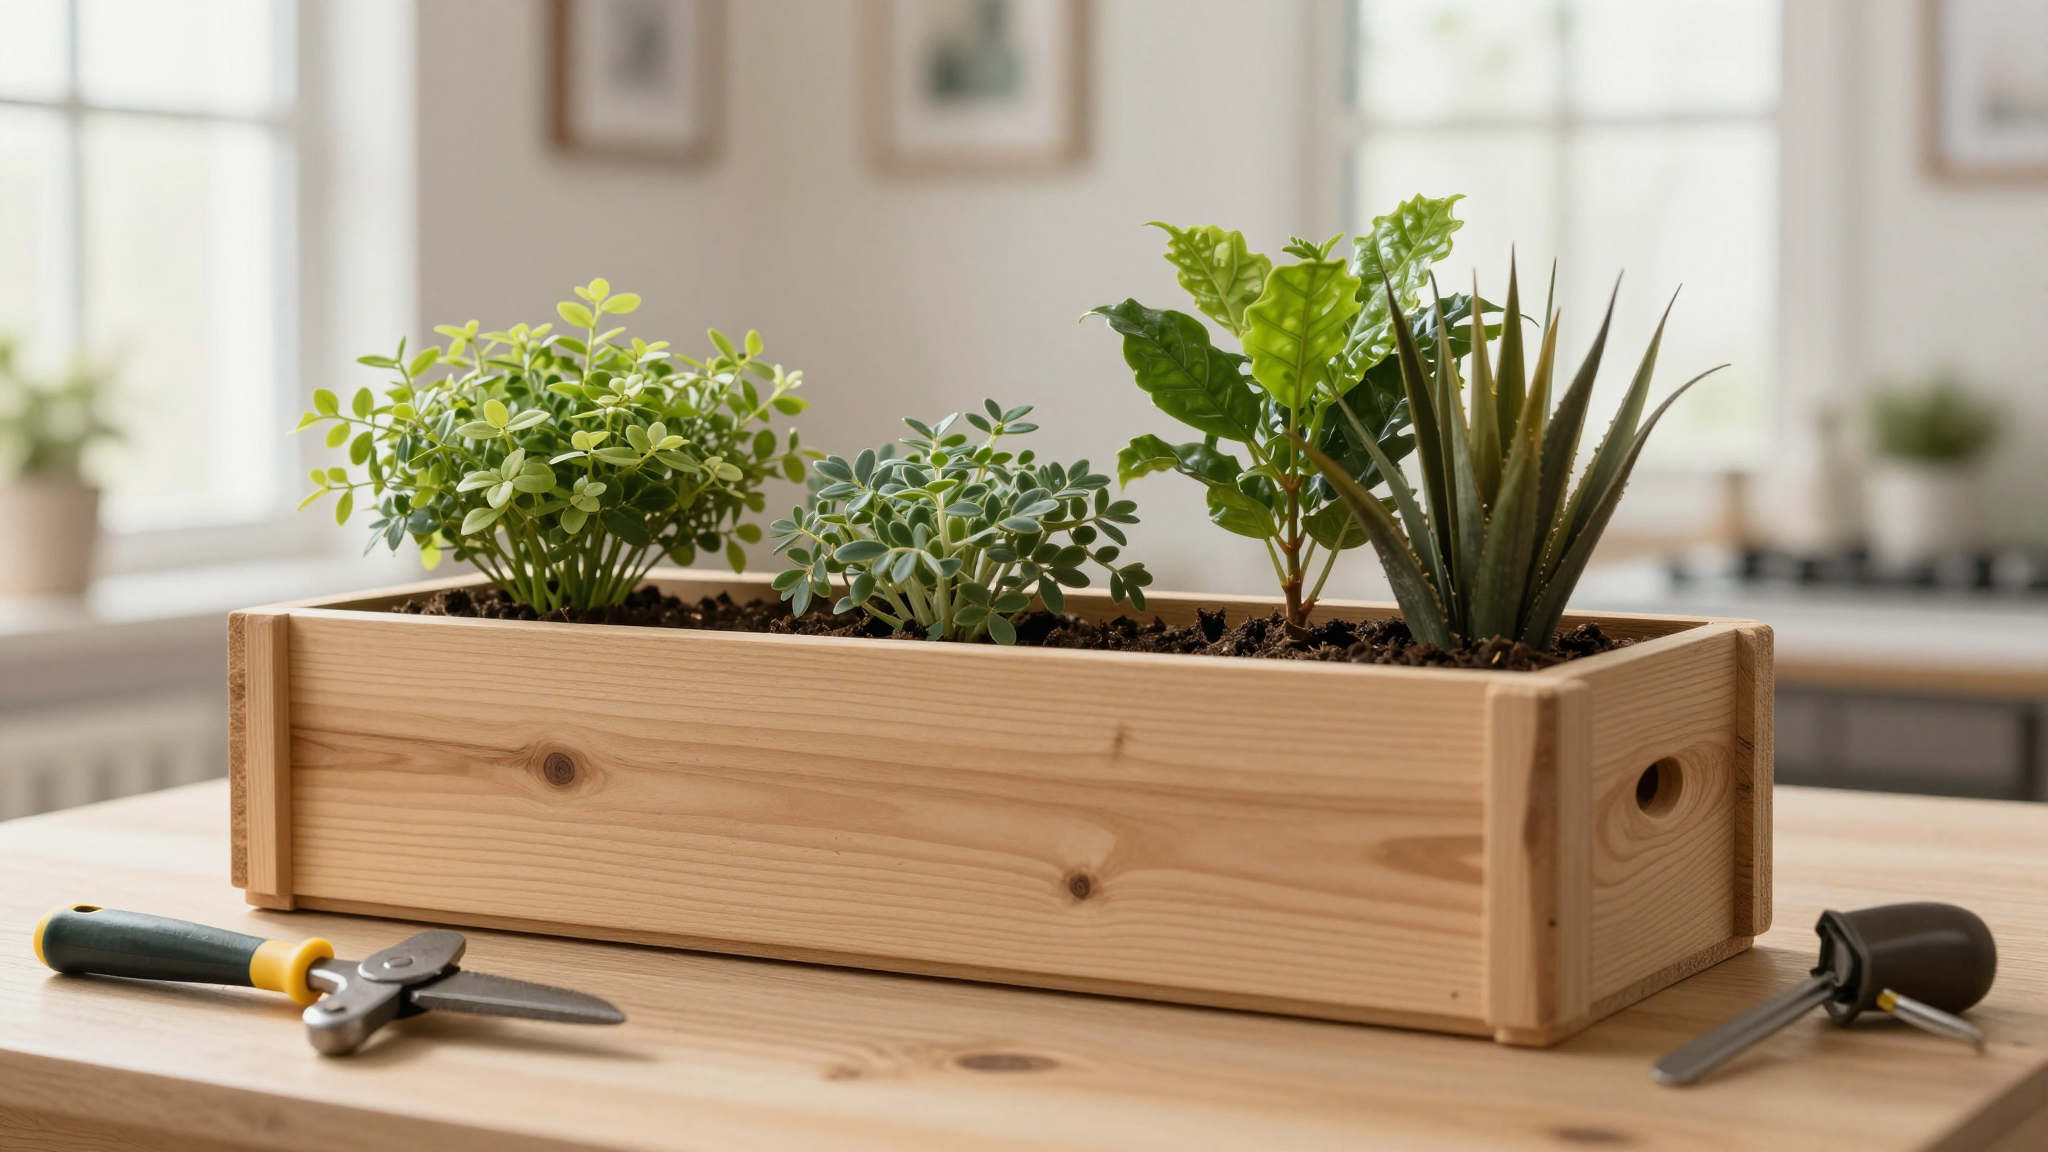
Step 7: Fill and Plant
Now for the fun part,filling your planter with soil and plants! I like to use a mix of potting soil and compost for my planters. It gives the plants the nutrients they need to thrive.
Add a layer of gravel or small rocks to the bottom for extra drainage, then fill the rest with your soil mix. Arrange your plants, then fill in any gaps with more soil.
Water thoroughly, and you’re done! Sit back and admire your handiwork.
Maintenance Tips to Keep Your Planters Looking Great
Building your planters is just the beginning. To keep them looking great year after year, you’ll need to put in a little maintenance. Here’s what I do:
Cleaning Your Planters
At the end of each growing season, I give my planters a good cleaning. I remove any dead plants and debris, then scrub the inside and outside with a mixture of warm water and mild soap. For tough stains, I use a 50/50 mix of water and white vinegar.
If you have metal planters, you can use a mixture of baking soda and water to remove any rust spots. Just scrub gently with a soft brush, then rinse and dry.
Protecting Your Planters
To keep your planters looking their best, you’ll need to protect them from the elements. Here’s what I do:
- Wood planters – Apply a fresh coat of sealant every 2-3 years. I like to do this in the early spring, before planting season.
- Metal planters – Check for any signs of rust and touch up with rust-resistant paint if needed. I also like to add a clear sealant to protect the finish.
- Fiberglass planters – These are low-maintenance, but I still like to give them a good cleaning at the end of each season.
Winterizing Your Planters
If you live in a cold climate, you’ll need to winterize your planters to protect them from freezing temperatures. Here’s what I do:
- Empty your planters and clean them thoroughly.
- Store them in a dry, protected place, like a garage or shed.
- If you can’t store them indoors, cover them with a tarp to protect them from snow and ice.
- For wood planters, apply a fresh coat of sealant before storing them.
If you’re not sure how to winterize your home properly, check out my guide to winterizing your home. It includes tips for protecting your planters and more!
Final Thoughts (And What I’m Building Next)
Building your own flower box planters is one of the most rewarding DIY projects you can tackle. Not only do you get beautiful, custom containers for your plants, but you also save money and gain a sense of accomplishment. Plus, there’s nothing quite like walking into your home and seeing something you made with your own two hands.
I’m already planning my next project,a set of tiered planters for my backyard. I found a great tutorial online for building a three-tiered stand, and I think it would look amazing with some trailing plants. I might even try my hand at painting them a fun, bright color this time.
What about you? Are you thinking about building your own planters? If you have any questions or need more tips, just leave a comment below. I’d love to hear about your projects!
And if you’re looking for more DIY inspiration, check out my guide to creating a gallery wall or my stair makeover project. There’s always something new to build and create!