
How I Gave Our Hand-Me-Down Dresser a Fresh Look (And Saved $200!)
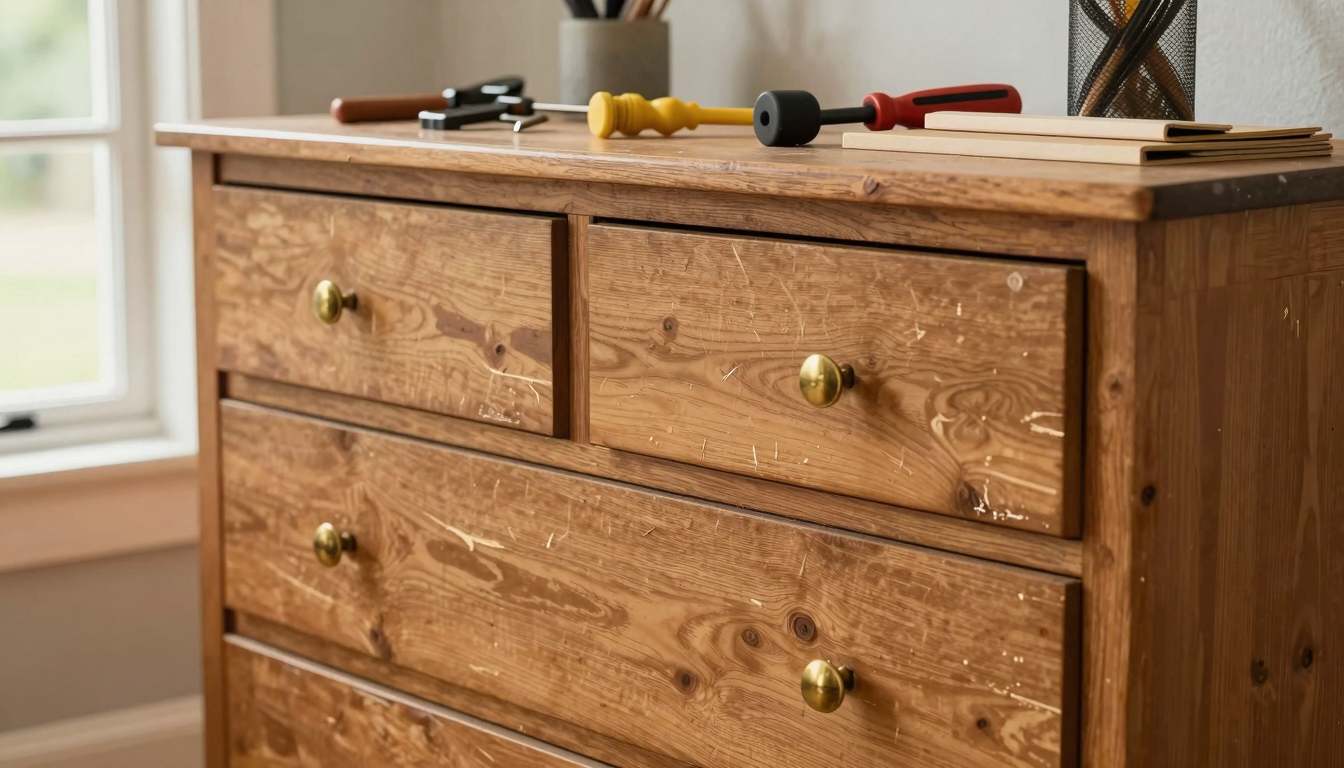
Let me tell you,our family’s hand-me-down dresser was an eyesore. The wood was scratched, the drawers stuck, and the brass knobs looked like they belonged in a 1970s time capsule. I knew I could fix it, but I also knew I didn’t want to spend a fortune doing it. So, I rolled up my sleeves, grabbed some paint and new hardware, and got to work. What started as a weekend project turned into a lesson in patience (and why you should always measure twice before buying knobs).
If you’ve got furniture that’s seen better days, this guide is for you. I’ll walk you through exactly how I transformed that dresser,and other pieces,using paint, hardware, and a few tricks I learned the hard way. No fancy tools required, just the basics and a little creativity.
Oh, and if you’re curious about other ways to refresh your home without breaking the bank, check out my five favorite DIY projects for quick updates. Some of them take less than a day!
Before You Start: What I Wish I Knew
I’ll be honest,my first furniture flip was a disaster. I skipped sanding, used cheap paint, and ended up with a streaky, uneven finish that looked like a kindergartener’s art project. But I learned from my mistakes, and now? I can turn even the most beat-up piece into something I’m proud of. Here’s what I’ve figured out over the years:
- Not all furniture is worth saving. If a piece is structurally unsound (wobbly legs, cracked wood, or termite damage), it’s better to donate it and start fresh. Trust me, I tried to save a wobbly bookshelf once,it’s now firewood.
- Hardware makes a bigger difference than you think. Swapping out old knobs or pulls can completely change the look of a piece. I once turned a boring white dresser into a farmhouse statement piece just by swapping the hardware.
- Chalk paint is your best friend. It sticks to almost anything without sanding, dries fast, and gives that gorgeous, matte finish. I keep a can of Annie Sloan Chalk Paint in my garage at all times.
- Prep work is 90% of the battle. Skipping this step is how I ended up with that streaky disaster. Now, I clean, sand (when needed), and prime like my life depends on it.
If you’re just starting out, don’t worry,I’ve got a list of beginner-friendly projects that’ll build your confidence before you tackle anything too ambitious.
Step 1: Assessing What You’ve Got (And What’s Worth Saving)
Not every piece of furniture is a candidate for a makeover. Before you commit, ask yourself these questions:
Is It Structurally Sound?
I learned this the hard way when I tried to flip a wobbly dining chair. No amount of paint could fix the fact that the legs were loose and the seat was cracked. If a piece is falling apart, it’s better to donate it or repurpose the wood for something smaller, like a farmhouse coffee table.
Does It Have Good Bones?
Look for solid wood, sturdy joints, and minimal damage. Our dresser had some dents and scratches, but the wood was still in great shape. If the piece is mostly intact, it’s a good candidate for a refresh. If it’s missing chunks or has deep gouges, you might need to patch it first,I’ve got tips for that too.
Does It Fit Your Style?
This is where I get creative. I love mixing vintage and modern, so I look for pieces with interesting details,like carved legs or unique hardware,that I can highlight. Our dresser had these gorgeous turned legs, so I knew I wanted to keep them and just update the rest.
Pro tip: If you’re not sure, take a photo of the piece and lay it next to a few inspiration images. If it doesn’t spark joy (or at least curiosity), it might not be worth your time.
Step 2: Choosing the Right Paint (And Why I Swore Off Cheap Paint)
I used to buy whatever was on sale at the hardware store. Big mistake. The paint would streak, chip, or look dull after a few weeks. Now, I stick to a few trusted brands:
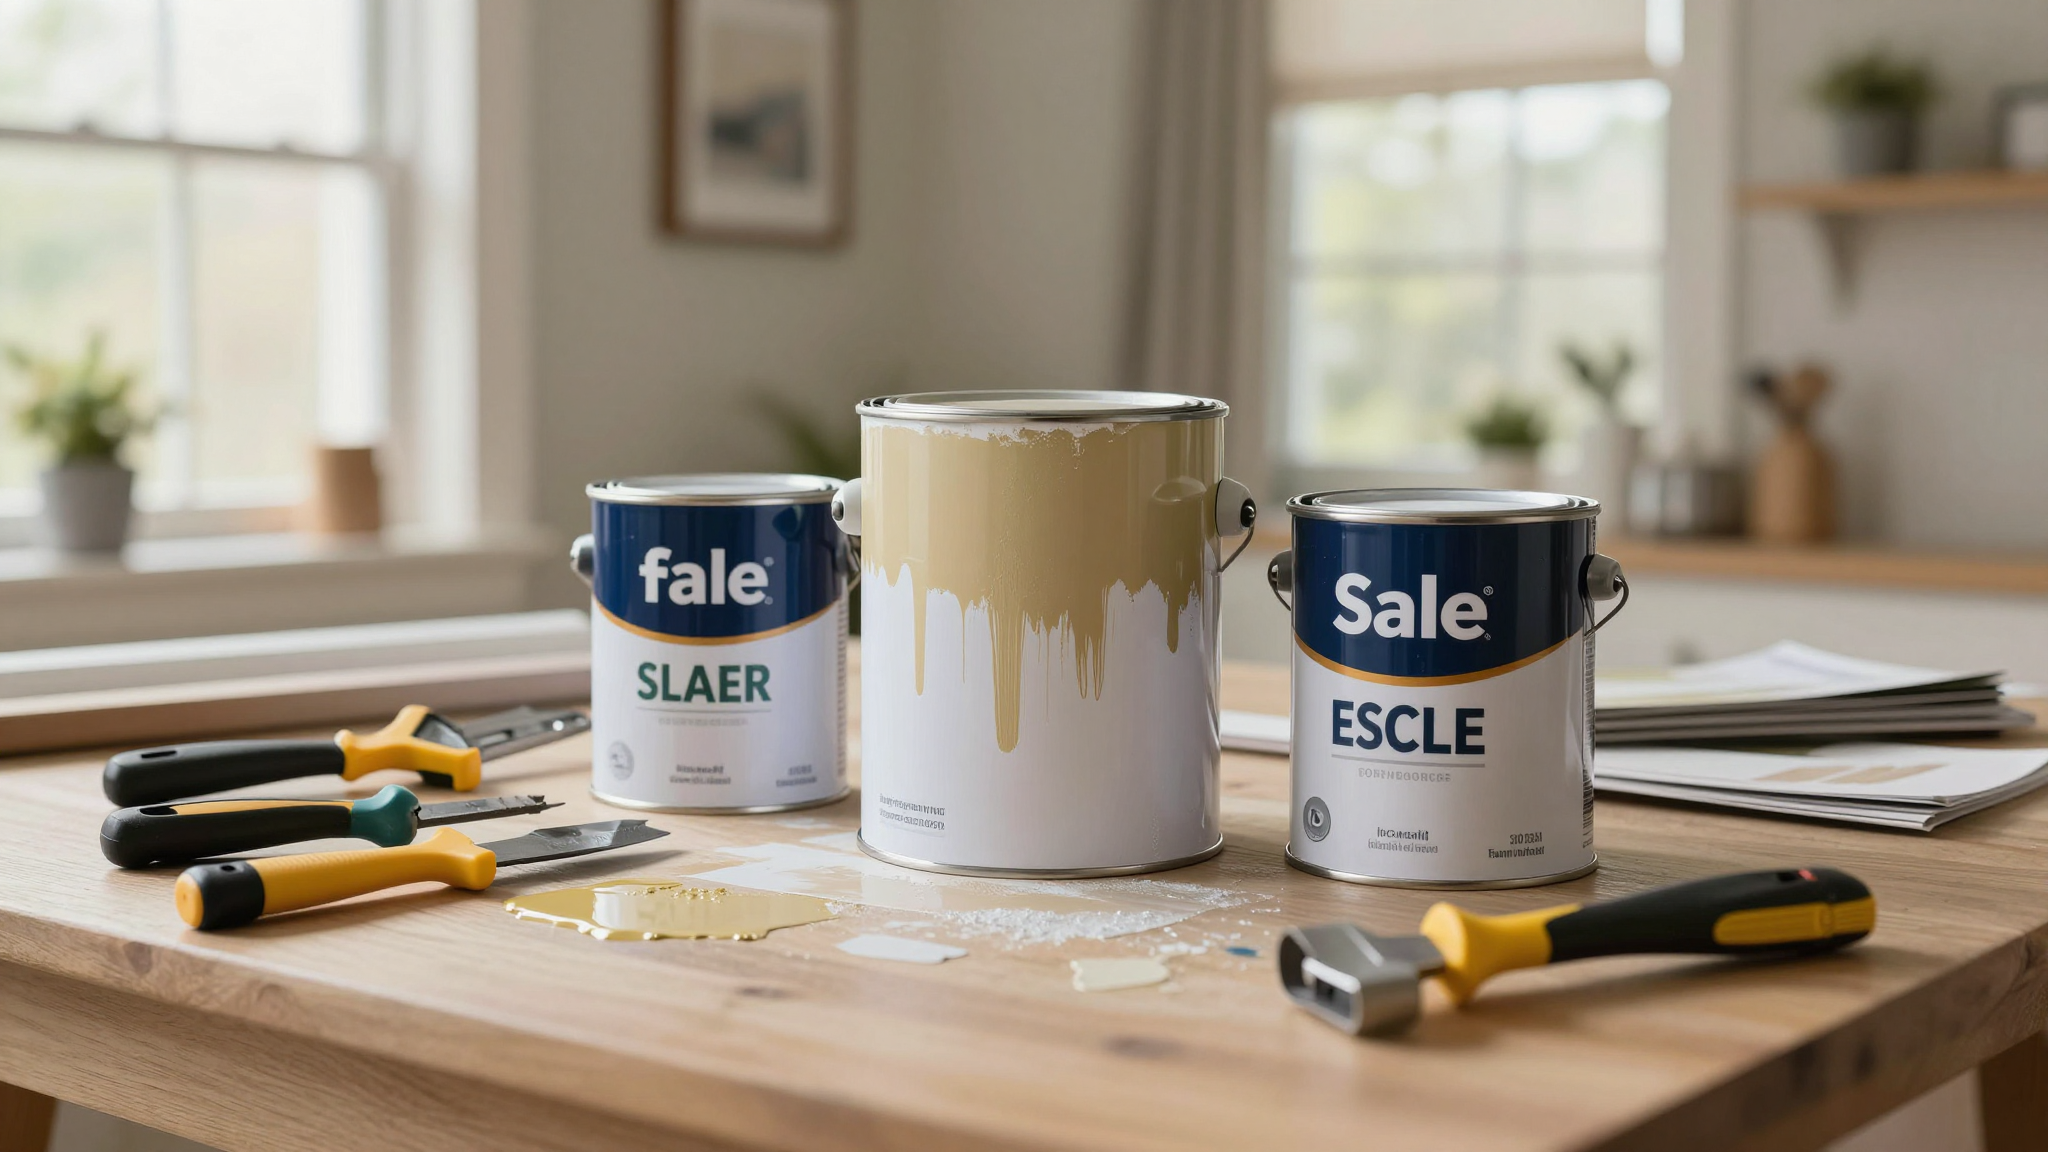
- Annie Sloan Chalk Paint – My go-to for furniture. It covers almost anything without sanding, and the colors are gorgeous. I used French Linen on our dresser, and it turned out exactly how I imagined.
- Rust-Oleum Chalked Paint – A more budget-friendly option that still gives great results. I used this on a set of thrifted chairs, and it held up beautifully.
- General Finishes Milk Paint – If you want that vintage, cracked look, this is the way to go. I used it on an old trunk, and it gave it that perfect, weathered patina.
No matter what you choose, always test a small area first. I once bought a pretty shade of blue only to realize it looked like a child’s toy when it dried. Test, test, test!
If you’re new to painting furniture, I’ve got a full guide on getting a smooth, professional finish,including how to avoid those dreaded brush strokes.
Step 3: Hardware Upgrades That Make All the Difference
This is where the magic happens. I’ve flipped furniture that looked okay after painting, but once I swapped out the hardware? It became a completely different piece. Here’s what I’ve learned:
Measure Twice, Buy Once
I cannot stress this enough. I once bought a bunch of knobs that were almost the right size,just a little too big. They looked ridiculous, and I had to return them. Now, I measure the existing hardware, then measure again. If you’re unsure, bring the old knobs with you to the store.
Mix Metals for a Custom Look
I love mixing finishes to give furniture a custom, high-end look. On our dresser, I used matte black knobs on the top drawers and brushed gold pulls on the bottom. It’s a small detail, but it makes the piece feel intentional.
Don’t Forget the Functionality
Pretty hardware is great, but if it doesn’t work well, it’s not worth it. I once bought these cute ceramic knobs for a heavy dresser,only to realize they weren’t sturdy enough. The drawers kept popping open. Now, I stick to metal knobs and pulls for anything that gets regular use.
If you’re not sure where to start, Home Depot and Etsy have great options. I also love Anthropologie’s hardware section for unique, one-of-a-kind pieces.
Step 4: My Favorite Upcycling Tricks (Including the Ones That Failed)
Once you’ve mastered the basics, it’s time to get creative. Here are a few of my favorite (and most disastrous) upcycling ideas:
1. Two-Tone Dressers (A Total Game-Changer)
I painted the top half of our dresser French Linen and the bottom half Paris Grey. The contrast makes it look custom,and it hides dust on the lower half, which is a bonus with kids in the house. I used painter’s tape to keep the lines sharp, but if you’re not confident, a washi tape trick works too.
2. Distressed Glam (My Kids’ Dresser)
I painted my daughter’s dresser a soft pink, then lightly sanded the edges to show the wood underneath. I added a gold leaf detail on the corners, and it looked like something out of a boutique. The only downside? My son immediately tried to “help” and knocked over the gold leaf. Lesson learned: Do this step last!
3. Chalkboard Paint (A Hit with the Kids)
I turned an old door into a chalkboard-painted room divider for my kids’ playroom. They love drawing on it, and I love that it’s functional. I used Rust-Oleum Chalkboard Paint, and it’s held up surprisingly well,even after multiple eraser attacks.
The One That Didn’t Work: Stenciling
I tried stenciling a geometric pattern on a side table, and it was a hot mess. The paint bled under the stencil, and the lines were crooked. If you want to try stenciling, I recommend practicing on a piece of cardboard first. Or, if you’re short on time, I’ve got easier ways to add pattern to your space.
Step 5: Safety and Prep (Because No One Wants a Trip to the ER)
I’ll be honest,I used to skip the safety steps. No gloves, no mask, just me and a paintbrush. Then I got a headache from the fumes and realized I was being reckless. Now, I prep like a pro:

Gear Up
I keep a dust mask, nitrile gloves, and safety goggles in my DIY kit. I also wear old clothes because, let’s face it, I always end up with paint splatters somewhere. If you’re sanding, add ear protection to the list,trust me, your ears will thank you.
Set Up Your Workspace
I work in our garage when I can, but if I’m inside, I clear a big table and cover it with a drop cloth. I also lay down cardboard to protect the floor. Pro tip: If you’re painting a large piece, work outside on a dry day. The fresh air makes a huge difference.
Ventilation is Key
I made the mistake of painting a bookshelf in a small, enclosed room once. I opened the windows, but the fumes still gave me a headache. Now, I either work outside or run a fan to keep the air moving. If you’re using spray paint, definitely work outside.
If you’re new to DIY, I’ve got a list of must-have tools,including the ones I can’t live without.
Color Ideas That Actually Work (No, Not Just Gray!)
I used to think the only “safe” colors for furniture were beige and white. Then I realized how much personality a bold hue can add. Here are my favorite combos:
1. Sage Green + Gold Hardware
This is my current obsession. I painted a thrifted side table Sage Green and added gold knobs. It looks expensive but cost me less than $30 to flip. I paired it with a wooden stair makeover in the same color, and it ties the whole room together.
2. Navy Blue + White Drawers
I did this with a dresser in my guest room, and it looks like it belongs in a coastal cottage. The navy is rich and moody, but the white drawers keep it from feeling too dark. I used brass pulls to add a little warmth.
3. Mustard Yellow + Black Accents
This one’s bold, but it works in a sunny room. I painted a set of kitchen chairs Mustard Yellow and added black metal legs. It’s unexpected, but it brightens up the space.
If you’re not sure where to start, I’ve got more color ideas in my fireplace makeover guide,including how to test colors before committing.
Before and After: My Favorite Flips (And What I’d Do Differently)
I love sharing my projects because I learn something new with every one. Here are a few of my favorites:
1. The Dresser That Started It All
Before: A hand-me-down with peeling paint and ugly brass knobs.
After: A two-tone farmhouse dresser with black and gold hardware.
What I’d Change: I wish I’d sanded the wood a little more before painting. The finish is still great, but it would’ve been smoother.
2. The Bookshelf That Almost Became Firewood
Before: A wobbly, yellowed bookshelf with broken shelves.
After: A sleek, black industrial bookshelf with metal brackets.
What I’d Change: I should’ve reinforced the shelves before painting. One of them still sags a little.
3. The Dining Chairs That Got a Second Life
Before: Scratched wooden chairs with broken cane seats.
After: White painted chairs with new foam cushions.
What I’d Change: I wish I’d used a primer first. The paint chipped a little where the old finish was thick.
If you want to see more of my projects, I’ve got a YouTube video walking through one of my flips step by step. And if you’re inspired to sell your pieces, I’ve got tips on where to list them,including how to price them for profit.
FAQ: Your Furniture Flip Questions, Answered
Do I Really Need to Sand Before Painting?
Not always! If you’re using chalk paint, you can often skip sanding. But if the surface is shiny or glossy, you’ll need to rough it up a little. I use 120-grit sandpaper for most projects,it’s fine enough to smooth the surface but not so fine that it takes forever.
What’s the Best Paint for Furniture?
It depends on the look you want. For a matte, vintage finish, I love Annie Sloan Chalk Paint. For durability, Rust-Oleum Chalked Paint is a great choice. If you want a glossy finish, acrylic paint with a clear topcoat works well.
How Do I Keep Paint from Chipping?
This is where prep work matters. Clean the surface, sand if needed, and use a primer if you’re painting over a dark color. I also recommend sealing the paint with wax or polyurethane. It takes an extra step, but it’s worth it for longevity.
Can I Flip Furniture and Sell It for Profit?
Absolutely! I’ve sold a few pieces on Etsy and Facebook Marketplace, and it’s a great way to make some extra cash. Start with small, high-impact projects like wainscoting a dresser or updating a side table. The key is to choose pieces that are already in good condition,you don’t want to spend more on repairs than you’ll make selling it.
What’s the Easiest Piece of Furniture to Flip?
I’d say dining chairs or side tables. They’re small, so they dry fast, and a fresh coat of paint makes a huge difference. I once flipped four chairs in a weekend, and they looked like they belonged in a boutique hotel.
Ready to Get Started?
If you’re new to furniture flipping, start with something small,a chair, a side table, or a set of drawers. Once you’ve got the hang of it, you can tackle bigger projects like dressers or bookshelves. And if you make a mistake? Don’t worry,even my “disasters” turned out okay in the end.
Now, grab that piece of furniture you’ve been eyeing, and let’s get to work. And if you finish a project, tag me on Instagram @christinaprojects,I love seeing what you’ve created!