
When and How to Change Your Furnace Filter (Without Overcomplicating It)
I’ll be honest,when we first moved into our house, I had no idea where the furnace filter even was. I spent 20 minutes crawling around the basement like a detective before I found it tucked behind a dusty access panel. Now, after years of trial and error (and a few forgotten replacements that made our HVAC system groan), I’ve learned the hard way what actually works. This isn’t about “transforming your home” or some vague “game-changer”,it’s about keeping your system running smoothly so you’re not left shivering in January because your filter turned into a dust boulder.
Here’s what I’ve figured out: where to find your filter, how to pick the right one (without getting overwhelmed by MERV ratings), and why my kids’ golden retriever, Max, is the reason I now check our filter every 45 days instead of every 90. No fluff, just the practical stuff that actually helps.
Why Your Furnace Filter Isn’t Just a “Set It and Forget It” Thing
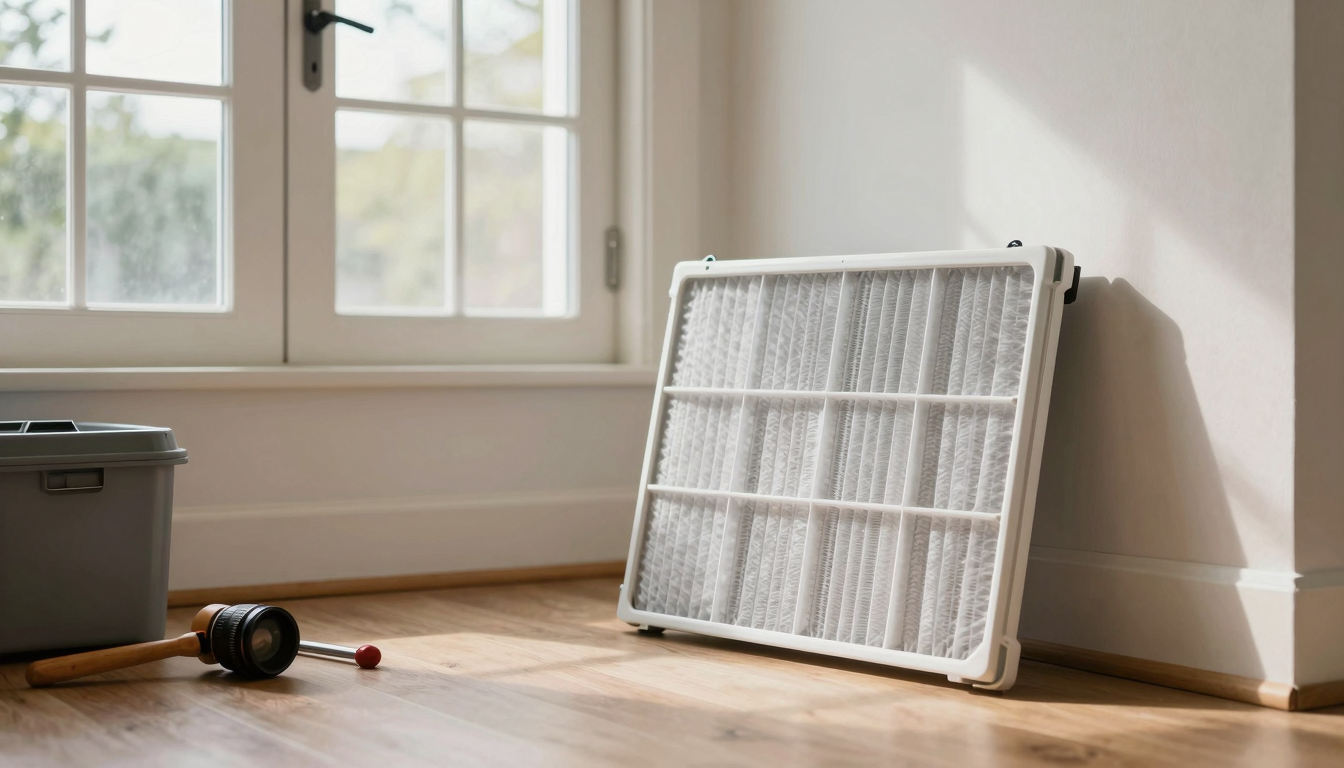
Our furnace filter isn’t some fancy upgrade,it’s a basic 16x25x1 pleated filter I grab from Home Depot in bulk. But here’s the thing: when it gets clogged, it’s not just an annoyance. It’s the difference between our HVAC system running efficiently and our energy bill spiking because the poor thing is working twice as hard to push air through a filter that’s basically a solid block of dust.
I learned this the hard way last winter. We’d been putting off replacing the filter (blame it on holiday chaos), and one morning, our thermostat read 68°F even though it was set to 72°F. The vents were blowing, but the air felt weak, like someone had put a pillow over the outlet. Turns out, our filter was so packed with dust and Max’s fur that it was restricting airflow. We swapped it out, and within an hour, the house warmed up properly. Lesson learned: a clean filter isn’t just about air quality,it’s about keeping your system from working overtime.
When your filter is clogged, a few things happen:
- Your HVAC system has to work harder to push air through, which drives up your energy bill.
- The air coming out of your vents feels weaker or uneven, like some rooms are freezing while others are fine.
- More dust and allergens get recirculated into your home, which is great if you love sneezing fits at 2 a.m.
- Over time, the strain on your system can shorten its lifespan, and nobody wants to drop $5,000 on a new furnace because they ignored a $10 filter.
Pro tip: If you’re not sure whether your filter needs changing, hold it up to a light. If you can’t see through it, it’s time for a new one. No light = no airflow.
Where to Find Your Furnace Filter (And Why It’s Not Always Obvious)
Most people assume their filter is right next to the furnace, and in our house, it is,but that’s not always the case. I’ve heard from friends whose filters are hidden behind return vents in their living room or tucked away in the attic. Here’s where to look, based on what I’ve seen in my own home and in friends’ houses:
1. The Most Common Spot: Near the Furnace or Air Handler
In our basement, the filter sits in a sliding rack right where the return duct meets the furnace. It’s behind a simple metal door that pops open with a hinge. If you have a basement, garage, or utility closet, start there. Look for a large metal cabinet with ducts,chances are, your filter is inside.
2. Behind Return Vents in Your Walls or Ceilings
Some homes have the filter mounted behind a return vent in a living space, like a hallway or bedroom. Ours doesn’t, but my sister-in-law’s does, and she had no idea until her HVAC guy pointed it out. If you can’t find the filter near the furnace, check any large return vents in your home. You’ll need to turn off the HVAC system at the thermostat before opening the vent to avoid a face-full of dust.
3. In the Attic (If You Have an Upstairs HVAC System)
If your air handler is in the attic, the filter is probably up there too. It’s usually in a slot near the return duct, often behind a removable panel. Pro tip: If you’re climbing into your attic to check, wear a mask. Attics are dust magnets, and you do not want to breathe that in.
Once you find your filter, write down the size (mine is 16x25x1, but yours might be different). Jot it on a sticky note and keep it with your HVAC info so you don’t have to go hunting for it again. Trust me, your future self will thank you.
How to Measure Your Filter (And Why You Shouldn’t Guess)
I made this mistake once. I thought our filter was a standard size, so I grabbed one from the store without double-checking. It turned out to be half an inch too big, and it wouldn’t fit in the rack. I had to return it, which was a hassle, especially since I was already running late to pick up the kids from soccer practice. Now, I always measure before I buy.

Here’s how to do it right:
- Check the size printed on the old filter. Most filters have their dimensions labeled on the frame. If yours doesn’t, grab a tape measure.
- Measure the length, width, and depth of the slot where the filter sits. Write it down,don’t try to remember it.
- Compare the actual size to the “nominal” size. Filters are often labeled with rounded numbers (like 16x25x1), but the actual size might be slightly smaller (like 15.75×24.75×0.75). A snug fit is key,if there’s a gap, air will bypass the filter, and all that dust will still get into your home.
Common filter sizes in U.S. homes include:
- 16x25x1 (the size I use)
- 20x25x1
- 16x20x1
- 14x25x1
If you’re not sure, take a photo of your filter or the slot with your phone and bring it to the store. The guys at Home Depot or Lowe’s can help you match it.
Choosing the Right MERV Rating (Without Getting a Headache)
MERV stands for “Minimum Efficiency Reporting Value,” and it’s basically a number that tells you how well your filter catches dust, pollen, and other gunk. The higher the number, the more it traps,but there’s a catch. If you go too high, your HVAC system has to work harder to push air through, which can make it less efficient.
Here’s what I’ve learned from trial and error:
Low MERV (1–4): The Bare Minimum
These filters are usually fiberglass and super cheap. They catch big stuff like dust bunnies and lint but let smaller particles (like pollen or pet dander) slip right through. I used to use these when we first moved in, but after Max shed enough fur to knit a second dog, I realized they weren’t cutting it. Our allergies were worse, and the filter clogged up way too fast.
Mid-Range MERV (5–8): The Sweet Spot for Most Homes
This is where I landed. A MERV 8 filter catches pollen, mold spores, and most dust, but it doesn’t restrict airflow too much. It’s what I recommend for most people,especially if you have pets, allergies, or just want decent air quality without breaking the bank. I buy the FiltersFast pleated filters in bulk, and they last about 2–3 months before they get too gross.
High MERV (9–13+): Only If Your System Can Handle It
These filters are great for catching smoke, fine dust, and even some viruses, but they can be too restrictive for older HVAC systems. If you’re thinking about jumping to a MERV 12 or higher, check with an HVAC pro first. Our system is relatively new, so we can handle a MERV 11 during wildfire season, but if you’ve got an older furnace, you might be better off sticking with a MERV 8 and using an air purifier for extra help.
Pro tip: If you’re not sure what MERV rating to pick, start with an 8. It’s a good balance of filtration and airflow, and it won’t stress your system. You can always upgrade later if you need to.
Fiberglass vs. Pleated Filters: What’s the Difference?
I used to think all filters were the same, but after doing some research (and a few failed experiments), I realized there’s a big difference between fiberglass and pleated filters.
Fiberglass Filters: Cheap but Basic
These are the thin, flimsy filters you see for a dollar at the hardware store. They’re made of fiberglass and catch big particles like dust and lint, but that’s about it. They clog up fast, especially if you have pets or a lot of dust, and they don’t do much for allergies or air quality.
I tried these for a while, but I gave up after two months. Our filter was so clogged with Max’s fur that it was restricting airflow, and I was replacing them every month. Not worth the hassle.
Pleated Filters: Better Filtration, Less Hassle
Pleated filters have folds that increase their surface area, which means they can trap more dust and last longer. They’re a little more expensive, but they’re worth it if you want better air quality and don’t want to replace your filter every month.
I switched to pleated filters a few years ago, and it’s been a game-changer. Our MERV 8 pleated filters last about 2–3 months, and they actually make a difference in our air quality. No more sneezing fits when I vacuum, and our allergies are way better.
When to Consider Something More Advanced
If you’ve got severe allergies, asthma, or a lot of smoke in your area (like during wildfire season), you might want to look into a dedicated air purifier or a HEPA filter. These can catch even smaller particles without restricting airflow as much as a high-MERV disposable filter.
But for most people? A pleated MERV 8 filter is the way to go.
How Often Should You Change Your Filter?
This is where most people get it wrong. I used to think “every 3 months” was the rule, but that’s only true if you have a thick filter and no pets. In our house, with Max shedding like it’s his job, I replace our filter every 45 days. Here’s how to figure out your own schedule:

Check the Thickness of Your Filter
- 1-inch filters: Replace every 1–3 months. These are the thin, disposable ones. If you have pets, kids, or a lot of dust, aim for the shorter end of that range.
- 2–4-inch filters: Replace every 3–6 months. These are the pleated filters that last longer. I use a 1-inch filter, but if you’ve got a thicker one, you can stretch it out.
Adjust for Your Home’s Conditions
If any of these apply to you, you’ll need to replace your filter more often:
- You have pets (especially if they shed). Max adds about a pound of fur to our filter every month.
- You’re doing a lot of remodeling or have a lot of dust in your home.
- You live in an area with wildfires or heavy pollution.
- You run your HVAC system a lot (like if you work from home and keep it on all day).
Pro tip: Write the date on your filter with a Sharpie when you install it. That way, you’ll know exactly when it’s time to replace it. I also set a reminder on my phone every 45 days so I don’t forget.
How to Change Your Filter (In 5 Minutes or Less)
Changing your filter is one of those tasks that seems simple, but I’ve seen people mess it up in ways that make their HVAC system work harder. Here’s how to do it right:
Step 1: Turn Off Your HVAC System
Before you do anything, turn off your HVAC system at the thermostat. This keeps dust from getting sucked into your system while you’re working. Trust me, you don’t want to breathe in a cloud of attic dust.
Step 2: Find the Airflow Arrow
Most filters have an arrow on the frame that shows the direction of airflow. It should point toward the furnace or air handler. If you install it backward, it won’t filter as well, and dust will still get into your home. I learned this the hard way when I installed a filter backward for a month and wondered why our air quality was worse.
Step 3: Slide Out the Old Filter
Open the access panel (or slide out the rack, depending on your setup) and pull out the old filter. If it’s covered in dust, you’re doing great,it means it was actually filtering something. If it’s clean, you might be replacing it too late.
Step 4: Install the New Filter
Slide the new filter into the rack, making sure the arrow points toward the furnace. It should fit snugly,if there’s a gap, air will bypass the filter, and all that dust will still get into your home. I like to give it a little wiggle to make sure it’s seated properly.
Step 5: Write the Date and Set a Reminder
Use a Sharpie to write the install date on the frame of the new filter. This way, you’ll know exactly when it’s time to replace it. I also set a reminder on my phone for 45 days later so I don’t forget. Pro tip: Take a photo of the filter in place with the date visible, and save it in a folder labeled “HVAC Maintenance.” That way, you’ll always have a record.
And that’s it! You’ve just saved money on your energy bill, improved your air quality, and extended the life of your HVAC system. Not bad for five minutes of work.
Buying Tips for Maximum Performance (Without Overcomplicating It)
When it comes to buying a new filter, there are a few things I’ve learned to look for:
1. Stick to the Right Size
This seems obvious, but I’ve seen people buy the wrong size because they didn’t measure. Always double-check the dimensions before you buy. If you’re not sure, bring the old filter with you to the store.
2. Look for a Clear MERV Rating
Avoid filters that use vague marketing terms like “premium performance” or “allergen blocker” without a clear MERV rating. A MERV 8 is a great all-around choice for most homes.
3. Consider Buying in Bulk
Filters are cheap, and they’re one of those things you’ll always need. I buy a 12-pack of pleated filters from FiltersFast every few months, and it saves me from last-minute trips to the store. Plus, I always have a backup on hand.
4. Set Up a Subscription or Reminder
If you’re bad at remembering (like me), set up a subscription service or a calendar reminder. I use a free app called Todoist to set recurring reminders for filter changes. That way, I never forget, and our HVAC system stays happy.
Pro tip: If you’re not sure whether a higher MERV filter is right for your system, call an HVAC pro. It’s a quick phone call, and it can save you from buying a filter that restricts airflow too much.
Final Thoughts (And What to Do Next)
Changing your furnace filter isn’t glamorous, but it’s one of the easiest ways to keep your HVAC system running efficiently, save money on your energy bill, and improve your air quality. I used to put it off, but after seeing the difference a clean filter makes, I’ve made it a regular part of our home maintenance routine.
Here’s what you should do next:
- Find your filter and check the size and MERV rating.
- Set a reminder to replace it every 1–3 months (depending on your filter type and home conditions).
- Buy a few extras so you always have one on hand.
- Write the date on the new filter when you install it so you know when to replace it.
And if you’re looking for more ways to keep your home running smoothly, check out my posts on winterizing your home and essential tools every homeowner should have. Small maintenance tasks like this add up to big savings and a more comfortable home.
Now, if you’ll excuse me, I need to go check our filter. Max just shed all over the couch, and I have a feeling it’s time for a replacement.