
Resin Crafts for Beginners: 5 Easy Projects to Try This Weekend
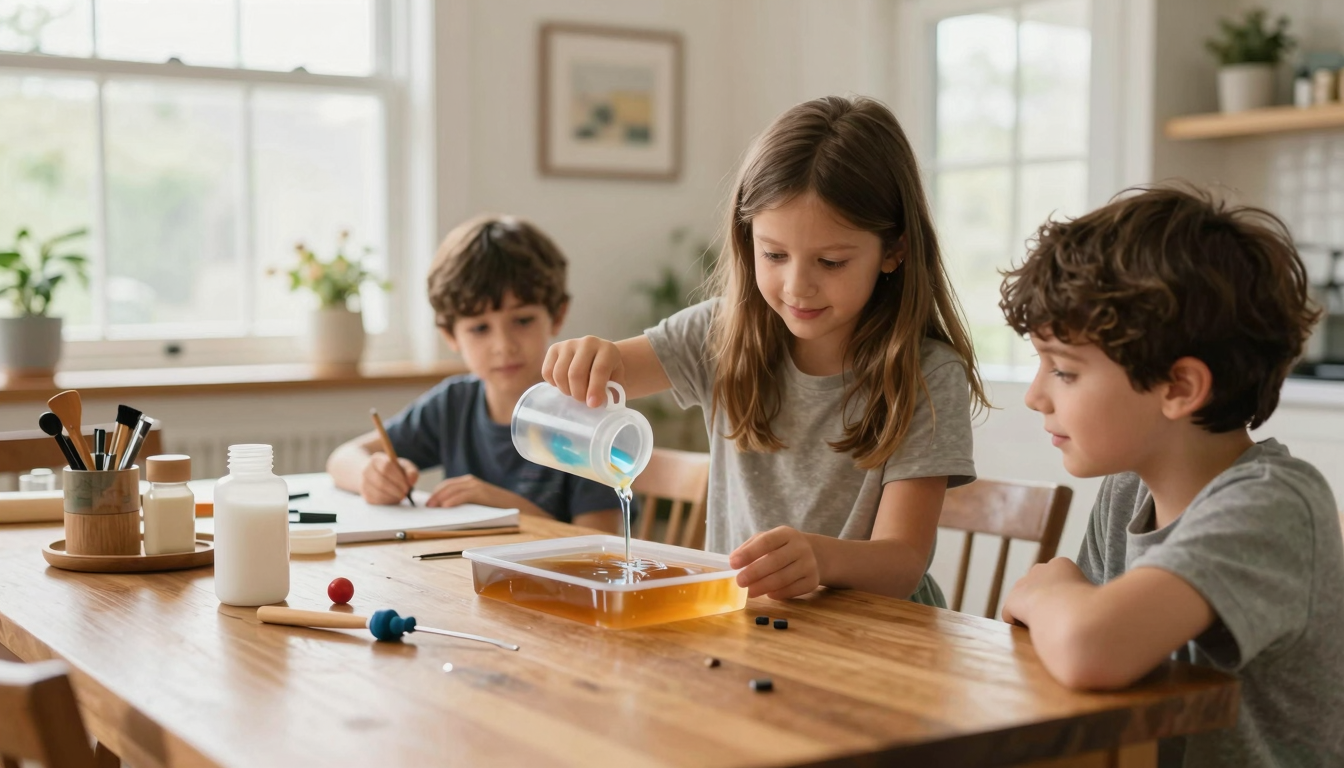
I’ll never forget the first time I poured resin. My kids were watching, and I was convinced I’d mess it up,maybe even ruin our kitchen table. But when that glossy, golden liquid hardened into a perfect coaster? I was hooked. Resin is one of those materials that feels magical, yet it’s surprisingly forgiving for beginners. And the best part? You don’t need a fancy studio or expensive tools to get started.
I’ve spent the last year experimenting with resin,some projects turned out exactly as I hoped, and others? Well, let’s just say my first attempt at a resin jewelry tray ended up looking like a science experiment gone wrong. But that’s the beauty of it: even the “mistakes” can become something unique. Whether you’re looking to add a personal touch to your home or create handmade gifts, resin lets you turn simple ideas into stunning, durable pieces.
In this guide, I’ll walk you through everything I’ve learned,from the basics of how resin works to my favorite beginner-friendly projects. I’ll also share the tools I actually use (no unnecessary gadgets here) and the tips that saved me from frustration. By the end, you’ll be ready to pour your first project with confidence.
Oh, and one more thing: if you’re anything like me, you’ll want to dive in right away. So I’ve included a quick step-by-step guide at the end to get you started on your first project today.
Why I Love Resin (And Why You Will Too)
Resin is a game-changer for DIYers because it’s versatile, durable, and,once you get the hang of it,easy to work with. I started with simple coasters (because, let’s be honest, who doesn’t need more coasters?) and quickly moved on to jewelry trays, wall art, and even a custom fireplace surround for our family room. The possibilities are endless, and the learning curve isn’t as steep as you might think.
Here’s what I love most about working with resin:
- It’s beginner-friendly. Unlike some crafts that require years of practice, resin lets you create professional-looking pieces with minimal experience. My 12-year-old helped me pour her first set of coasters, and they turned out better than mine did!
- It’s durable. Once cured, resin is waterproof, heat-resistant, and scratch-resistant,perfect for everyday use. I’ve had coasters made with resin for over a year, and they still look brand new.
- It’s customizable. You can mix colors, add glitter, embed dried flowers, or even preserve memories like photos or handwritten notes. One of my favorite projects was a resin tray with pressed flowers from my wedding bouquet.
- It’s forgiving. Yes, you can mess up (I’ve had my fair share of sticky disasters), but resin is forgiving. A little extra mixing time or a heat gun can fix most issues.
If you’re new to resin, I recommend starting with a starter kit from ArtResin. It includes everything you need,resin, hardener, mixing cups, and instructions,and the brand is known for its reliability. I’ve used it for every project, and I’ve never had an issue with curing or clarity.
Now, let’s talk about what resin actually is and how it works,because understanding the basics will help you avoid common mistakes (like the time I forgot to measure the hardener properly and ended up with a sticky mess).
What Is Resin and How Does It Work?
Resin is a liquid that hardens into a glossy, durable finish when mixed with a hardener. It’s made up of two main components: epoxy resin and epoxy hardener. When you combine them in the right ratio (usually 1:1), they undergo a chemical reaction called polymerization. This reaction turns the liquid into a solid, glass-like material that’s perfect for crafts.
I’ll admit, the first time I read about “exothermic reactions” and “cross-linked molecular bonds,” I felt a little overwhelmed. But here’s the simple version: when you mix resin and hardener, they heat up slightly (that’s the exothermic part) and then harden into a strong, clear material. It’s like magic, but with science!
There are two main types of resin you’ll encounter: art resin and casting resin. Here’s how they differ:
| Type | Best For | Curing Time | My Experience |
|---|---|---|---|
| Art Resin | Thin layers like coasters, paintings, and jewelry trays | 24-48 hours | This is what I use for most projects. It’s easy to mix, cures clear, and is perfect for beginners. I love that it comes in pre-measured kits,no guessing required! |
| Casting Resin | Thicker pours like paperweights, molds, and large decorative pieces | 72+ hours | I tried casting resin for a large centerpiece, and while it worked, it took much longer to cure. I’d recommend sticking with art resin unless you’re tackling a big project. |
One thing I learned the hard way? Always follow the mixing instructions. The first time I made resin coasters, I eyeballed the measurements and ended up with a sticky, uneven finish. Now, I use a digital scale to measure the resin and hardener precisely. It’s a small investment that makes a huge difference.
If you’re curious about the science behind resin, I found this helpful video that breaks it down in an easy-to-understand way. But honestly, you don’t need to be a chemist to create beautiful resin projects,just follow the instructions and take your time.
Essential Tools and Materials for Resin Projects
When I first started with resin, I went a little overboard buying tools. I thought I needed every gadget under the sun, but the truth is, you can start with just a few basics. Here’s what I actually use (and what you can skip):
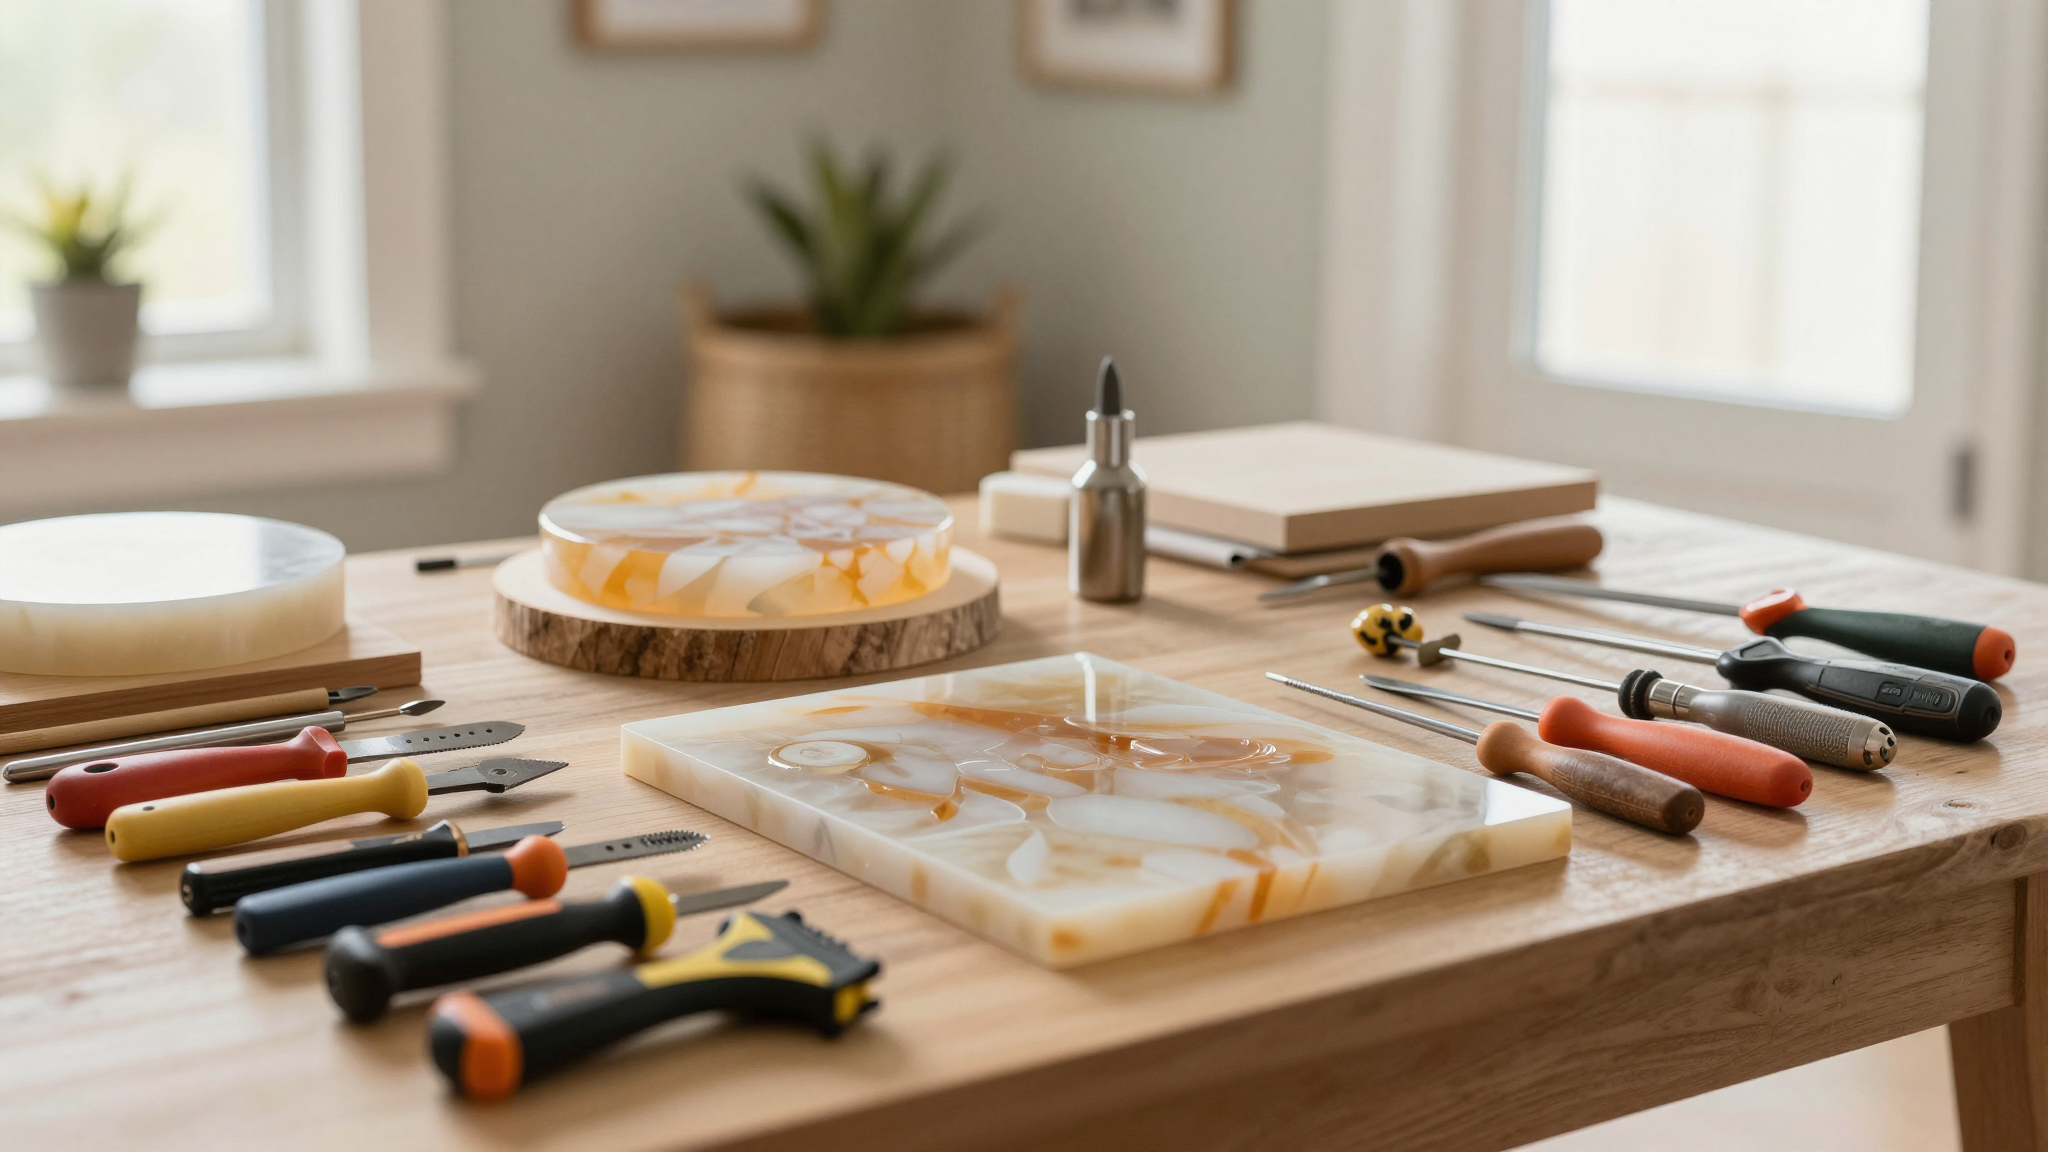
Must-Have Supplies for Beginners
- Epoxy resin kit (I recommend ArtResin for beginners)
- Disposable plastic cups (for mixing,avoid paper cups, as they can warp)
- Silicone mixing sticks (wooden sticks work too, but silicone is easier to clean)
- Silicone molds (I love these round coaster molds for beginners)
- Heat gun or torch (for removing bubbles,my go-to tool for this is a small butane torch)
- Nitrile gloves (latex gloves won’t protect you from resin fumes)
- Safety goggles (trust me, you don’t want resin in your eyes)
- Respirator mask (especially important if you’re working in a small space)
I made the mistake of using cheap plastic cups for mixing at first, and they melted when the resin got warm. Now, I stick with silicone or heavy-duty plastic cups. It’s a small detail, but it makes a big difference in the outcome of your project.
Optional (But Fun!) Embellishments
Once you’ve mastered the basics, you can start adding fun extras to your resin projects. Here are some of my favorites:
- Alcohol inks (for vibrant, translucent colors,my kids love these for their coasters)
- Dried flowers or leaves (I used pressed lavender in a tray for our guest bathroom)
- Glitter or mica powder (for a little sparkle,just be careful not to overdo it, or your piece will look messy)
- Charms or small trinkets (great for jewelry or decorative pieces)
- Photos or handwritten notes (I laminated a photo of my kids before embedding it in a resin tray)
Pro tip: If you’re embedding objects like flowers or photos, make sure they’re completely dry before pouring the resin. Moisture can cause cloudiness or bubbles in your finished piece.
One thing I didn’t realize when I started? Ventilation is key. The first time I poured resin in our kitchen, I didn’t open any windows, and the fumes gave me a headache. Now, I always work in a well-ventilated area, like our garage or near an open window. If you’re working indoors, a fan or air purifier can help too.
Step-by-Step Guide to Your First Resin Project
Ready to try your first resin project? I’m going to walk you through making a simple set of coasters,it’s the perfect way to get comfortable with the process. These coasters took me about an hour to make (including curing time), and they’ve held up beautifully for over a year.
What You’ll Need
- ArtResin starter kit
- Silicone coaster molds (or any silicone mold you have on hand)
- Alcohol ink or resin pigment (optional, for color)
- Glitter or dried flowers (optional, for embellishments)
- Heat gun or torch
- Nitrile gloves and safety goggles
- Disposable cups and mixing sticks
Step 1: Prepare Your Workspace
Before you start, make sure your workspace is clean, dry, and well-ventilated. I like to cover my table with a silicone mat or wax paper to make cleanup easier. Trust me, resin is a pain to scrub off surfaces once it’s cured!
Put on your gloves and safety goggles,this is non-negotiable. Resin can irritate your skin and eyes, and the fumes aren’t great to inhale. I also like to tie my hair back and wear an apron to keep my clothes clean.
Step 2: Mix the Resin
This is where precision matters. Measure equal parts resin and hardener into your disposable cup. For a small batch (like for coasters), I usually mix about 4 ounces of resin and 4 ounces of hardener.
Stir slowly for about 3-5 minutes, scraping the sides of the cup to ensure everything is well combined. I like to use a figure-eight motion to minimize bubbles. If you’re adding color, now’s the time to mix in your alcohol ink or pigment. For a marbled effect, swirl the color with a toothpick after pouring.
Pro tip: If you’re adding glitter or dried flowers, sprinkle them into the mold before pouring the resin. This ensures they’re fully embedded in the final piece.
Step 3: Pour the Resin
Carefully pour the mixed resin into your molds. I like to pour slowly to avoid creating bubbles. If you’re making layered coasters (like with a marbled effect), pour a thin layer, let it cure for a few hours, then add another layer.
Once your molds are filled, use a heat gun to pop any surface bubbles. Hold the gun about 6 inches above the resin and move it in a circular motion. You’ll see the bubbles rise to the surface and pop,it’s oddly satisfying!
Step 4: Let It Cure
Now, the hardest part: waiting. Resin typically takes 24-48 hours to fully cure, but it’s best to let it sit undisturbed for at least a day. I like to cover my molds with a cardboard box to keep dust out while they cure.
After 24 hours, you can gently pop the coasters out of the molds. If they’re still sticky, they need more time to cure. Once they’re fully hardened, you’re ready to use them!
Here’s a quick reference for curing times:
| Stage | Time Needed | What to Do |
|---|---|---|
| Mixing | 5 minutes | Stir slowly, scrape sides, add color if desired |
| Pouring | 10 minutes | Fill molds, use heat gun for bubbles, cover with box |
| Curing | 24-48 hours | Let sit undisturbed, avoid touching |
One thing I wish I’d known when I started? Patience is key. The first time I tried to rush a project, I ended up with a sticky, uneven finish. Now, I let my resin cure for the full recommended time, and it always turns out perfectly.
5 Beginner-Friendly Resin Projects to Try
Now that you’ve got the basics down, it’s time to get creative! Here are five of my favorite beginner-friendly resin projects, along with tips and tricks I’ve learned along the way.
1. Resin Coasters (My Go-To First Project)
Coasters are the perfect way to dip your toes into resin crafting. They’re small, quick to make, and you can experiment with colors and textures without a big investment. I’ve made coasters for gifts, for our own home, and even as party favors for my kids’ birthdays.
For my first set, I used clear resin with a swirl of blue alcohol ink. It turned out better than I expected, and now I have a matching set in our living room. If you want to add a little extra flair, try embedding dried flowers or glitter. Just be careful not to overdo it,too much glitter can make your coasters look messy.
Pro tip: If you’re using alcohol ink, mix it into the resin before pouring. If you add it after, it can create uneven streaks.
2. Resin Tea Light Holders
These are so easy and make such a pretty centerpiece for dinner parties. All you need is a glass jar, some resin, and a little glitter or mica powder for sparkle. I made a set for our holiday table last year, and they looked stunning with the candles glowing inside.
To make them, pour a thin layer of resin into the bottom of the jar, add your embellishments (like glitter or dried flowers), then pour another layer of resin to seal it all in. Let it cure, and you’ve got a beautiful tea light holder!
I like to use gold or silver mica powder for a metallic look, but you can also use colored pigments for a more vibrant effect. Just be sure to let each layer cure before adding the next.
3. Resin Jewelry Trays
Jewelry trays are a great way to practice resin while making something practical. I made one for my daughter’s bedroom, and she loves how it keeps her jewelry organized and dust-free. Plus, it’s a great way to use up any leftover resin or pigments you have.
For my tray, I used a silicone mold in a rectangular shape and poured a thin layer of clear resin. Then, I added a swirl of pink alcohol ink and let it cure. Once it was dry, I poured a second layer of clear resin to seal it in. The result was a beautiful, glossy tray with a marbled effect.
Pro tip: If you’re embedding objects like charms or small trinkets, make sure they’re completely dry and free of moisture before pouring the resin. Any moisture can cause bubbles or cloudiness in your final piece.
4. Resin Wall Art
If you’re feeling a little more adventurous, try making resin wall art. This is a great way to practice pouring larger pieces and experimenting with colors and textures. I made a piece for our hallway using a wooden slice as a base and pouring resin with dried flowers embedded inside.
To make your own, start with a wooden slice or a canvas as your base. Pour a thin layer of resin, then add your embellishments (like dried flowers, glitter, or even small photos). Let it cure, then pour another layer of resin to seal everything in. Once it’s fully cured, you can hang it on your wall!
I like to use a heat gun to remove any bubbles before the resin cures, and I always let it cure for at least 48 hours to ensure it’s fully hardened. The result is a beautiful, one-of-a-kind piece of art for your home.
5. Resin Keychains or Pendants
Keychains and pendants are a fun way to practice resin on a smaller scale. They’re quick to make, and you can experiment with different colors and embellishments without a big commitment. I made a set of keychains for my husband’s coworkers as gifts, and they turned out great!
To make them, use small silicone molds (like these pendant molds) and pour a thin layer of resin. Add your embellishments (like glitter, dried flowers, or small charms), then let it cure. Once it’s dry, you can attach a keychain ring or a jump ring to turn it into a wearable piece.
Pro tip: If you’re making pendants, sand the edges lightly after curing to give them a smooth, professional finish. I use a fine-grit sandpaper (around 400-600 grit) for this step.
These projects are just the beginning,once you get comfortable with resin, the possibilities are endless. I’ve even seen people make resin fireplace surrounds, stair treads, and even accent walls with resin. The key is to start small, practice, and have fun with it!
Troubleshooting Common Resin Issues
Even with the best preparations, things can go wrong. I’ve had my fair share of resin mishaps,sticky surfaces, cloudy finishes, and bubbles that just wouldn’t pop. But don’t worry, most issues are easy to fix if you know what to do. Here’s how I’ve learned to troubleshoot the most common problems.
1. Bubbles in Your Resin
Bubbles are probably the most common issue beginners face, and I’ve definitely had my share of bubble battles. The first time I made resin coasters, my piece was covered in tiny bubbles, and I was so disappointed. But I’ve since learned that bubbles are usually caused by one of three things: mixing too quickly, pouring too fast, or not using a heat gun.
Here’s how I fix bubbles now:
- Mix slowly. Stir the resin and hardener in a figure-eight motion for at least 3-5 minutes. This helps release any air that gets trapped during mixing.
- Pour slowly. Instead of pouring the resin all at once, let it drizzle into the mold. This reduces the chance of creating new bubbles.
- Use a heat gun. After pouring, hold a heat gun about 6 inches above the resin and move it in a circular motion. The heat will cause the bubbles to rise to the surface and pop.
- Let it rest. If you still see bubbles after using a heat gun, let the resin sit for a few minutes. Sometimes, the bubbles will rise and pop on their own.
Pro tip: If you’re pouring a thick layer of resin (like for a paperweight), you might need to use a vacuum chamber to remove all the bubbles. But for beginners, a heat gun is usually enough.
2. Sticky Resin
Nothing is more frustrating than pouring a beautiful piece of resin, only to find that it’s still sticky after it’s supposed to be cured. This usually happens when the resin-to-hardener ratio is off, or when the curing conditions aren’t ideal.
Here’s what I do if my resin turns out sticky:
- Check your measurements. Make sure you mixed equal parts resin and hardener. Even a small mismeasurement can cause the resin to stay sticky.
- Let it cure longer. Sometimes, resin just needs a little extra time to fully harden. If it’s still sticky after 48 hours, let it sit for another day or two.
- Check the temperature. Resin cures best in a room that’s between 70-75°F. If it’s too cold, the resin will cure slowly, and if it’s too hot, it can cure too quickly and become brittle.
- Avoid moisture. If your workspace is too humid, the resin can absorb moisture and stay sticky. Try moving to a drier area or using a dehumidifier.
I learned this the hard way when I tried to pour resin in our basement during the summer. It was too humid down there, and my resin ended up sticky and cloudy. Now, I always work in a well-ventilated, dry space.
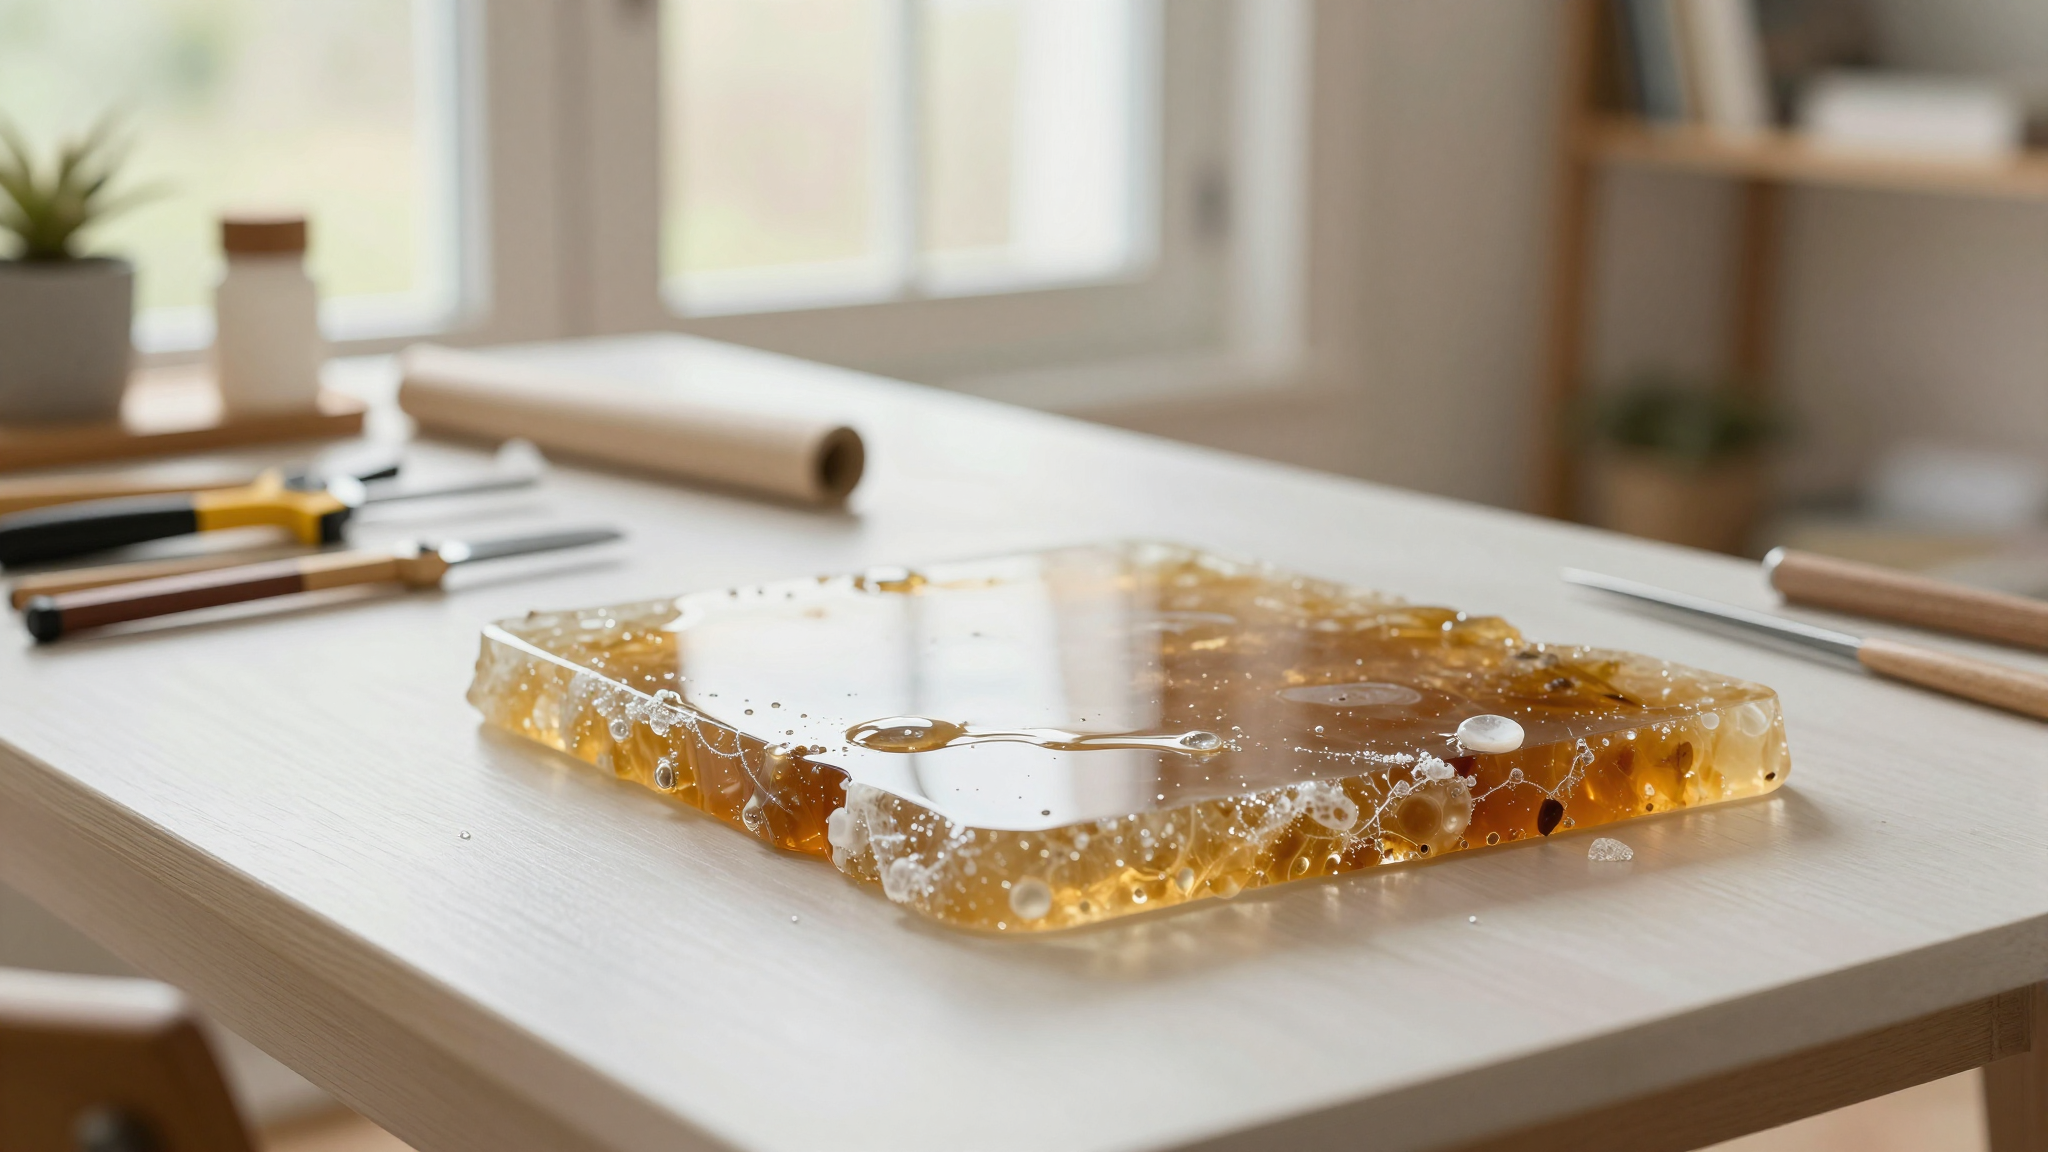
3. Cloudy or Yellowing Resin
If your resin turns out cloudy or yellow, it’s usually a sign that something went wrong during the curing process. This can happen if the resin is exposed to too much moisture, if it’s not mixed properly, or if it’s cured in a space that’s too hot or too cold.
Here’s how I fix cloudy or yellowing resin:
- Check your mixing. Make sure you mixed the resin and hardener thoroughly. If you didn’t mix them well, the hardener won’t fully react with the resin, and it can turn cloudy.
- Control the temperature. Resin cures best in a room that’s between 70-75°F. If it’s too cold, the resin can cure slowly and turn cloudy. If it’s too hot, it can cure too quickly and become yellow.
- Avoid moisture. If your workspace is too humid, the resin can absorb moisture and turn cloudy. Try moving to a drier area or using a dehumidifier.
- Use a UV-resistant resin. If you’re worried about yellowing, look for a resin that’s labeled as UV-resistant. This will help keep your pieces looking clear and vibrant for longer.
I’ve had this happen a few times, usually when I’ve tried to cure resin in a space that’s too humid or too cold. Now, I always check the weather and make sure my workspace is at the right temperature before I start a project.
Safety Tips for Working with Resin
Resin is a safe material to work with as long as you take the right precautions. I’ve been working with resin for over a year, and I’ve never had any issues,mostly because I always follow safety guidelines. Here’s what I do to stay safe:
1. Wear Protective Gear
This is non-negotiable. Every time I work with resin, I wear nitrile gloves, safety goggles, and a respirator mask. Resin can irritate your skin and eyes, and the fumes aren’t great to inhale. I also like to wear an apron to keep my clothes clean.
I made the mistake of skipping the respirator mask once, and I ended up with a headache from the fumes. Now, I always wear it, even if I’m just doing a small project.
2. Work in a Well-Ventilated Area
Resin fumes can be strong, especially in a small space. I always work in our garage or near an open window to make sure there’s plenty of fresh air. If you’re working indoors, a fan or air purifier can help too.
I’ve also heard of people using a portable air purifier to help with ventilation. If you’re sensitive to fumes, this might be a good investment.
3. Follow the Instructions
This might seem obvious, but it’s worth repeating: always follow the instructions on your resin kit. I’ve seen people try to skip steps or use shortcuts, and it usually ends in disaster. Measure your resin and hardener carefully, mix them thoroughly, and let them cure for the recommended amount of time.
I learned this the hard way when I tried to rush a project and ended up with a sticky, uneven finish. Now, I always follow the instructions to the letter.
4. Clean Up Properly
Resin is a pain to clean up once it’s cured, so it’s important to clean your tools and workspace as you go. I like to use isopropyl alcohol to wipe down my mixing cups and sticks after each use. For cured resin, I use a silicone scraper or sandpaper to remove any residue.
I also like to cover my workspace with a silicone mat or wax paper to make cleanup easier. Trust me, resin is a pain to scrub off surfaces once it’s cured!
Customizing Your Resin Projects with Colors and Embellishments
One of the best things about resin is how customizable it is. You can mix colors, add glitter, embed dried flowers, or even preserve memories like photos or handwritten notes. The possibilities are endless, and the best part is that every piece turns out unique.
Exploring Color Mixing Techniques
Mixing colors in resin is so much fun, and it’s a great way to experiment with different effects. I’ve made everything from soft pastels to vibrant neon colors, and I love how each piece turns out different.
Here are a few of my favorite color mixing techniques:
- Marbled effect. Pour a thin layer of clear resin, then drizzle in different colors of alcohol ink. Use a toothpick to swirl the colors together for a marbled effect. This is one of my kids’ favorite techniques,they love creating their own unique designs.
- Ombré effect. Pour a thin layer of one color, let it cure for a few hours, then pour a second layer of a different color. This creates a beautiful ombré effect that’s perfect for coasters or jewelry trays.
- Geometric designs. Use a toothpick or a small brush to create geometric patterns in your resin. This takes a little practice, but the results are stunning!
Pro tip: If you’re using alcohol ink, mix it into the resin before pouring. If you add it after, it can create uneven streaks. I also like to use a dropper to add the ink slowly, so I can control the amount and create the exact effect I want.
Enhancing Designs with Glitter, Mica, and Flowers
Adding embellishments to your resin projects is so much fun, and it’s a great way to make each piece unique. Here are some of my favorite ways to enhance my resin designs:
- Glitter. I love adding glitter to my resin projects for a little sparkle. Just be careful not to overdo it,too much glitter can make your piece look messy. I like to use fine glitter for a subtle shimmer or chunky glitter for a more dramatic effect.
- Mica powder. Mica powder is a great way to add a metallic or pearlescent effect to your resin. I like to mix it into the resin before pouring, but you can also sprinkle it on top of a wet layer for a different effect.
- Dried flowers. Embedding dried flowers in resin is a beautiful way to preserve memories. I’ve made coasters with pressed lavender, jewelry trays with dried roses, and even wall art with wildflowers I picked in our backyard.
- Photos or handwritten notes. If you want to add a personal touch, try embedding a photo or a handwritten note in your resin. I laminated a photo of my kids before embedding it in a resin tray, and it turned out beautiful.
Pro tip: If you’re embedding objects like flowers or photos, make sure they’re completely dry before pouring the resin. Any moisture can cause bubbles or cloudiness in your final piece.
One of my favorite projects was a resin tray with pressed flowers from my wedding bouquet. It’s a beautiful way to preserve a special memory, and it’s something I’ll cherish for years to come.
Final Thoughts and Next Steps
Resin is one of those crafts that feels magical the first time you try it. There’s something so satisfying about pouring a liquid and watching it harden into a glossy, durable piece of art. And the best part? It’s so beginner-friendly that you can start creating beautiful projects with just a few basic tools.
I’ve made so many mistakes along the way,sticky coasters, cloudy finishes, and more bubbles than I care to admit. But each mistake taught me something new, and now I’m confident enough to tackle bigger projects like resin fireplace surrounds and stair treads. The key is to start small, practice, and have fun with it.
If you’re just getting started, I recommend trying one of the beginner projects I mentioned earlier,like coasters or tea light holders. They’re quick, easy, and a great way to get comfortable with the process. Once you’ve got the hang of it, you can move on to more advanced projects like jewelry or wall art.
And remember: resin is forgiving. Even if your first few projects don’t turn out perfectly, that’s okay! Every “mistake” is just a chance to learn something new. I still have a few “oops” pieces sitting around my house as reminders of how far I’ve come.
So, what are you waiting for? Grab a resin kit, pick a project, and start creating! I’d love to see what you make,tag me on Instagram at @christinaprojects and share your creations. Happy crafting!
FAQ
What’s the difference between art epoxy and casting epoxy?
Art epoxy is designed for thin layers like coasters, paintings, and jewelry trays. It cures clear and is perfect for beginners. Casting epoxy, on the other hand, is meant for thicker pours like paperweights or large molds. It takes longer to cure (usually 72+ hours) and is better suited for experienced crafters. I stick with art epoxy for most of my projects because it’s easier to work with and cures faster.
How do I avoid bubbles in my epoxy projects?
Bubbles are the bane of every resin crafter’s existence, but they’re easy to avoid if you know what to do. First, mix your resin and hardener slowly for at least 3-5 minutes. Use a figure-eight motion to minimize air pockets. After pouring, use a heat gun to pop any surface bubbles,hold it about 6 inches above the resin and move it in a circular motion. If you’re pouring a thick layer, let it cure for a few hours between layers to reduce bubble formation.
Can I use regular glitter or flowers in epoxy designs?
Yes! Just make sure your glitter and flowers are completely dry before embedding them in the resin. Any moisture can cause bubbles or cloudiness in your final piece. I like to use polyester glitter because it’s non-toxic and won’t dissolve in the resin. For flowers, I press them in a heavy book for a few days to make sure they’re dry before using them.
What safety gear is essential for working with epoxy?
Safety first! Always wear nitrile gloves to protect your skin from the resin, safety goggles to shield your eyes from splashes, and a respirator mask to filter out fumes. I also recommend working in a well-ventilated area, like near an open window or with a fan. If you’re sensitive to fumes, consider using a portable air purifier to help with ventilation.
How long does epoxy take to cure completely?
Most epoxy resins take 24-48 hours to fully cure, but the exact time depends on the brand and the thickness of your pour. For thin layers (like coasters), 24 hours is usually enough. For thicker pours (like paperweights), it can take up to 72 hours. I always let my projects cure for the full recommended time to ensure they’re fully hardened and durable.
Can I mix acrylic paint with epoxy for colored effects?
I don’t recommend using acrylic paint in epoxy because it can interfere with the curing process. Instead, use alcohol inks or epoxy pigments, which are specifically designed for resin. They mix smoothly and won’t cause cloudiness or stickiness. I love using alcohol inks because they come in so many vibrant colors, and they create beautiful translucent effects in resin.
What’s the best way to clean epoxy tools after use?
Clean your tools as soon as you’re done mixing to make cleanup easier. For uncured resin, wipe your mixing cups and sticks with isopropyl alcohol. For cured resin, use a silicone scraper or sandpaper to remove any residue. I also like to soak my tools in warm, soapy water after each use to keep them in good condition. If you’re using silicone molds, wash them with mild soap and water and let them air dry.
Why did my coaster turn sticky or cloudy?
Sticky resin is usually a sign that the resin-to-hardener ratio was off, or that the curing conditions weren’t ideal. Cloudiness can be caused by moisture, improper mixing, or exposure to too much heat or cold. To fix sticky resin, check your measurements and let it cure for a little longer. For cloudy resin, make sure your workspace is dry and at the right temperature (70-75°F). If the problem persists, try using a UV-resistant resin to prevent yellowing.
Can I layer epoxy in a single project?
Yes! Layering epoxy is a great way to create depth and dimension in your projects. Pour a thin layer (about ⅛ inch) and let it cure for 3-4 hours before adding the next layer. This prevents overheating and ensures each layer cures properly. I love layering different colors or textures to create unique effects in my resin pieces.
Are silicone molds reusable for multiple pours?
Absolutely! Silicone molds are flexible, durable, and reusable. After each use, wash them with mild soap and water, and let them air dry. Avoid using sharp objects to remove cured resin, as this can damage the mold. With proper care, your silicone molds can last for years.