
How I Replaced My Ugly Stair Carpet with Wood in a Weekend (Without Regrets!)
Let me tell you,our staircase was the eyesore of our house. That shaggy, stained carpet had seen better days, and every time I walked up or down, I cringed. I knew a wood makeover would make the whole entryway feel modern and inviting, but I also knew it wasn’t going to be easy. The good news? I did it in a weekend. The bad news? I learned a few things the hard way.
This wasn’t just about making my home look nicer (though that was a huge part of it). It was about creating a space that felt like us,warm, functional, and a little bit stylish. And honestly? The process taught me more about patience, planning, and the right tools than any other DIY project I’ve tackled. If you’re thinking about doing the same, here’s exactly how I did it,including the mistakes I made so you don’t have to.
Why I Chose Wood (And Why It Was a Game-Changer)
I’ll be honest,I was nervous. The last time I tried a big DIY project, I ended up with a drywall disaster that took me three tries to fix. But this time, I was determined. I spent weeks scrolling through Pinterest and saving photos of staircases with sleek wood treads and clean lines. I wanted something that felt timeless, not trendy. Something that would still look good in 10 years when the kids (hopefully) stop dragging their backpacks up and down.
I also knew wood would add value to our home. When we listed our last house, the realtor mentioned how much a fresh, updated staircase could impress buyers. And since we’re not planning to move anytime soon, I wanted it to be something that made me happy every day,not just potential buyers.
But here’s the thing: I didn’t just want it to look good. I wanted it to last. That meant choosing the right materials, taking my time with prep work, and not cutting corners. (Yes, I learned that lesson the hard way when I tried to skip sanding on a coffee table project last year. Let’s just say the paint didn’t stick, and I had to start over.)
Planning My Staircase Makeover: What I Wish I’d Known First
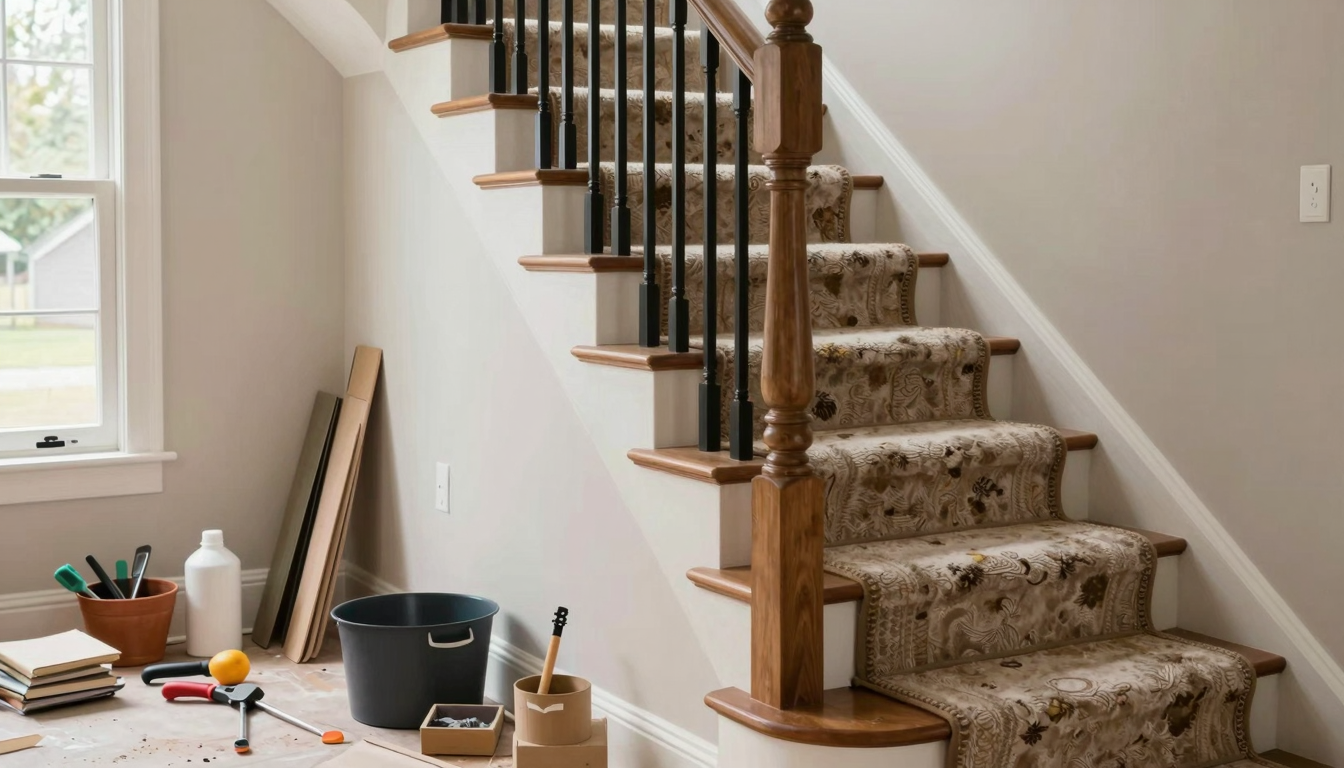
Before I even touched a tool, I spent an entire afternoon inspecting the staircase. I pulled up a corner of the carpet (yes, with my bare hands,don’t do that) and peeked underneath. What I found? A mix of solid wood treads and some risers that had seen better days. There were a few loose balusters, and one of the handrail brackets was wobbly. If I hadn’t checked, I would’ve been in for some nasty surprises mid-project.
Here’s what I did instead:
- Checked for structural issues: I ran my hands along every tread and riser, looking for soft spots (a sign of rot) or cracks. I also wiggled the balusters and handrail to make sure everything was secure. If any part felt unstable, I knew I’d need to reinforce it before moving forward.
- Measured everything twice: I grabbed my favorite tape measure (the one with the built-in level,worth every penny) and double-checked the dimensions of each tread and riser. I didn’t want to buy wood only to realize it was half an inch too short.
- Sketch out a design: I drew a quick sketch of what I wanted,black treads with white risers for a modern contrast. I even grabbed a few paint samples from the hardware store and taped them to the wall to see how they’d look in different lighting.
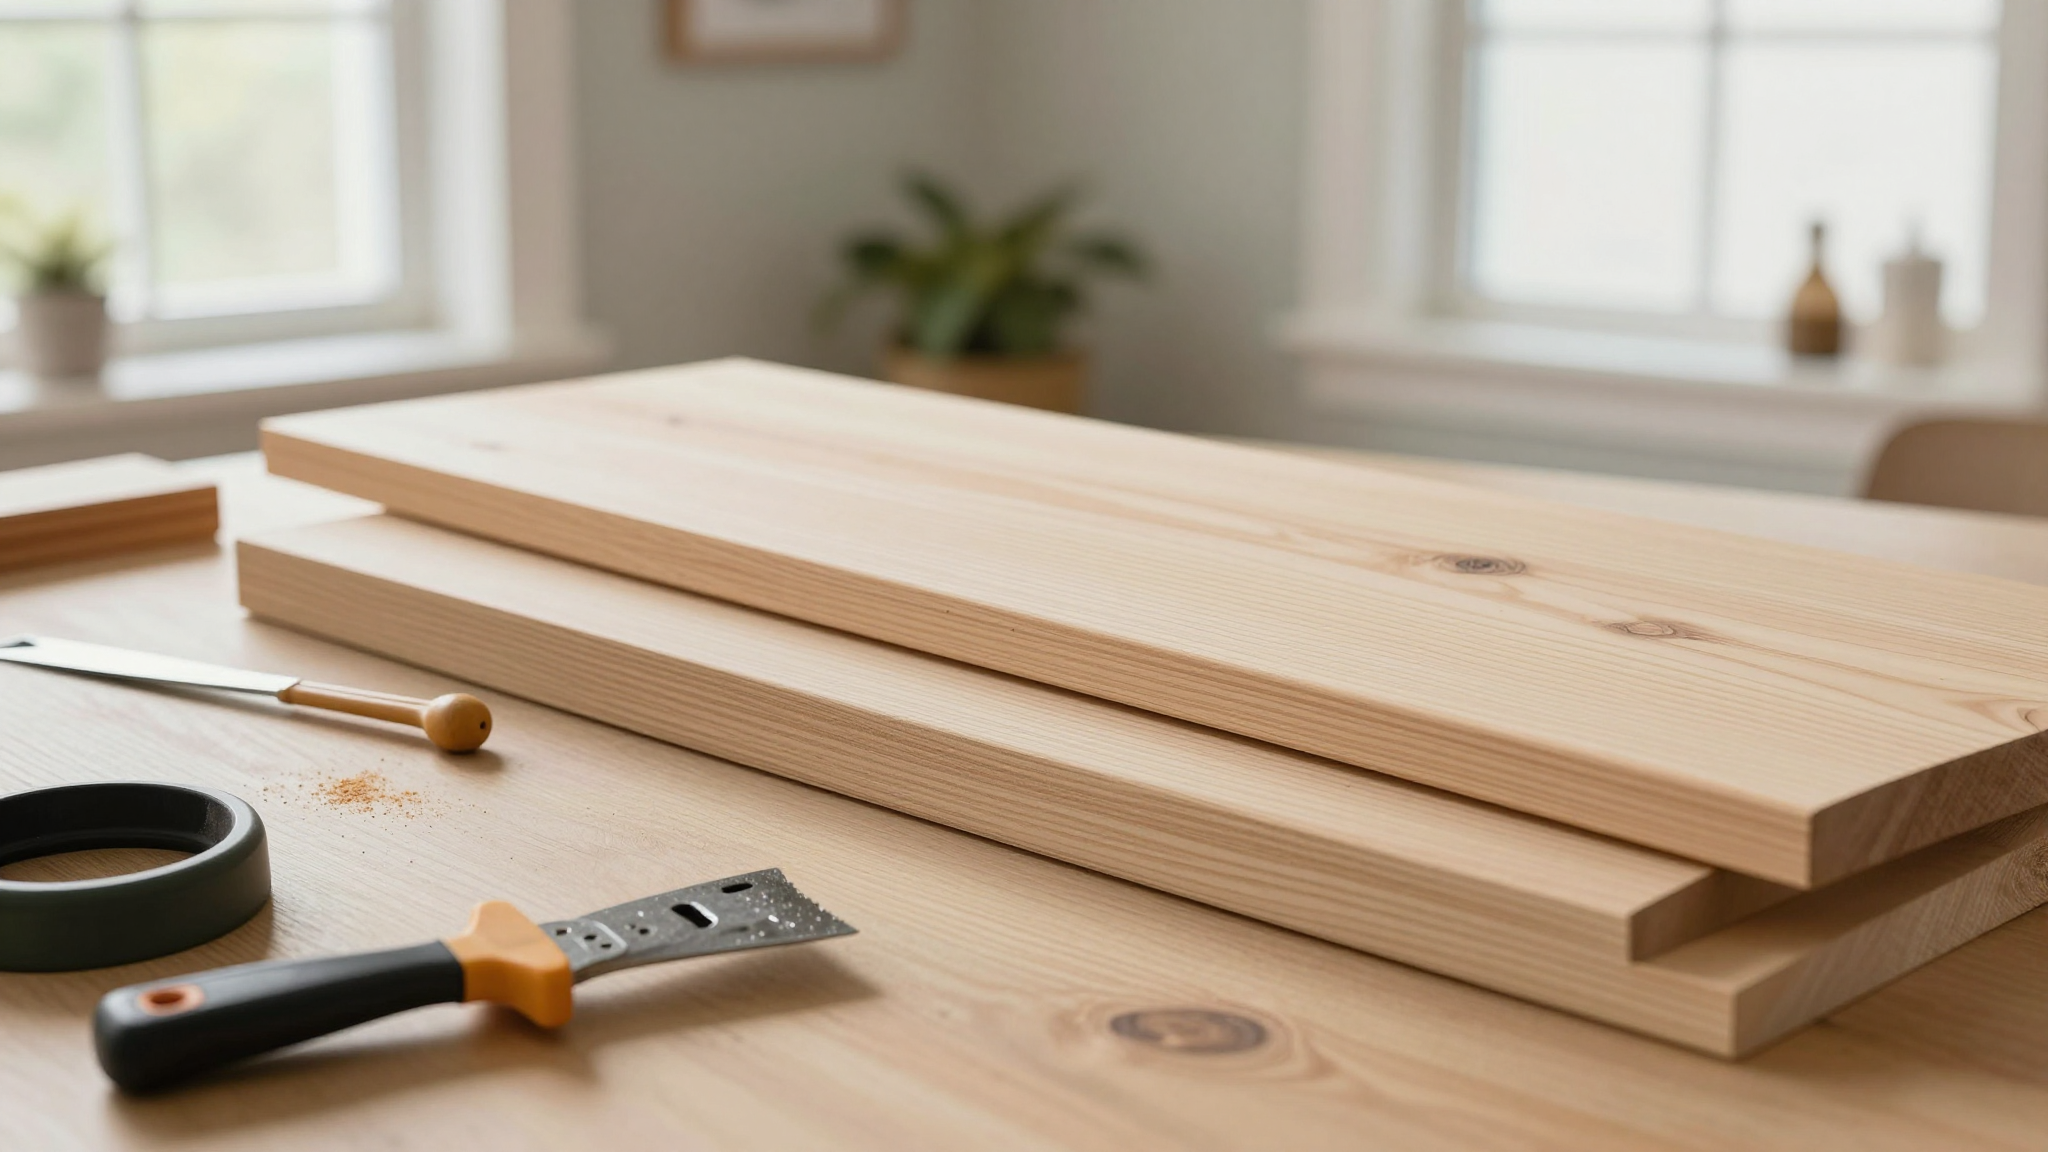
I also sat down with my husband and went over the budget. We agreed on a $300 limit for materials, which meant I had to get creative. I found pre-cut wood treads at a local lumberyard for half the price of big-box stores, and I opted for MDF risers because they’re cheap, easy to paint, and,if I’m being honest,no one’s going to inspect them that closely.
Pro tip: If you’re on a budget, paint your risers first and let them dry while you work on the treads. That way, you’re not waiting around for things to dry between steps. (I learned this the hard way when I painted all the risers at once and then had to wait 24 hours before I could even think about the treads.)
Step 1: Ripping Out the Old Carpet (Without Destroying the Wood)
This was the moment of truth. I’d watched about a dozen YouTube videos on how to remove carpet from stairs, but nothing prepared me for the reality of it. The carpet was stubborn. Like, glued-to-the-wood-with-superglue stubborn.
Here’s what actually worked:
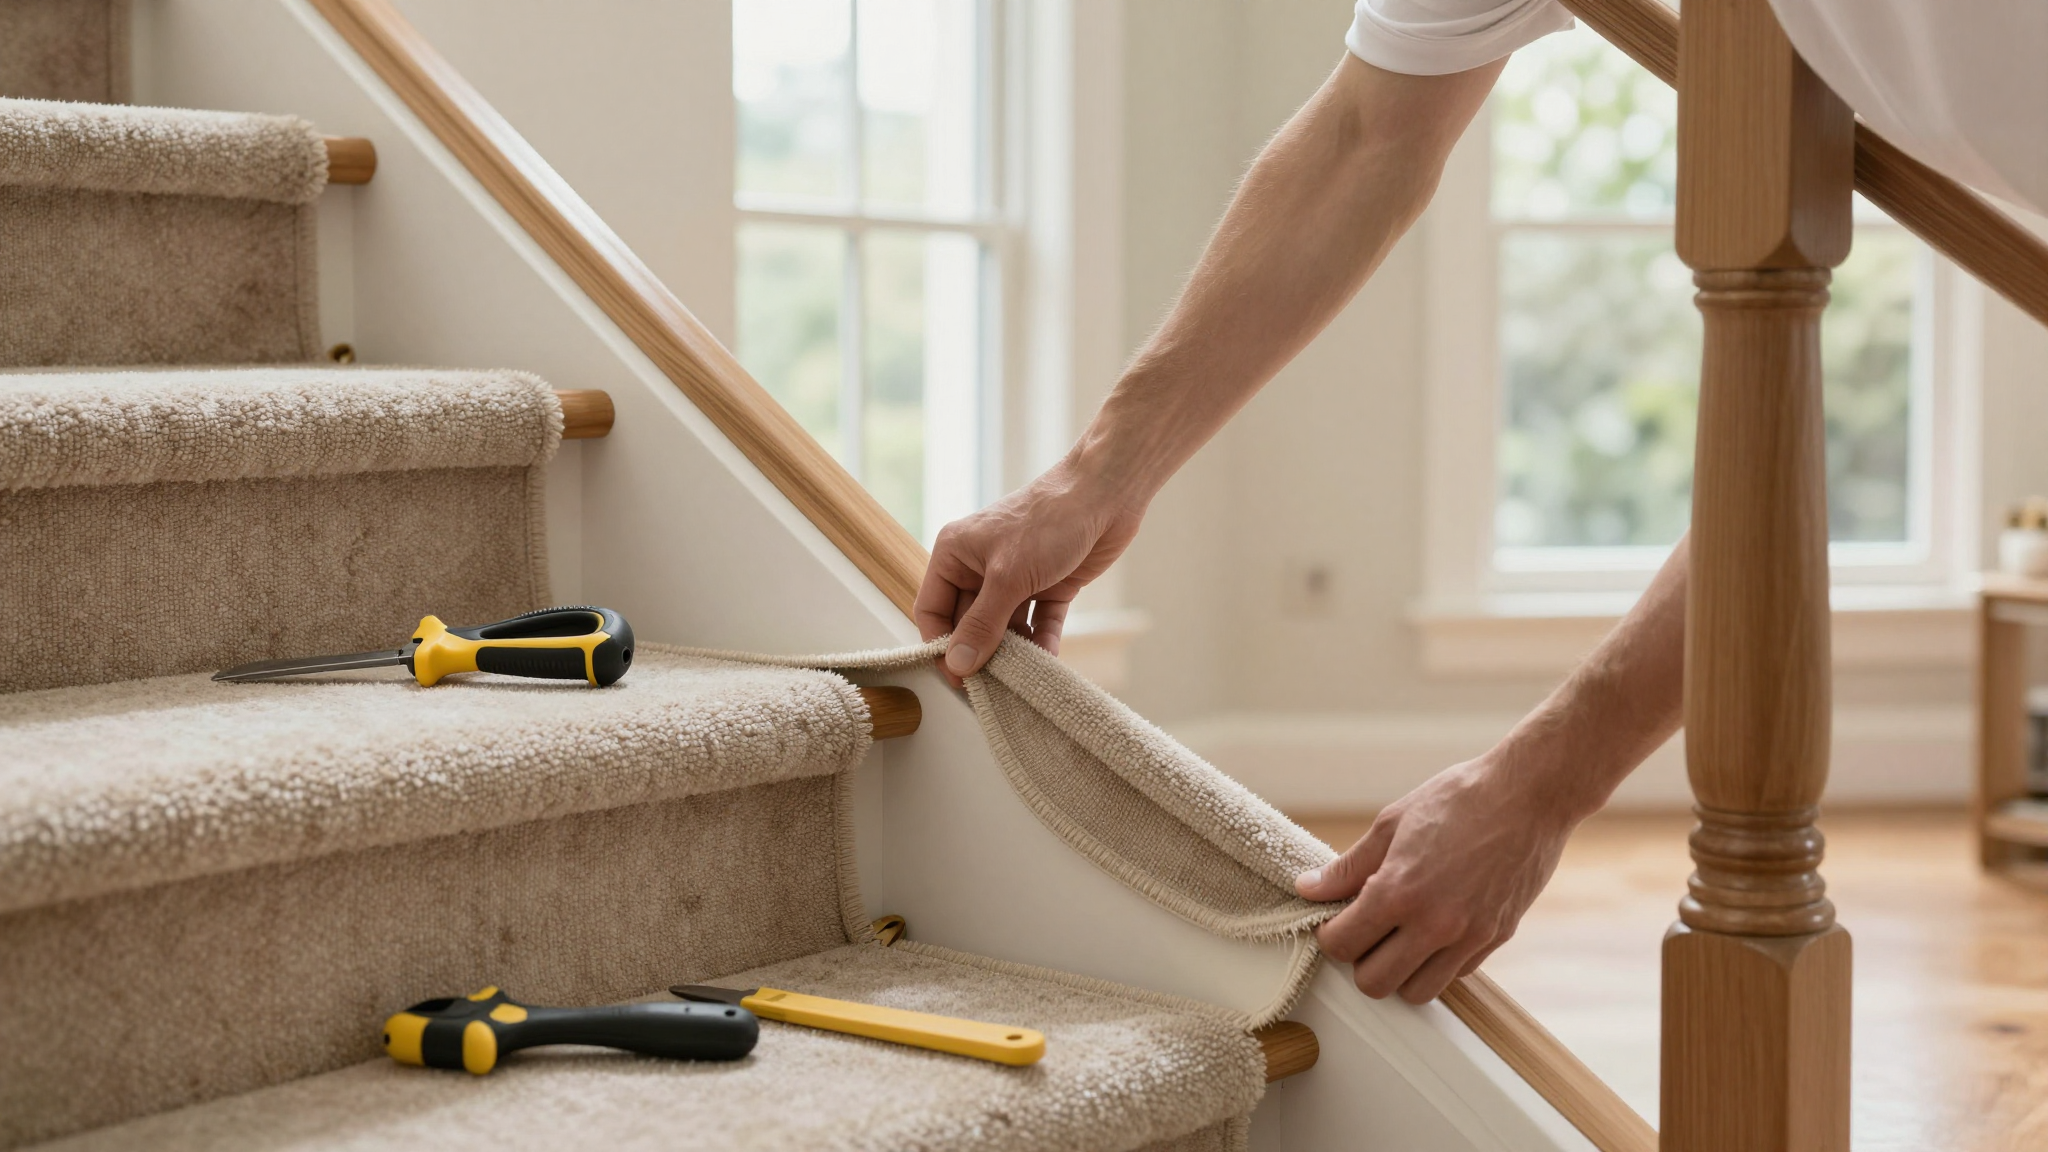
- Grabbed the right tools: A flat pry bar, a rubber mallet (to avoid denting the wood), safety glasses, and a utility knife for cutting the carpet into manageable sections. I also wore gloves because, trust me, you do not want carpet staples embedded in your hands.
- Started at the top: I cut the carpet into strips about 2 feet wide, then used the pry bar to lift the edge. The rubber mallet helped me gently tap the pry bar underneath the tack strips without splintering the wood.
- Roll it up like a burrito: Once the carpet was loose, I rolled it up as I went, staples and all. It was heavy, but I managed to drag it down the stairs and out to the trash. (Pro tip: If you’re doing this alone, wear a backpack or use a dolly to haul it out. I tried carrying it and nearly face-planted.)
When I finally got the last of the carpet off, I took a deep breath and inspected the wood underneath. There were a few deep scratches and one tread that had a nasty crack, but nothing that couldn’t be fixed with a little wood filler and sanding. I also found a few nails that had been left behind, so I spent 20 minutes hunting them down with a magnet before I could move on.
Lesson learned: Take your time with this step. Rushing leads to splintered wood or, worse, a trip to the ER for a staple in your finger. (Ask me how I know.)
Step 2: Prepping the Wood for Paint (The Most Important Part!)
I’ll admit it,I almost skipped this step. I mean, the wood looked fine, right? Wrong. If I hadn’t sanded and primed properly, the paint would’ve peeled within a year. And since I was already in this deep, I didn’t want to have to redo it.
Here’s what I did instead:
- Sanded every surface: I used an 80-grit sandpaper to rough up the wood and remove any glossy finish. For the edges, I switched to 120-grit to smooth them out. I also sanded the balusters and handrail because, let’s be real, no one wants a splinter from their staircase.
- Vacuumed like my life depended on it: I used a shop vac to get every last speck of dust off the wood. Then I wiped everything down with a damp cloth to make sure the primer would stick.
- Applied shellac-based primer: This stuff is a game-changer. It dries fast, seals the wood, and gives the paint something to grip onto. I used a high-quality brush for the edges and a roller for the flat surfaces. I let it dry overnight,yes, overnight,because I didn’t want to risk smudging it.
I also taped off the baseboards and walls with FrogTape (the blue painter’s tape,it’s worth the extra dollar because it doesn’t bleed). I laid down drop cloths to protect the floor, and I even covered the handrail with plastic wrap so I wouldn’t accidentally get paint on it.
Pro tip: If you’re painting the risers a different color, paint them first and let them dry completely before moving on to the treads. That way, you’re not waiting around for things to dry between steps.
Step 3: Painting and Adding the Finishing Touches
This is where the magic happened. I chose a matte polycrylic for the treads because I wanted a clean, modern look, and a semi-gloss for the risers because I knew they’d get more wear and tear. I also decided to paint the balusters and handrail the same color as the risers for a cohesive look.
Here’s how I did it:
- Painted the risers first: I used a small foam roller to get an even coat, then went back over the edges with a angled brush. I let them dry for 4 hours before moving on.
- Taped off the treads: I used painter’s tape to create clean edges, then used an edger tool to get sharp lines where the tape met the wood. (This was a $15 investment that saved me hours of touch-up work.)
- Painted the treads in thin coats: I applied two thin coats of polycrylic, letting each one dry completely before adding the next. I also labeled the wet treads with masking tape so I wouldn’t accidentally step on them.
- Added the final touches: Once everything was dry, I carefully removed the tape and touched up any spots where the paint had seeped underneath. I also added a clear protective topcoat to the handrail to make it easier to clean.
I’ll be honest,the waiting was the hardest part. I wanted to rush, but I knew if I did, the paint would bubble or peel. So I distracted myself by reorganizing the entryway and planning my next project (a fireplace makeover, if you’re curious!).
Budget Breakdown: How I Kept Costs Low Without Sacrificing Quality
One of my biggest goals was to keep this project under $300. Here’s how I did it:
| Material | Cost | Where I Saved |
|---|---|---|
| Wood Treads (12) | $150 | Bought from a local lumberyard instead of Home Depot. The owner gave me a discount because I was buying in bulk! |
| MDF Risers (12) | $50 | MDF is cheaper than solid wood, and since risers don’t get as much wear, it’s a smart trade-off. |
| Paint and Primer | $40 | I already had a can of primer in the garage, and I found a sale on the polycrylic at Lowe’s. |
| Painter’s Tape and Supplies | $15 | I reused tape from a previous project and borrowed a roller from a neighbor. |
| Miscellaneous (sandpaper, gloves, etc.) | $45 | I already had most of these tools from other projects. |
Total: $300 (and I still had a little left over for a celebratory coffee run!).
Here are a few more ways I saved money:
- Painted every other tread first: This way, I could still use the stairs while the paint dried. No need to camp out in the living room for a weekend!
- Used leftover paint for touch-ups: I kept the cans sealed tightly and stored them in a cool, dry place so I could use them for future touch-ups.
- DIY’d the handrail: Instead of buying a pre-finished handrail, I sanded and painted the existing one. It looked brand new and saved me $100.
Final Thoughts (And What I’d Do Differently Next Time)
Looking back, I’m so glad I took the time to do this project right. The staircase is now the favorite part of our home,it’s bright, modern, and (most importantly) easy to keep clean. The kids still drag their backpacks up and down, but at least now it doesn’t look like a disaster zone.
If I could do it all over again, I’d:
- Invest in a better edger tool: The one I used was decent, but a high-quality edger would’ve made the lines even sharper.
- Sand more thoroughly: I rushed through sanding a few spots, and it showed when the paint didn’t adhere as well. Next time, I’m taking my time with the 120-grit sandpaper.
- Plan for more drying time: I thought I could rush the drying process, but paint needs time. I ended up waiting an extra day just to be safe.
But here’s the thing,I don’t regret a single minute of it. This project taught me patience, creativity, and that I’m capable of way more than I give myself credit for. And now? Every time I walk up those stairs, I feel a little burst of pride.
So if you’re thinking about tackling a staircase makeover, do it. It’s a big project, but it’s so worth it. And if you need a little extra motivation, check out my other DIY projects for more inspiration!
Now, if you’ll excuse me, I’m off to figure out how to winterize our house before the cold sets in. Wish me luck!