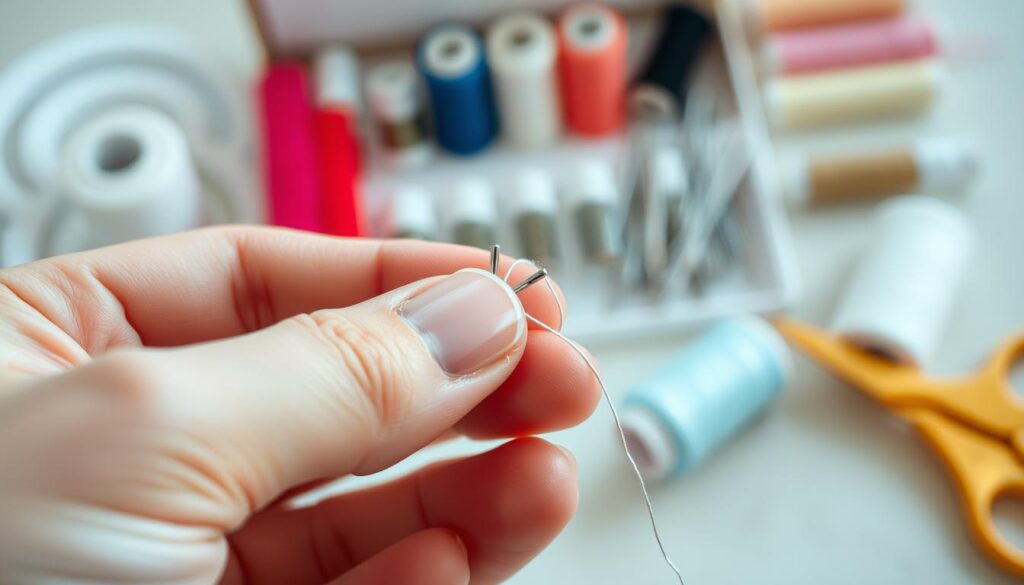
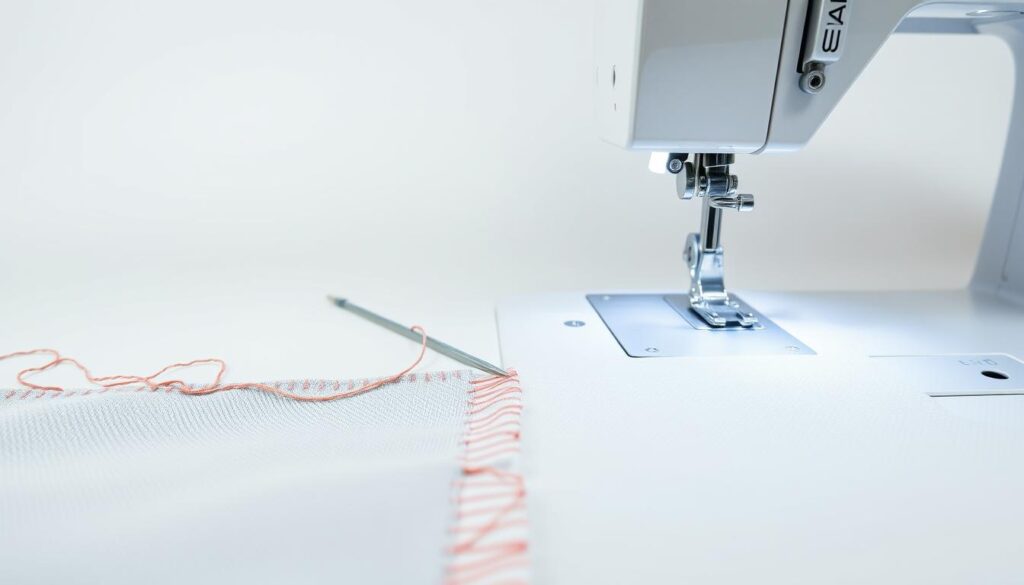
Discover the joy of creating something with your own hands. Whether you’re drawn to crafting practical items or expressing creativity, stitching offers endless possibilities. With just a needle, thread, and fabric, you can dive into your first project today.
Many find sewing therapeutic. It builds patience, sharpens focus, and rewards you with tangible results. Even small creations—like coasters or tote bags—boost confidence as you master new skills.
This guide focuses on easy-to-follow patterns that require minimal supplies. We’ll walk through fundamental stitches, must-have tools, and troubleshooting tips. You’ll learn how to avoid common mistakes while exploring techniques at your own pace.
Ready to turn fabric into functional art? Let’s lay the groundwork for success. By the end, you’ll have the knowledge to tackle projects that grow with your abilities.
Key Takeaways
- Sewing builds practical skills while fostering creativity and relaxation
- Basic supplies like needles, thread, and fabric are all you need to start
- Simple projects help build confidence before tackling complex patterns
- Step-by-step guidance makes learning stitches and techniques approachable
- Overcoming initial challenges leads to long-term crafting satisfaction
Getting Started: Tools, Supplies & Workspace Preparation
Quality equipment and smart organization turn fabric into functional art. Let’s explore how to build your toolkit and create an efficient workspace that fuels creativity.
Essential Sewing Tools and Notions
Every stitcher needs these basics:
- Reliable sewing machine with adjustable stitch settings
- Sharp fabric scissors that stay separate from paper-cutting tools
- Glass-head pins and a magnetic pin cushion
Keep a tape measure handy for precise cuts. Your machine’s manual becomes your best friend—bookmark the tension adjustment page.
Choosing the Right Fabric & Thread
Start with plain-weave cotton. It’s stable, affordable, and comes in endless prints. Match your thread weight to the material thickness. Pre-wash fabrics to prevent shrinkage surprises later.
| Fabric Type | Best For | Thread Weight |
|---|---|---|
| Cotton | Tote bags, pillowcases | All-purpose (40) |
| Flannel | Coasters, napkins | Heavy-duty (30) |
| Linen | Table runners, aprons | Embroidery (50) |
Setting Up Your Craft Space
Designate a well-lit area with:
- Flat surface for cutting
- Adjustable chair to prevent back strain
- Storage bins for organized supplies
Practice stitches on scrap fabric before real projects. Clean lint from your machine weekly using the brush included in most kits. Rotate needles every 8-10 hours of use for crisp results.
Beginner Sewing Basics for Absolute Novices (Beginner Sewing)
Mastering fundamental techniques transforms fabric scraps into polished creations. Let’s explore core skills that ensure clean results, whether you’re stitching by hand or machine.

Learning Simple Stitches Step-by-Step
Start with these essential techniques:
- Running stitch: Push the needle through fabric in straight lines, keeping spaces even
- Backstitch: Create stronger seams by inserting the needle at the end of each previous stitch
Hold the needle like a pencil for better control. Practice on scrap material until your stitches look uniform. Consistent spacing prevents puckering and strengthens your work.
Understanding Seam Allowances and Patterns
Seam allowance—the space between fabric edges and stitches—determines durability. Most patterns use ½-inch allowances for easy adjustments. Measure twice before stitching to maintain alignment.
| Project Type | Recommended Allowance | Tool for Accuracy |
|---|---|---|
| Garments | ⅝ inch | Seam gauge |
| Home Decor | ½ inch | Magnetic guide |
When following patterns, trace cutting lines with tailor’s chalk. Match notches perfectly before pinning pieces together. Press seams open with an iron for professional finishes.
Understanding Hand Sewing vs. Machine Sewing
Your project’s success often hinges on choosing the right technique. Hand methods shine for delicate work, while machines dominate speed-focused tasks. Both approaches require different skills but share one goal: turning ideas into tangible creations.

Benefits and Challenges of Hand Sewing
Needle-and-thread work offers unmatched control for detailed fixes and lightweight fabrics. Mending torn seams or attaching buttons becomes effortless without bulky equipment. The rhythmic motion can feel meditative, letting you adjust each stitch individually.
However, hand stitching demands patience. Complex patterns might take three times longer than machine work. Keep these tips in mind:
- Use shorter threads to prevent tangling
- Rotate fabric frequently when working tight corners
- Anchor knots discreetly for invisible finishes
Deciding When to Use Your Sewing Machine
Power through quilt seams or curtain panels in minutes instead of hours. Modern machines handle thick denim and slippery satin with adjustable settings. Their consistent stitch length ensures professional-looking hems every time.
Master these machine essentials:
- Practice speed control using scrap fabric
- Pivot needles at precise 90-degree angles for crisp corners
- Clean lint buildup after each session
Blend both methods strategically. Basting stitches by hand can temporarily hold tricky layers before final machine stitching. As your skills grow, you’ll instinctively know which tool saves time while maintaining quality.
Easy Sewing Patterns & First Sewing Projects
Transform basic materials into charming creations through approachable designs. Quick projects build momentum while teaching core techniques. Start with items requiring straight lines and minimal pattern pieces for immediate success.
Top Starter Projects for Quick Wins
These ideas combine simplicity with practicality:
| Project | Materials | Customization Tip |
|---|---|---|
| Drawstring Bags | Cotton fabric, ribbon | Add fabric paint stencils |
| Felt Butterflies | Wool blend felt, stuffing | Mix patterned wings |
| Burp Cloths | Flannel, absorbent terry | Embroider initials |
Complete three small items before tackling complex patterns. Each finished piece reveals how different fabrics behave under needles. Document your progress with photos to spot improvements.
Making Patterns Your Own
Swap suggested materials in tutorials for personal flair. Turn tea towels into aprons using free step-by-step guides. Try these creative adjustments:
- Use contrasting thread colors on neutral fabrics
- Layer two patterned materials for reversible items
- Add decorative buttons as functional accents
Match needle types to your fabric weight—sharps for tight weaves, ballpoints for knits. Keep a swatch notebook to record what works. Every modification teaches new skills while reflecting your unique style.
Tips & Tricks to Improve Your Sewing Skills
Sharpening your craft requires clever solutions beyond basic tutorials. These pro techniques help conquer fabric challenges while boosting efficiency. Let’s explore smart fixes that elevate your work from homemade to professional-grade.
Handy Hacks for Cleaner Finishes
Transform household items into crafting allies. Washi tape creates straight hem guides and prevents fraying when applied to raw edges. For stubborn threads, rub needles through beeswax to reduce tangling.
- Use binder clips instead of pins for thick layers
- Mark seam allowances with washi tape on your machine bed
- Store threads in ziplock bags with silica gel to prevent moisture damage
Mastering Straight Seams and Turning Corners
Consistent pressure matters most. Keep fabric flat under the presser foot, aligning edges with tape markers. When approaching corners:
- Stop with needle down in fabric
- Lift presser foot and pivot project
- Lower foot and continue stitching
| Common Issue | Quick Fix | Preventative Tip |
|---|---|---|
| Uneven stitches | Re-thread machine | Clean bobbin area weekly |
| Fabric puckering | Adjust thread tension | Test stitches on scraps first |
| Breaking threads | Replace needle | Use quality threads |
Troubleshooting Stitching Issues
Most problems stem from three culprits: dull needles, incorrect tension, or dirty machines. Bookmark online courses like “Machine Maintenance 101” for visual guides. When threads snap frequently, check your presser foot pressure settings.
Practice these skills through short daily sessions. As one expert quilter advises: “Perfect seams come from patience, not perfectionism.” Celebrate progress, not just finished products.
Essential Sewing Machine Setup and Maintenance
A well-tuned machine transforms fabric into polished creations. Proper care ensures smooth stitching and professional results across all your projects. Let’s explore how to keep your equipment running like new.
Threading and Routine Care Basics
Start every session by threading correctly:
- Raise the presser foot to engage tension discs
- Follow numbered guides from spool to needle
- Pull thread through the needle’s eye from front to back
Clean lint weekly using small brushes included with most machines. As one technician advises: “Dust bunnies destroy stitch quality faster than dull needles.” Apply 1-2 drops of sewing oil monthly to moving parts marked in your manual.
| Maintenance Task | Frequency | Tool Needed |
|---|---|---|
| Lint removal | After 3 projects | Soft brush |
| Needle replacement | Every 8 hours | #14 universal |
| Oiling | Monthly | Sewing-grade oil |
Consult your machine’s patterns guide when switching fabrics. Different materials require adjusted tension settings. Bookmark the troubleshooting page for quick fixes during projects.
New crafters often skip oiling, leading to jerky stitches. Regular care prevents 80% of common issues according to repair shops. Sharp needles create cleaner edges on seams, while proper threading reduces thread breaks.
Treat machine setup as a core skill rather than a chore. As your equipment hums smoothly, you’ll complete projects faster with professional finishes. Remember: “A happy machine makes happy stitches.”
Conclusion
Crafting with fabric opens doors to endless possibilities. Through our exploration of essential tools, stitch techniques, and starter projects, you’ve gained the foundation to create items that grow with your skills. Remember—every stitch counts, whether you’re making coasters or customizing tote bags.
Your journey thrives on practice. Small projects build muscle memory, while step-by-step guides help refine techniques. Don’t fret over early attempts—even seasoned crafters started with uneven seams.
Keep these takeaways close:
Size matters less than consistency. Tiny fabric swatches teach precision, while larger pieces let you experiment with patterns. Return to favorite tutorials as your confidence grows—repetition reveals new insights each time.
Share your creations proudly! Post photos of that quilted pot holder or embroidered scarf. Every project, no matter how many times you’ve tried similar patterns, adds to your creative toolkit. What unique twists will you bring to your next masterpiece?
Grab your needle and thread. With each completed piece, you’re not just making items—you’re weaving stories into every fiber.

