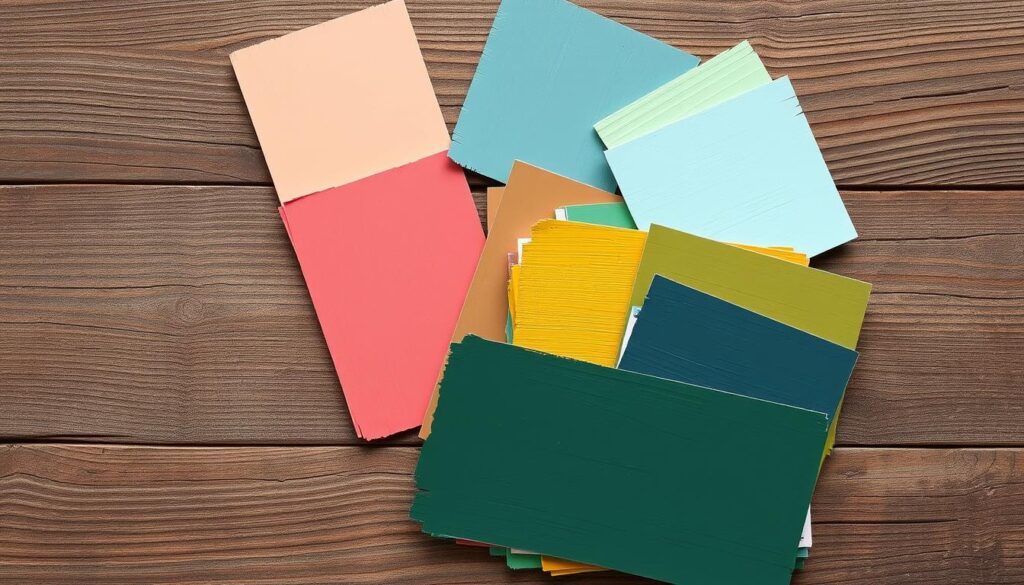
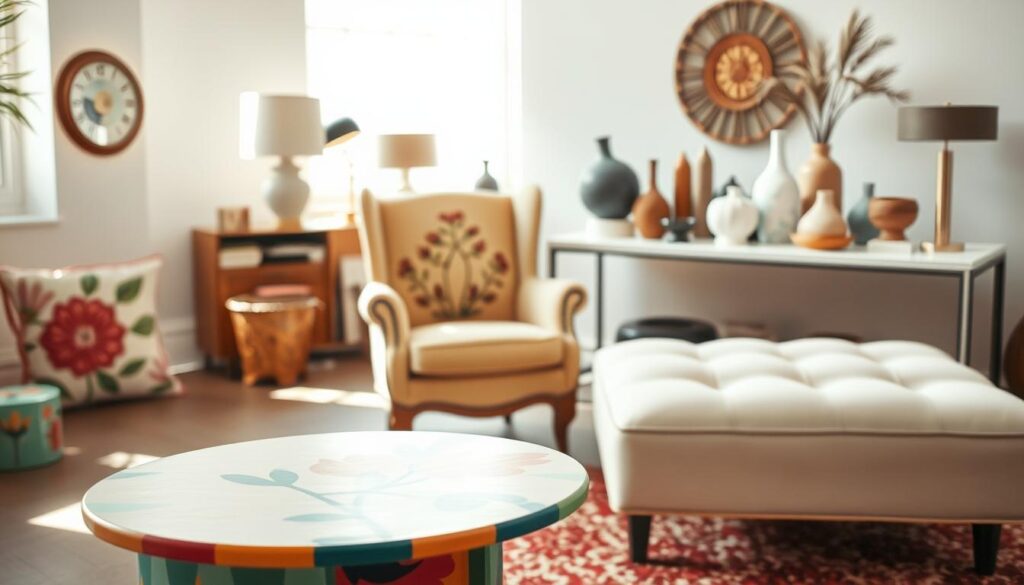
Transforming tired items into stunning showpieces isn’t just a hobby – it’s an art form that breathes new life into your space. With creative painting techniques, that outdated dresser or worn shelving unit becomes a canvas for self-expression. Imagine turning a thrift-store find into a statement piece with bold colors or subtle vintage accents.
Since 2011, DIY enthusiasts have proven that paint works like magic on wood, laminate, and even metal surfaces. A fresh coat can hide imperfections while adding personality to any room. Whether you’re updating a workspace or refreshing a family heirloom, the right approach makes all the difference.
Why replace when you can reinvent? Customizing pieces costs less than buying new and lets you match any design vision. Modern products like Chalk Paint® simplify the process, skipping tedious sanding steps. From faux finishes to textured flicks, today’s methods offer endless ways to create one-of-a-kind results.
Key Takeaways
- Revitalize old items into custom décor using paint techniques
- Achieve professional finishes without expensive tools
- Choose specialized primers for different surfaces
- Experiment with color layering for depth
- Protect your work with quality sealants
- Adapt methods to suit wood, laminate, or metal
Ready to unlock your inner artist? The following sections break down essential tools, surface prep secrets, and pro tips to make your next project shine. Let’s turn that “before” piece into an “after” masterpiece!
Getting Started: Preparation and Essential Tools
Great transformations begin long before the first brushstroke. Your project’s success hinges on two critical elements: smart product choices and meticulous surface care. Let’s explore how to set the stage for flawless results.
Selecting the Right Paint and Primer
Not all paints stick equally. For wooden items, milk-based formulas offer vintage charm without heavy sanding. Metal and laminate? Try bonding primers like Insl-X® Stix Waterborne. These create a grippy base that helps coatings last for years.
Pro tip: Test your combo on a hidden spot first. Some finishes might bubble or peel if they don’t mesh with the existing surface. This quick check saves hours of rework later.
Prepping Wood, Laminate, and Metal Surfaces
Start by wiping away dust and grease – even invisible residues can ruin adhesion. For wooden pieces, light sanding opens pores for better paint grip. Laminate needs a deglosser to remove its shiny barrier. Metal? A vinegar-water mix prevents rust under your new color.
Essential tools:
- 220-grit sandpaper for smoothing edges
- Tack cloth to capture micro-dust
- Angled brush for crisp lines
Remember: Proper prep hides scratches and creates a smooth canvas. Your final coat will thank you!
Expert Tips for Painted Furniture Projects
Your creative vision deserves execution that rivals professional results. Let’s explore strategies designers use to achieve gallery-worthy finishes while sidestepping rookie mistakes.

Choosing the Best Colors and Finishes
Interior expert Sharon Grech suggests starting with your room’s natural light. North-facing spaces? Warm tones like buttercream add coziness. South-facing rooms? Cool grays balance brightness.
| Finish Type | Best For | Durability |
|---|---|---|
| Matte | Vintage looks | Medium |
| Satin | High-traffic areas | High |
| Gloss | Statement pieces | Highest |
Test samples on your actual piece – colors shift on different surfaces. A blogger recently transformed a 1980s laminate desk using Farrow & Ball’s “Pigeon” with satin topcoat, creating instant sophistication.
Step-by-Step Painting Process
- Apply primer with a dense foam roller
- Sand lightly between coats (220-grit)
- Use angled brushes for edges
- Finish with 2-3 thin layers
Thin coats prevent drips and speed drying. For metal items, wait 4 hours between layers. Wood? 2 hours usually suffices.
Avoiding Common Imperfections
- Brush marks: Maintain wet edges – work in sections
- Bubbles: Don’t shake paint cans; stir gently
- Uneven texture: Sand thoroughly before sealing
A recent Instagram project showed how fixing lap marks on a dresser with light sanding and reapplying thin layers saved a $5 thrift find. Patience pays!
Inspiring Ways to Transform Your Space with Hand-Painted Pieces
Your home becomes a gallery when ordinary items get extraordinary makeovers. One homeowner turned a chipped coffee table into a geometric showstopper using navy and gold leaf – now it’s their living room’s focal point. This magic happens when creativity meets technique.

Creative Accents and Upcycling Techniques
Bold stripes on drawer fronts or stenciled patterns on chair legs inject personality. Try these eye-catching ideas:
- Paint interior cabinet surfaces with contrasting hues
- Use metallic wax to highlight carvings
- Create ombré effects on bookshelves
A 1950s dresser gained new purpose as a bathroom vanity after sealing with marine-grade varnish. Chalk paint transformed its scratched top into a marble-look surface using feathering techniques.
Integrating Vintage and Modern Elements
Mix eras for dynamic visual interest. Pair mid-century shapes with neon edges, or Victorian curves with matte black finishes. This table shows successful combinations:
| Style Blend | Finish | Room Application |
|---|---|---|
| Industrial + Art Deco | Brushed copper | Entryway benches |
| Farmhouse + Glam | Distressed white + gold | Kitchen islands |
| Scandinavian + Boho | Pastel + macramé | Bedroom headboards |
Designer Mariah Althoff suggests “bridging eras through color.” She recently unified a client’s space by painting an heirloom hutch the same sage green as their modern sofa. Thin coats preserved wood grain while tying the look together.
Don’t fear mixing textures either. A glossy lacquered table base paired with matte chairs creates depth. Your boldest ideas often become conversation starters – that’s the power of personalized design.
Conclusion
Breathing new character into your home doesn’t require a full remodel – just creativity and a brush. By choosing the right primer, prepping surfaces thoroughly, and applying thin coats, even dated items become fresh focal points. Remember: quality sealants protect your work, while color choices set the mood for entire rooms.
As design experts note, a thoughtful approach balances painted accents with natural materials. That chipped dresser? With proper sanding and satin finish, it could anchor your bedroom. Those laminate shelves? A bold hue might energize your workspace.
Ready to start? Grab a sample pot and test techniques on old trays or stools first. Mix matte and glossy finishes for depth, or try metallic wax on drawer pulls. Every stroke adds personality – and you’ll love how small changes refresh your space without breaking the budget.
What will you transform first? Your vision + today’s materials = endless possibilities. Let those walls (and tables, chairs, cabinets…) become your canvas!

