
How I Built a DIY Reading Nook That My Kids Actually Use (And How You Can Too)
Let me tell you about the time I tried to force my kids to read in the living room. It lasted exactly 17 minutes before my son declared it “boring” and my daughter asked if she could just watch YouTube instead. That’s when I realized: if I wanted them to love reading, I needed to give them a space that felt like a hug for their brains.
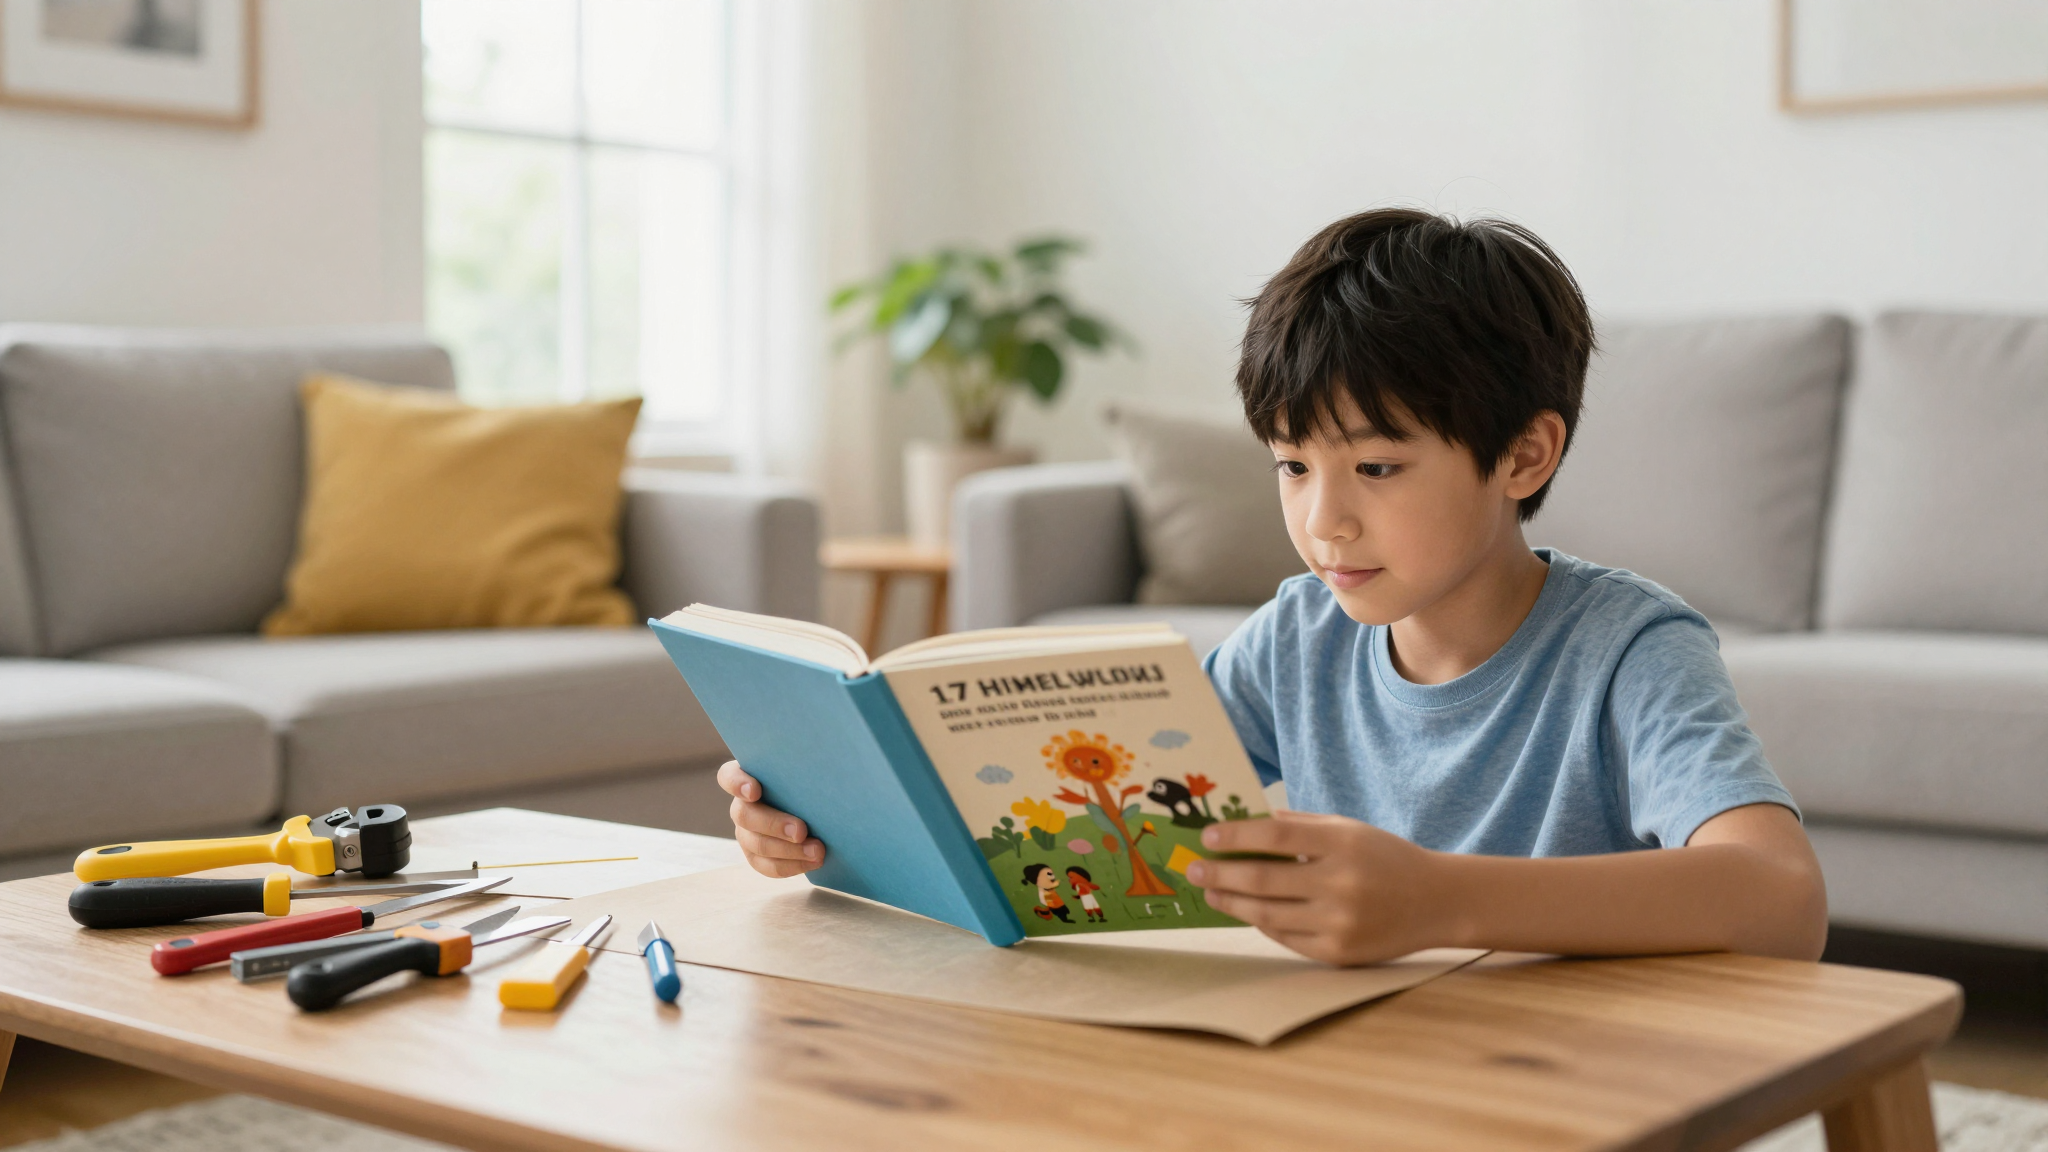
So I built a DIY reading nook,a cozy corner where my kids actually want to curl up with a book. No eye-rolling, no excuses. Just them, their favorite stories, and a space that feels like it was made just for them. (Spoiler: It worked. My daughter now reads for 30+ minutes straight, and my son,who once said books were “lame”,asked for a “nook upgrade” last week.)
If you’re ready to create a cozy reading space that your kids will actually use (and maybe even fight over), this guide will walk you through exactly how I did it,including the mistakes I made along the way so you don’t have to.
Why a Reading Nook Isn’t Just a “Nice Idea”,It’s a Game-Changer
I used to think reading nooks were just for Pinterest boards,until I saw the difference one made in my own home. Here’s what changed:
- They actually read longer. Before the nook, my kids would pick up a book, glance at it, and then ask for a snack. Now? My daughter has read Harry Potter and the Sorcerer’s Stone twice in her nook. Twice.
- They take care of their books (mostly). When books have a designated home, kids are way more likely to treat them like treasures. (Okay, fine, my son still dog-ears pages, but at least he puts them back on the shelf now.)
- It’s their happy place. My daughter’s nook is where she goes after a tough day at school. My son’s is where he “thinks big thoughts” (his words). It’s not just about reading,it’s about giving them a space that’s theirs.
And here’s the best part: You don’t need a big budget or a fancy designer to make it happen. I built ours with thrifted furniture, a few dollar-store finds, and a lot of trial and error. (Like the time I bought a bean bag chair that turned out to be a deathtrap,more on that later.)
Where to Put Your Reading Nook (And Where Not to Put It)
I made the mistake of trying to cram the nook into a random corner of the living room. Big mistake. My kids complained it was too noisy, too bright, and,worst of all,too close to the TV. Lesson learned: location is everything.
Here’s where I did put it,and why it works:
- Under the stairs. We have a weird little nook under our staircase that was just collecting dust. Now it’s lined with wooden planks (I stained them with Minwax Early American,my go-to for a warm, cozy look), a built-in bench, and twinkly string lights. It’s like a tiny treehouse.
- In their bedrooms. My daughter’s nook is in the corner of her room, tucked between her closet and window. The natural light is perfect for reading, and the space feels separate from the rest of her room.
- In the hallway. We turned a narrow hallway into a “reading alcove” with a floor cushion, a small bookshelf, and a clip-on book light. It’s become my son’s favorite spot because it’s quiet but still feels connected to the rest of the house.
Where not to put it? Anywhere near:
- TVs or gaming setups (distraction city).
- High-traffic areas (like the kitchen or entryway).
- Windows with direct sunlight (glare is the enemy of reading).
Pro tip: If you’re short on space, try a wall-mounted bookshelf or a hanging chair. My neighbor used a repurposed coffee table as a reading surface, and it’s genius.
The 3 Must-Have Elements of a Cozy Reading Nook (And What I Learned the Hard Way)
I thought I could skip the “extras” and still make a great nook. I was wrong. Here’s what actually makes the difference:
1. Seating That Doesn’t Feel Like a Punishment
My first attempt? A hard wooden chair I found at a garage sale. My kids sat in it for exactly five minutes before declaring it “the worst seat ever.” Lesson learned: comfort is non-negotiable.
What works now:
- Bean bag chairs (but not the cheap ones!). I bought a Luna Bean Bag from Target, and it’s a game-changer. (Pro tip: Get the one with the removable cover so you can toss it in the wash.)
- Floor cushions or poufs. I sewed mine using my trusty Janome sewing machine and some Kona Cotton fabric from Joann Fabrics. They’re washable, durable, and way cheaper than store-bought.
- A small loveseat or armchair. Thrift stores are goldmines for these. I found a mid-century modern armchair for $20, reupholstered it with Chelsea Textiles fabric, and now it’s the star of my daughter’s nook.
2. Lighting That Doesn’t Give Them a Headache
I thought a single overhead light would be enough. Wrong. My kids complained of eye strain, and I realized I needed a layered lighting approach.
What I use now:
- Natural light (but filtered). Sheer curtains (I love IKEA’s Lenda curtains) soften harsh sunlight without blocking it completely.
- A good task lamp. My top pick? The IKEA Tertial lamp. It’s affordable, adjustable, and gives off a warm glow that’s perfect for reading.
- String lights or fairy lights. They add a cozy, magical feel. I use Brightown LED string lights because they’re dimmable and last forever.
Mistake I made: Buying a lamp with a cold white bulb. My kids hated it. Stick to warm white (2700K-3000K) for a cozy vibe.
3. Storage That Actually Gets Used
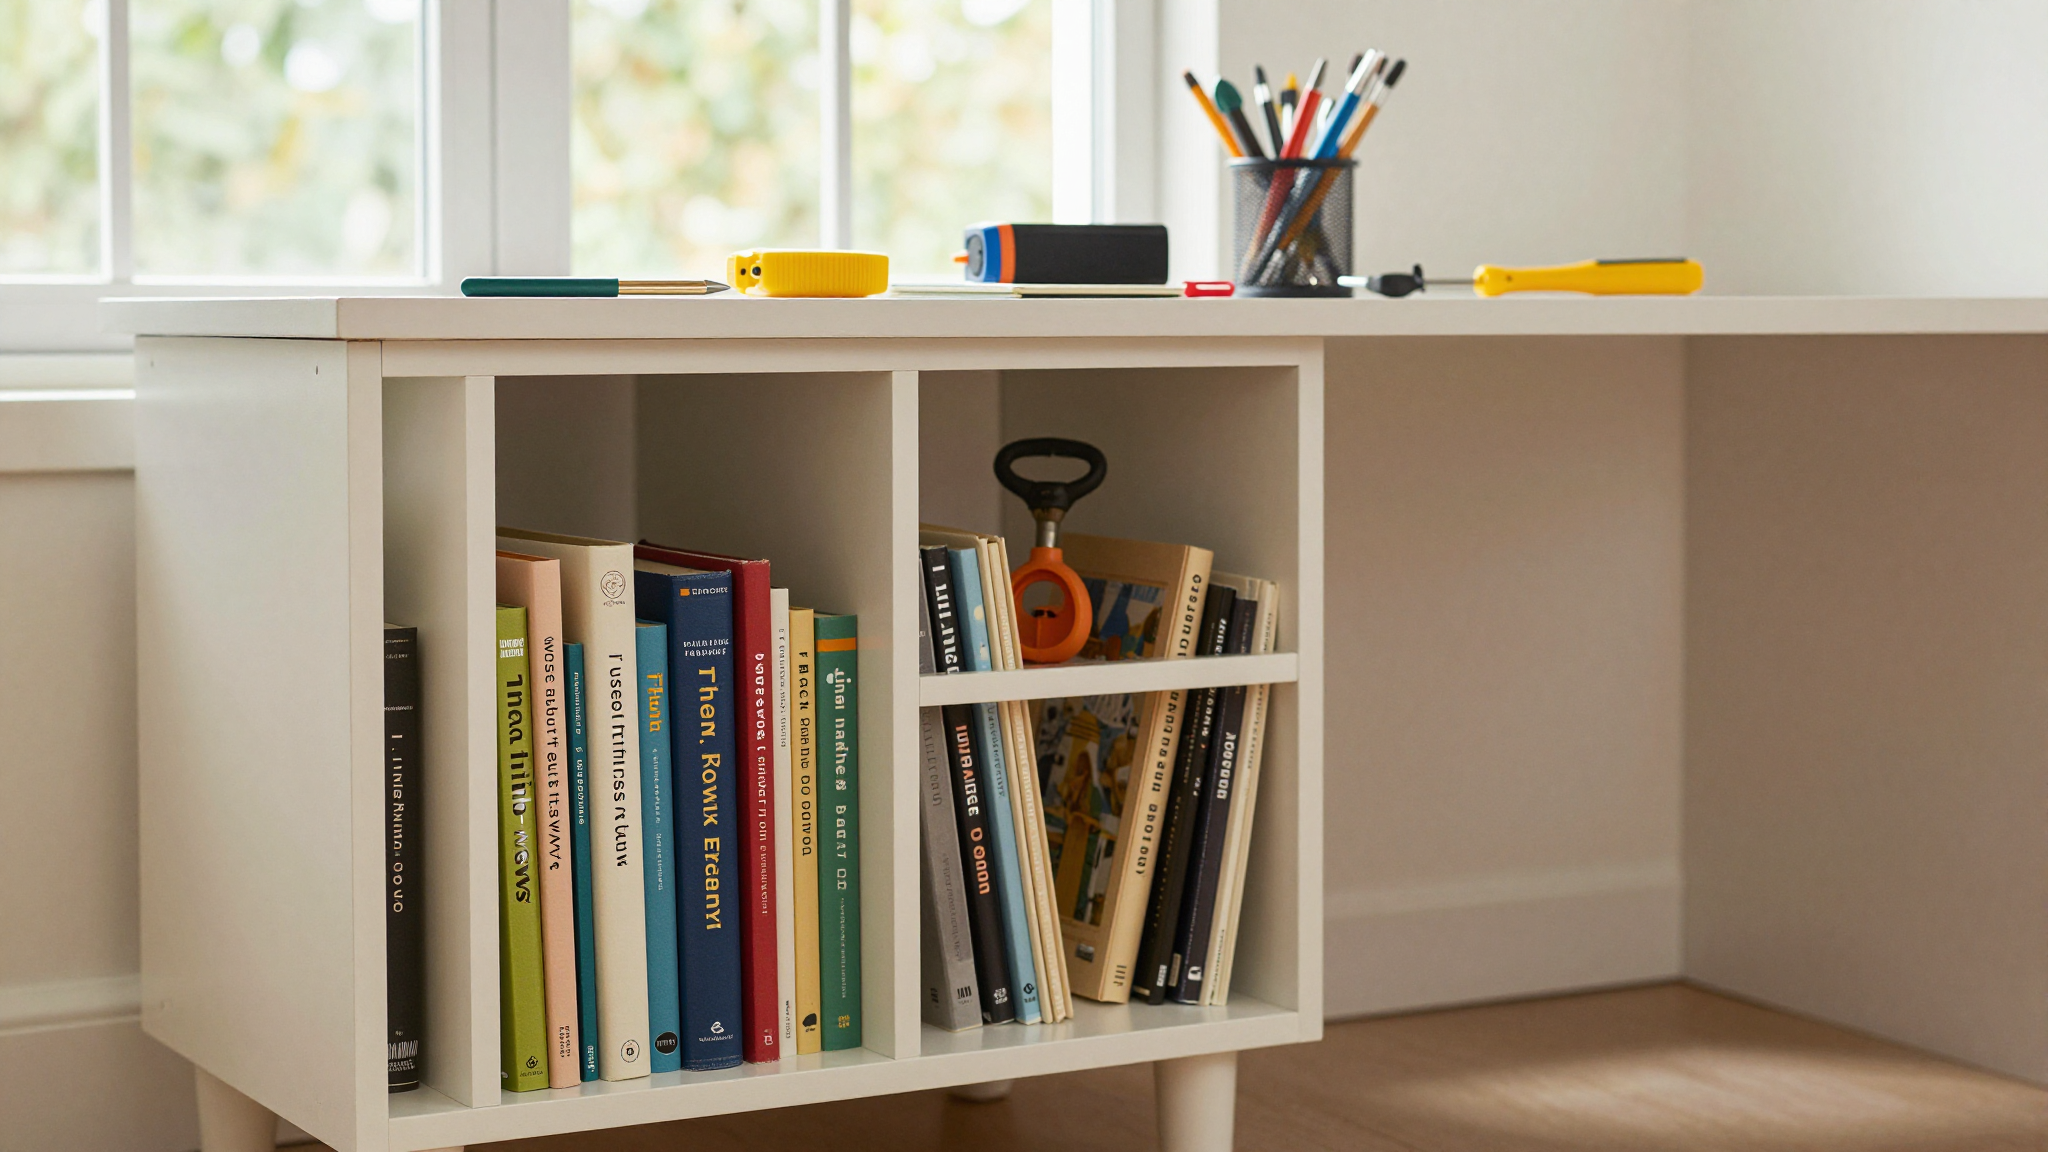
I thought a big bookshelf would solve everything. It didn’t. My kids ignored it because it was too tall, and books kept toppling over. Now I use a mix of:
- Low bookshelves or cubbies. My son’s nook has a Kallax shelf from IKEA (the 4×2 version) with bins for his books. He can reach everything without climbing.
- Baskets or crates. I use woven seagrass baskets from World Market to corral books, magazines, and even a few stuffed animals.
- A rotating display. I swap out books every few weeks to keep things fresh. My daughter loves when I introduce a new “mystery book” to the nook.
Pro tip: Label everything. My kids are way more likely to put books away if they know where they go. I used chalkboard labels from Amazon, and they’ve held up great.
Budget-Friendly Materials (And Where to Find Them)
I didn’t want to spend a fortune, so I hunted for affordable (and sometimes free!) materials. Here’s what worked:
Furniture
- Thrift stores. I found a wooden crate bookshelf for $10 and a vintage armchair for $15. Sanding and a fresh coat of paint (I used Behr Premium Paint) made them look brand new.
- Facebook Marketplace. People give away kids’ furniture all the time. I scored a bean bag chair and a small bookshelf for free.
- IKEA. Their KALLAX shelf and POÄNG chair are budget-friendly and easy to assemble.
Fabric and Textiles
- Joann Fabrics. I got Kona Cotton for $5 a yard and made my own floor cushions. (I used my sewing machine, but no-sew options work too!)
- Target. Their Threshold throw blankets are cozy and affordable. I grabbed a few in neutral tones for the nook.
- Amazon. For washable bean bag covers, I love the Luna Bean Bag line.
Lighting
- IKEA. Their Tertial lamp is my holy grail for task lighting.
- Dollar Tree. Yes, really. I found LED string lights there that actually work well.
- Home Depot. Their warm white LED bulbs (2700K) are perfect for reading.
Total cost for my daughter’s nook? Under $100. And it looks like it cost way more.
Step-by-Step: How I Built My Kids’ Reading Nooks
Ready to get started? Here’s exactly how I did it,with all the mistakes I made so you don’t have to repeat them.
Step 1: Pick Your Spot (And Clear the Clutter)
I started by decluttering a corner of my daughter’s room. I tossed old toys, donated books we’d outgrown, and cleared out a space that was about 4×6 feet. (Size doesn’t matter,even a tiny nook works!)
Step 2: Add the Seating
I tried a hard chair first (disaster). Then I bought a bean bag (better, but still not perfect). Finally, I sewed a floor cushion using Kona Cotton and foam from Joann Fabrics. Now it’s the coziest spot in the house.
Step 3: Set Up the Lighting
I hung string lights along the wall and added a clip-on book light to the bookshelf. The combo gives just the right amount of light for reading without being too bright.
Step 4: Organize the Books
I used a low bookshelf (so my kids could reach everything) and added baskets for their favorite books. I also included a rotating display for new books to keep things exciting.
Step 5: Add the Cozy Touches
This is where the magic happens. I added:
- A throw blanket (Target’s Threshold line is my favorite).
- A small rug (IKEA’s Tånum rug is perfect).
- Their favorite stuffed animals (because even big kids like comfort items).
- A personal touch,my daughter’s nook has a photo of her and her grandma, and my son’s has a poster of his favorite superhero.
Step 6: Test It Out (And Adjust!)
I let my kids try out the nook for a week. My daughter said the cushion was too lumpy (so I added more foam), and my son wanted a place to put his water bottle (so I added a small side table). Little tweaks made a big difference!
Lighting Hacks to Make Your Nook Feel Like a Hug
Lighting is everything. Get it wrong, and your nook will feel harsh and unwelcoming. Get it right, and it’ll feel like a cozy cave. Here’s how I nailed it:
1. Layer Your Light Sources
I use a mix of:
- Natural light. Sheer curtains (IKEA’s Lenda) filter sunlight without blocking it.
- Task lighting. A desk lamp (IKEA’s Tertial) gives focused light for reading.
- Ambient lighting. String lights or a salt lamp add warmth.
2. Avoid Glare
I made the mistake of placing a lamp directly behind my daughter’s reading spot. The glare on the page was awful. Now I angle the lamp so the light shines over her shoulder, not in her eyes.
3. Use Warm Bulbs
Cold white bulbs? No thanks. I stick to warm white (2700K-3000K) for a cozy glow. My kids say it’s “like reading by a campfire.”
4. Add Dimmer Lights
I installed a dimmer switch in my daughter’s nook so she can adjust the lighting. It’s a game-changer for when she wants to read at night.
Little Details That Make a Big Difference
It’s the small things that turn a “nice” nook into a loved nook. Here’s what I added to make mine special:
- A cozy rug. My daughter’s nook has a fluffy rug from Ruggable (machine-washable,lifesaver!).
- Soft throw blankets. I grabbed a few from Target’s Threshold line. They’re washable and super soft.
- A small side table. My son’s nook has a tiny table for his water bottle and snacks. (Yes, he reads and eats. I’ve learned to pick my battles.)
- Plants. A snake plant (low-maintenance!) adds life to the space.
- Personal touches. My daughter’s nook has a photo of her and her best friend. My son’s has a poster of his favorite soccer player.
Pro tip: Let your kids pick one special item for the nook. My daughter chose a glow-in-the-dark star she stuck to the ceiling. Now she says it’s her “reading constellation.”
Storage Solutions That Actually Work
I used to think storage was just about “putting books away.” Then I realized: it’s about making books easy to find and fun to explore. Here’s what I do now:
1. Low Bookshelves
I ditched the tall bookshelf (too hard for little arms to reach) and went for a low Kallax shelf from IKEA. Now my kids can grab their books without asking for help.
2. Baskets and Bins
I use woven seagrass baskets from World Market to corral books, magazines, and even a few toys. They look pretty and keep things organized.
3. Rotating Displays
I swap out books every few weeks to keep things fresh. My daughter loves when I introduce a “mystery book” to the nook. (Current favorite: The Magic Tree House series.)
4. Labeling
I used chalkboard labels from Amazon to mark where each book goes. My kids actually use them,miracle!
Personalizing the Nook (So Your Kid Actually Wants to Use It)
Here’s the secret: Let your kid help. My daughter picked the colors for her nook (she wanted pink and gold,so that’s what we did). My son chose the furniture (he wanted a bean bag,so we got one).
Other ways to make it personal:
- Display their favorite books. My daughter’s nook has a shelf just for her Harry Potter collection.
- Add their artwork. My son’s nook has a drawing he made of his “dream reading spot.”
- Include family photos. My daughter’s nook has a picture of her and her grandma reading together.
- Let them pick the decor. My son wanted a superhero poster. Done.
Pro tip: If your kid is too young to help, ask them what they’d want in a perfect reading spot. My 5-year-old said she wanted a “princess castle” nook. So I draped a sheer curtain over her bookshelf and called it a “reading palace.” She’s obsessed.
Safety First: How to Keep Your Nook Kid-Safe
I didn’t think about safety until my son tried to climb onto his bookshelf. (Yes, really.) Here’s how I fixed it,and how you can avoid my mistakes:
- Secure furniture to the wall. I used wall anchors to bolt my bookshelf to the studs. (I found a great guide on drywall repairs in case I messed up.)
- Avoid sharp edges. I sanded down the corners of my wooden bookshelf so no one gets splinters.
- Use non-toxic materials. I stuck to water-based paints and low-VOC stains (like Minwax) for the wood.
- Keep cords out of reach. I used cord organizers to tuck away string lights and lamp cords.
- Regularly check for wear and tear. I do a quick safety check every few months to make sure nothing’s wobbly or broken.
Pro tip: If you’re not handy, hire someone to secure heavy furniture. It’s worth the peace of mind.
Making the Nook Grow With Your Kid
I built my daughter’s nook when she was 8. Now she’s 10, and it’s starting to feel “babyish.” So I’m updating it,slowly,to keep up with her changing tastes.
Here’s how I’m making it adaptable:
- Swap out decor. She’s into dark academia now, so I’m adding a black and gold throw pillow and a vintage-style lamp.
- Upgrade the seating. She outgrew her floor cushion, so I added a small armchair (thrifted, of course).
- Add more storage. She’s reading bigger books now, so I added a second bookshelf.
- Let her take the lead. She picked out a new rug and a desk lamp for her nook. Now she’s way more invested in it.
Pro tip: If your kid is resistant to changes, let them pick one thing to update. My son wanted a new bean bag, so we got one. Now he’s excited about the rest of the upgrades.
Final Thoughts (And What to Do Next)
Building a reading nook isn’t just about creating a space,it’s about creating a memory. I still remember the first time my daughter curled up in her nook with a book and stayed there for an hour. No distractions. No complaints. Just her, her book, and a little corner of the world that felt like hers.
So if you’re ready to create a reading nook your kids will love, here’s what to do next:
- Pick your spot. A quiet corner, under the stairs, or even a hallway nook works.
- Grab the basics. Seating, lighting, and storage are your foundation.
- Add the cozy touches. Rugs, blankets, and personal items make it special.
- Let your kid help. They’ll be way more invested if they pick out a few things.
- Test it out. Adjust as needed,what works for one kid might not work for another.
And if you’re feeling overwhelmed? Start small. Even a floor cushion and a lamp in a corner is a great beginning. You can always add more later.
Now, go build that nook. And when your kid is curled up in it, lost in a book, you’ll know it was worth every minute.