
Re-Caulking Your Bathtub: A Weekend Fix for Water Damage
I’ll never forget the time I ignored the little black line creeping along my tub edge. What started as a minor annoyance turned into a $1,200 drywall repair when water seeped behind the tile and rotted the studs. Lesson learned: that tiny gap at the tub seam is your first line of defense against water damage. This weekend, I’m showing you exactly how to re-caulk like a pro,no expensive mistakes required.
Here’s what you need to know upfront: the removal and prep work will take longer than the actual caulking. I spent two hours scraping and cleaning before I even squeezed the tube. But that thorough prep is what makes the difference between a seal that lasts years and one that fails in months. Grab your tools, and let’s get started.
We’ll cover:
- Why re-caulking now prevents costly repairs later
- Where to look for failing seals (beyond just the tub edge)
- How to choose the right caulk for your bathroom
- My exact tool setup and why I swear by certain brands
- Step-by-step application with my personal tips for clean lines
- Common mistakes I’ve made (and how to avoid them)
Why Re-Caulking Matters for Preventing Water Damage
Last summer, I noticed my bathroom grout was discolored near the tub. I thought it was just mildew,until I pressed on the caulk and felt it give way like soft putty. That’s when I realized water had been seeping behind the tile for who knows how long. The fix? A weekend of re-caulking and some strategic drywall patching.
How failing seal leads to leaks, mold, and mildew
Water doesn’t need much of an opening to cause damage. Even a hairline crack in the caulk can let moisture wick into the wall cavities. That trapped water becomes the perfect breeding ground for mold and mildew, which can spread quickly through drywall and subflooring. I learned this the hard way when I had to replace a section of my bathroom vanity after the plywood underneath swelled from hidden moisture.
Signs your old caulk is cracked, peeling, or discolored
Here’s what to look for in your bathroom:
- Cracked lines that look like spiderwebs along the tub edge
- Peeling edges where the caulk is lifting away from the surface
- Dark staining or discoloration near seams (this is often mold)
- Soft spots when you press on the caulk,this means water’s already behind it
- A musty odor after showers that won’t go away with cleaning
Pro tip: I keep a small LED flashlight in my bathroom to check these areas. The angled light makes it easy to spot cracks and discoloration I might otherwise miss.
| Symptom | What it suggests | Action |
|---|---|---|
| Cracked lines | Seal failure, water entry | Remove and replace early |
| Peeling edges | Poor adhesion or old seal | Clean, prep, and reseal |
| Musty odor | Hidden mold or trapped water | Inspect behind tile and repair |
| Soft or swollen walls | Rot or sustained moisture | Repair drywall or framing |
Trust me, replacing old caulk early is far cheaper than dealing with swollen drywall or damaged framing. I’ve done both, and I’ll take the caulking job any day.
Where You Should Caulk in the Bathroom (Beyond the Tub)
When I first started re-caulking, I focused only on the tub edge. Big mistake. Water finds its way into all kinds of unexpected places. Here are the spots I now check every six months:
Shower enclosure and tile-to-tub joints
These corners are prime spots for water to sneak behind the surround. I use a continuous bead here that’s about the width of a pencil,thick enough to seal but not so thick it looks messy. The key is getting into those tight corners where the tile meets the tub. I use a small putty knife to help guide the caulk into those tricky spots.
Sink-to-countertop seams
This is one I overlooked for years. Water splashes up from the sink and can seep under the countertop, causing the plywood underneath to swell. I had to replace my vanity top after water damaged the particleboard core. Now I make sure to run a bead of caulk along this seam every time I re-caulk the tub.
Toilet base and baseboards
I never thought to caulk around my toilet base until I noticed water pooling there after a leak. Now I run a thin bead where the toilet meets the floor. Just be careful,some plumbers recommend leaving a small gap around the base to detect leaks. If you’re unsure, check with a local pro before sealing completely.
I also run a waterproof bead along the baseboards in my bathroom. Water collects in those low spots more often than you’d think, and a proper seal prevents moisture from migrating into the walls.
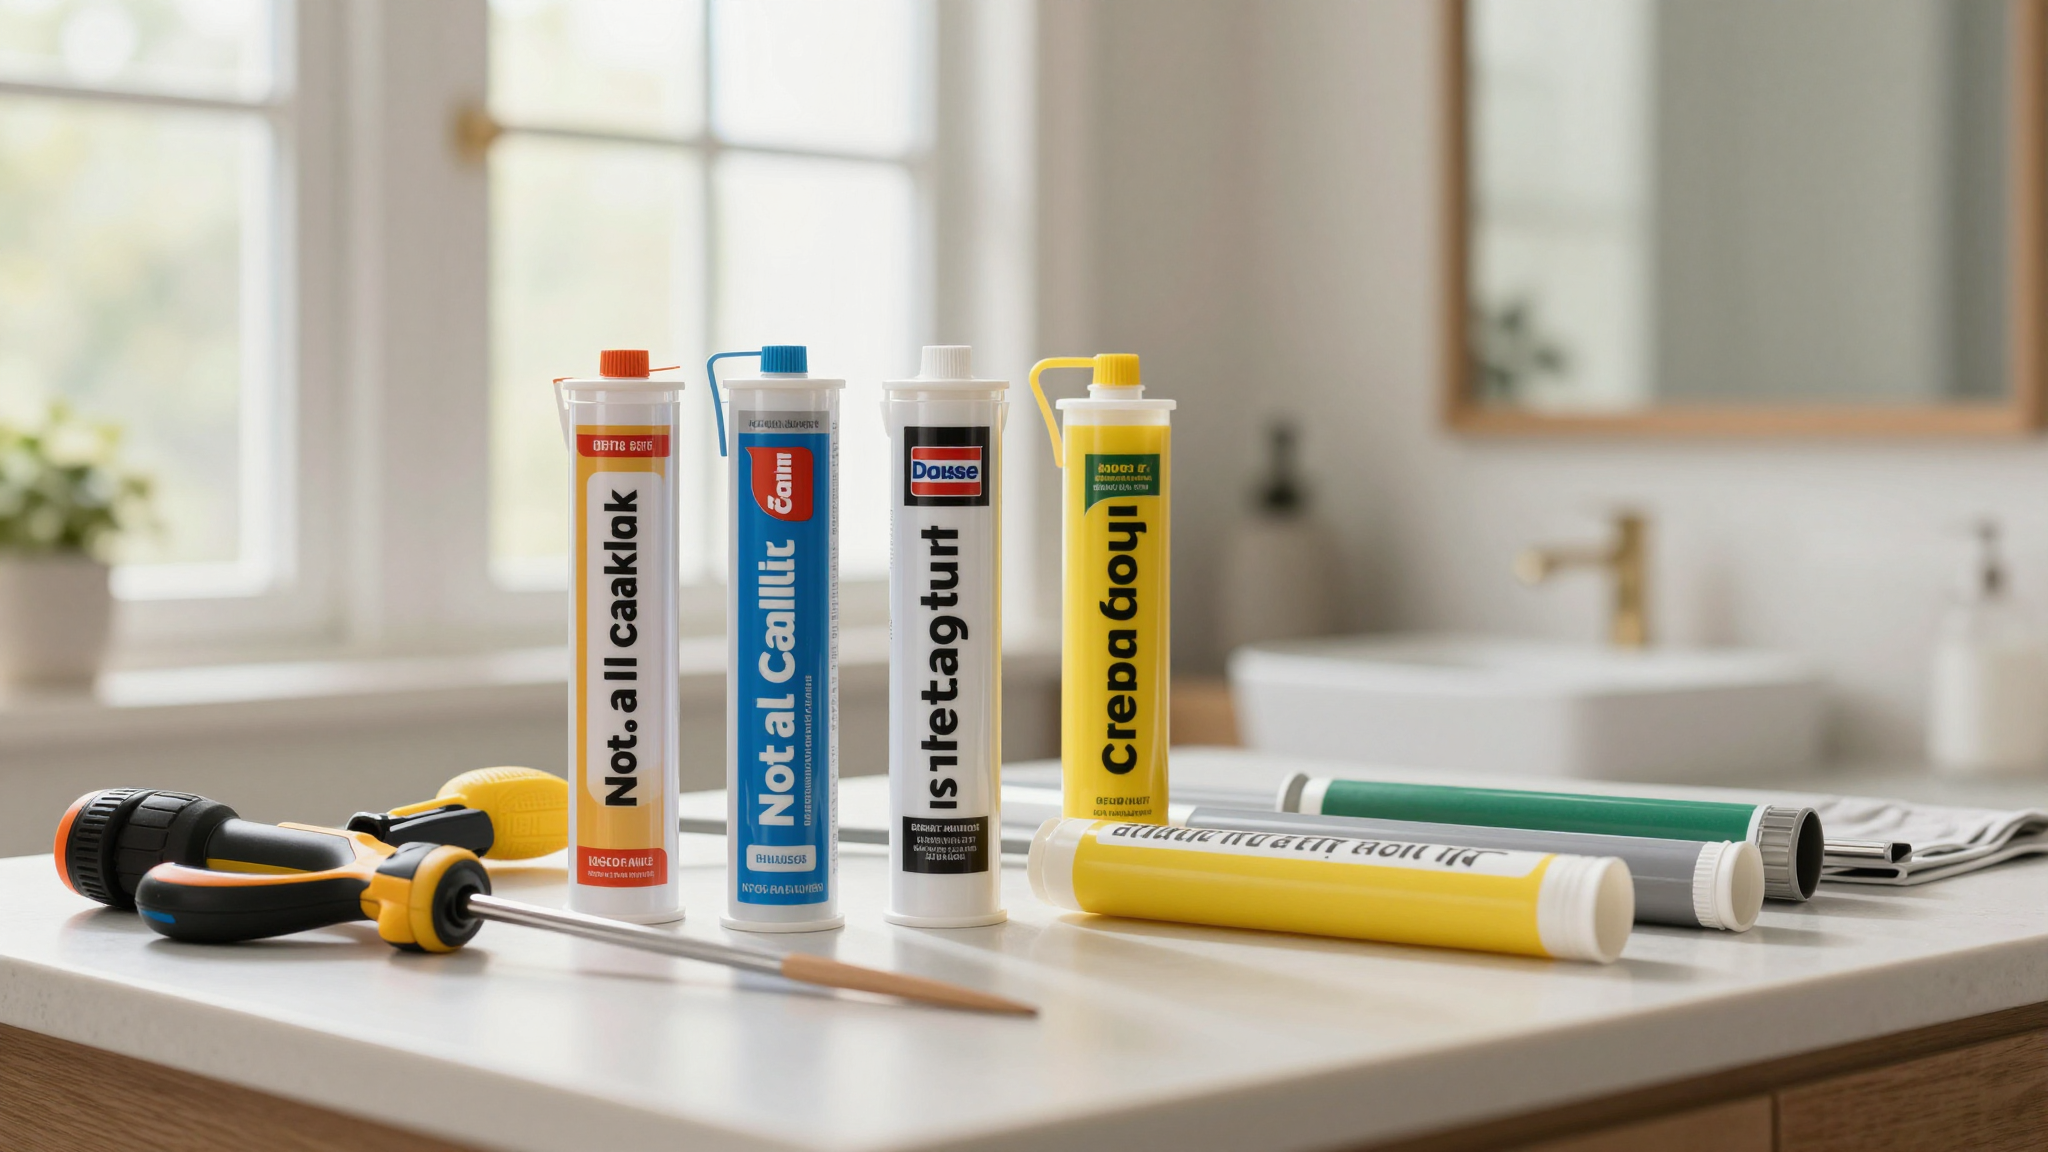
Choose the Right Product to Caulk Bathroom Surfaces
Not all caulk is created equal. I’ve tried several brands over the years, and some have performed much better than others in our humid bathroom. Here’s what I’ve learned:
Silicone caulk for wet areas
This is my go-to for any area that sees constant water exposure. I use GE Supreme Silicone because it stays flexible and forms a strong moisture barrier. The antimicrobial additives help resist mold and mildew, which is a big plus in our bathroom. The only downside? It’s a bit trickier to tool smoothly than acrylic caulk.
Acrylic-latex vs hybrid options
I’ve used DAP Kwik Seal Plus in less critical areas like the sink-to-counter seam. It’s easier to tool and cleans up with water, but I’ve noticed it can shrink over time. For a balance between ease of use and durability, I like hybrid products. They’re not as easy to tool as acrylic but offer better waterproofing than pure latex.
Color, finish, and tube tip
I match the caulk color to my grout for a seamless look. For the tub edge, I use white caulk that’s close to my tile color. I’ve tried clear caulk before, but it shows every imperfection in my tooling, so I stick with colored options now.
One of my biggest mistakes was cutting the tube tip too large at first. Now I always cut a small opening at a 45-degree angle and test the flow on a piece of cardboard before committing to the actual joint. This gives me much better control over the bead size.
| Type | Workability | Waterproofing |
|---|---|---|
| 100% silicone (GE Supreme Silicone) | Moderate (requires more tooling) | Excellent, flexible |
| Siliconized latex (DAP Kwik Seal Plus) | Easy to tool and clean | Good, may shrink over time |
| Hybrid | Balanced between silicone and latex | Very good, low shrink |
Tools and Materials to Set Up a Clean, Low-Stress Caulking Project
I’ve learned the hard way that having the right tools makes this job so much easier. Here’s what I keep in my caulking kit:
Gun features that help control flow and stop drips
I use a Rexair 200 Caulking Gun,it’s not the cheapest, but it’s worth every penny. The smooth action and thumb pressure release give me much better control over the flow. I’ve tried those $10 guns from the hardware store, and they’re a nightmare to use. The bead comes out uneven, and you end up with blobs of caulk everywhere.
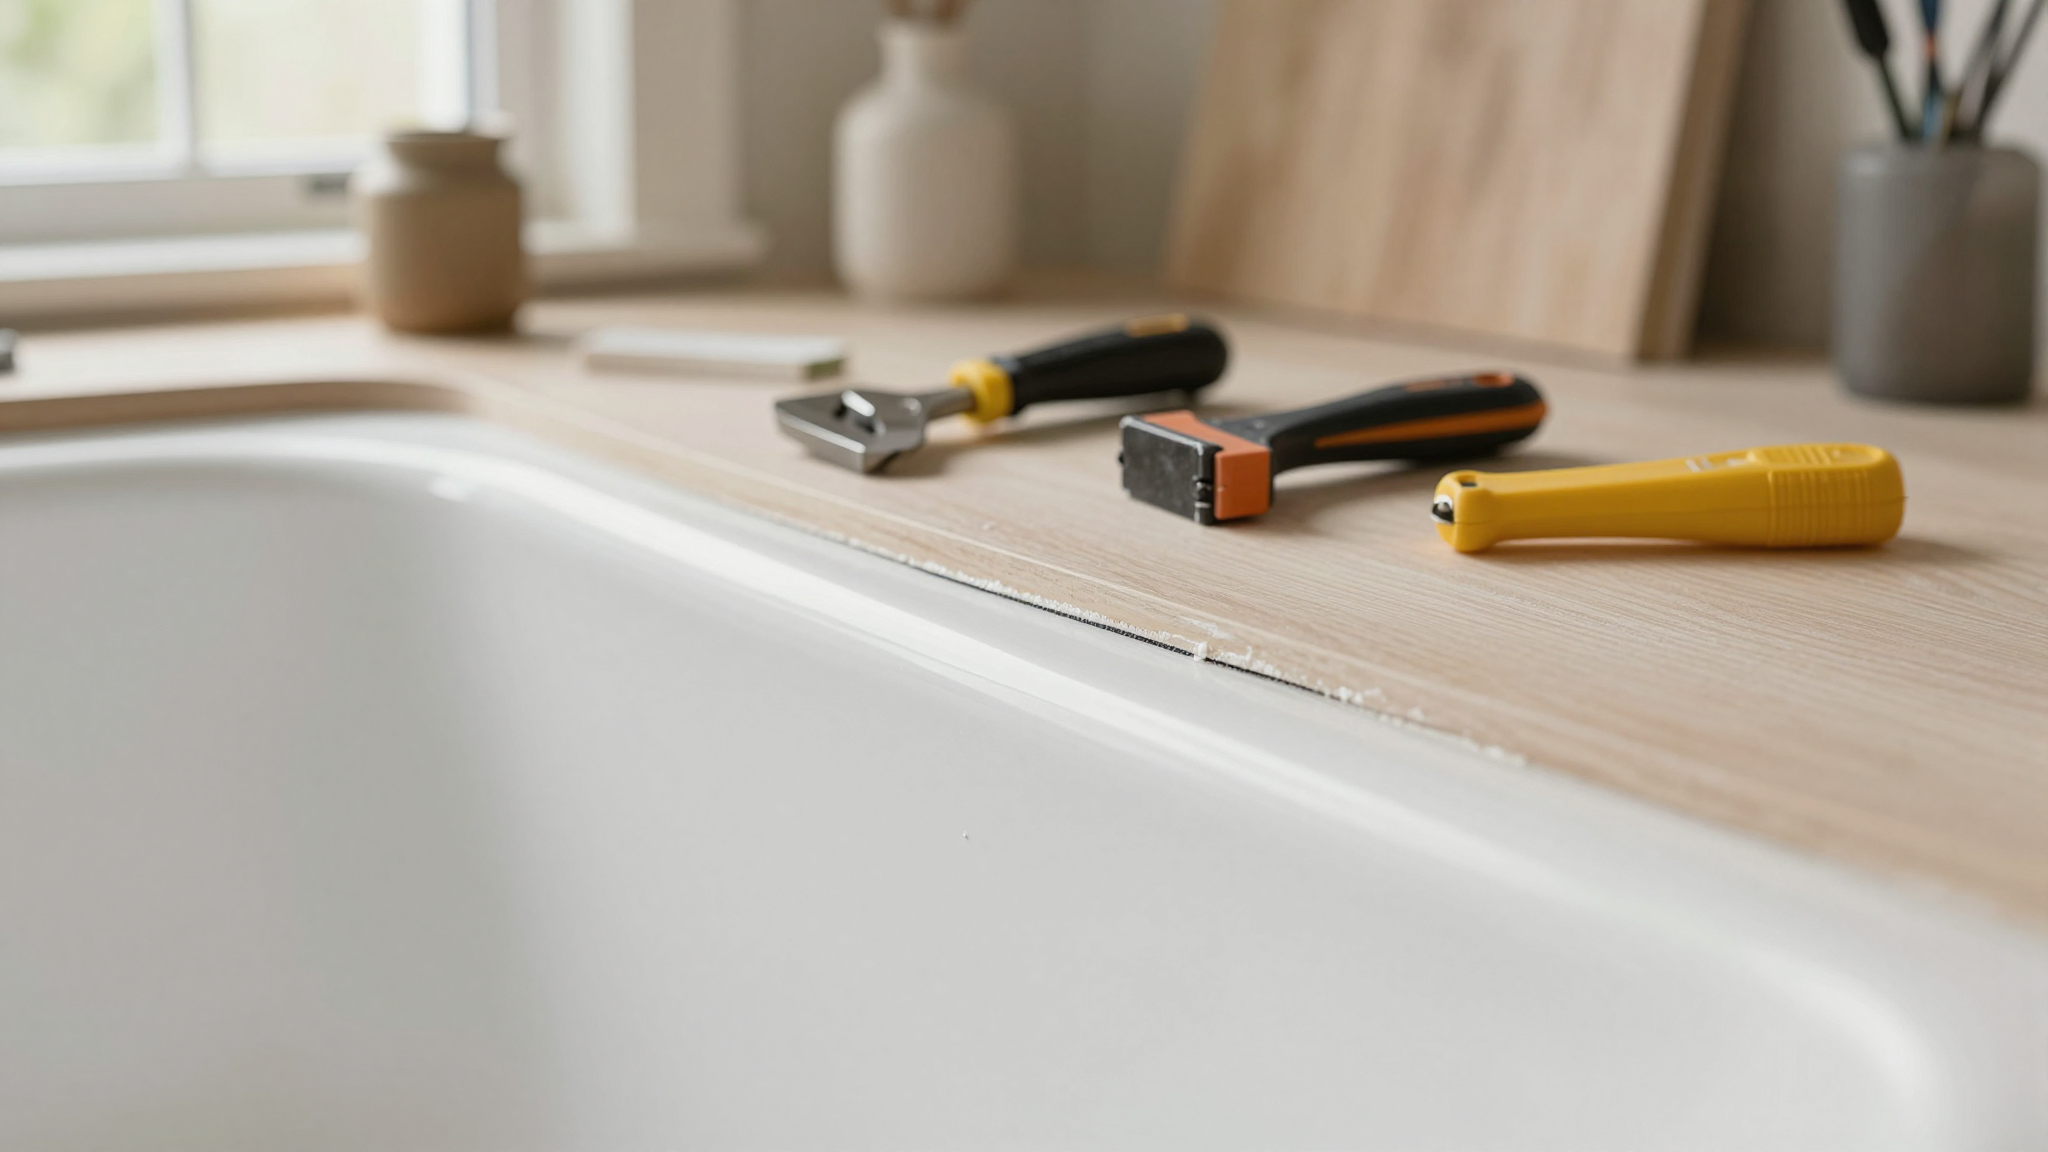
Must-haves for removal and prep
For removing old caulk, I swear by Goo Gone Caulk Remover. It softens the old caulk quickly, and I use a Hyde 1-1/2″ Putty Knife to scrape it away. For tight spots, I keep a small utility knife handy. I also have a stash of rags, a bottle of CLR Bathroom Cleaner for cleaning, and isopropyl alcohol for the final wipe-down.
Painter’s tape and backing for wider gaps
I always use FrogTape Painter’s Tape for crisp edges. It’s the secret to getting those clean, professional-looking lines. For wider gaps (over 1/4″), I use a backer rod to support the caulk and prevent it from sinking into the gap. This is especially important around the tub where the gap might be deeper than 1/2″.
- My shopping list:
- A quality caulking gun (Rexair 200 is my favorite)
- Caulk remover (Goo Gone works best)
- Hyde 1-1/2″ putty knife
- Rags and CLR Bathroom Cleaner
- FrogTape Painter’s Tape
- Backer rod for wider gaps
Remove Old Caulk Completely for a Strong Bond
This is the step I used to rush through, and it always came back to bite me. A clean joint is absolutely critical for a lasting seal. I learned this when I re-caulked our guest bathroom and skipped thorough removal. Within six months, the new caulk started peeling because I hadn’t removed all the old material.
Soften and scrape with care
I apply the caulk remover and let it sit for about 10-15 minutes (I always check the label for the recommended dwell time). Then I use my putty knife to scrape away the softened caulk. I work slowly and carefully, especially around the acrylic tub, to avoid scratching the surface.
How to avoid scratching tubs, tile, and shower walls
I keep the blade angle shallow and use light pressure. For acrylic tubs and glazed tile, I work even more slowly to prevent any surface damage. It’s tempting to scrape aggressively, but that’s how you end up with scratches that are impossible to fix.
Eliminate leftover residue so new material won’t fail early
I wipe away debris as I go so I can see any remaining film. I pay special attention to corners and crevices,even a thin layer of old caulk can prevent proper bonding. I’ve had to redo sections because I missed a tiny bit of old caulk in a corner.
Prep the Area: Clean, Dry, and Mask for Pro-Looking Lines
I can’t stress this enough: a clean surface is the foundation of a lasting joint. I’ve had caulk fail because I didn’t clean properly, and it’s frustrating to have to redo the work.
Clean soap scum and grime
I scrub the seam with my CLR Bathroom Cleaner and a stiff brush. I make sure to remove all visible soap scum until the surface looks matte and residue-free. Then I rinse and towel-dry the area until it feels completely dry to the touch.
Address mold and mildew safely
For small mold spots, I use a mix of bleach and water (1:10 ratio). I wear gloves and make sure the bathroom is well-ventilated. I let the solution sit for about 10 minutes, then rinse and dry. If the mold comes back, I know I have a bigger problem with ventilation or moisture control.
Final degrease and masking
Before applying new caulk, I wipe the joints with isopropyl alcohol to remove any last traces of oils. Then I apply painter’s tape on both sides of the seam to control the bead width and keep edges crisp. I keep rags handy to catch any excess, and I plan to remove the tape while the caulk is still wet to avoid pulling.
Apply Silicone Caulk Around the Bathtub and Shower Like a Pro
This is where the real fun begins! I start by trimming the tube tip at a 45-degree angle. I always cut a small portion first,I can always enlarge the opening, but I can’t undo a big cut. I do a quick test bead on a piece of cardboard to confirm the width and flow before I commit to the actual seam.
Prep and test the tube
I pierce the inner seal with a nail (the caulking gun usually comes with a tool for this). Then I do a test bead on cardboard to make sure the width matches the joint size. This small step saves me from having to redo sections later.
Steady application
I hold the caulking gun at a consistent angle and squeeze with even pressure. I aim for a bead about the width of a pencil for most tub seams. I work from a corner and run half the joint, then meet the opposite run in the middle to avoid lumps. This technique gives me much cleaner lines.
Smooth and finish
I tool the bead with a damp finger (I wear a glove for this) or a finishing tool to press the material into the joint and remove excess. I pull the painter’s tape while the sealant is still wet for crisp edges. If I’m not happy with the first pass, I can re-tool it while it’s still wet.
| Step | Tip | Why it matters |
|---|---|---|
| Cut tip | 45° small opening | Controls flow, prevents over-application |
| Test bead | Cardboard pass | Matches bead to joint size |
| Apply | Steady pressure, pencil-width | Even coverage, better adhesion |
| Tool & finish | Wet finger, remove painter tape | Neat edge and proper bond |
For a more detailed step-by-step guide, check out this simple guide to re-sealing wet areas.
Curing Time, Water Exposure, and the Bathtub Weight Trick
Here’s something I didn’t know when I first started re-caulking: that quick surface set can be deceiving. The bead might feel dry to the touch, but it needs time to fully cure. I learned this the hard way when I used the tub too soon and had to redo the entire job.
Why wait 24–48 hours before using the tub
Early contact with water can weaken the adhesion and let moisture travel behind the fresh bead. That’s how water gets into your walls and causes hidden damage. I now wait the full recommended time (usually 24-48 hours) before using the tub again.
Use the bathtub weight trick during cure
This is a trick I learned from a plumber friend. While the joint is curing, I fill the bathtub with room-temperature water. This helps the tub settle under normal load, which reduces the chance of the caulk pulling away later when it’s actually used. I make sure the waterline stays well below the fresh bead and avoid splashing.
Ventilation tips that protect the fresh bead
I open the bathroom door and run the exhaust fan if we have one. I let the moist air escape, but I avoid pointing strong airflow directly at the seam,too much wind can skin the surface and stall the cure. Small steps like this make a big difference in the long-term durability of the seal.
Common Caulking Mistakes and How to Fix Them Fast
I’ve made just about every caulking mistake in the book. Here are the most common ones and how to fix them:
Never apply new sealant over old caulk
This is my biggest pet peeve. I’ve seen so many DIYers try to save time by caulking over old material, but it never works. The bond fails to the old film, and you end up with cracks and leaks. Always remove the old caulk completely for a durable seal.
Too wide or deep a gap?
If the gap is wider than about 1/4″ or deeper than 1/2″, don’t rely on a single bead of caulk. I use backer rod or foam backing material in wide gaps to support the bead and ensure proper depth. This prevents three-sided adhesion and helps the seal last longer.
Uneven bead, too much product, or skinning over
If the bead looks wavy, I tool it immediately while it’s still wet to smooth the lines. If the seal skins over (which happens if it dries too quickly), I cut out the bad section with a sharp knife and redo that short run.
For excess caulk, I scrape away the surplus with a finishing tool, re-tape the edges, and reapply with lighter pressure on the gun. I’ve learned to control my hand speed and release pressure at the end of each pass to stop drips and blowouts.
Next Steps: Your Caulking Checklist
Now that you’re ready to tackle this project, here’s my personal checklist to keep things on track:
- Gather your tools and materials (don’t forget that painter’s tape!)
- Inspect all caulked areas in your bathroom for signs of failure
- Start with the most critical areas (tub edge, shower seams)
- Work methodically: remove, clean, mask, apply, tool
- Let each section cure fully before moving to the next
- Fill the tub with water during cure to prevent pull-away
- Schedule a follow-up inspection in 6 months to check for issues
If you’re feeling overwhelmed, remember that I’ve done this in every bathroom in our house. It’s not as hard as it looks once you get the hang of it. And if you run into rot or soft drywall, don’t hesitate to call a pro,some jobs are better left to the experts.
Now grab your tools and let’s get started! Your future self will thank you when that tub stays dry and damage-free.