
How I Built a Farmhouse Blanket Ladder in a Weekend (For Under $15)
Last winter, I was staring at a pile of mismatched throw blankets in my living room,some folded on the couch, others spilling out of a basket, and a few even draped over the back of the armchair like they’d given up. It looked messy, and worse, I couldn’t find the one I actually wanted when I needed it. So, I did what any DIY-obsessed mom would do: I built a blanket ladder to corral the chaos.

And here’s the thing,it took me less than an hour, cost me $12.87 (yes, I saved the receipt because I was that proud), and now it’s not just a storage solution but one of my favorite decor pieces. It holds blankets, towels, my kids’ stuffed animals, and even a few of my husband’s flannels he “misplaces” constantly. Oh, and it matches my farmhouse coffee table like it was custom-made.
If you’re thinking about buying one of those pre-made ladder racks from Target or Wayfair, stop. You can build something just as sturdy (if not sturdier) for a fraction of the cost,and customize it to fit your space exactly. No more awkward gaps or pre-drilled holes that don’t align with your wall. Plus, you’ll have the satisfaction of knowing you made it yourself. (Trust me, that feeling never gets old.)
Why I Chose This Project (And Why You Should Too)
I’ll be honest,I wasn’t sure I could pull this off. My last woodworking attempt was a coffee table that ended up slightly lopsided (thanks, uneven legs). But this? This was different. It was simple, forgiving, and useful. Here’s why it’s worth your weekend:
- It’s cheap. I used 2×4 pine boards from Home Depot ($8 for two 8-foot boards), a can of Minwax Dark Walnut stain ($6), and a few screws and sandpaper I already had lying around. Total: $12.87. A similar store-bought ladder? Try $40–$80.
- It’s customizable. Want it taller? Shorter? Wider? You call the shots. I made mine 6 feet tall with 5 rungs, but if you’ve got high ceilings or a tiny apartment, you can adjust. (I’ll get to dimensions in a sec.)
- It’s not just for blankets. Mine started as a blanket organizer, but now it’s a multi-purpose workhorse. My kids use the bottom rungs for their gallery wall of artwork, and I’ve got a few decorative hooks on the sides for hanging my favorite scarves.
- It’s beginner-friendly. No miter saw? No problem. Home Depot will cut your wood for free. No clue how to use a drill? I’ll walk you through it,I was in the same boat until I did this project.
- It looks expensive. The first time my sister-in-law saw it, she asked where I bought it. When I told her I made it, she laughed and said, “Of course you did.” (High praise from someone who still thinks a “DIY project” means assembling IKEA furniture.)
Oh, and one more thing,it’s way sturdier than the flimsy wire racks you see at big-box stores. I’ve got three kids and a husband who treats furniture like a jungle gym, and this thing hasn’t budged.
What You’ll Need (And What I Learned the Hard Way)
Before you grab your tools, let’s talk supplies. I’ll list what you need, what I wished I’d known, and a few shortcuts that saved me time.
Materials
- Wood: Two 2×4 pine boards (8 feet long). Pine is cheap, easy to work with, and takes stain well. I picked it up at Home Depot, but Lowe’s or even a local lumberyard will work too. Pro tip: If you’re staining, ask for “kiln-dried” wood,it soaks up stain more evenly.
- Screws: Six 3-inch deck screws. These are thicker than regular screws and won’t strip the wood when you’re tightening them. (I learned this the hard way when I used cheap drywall screws for my first attempt and had to redo two rungs.)
- Sandpaper: 120-grit for smoothing edges and 220-grit for a final polish. I skipped the 220-grit at first and regretted it,my fingers paid the price with splinters.
- Finish: Your choice! I used Minwax Dark Walnut stain because it’s easy to apply and gives that cozy, rustic look. But you could also:
- Paint it chalk paint for a farmhouse feel (I did this on my accent wall last year and loved it).
- Leave it natural and add beeswax for a matte, protective finish.
- Go bold with black or navy paint for an industrial vibe.
- Extras (optional but fun):
- Felt pads ($3 at Michaels),I glued these to the bottom so it doesn’t scratch my hardwood floors. (Trust me, my husband would’ve noticed immediately if I’d left marks.)
- Decorative hooks ($5 for a pack),I added a few to the sides for hanging my favorite lightweight scarves.
- Stencils or wood-burning tool,If you’re feeling fancy, you can add initials or a simple design. I tried this on my wainscoting project and it turned out… cute but messy. Stick to stencils if you’re a beginner!
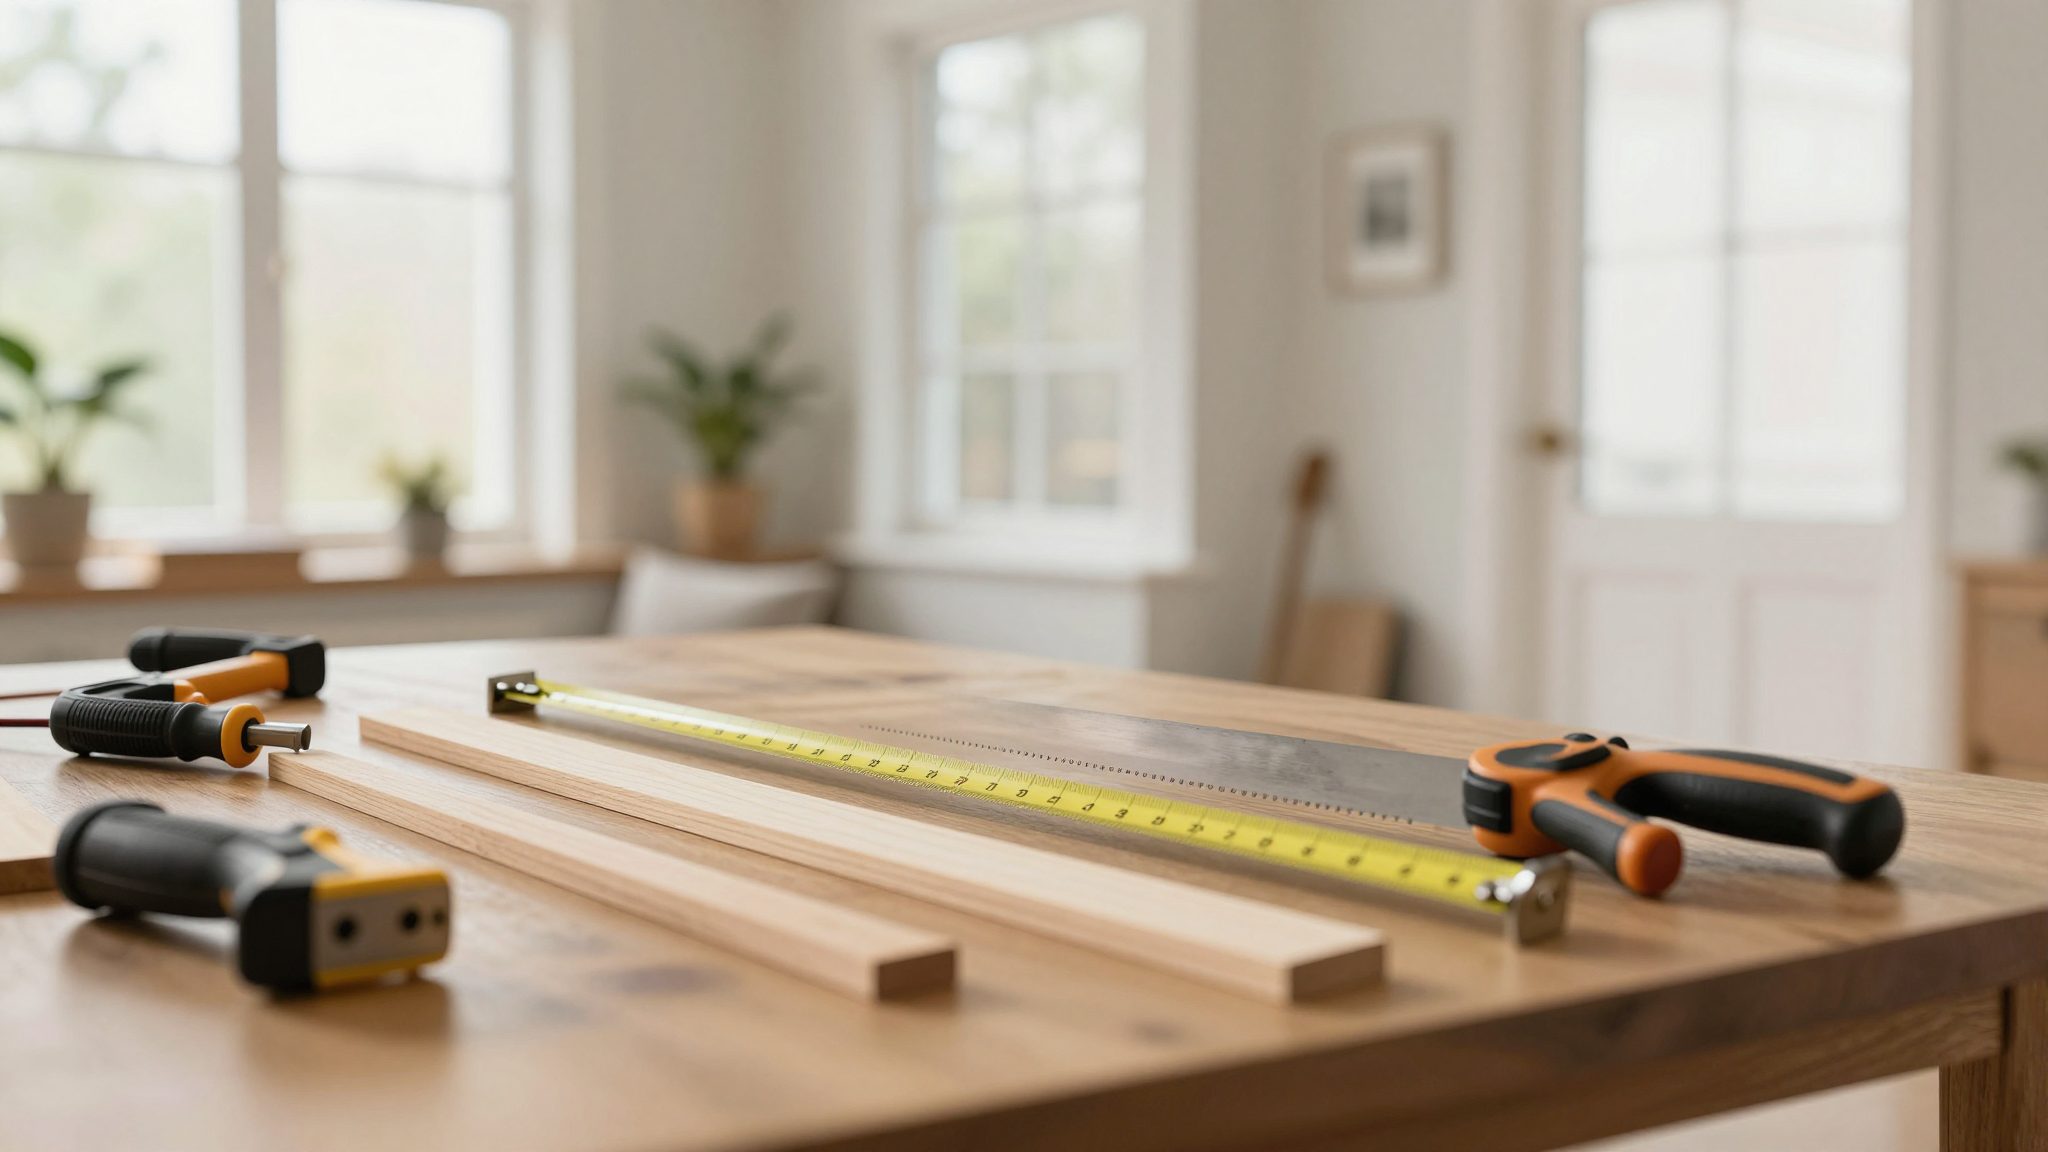
Tools
You don’t need a fully stocked workshop for this. Here’s what I used,and what you can skip if you’re on a budget:
- Miter saw or handsaw: For cutting the wood. I used my DeWalt miter saw, but if you don’t have one, most hardware stores will cut your wood for free. Just bring your measurements and a smile.
- Drill: A cordless drill with a #8 drill bit for pilot holes. (This keeps the wood from splitting when you screw in the rungs. Big lesson learned: I skipped pilot holes on my first try and had to redo two rungs.)
- Speed square: For marking 90-degree angles. I borrowed mine from my husband’s toolbox, but a $10 plastic one from the hardware store works fine.
- Clamps: At least two bar clamps to hold the wood steady while you drill. I used the ones I got for my coffee table project, but you can find a pair for under $20.
- Sandpaper or orbital sander: I used 120-grit sandpaper wrapped around a sanding block. If you’ve got an orbital sander, it’ll save you time,but my arms got a great workout doing it by hand.
- Tack cloth: For wiping off dust before staining. I used an old T-shirt at first, but the dust just smeared everywhere. Not recommended.
- Paintbrush or lint-free cloth: For applying stain. I used a purple foam brush (yes, the color doesn’t transfer) because it’s cheaper than a real brush and works just as well.
Oh, and if you don’t have all these tools yet, don’t stress. Check out my guide to essential tools,I’ve got the bare-bones list for beginners.
Planning Your Ladder: Dimensions and Placement
Before you cut a single piece of wood, measure twice. I speak from experience,my first attempt was way too tall for my living room, and I had to saw it down. (Not fun.) Here’s how I figured out the perfect size:
Where It’s Going
I wanted mine in the living room, leaning against the wall next to our couch. I measured the height from the floor to where the wall meets the ceiling (8 feet) and decided on a 6-foot ladder so it wouldn’t look too overwhelming. If you’re putting it in a smaller space, like a bedroom or bathroom, you can go as short as 3–4 feet.
For width, I made it 18 inches wide because that’s the standard size for throw blankets. But if you’ve got bulkier items (like quilts or towels), you might want to go wider,24 inches works well for that.
Rung Spacing
I spaced my rungs 12 inches apart, which gives enough room for folded blankets but isn’t so wide that it looks sparse. If you’re using it for towels or smaller items, you can go as close as 8–10 inches.
Here’s a quick cheat sheet for sizing:
| Room | Recommended Height | Recommended Width | Rung Spacing |
|---|---|---|---|
| Living Room | 5–7 feet | 18–24 inches | 10–12 inches |
| Bedroom | 3–5 feet | 12–18 inches | 8–10 inches |
| Bathroom | 3–4 feet | 12 inches | 6–8 inches |
| Kids’ Room | 4–5 feet | 18–24 inches | 12 inches |
Marking Your Wall (So You Don’t Regret It Later)
Before I cut anything, I used painter’s tape to mark where the ladder would go on the wall. I measured 6 feet up from the floor for the top of the ladder and then marked the width (18 inches) on either side. This gave me a visual of how it would look before I committed.
I also checked for outlets or light switches in that spot,nothing ruins a DIY project faster than realizing you’ve just covered up your only outlet. (Ask me how I know. Spoiler: I had to redo my stair makeover because of this.)
Once I was happy with the placement, I used a pencil to lightly mark the wall. No need to go crazy with the markings,just enough so you know where to hang it later.
Step-by-Step: Building the Ladder
Alright, let’s get to the fun part,building. I’ll walk you through each step with photos (because I know how helpful it is to see what you’re doing). If you get stuck, leave a comment, and I’ll help you troubleshoot!
Step 1: Cutting the Wood (And Not Crying Over Mistakes)
First, you’ll need to cut your wood to size. Here’s what I did:
- Vertical posts: Two pieces at 72 inches (6 feet) tall. I used my miter saw, but if you’re cutting at the store, just ask for two 6-foot boards.
- Horizontal rungs: Five pieces at 18 inches wide. I cut these a little longer (19 inches) so I could trim them down to size after assembly if needed.
Pro tip: Wear safety goggles. I learned this the hard way when a piece of wood kicked back and nearly took out my eyebrow. (Thankfully, I only got a scratch, but it was a close call.)
After cutting, I sanded all the edges with 120-grit sandpaper. I skipped this step on my first attempt and spent the next week picking splinters out of my fingers. Don’t be like me.
Then, I wiped everything down with a tack cloth to remove dust. If you don’t have one, a damp paper towel works in a pinch, but it’s messier.
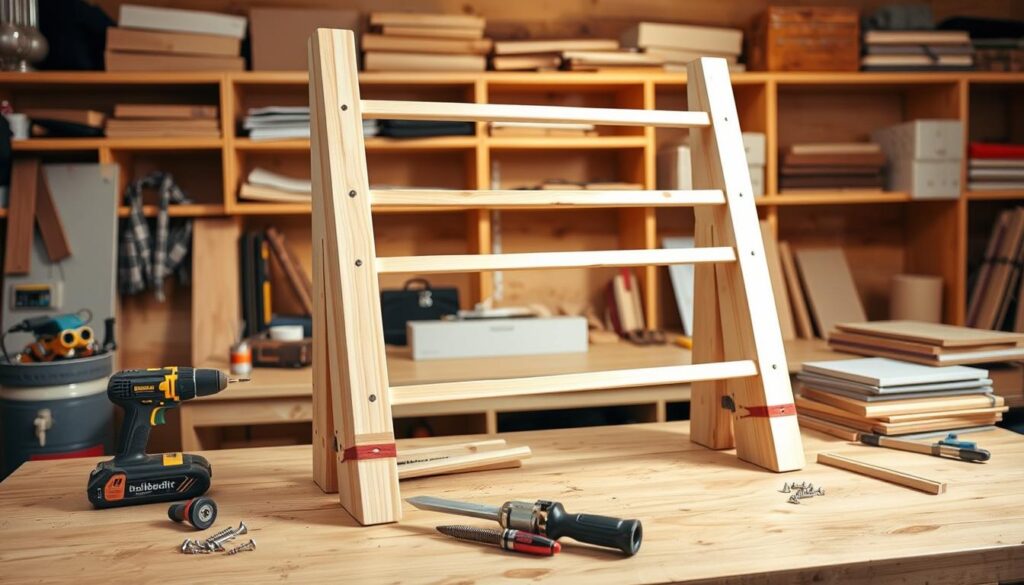
Step 2: Assembling the Frame (Where Clamps Are Your Best Friend)
Lay your two vertical posts parallel on the floor. Mine were 72 inches long, so I used a tape measure to mark the rung positions:
- First rung: 12 inches from the bottom
- Second rung: 24 inches from the bottom
- Third rung: 36 inches from the bottom
- Fourth rung: 48 inches from the bottom
- Fifth rung: 60 inches from the bottom
I used a pencil to mark these spots on both posts. Then, I placed a rung between the posts at the first mark and used clamps to hold everything in place. (This is where having two clamps comes in handy,one on each end.)
Before drilling, I used my speed square to make sure the rung was perfectly level. Then, I drilled pilot holes (using a #8 drill bit) through the rung and into the vertical post. This keeps the wood from splitting when you screw it in.
I used 3-inch deck screws to secure each rung. I started with two screws per rung (one on each end) and then added a third screw in the middle for extra stability. (This was my biggest upgrade from my first attempt, which wobbled like a Jell-O mold.)
I repeated this for all five rungs. After the first one, I didn’t need the clamps anymore,the ladder was stable enough to stand on its own. But I kept them handy just in case.
Step 3: Finishing Touches (Where the Magic Happens)
Now for the fun part,making it look pretty. I wanted a dark walnut stain, so I grabbed my Minwax stain and a purple foam brush (yes, really,it’s cheap and works great).
Here’s how I did it:
- Work in a well-ventilated area. I took everything outside to my patio because the fumes from the stain are not something you want to breathe in. If it’s cold or rainy, at least crack a window.
- Apply the stain with a brush or cloth. I used the foam brush because it’s easier to control. I dipped it in the stain, wiped off the excess on the edge of the can, and then applied it in long, even strokes along the grain of the wood.
- Let it sit for 5 minutes. This gives the stain time to soak in. Don’t let it sit too long, or it’ll start to look blotchy.
- Wipe off the excess. I used a clean rag to wipe away any extra stain. This is what gives it that smooth, professional look.
- Let it dry. I waited 24 hours before handling it again. If you’re impatient (like me), you can speed it up with a fan, but don’t rush it,stain needs time to cure.
After the stain dried, I decided to add a little distressed look to the edges. I lightly sanded the corners with 80-grit sandpaper to reveal the raw wood underneath. It gave it that vintage, farmhouse feel I was going for.
Finally, I attached felt pads to the bottom of the posts so it wouldn’t scratch my floors. I used a hot glue gun to secure them, and now it glides smoothly when I move it (which, let’s be honest, is never because it’s the perfect spot for blankets).
Adding Personality (Because Functionality Isn’t Enough)
Now that your ladder is built and stained, it’s time to make it yours. This is where the fun really starts,playing with textures, colors, and decor to match your space.
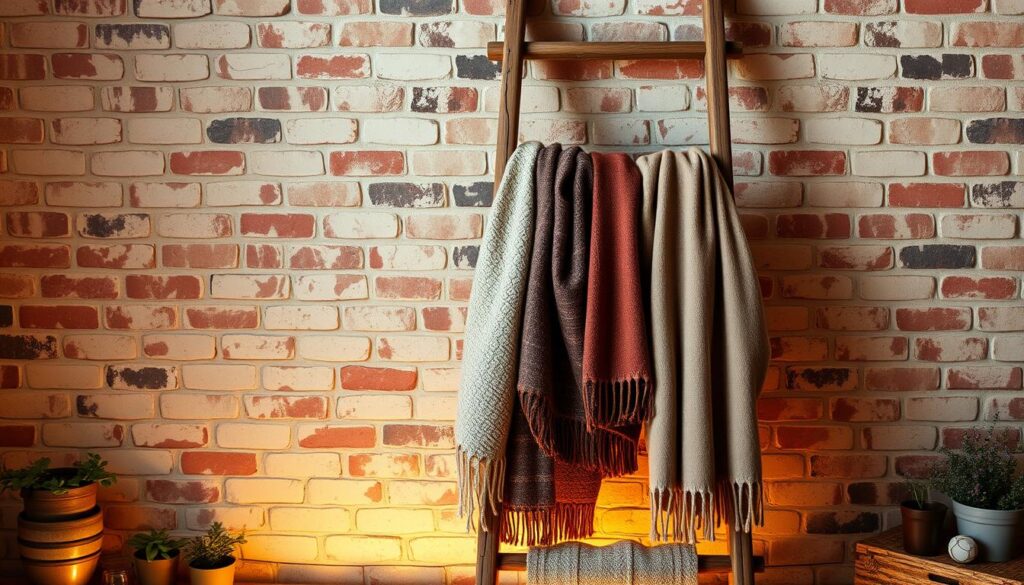
Decorating Your Ladder
Here’s how I styled mine,and a few ideas to spark your creativity:
- Blankets, obviously. I folded my chunky knit throws and draped them over the rungs. I mixed in a few woven blankets for texture and a quilt my grandma made for a personal touch.
- Fairy lights. I wrapped a string of battery-operated fairy lights around the top rung. It gives it a cozy, magical glow in the evening. (My kids love “turning on the blanket ladder” before bedtime.)
- Plants. I hung a small potted succulent from one of the rungs using a macramé hanger. It adds a little life to the space and hides any bare spots.
- Seasonal decor. In the fall, I swap in flannel blankets and add a few mini pumpkins on the rungs. In the winter, I drape a faux fur throw over it and hang pinecones from the sides.
- Kids’ stuff. My kids use the bottom rungs for their stuffed animals and art projects. It keeps their room tidier and gives them a sense of ownership over the decor.
- Hooks for extra storage. I added a few decorative hooks to the sides for hanging scarves, towels, or even a robe. It’s a great way to free up closet space.
Customizing the Look
If you want to go beyond just stain or paint, here are a few ideas to make it uniquely yours:
- Stencils. I tried stenciling initials or simple designs on my ladder, but it ended up looking a little messy. If you’re handy with a stencil brush, go for it! Otherwise, stick to pre-made decals for a cleaner look.
- Wood burning. A wood-burning tool lets you add custom designs, like mountains, stars, or even your kids’ names. I burned a little tree design into the top rung of mine, and it turned out way cuter than I expected.
- Metallic accents. Rub-on gold or silver leaf can add a touch of elegance. I used it on the edges of my fireplace makeover last year, and it looked amazing.
- Rope or twine. Wrap jute rope around the rungs for a coastal or boho vibe. I did this on a small side table I built, and it gave it such a warm, textured look.
Matching Your Space
Your ladder should feel like it belongs in your home, not like it was plopped in from a catalog. Here’s how I made sure mine fit:
- Color scheme. I chose dark walnut stain because it matches my coffee table and wooden beams in the living room. If your space is lighter, try a whitewash or gray stain.
- Materials. I kept it simple with wood, but you could mix in metal accents (like black screws) for an industrial look or painted rungs for a pop of color.
- Scale. In a small room, a shorter, narrower ladder works best. In a large, open space, you can go taller or wider. I went with 6 feet tall because it fits perfectly next to our couch without overwhelming the room.
- Function. Think about what you’ll use it for. If it’s mostly for blankets and throws, 12-inch spacing works great. If you’re storing towels or kids’ toys, you might want closer rungs (8–10 inches apart).
Oh, and one more thing,don’t overthink it. My first attempt was far from perfect, but I loved it anyway. The beauty of DIY is that it’s yours, flaws and all.
Final Tips (And What I’d Do Differently Next Time)
Before you grab your tools, here are a few real-talk tips from my experience:
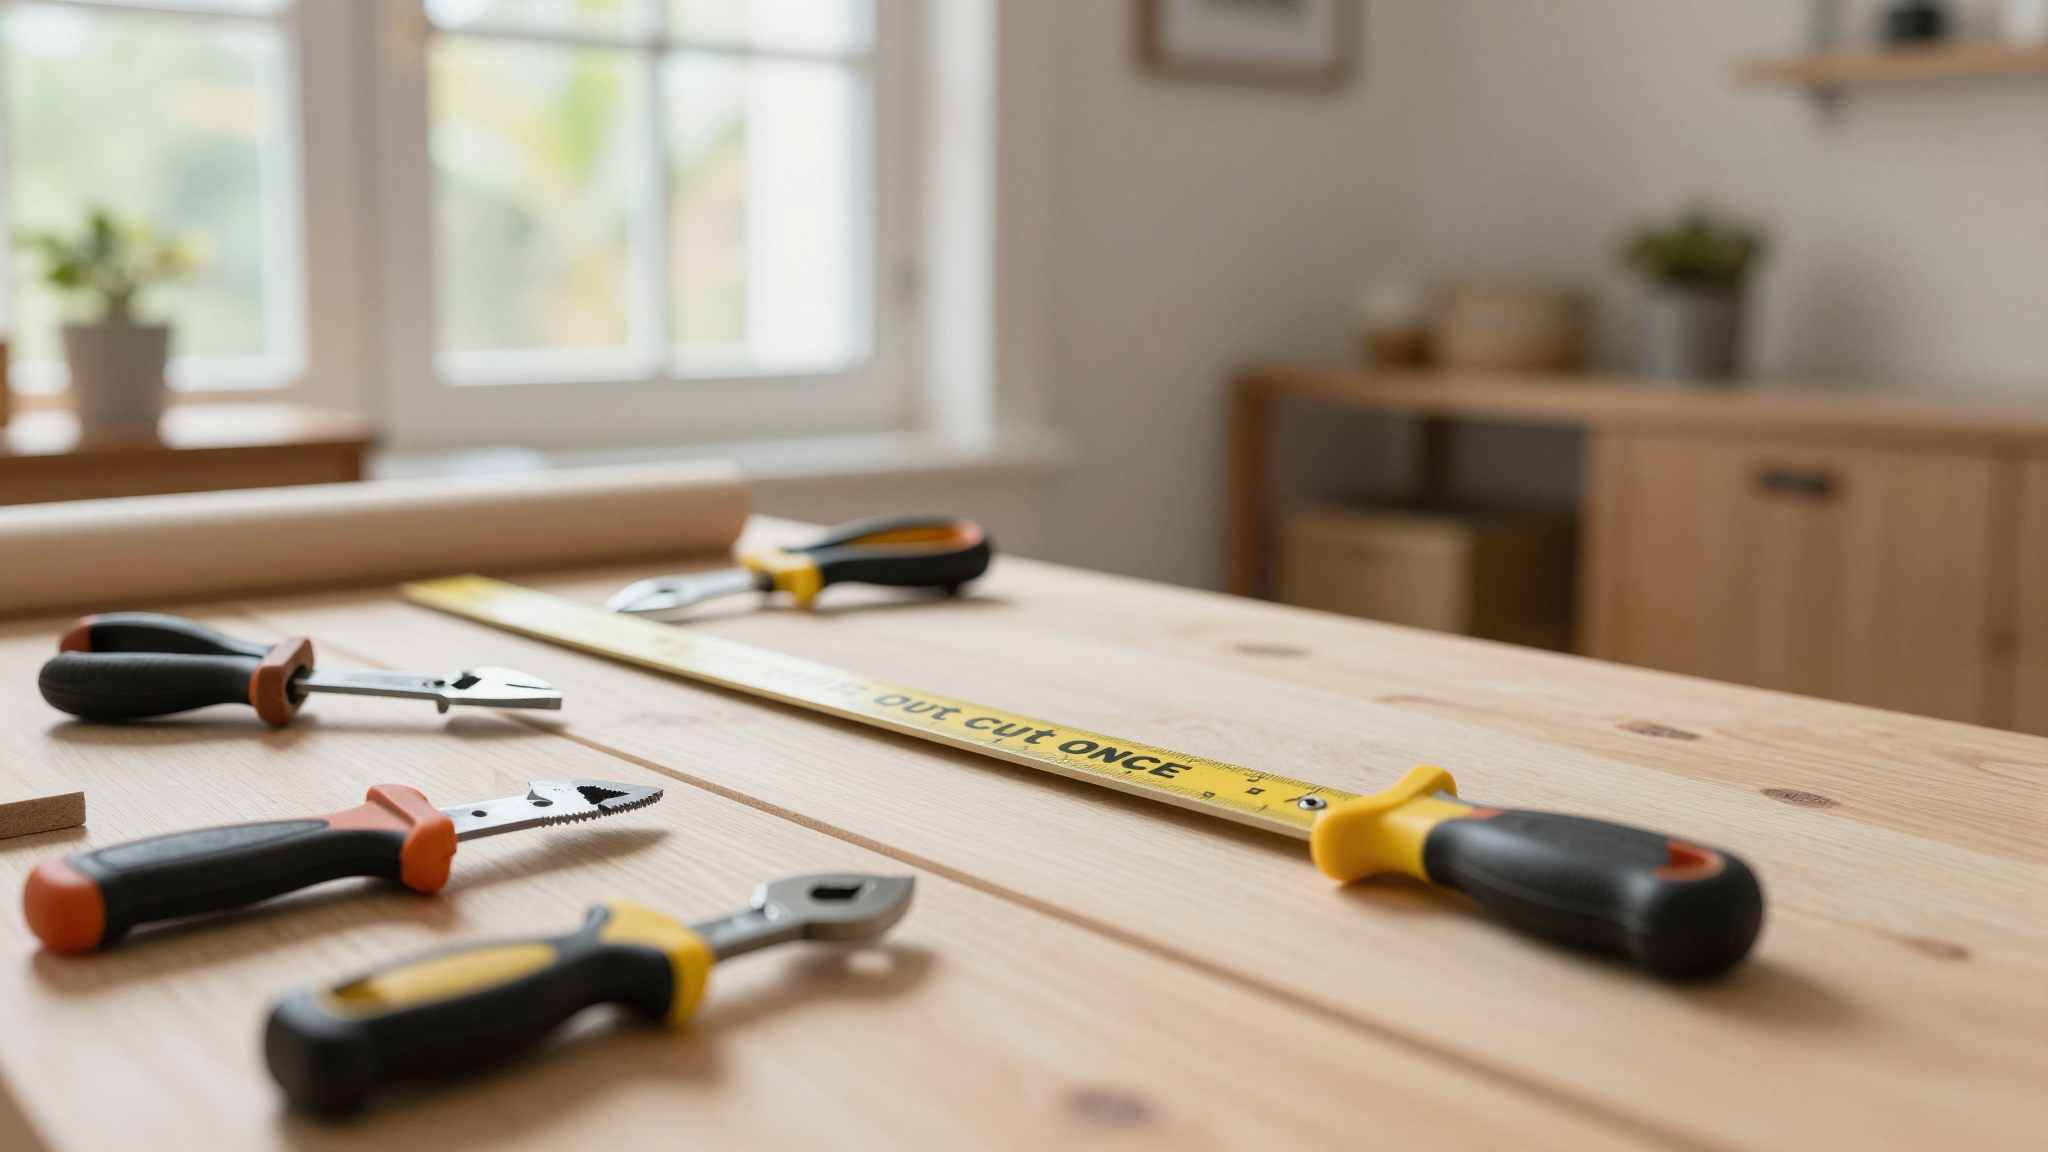
- Measure twice, cut once. I can’t stress this enough. I cut my first ladder way too tall and had to saw it down. (Not fun.) Use painter’s tape to mark your wall before cutting anything.
- Use pilot holes. I skipped this on my first try and ended up with split wood on two rungs. Trust me, drill those pilot holes.
- Sand everything. I thought I could skip sanding the first time. Big mistake. Splinters are the worst, and they’ll ruin the look of your finish.
- Let stain dry fully. I was impatient and moved my ladder after 12 hours. The stain smeared on my couch. Lesson learned. Wait 24 hours.
- Add felt pads. I almost skipped this because I thought, “How much can it really scratch?” Answer: A lot. Especially on hardwood floors. Grab a pack of felt pads for $3 and save yourself the headache.
- Pre-drill holes for hooks. If you’re adding decorative hooks, pre-drill the holes so you don’t strip the wood when screwing them in.
- Test your stain first. I stained a scrap piece of wood to see how the color would look, and it saved me from a disaster. Some woods absorb stain differently, so always test first.
If I were to build this again, I’d:
- Use pre-cut wood from the hardware store to save time.
- Add more rungs (6 instead of 5) for better blanket organization.
- Try a two-tone stain,dark walnut on the posts and a lighter stain on the rungs for contrast.
- Build it leaning against the wall (like a ladder) instead of freestanding. It takes up less space and looks more intentional.
Oh, and one more thing,take photos as you go. I wish I had documented my first attempt because I’ve since forgotten some of the steps. Plus, it’s fun to look back and see your progress!
What’s Next?
Now that you’ve got a sturdy, stylish blanket ladder, what else can you build? Here are a few of my favorite weekend projects that are just as easy:
- DIY headboard,Add character to your bedroom with a custom wooden headboard.
- Upcycled nightstand,Give an old dresser a fresh look with paint and new hardware.
- DIY wainscoting,Instantly elevate any room with this classic detail.
- Stair makeover,Swap carpet for wood stairs in just a weekend.
Or, if you’re feeling ambitious, try your hand at a farmhouse coffee table. It’s a little more involved, but the results are so worth it.
Got questions? Drop them in the comments,I’m happy to help! And if you build your own ladder, tag me on Instagram (@christinaprojects) so I can see your creation. I’d love to feature it!
Happy building! 🛠️