Looking to add personality to your living space? Handmade decor offers endless possibilities, and you don’t need expensive supplies to start. With just scissors, glue, and a little creativity, you can turn simple sheets into eye-catching designs that reflect your style.
This art form isn’t limited to scrapbooks or greeting cards. Modern creators blend traditional folding methods with fresh techniques to make wall art, lampshades, and even 3D sculptures. Whether you prefer geometric patterns or floral accents, there’s a project for every skill level.
Online tutorials make it easy to dive in. Step-by-step guides break down complex designs into manageable steps, so even beginners can craft something stunning. Best of all, materials like colored sheets and adhesive are affordable and easy to find at local stores.
Why stick to generic store-bought items when you can create custom pieces? Experiment with textures, layering, and color combinations to match your home’s vibe. The process is relaxing, and the results spark conversations.
Key Takeaways
- Transform ordinary materials into unique decor with simple tools like scissors and glue.
- Mix classic folding methods with modern designs for personalized creations.
- Online tutorials provide accessible guidance for projects at every skill level.
- Affordable supplies let you experiment without breaking the bank.
- Custom pieces add character and reflect your personal style.
Transform Your Home with Unique Paper Craft Projects
Discover how simple materials can redefine your home’s aesthetic. By blending time-honored methods with fresh approaches, you’ll create pieces that feel both nostalgic and contemporary.
Where Old Meets New
Traditional origami folds gain modern flair when paired with geometric shapes or metallic finishes. Try layering folded patterns onto sleek frames for 3D wall art. This mix adds depth to minimalist spaces while honoring classic techniques.
Color Your World
Vivid hues transform ordinary rooms. Use colored sheets to build cascading floral arrangements or tissue paper pom-poms for playful ceiling accents. These elements catch light beautifully, creating dynamic shadows throughout the day.
| Technique | Materials Needed | Skill Level |
|---|---|---|
| Layered Flower Sculptures | Cardstock, glue, scissors | Beginner |
| Modular Origami Installations | Patterned sheets, ruler | Intermediate |
| Tissue Paper Chandeliers | Wire frame, adhesive | Advanced |
Start small with a step-by-step tutorial for folded coasters. Once comfortable, experiment with bolder projects like oversized botanicals. Local stores carry affordable supplies, so you can test ideas without commitment.
Remember: your home should tell your story. Whether through delicate cherry blossoms or bold abstract shapes, each creation becomes a conversation starter. What will your hands make today?
Creative DIY Projects for Home Decor
Small handmade touches can transform ordinary spaces into cozy, personalized retreats. Let’s explore two versatile projects that blend functionality with artistic flair.

Handmade Greeting Cards and Photo Frames
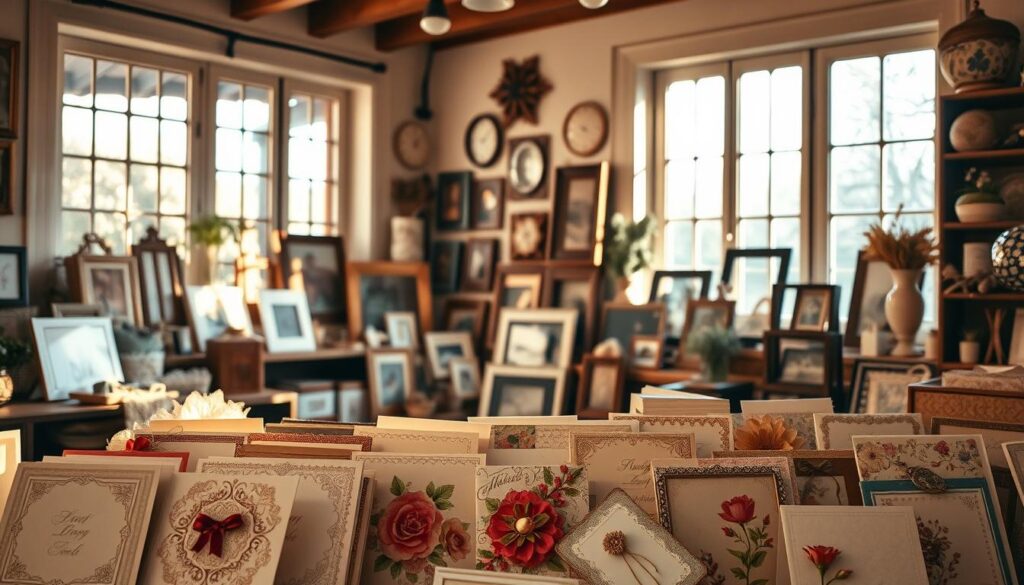
Start with cardstock as your base. Cut it into your desired shape—square, heart, or asymmetrical. Add texture by layering colored paper or lace. For a metallic touch, use foil accents or embossing powder.
Photo frames thrive on creativity. Fold thick cardstock into geometric designs or glue pressed flowers around the edges. Use washi tape to create playful borders that match your room’s color scheme.
- Choose materials like patterned sheets or recycled magazine pages
- Experiment with 3D elements like fabric flowers or button clusters
- Watch online tutorials for advanced folding techniques
These projects make perfect gifts. Imagine a friend’s face lighting up when they receive a custom card with their favorite colors. Finished pieces also look stunning displayed on shelves or mantels.
Most supplies cost under $10. Local craft stores carry everything from glitter glue to specialty scissors. Start simple, then level up as your skills grow!
Innovative Paper Crafts Ideas for Every Home
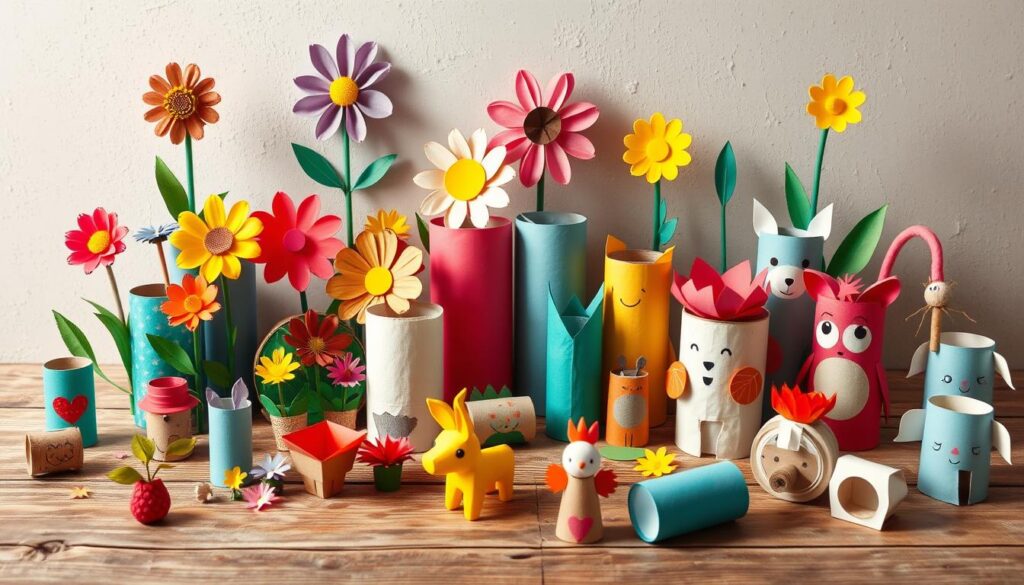
Ready to turn household items into showstopping decor? Everyday objects like toilet paper rolls become elegant vases or wall organizers with simple cuts and paint. Pair them with fresh blooms or twinkling fairy lights for instant charm.

Old books find new life as artistic accents. Fold pages into 3D shapes or dip edges in metallic paint for vintage-inspired shelf displays. These book-inspired projects add literary flair to modern spaces.
| Project | Key Materials | Time Needed |
|---|---|---|
| Roll-Up Wall Planters | Toilet paper rolls, acrylic paint | 45 minutes |
| Folded Book Sculptures | Hardcover books, glue | 2 hours |
| Geometric Luminaries | Cardstock, LED tea lights | 90 minutes |
Quality materials make all the difference. Thick cardstock holds intricate cuts, while precision scissors create clean edges. Explore unique decor ideas using basic tools like glue sticks and rulers.
Online tutorials break down complex designs into bite-sized steps. Try a beginner-friendly make diy project first, like painted roll coasters. Once comfortable, tackle advanced concepts like interlocking origami wall panels.
Seasonal themes keep your home fresh year-round. Discover holiday-specific designs that swap traditional colors for unexpected metallic finishes. Why not start with golden leaf garlands this weekend?
The possibilities are endless when you reimagine ordinary items. What will your hands create next?
Master Techniques: Paper Cutting and Quilling Art
Elevate your creative skills with two timeless methods that transform flat sheets into dimensional masterpieces. Whether you’re crafting delicate snowflakes or coiled floral motifs, these techniques blend patience with precision for stunning results.
Start Simple: Foundational Skills
New to these arts? Begin with basic shapes like circles and teardrops in quilling. Use a slotted tool to roll strips tightly, then secure ends with clear-drying glue. For cutting, print templates on cardstock and trace designs with a craft knife.
Safety first! Always cut away from your body and store sharp tools out of reach. Online tutorial make videos demonstrate proper grip techniques to prevent slips. Start with short 15-minute sessions to build steady hands.
Level Up: Precision and Complexity
Advanced quilling thrives on asymmetry. Combine tight coils with loose scrolls for dynamic wall art. Try graduated color strips to create ombre effects in petals or feathers. For intricate cuttings, use self-healing mats and micro-tip scissors.
| Skill Level | Essential Tools | Recommended Materials |
|---|---|---|
| Beginner | Slotted quilling tool, safety scissors | Pre-cut strips, 120gsm sheets |
| Intermediate | Crimping tool, fine-tip glue bottle | Metallic paper, pattern templates |
| Advanced | Swivel knife, tweezers | Blackout paper, quilling comb |
Consistency matters. Practice cutting straight lines daily using scrap materials. Join online communities to share progress and get feedback. Remember: every expert started with shaky first attempts!
Explore step-by-step masterclasses to refine shading techniques in layered designs. With quality tools and persistent effort, you’ll soon craft gallery-worthy pieces that amaze guests.
Exploring Other Paper Art Forms: Origami, Papercraft Models, and More
Unfold new dimensions of creativity by diving into art forms that turn flat sheets into tactile wonders. From ancient folding traditions to modern structural designs, these methods let you build everything from delicate animals to functional baskets.
3D Paper Models: Build Your Imagination
Start with printable templates for paper model creations like architectural landmarks or animals. Precision is key—use sharp scissors for clean edges and fast-drying glue for seamless assembly. Follow these steps:
- Choose a tutorial make guide matching your skill level
- Cut components using a craft knife for intricate details
- Fold along scored lines before applying adhesive
| Project Type | Materials Needed | Difficulty |
|---|---|---|
| Modular Origami | Patterned sheets, ruler | Intermediate |
| 3D Animal Model | Cardstock, hobby knife | Advanced |
| Woven Wall Art | Colored strips, glue stick | Beginner |
Weaving Stories with Strips
Paper weaving transforms simple strips into textured wall hangings or coasters. Alternate colors vertically and horizontally for checkerboard patterns.
“Weaving teaches patience. Each strip’s placement matters, creating harmony in repetition,”
says fiber artist Lila Chen.
For best results, choose sturdy materials like watercolor sheets. Beginners can practice with cereal box cardboard before upgrading to specialty stock. Online tutorials demonstrate diagonal weaves and braided borders.
Why not try both? Fold an origami crane while your woven bookmark dries. These hands-on projects calm the mind while beautifying your space—proof that art thrives in simple step-by-step journeys.
Sustainable and Recycled Paper Projects for a Greener Home
Turn household scraps into stylish decor while reducing waste. Everyday items like toilet paper rolls and grocery bags become treasures with clever upcycling. Best of all, these projects cost almost nothing!
DIY Projects Using Recycled Materials
Transform paper bags into rustic wall art by cutting geometric shapes and layering them. Rolled toilet paper tubes make chic planters—paint them metallic and add trailing succulents. Here’s a quick guide:
| Project | Materials | Time |
|---|---|---|
| Twisted Magazine Bowls | Old magazines, glue | 1 hour |
| Rolled Gift Boxes | Grocery bags, scissors | 45 mins |
| Fabric-Lined Organizers | Tissue paper, cardboard | 90 mins |
Need inspiration? Family-friendly tutorials show how to turn egg cartons into spring wreaths using basic supplies.
Eco-Friendly Crafting Tips and Tricks
Use non-toxic glue sticks for safer creations. Save colorful junk mail for collages instead of buying new sheets. For textured backgrounds, crumble recycled paper and smooth it out before painting.
Three rules for sustainable art:
- Repurpose first: Turn cereal boxes into photo frames
- Combine materials: Mix fabric scraps with paper rolls
- Share extras: Host supply swaps with neighbors
Remember: Every snip of scissors gives old items new purpose. What will you rescue from the recycling bin today?
Conclusion
Breathing new life into your home has never been easier—or more affordable. From delicate floral arrangements to bold geometric sculptures, these projects prove that imagination trumps expensive supplies. Whether you’re layering cardstock into photo frames or shaping recycled materials into wall art, every creation adds a personal touch.
Detailed tutorials empower crafters at all levels. Beginners can master basic folds with step-by-step videos, while advanced artists explore intricate quilling patterns. Eco-friendly ideas, like upcycling old books into decor, make creativity sustainable.
Your journey starts with simple tools: glue, scissors, and curiosity. Experiment with textures, mix unexpected colors, and let mistakes guide new designs. Why not transform today’s grocery bag into tomorrow’s statement vase?
Ready to begin? Grab your favorite materials and dive into a project that sparks joy. Share your handmade triumphs online or gift them to loved ones—because beauty thrives when hands create freely.

