
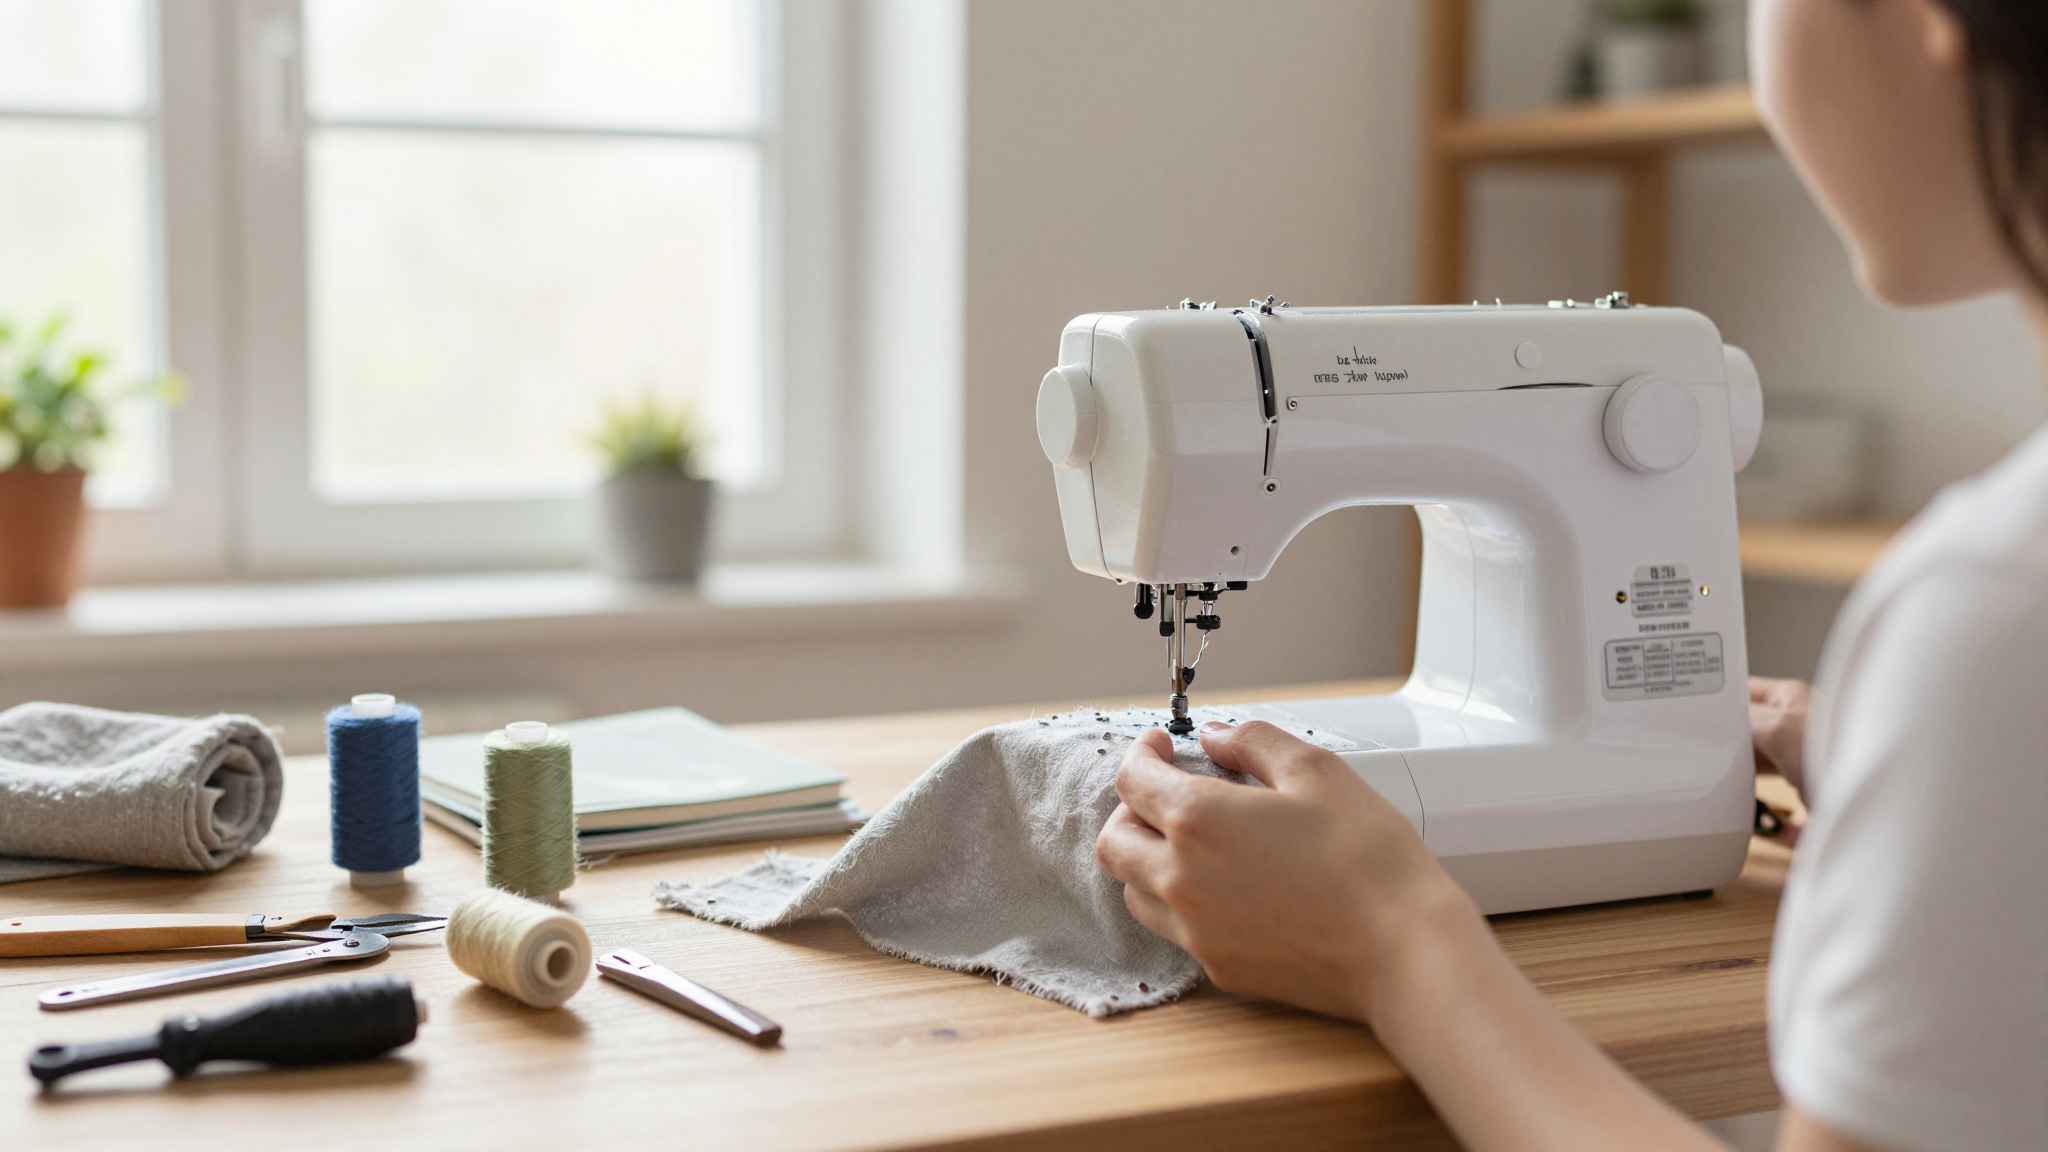
I still remember the first time I pushed a needle through fabric,my hands were shaking, and I accidentally pricked my finger twice. But that little drawstring bag I made? It’s still in my kitchen, holding apples from the farmer’s market. That’s the magic of sewing: it turns mistakes into stories and fabric into something useful (and occasionally, something you’re proud to show off).
If you’re here, you’ve probably seen those Pinterest-perfect projects and thought, “I could never…” But here’s the truth: I couldn’t either, not at first. My first pillowcase had seams so crooked it looked like a kindergartener had stitched it. (Spoiler: It was me, a 32-year-old mom who thought “straight line” was just a suggestion.) The good news? Sewing is one of those skills where progress is visible,literally. Every stitch you make is a step forward, and even the wobbliest seams get better with practice.
This isn’t about turning you into a couture designer overnight. It’s about giving you the confidence to tackle small, satisfying projects,like the tote bag you’ll use for grocery runs or the pillow that finally matches your bedroom’s vibe. Start small, celebrate the wins (even the tiny ones), and don’t worry about perfection. Your first project might not be Instagram-worthy, but it’ll be yours,and that’s what matters.
Getting Started: The Tools and Space You Actually Need
I’ll admit it: I went overboard my first time. I bought a very expensive sewing machine, a dozen spools of thread in colors I’d “someday” use, and enough fabric to clothe a small village. (Spoiler: Most of it is still in my “someday” bin three years later.) Here’s what I actually needed to start,and what I wish I’d known before dragging all that stuff home.
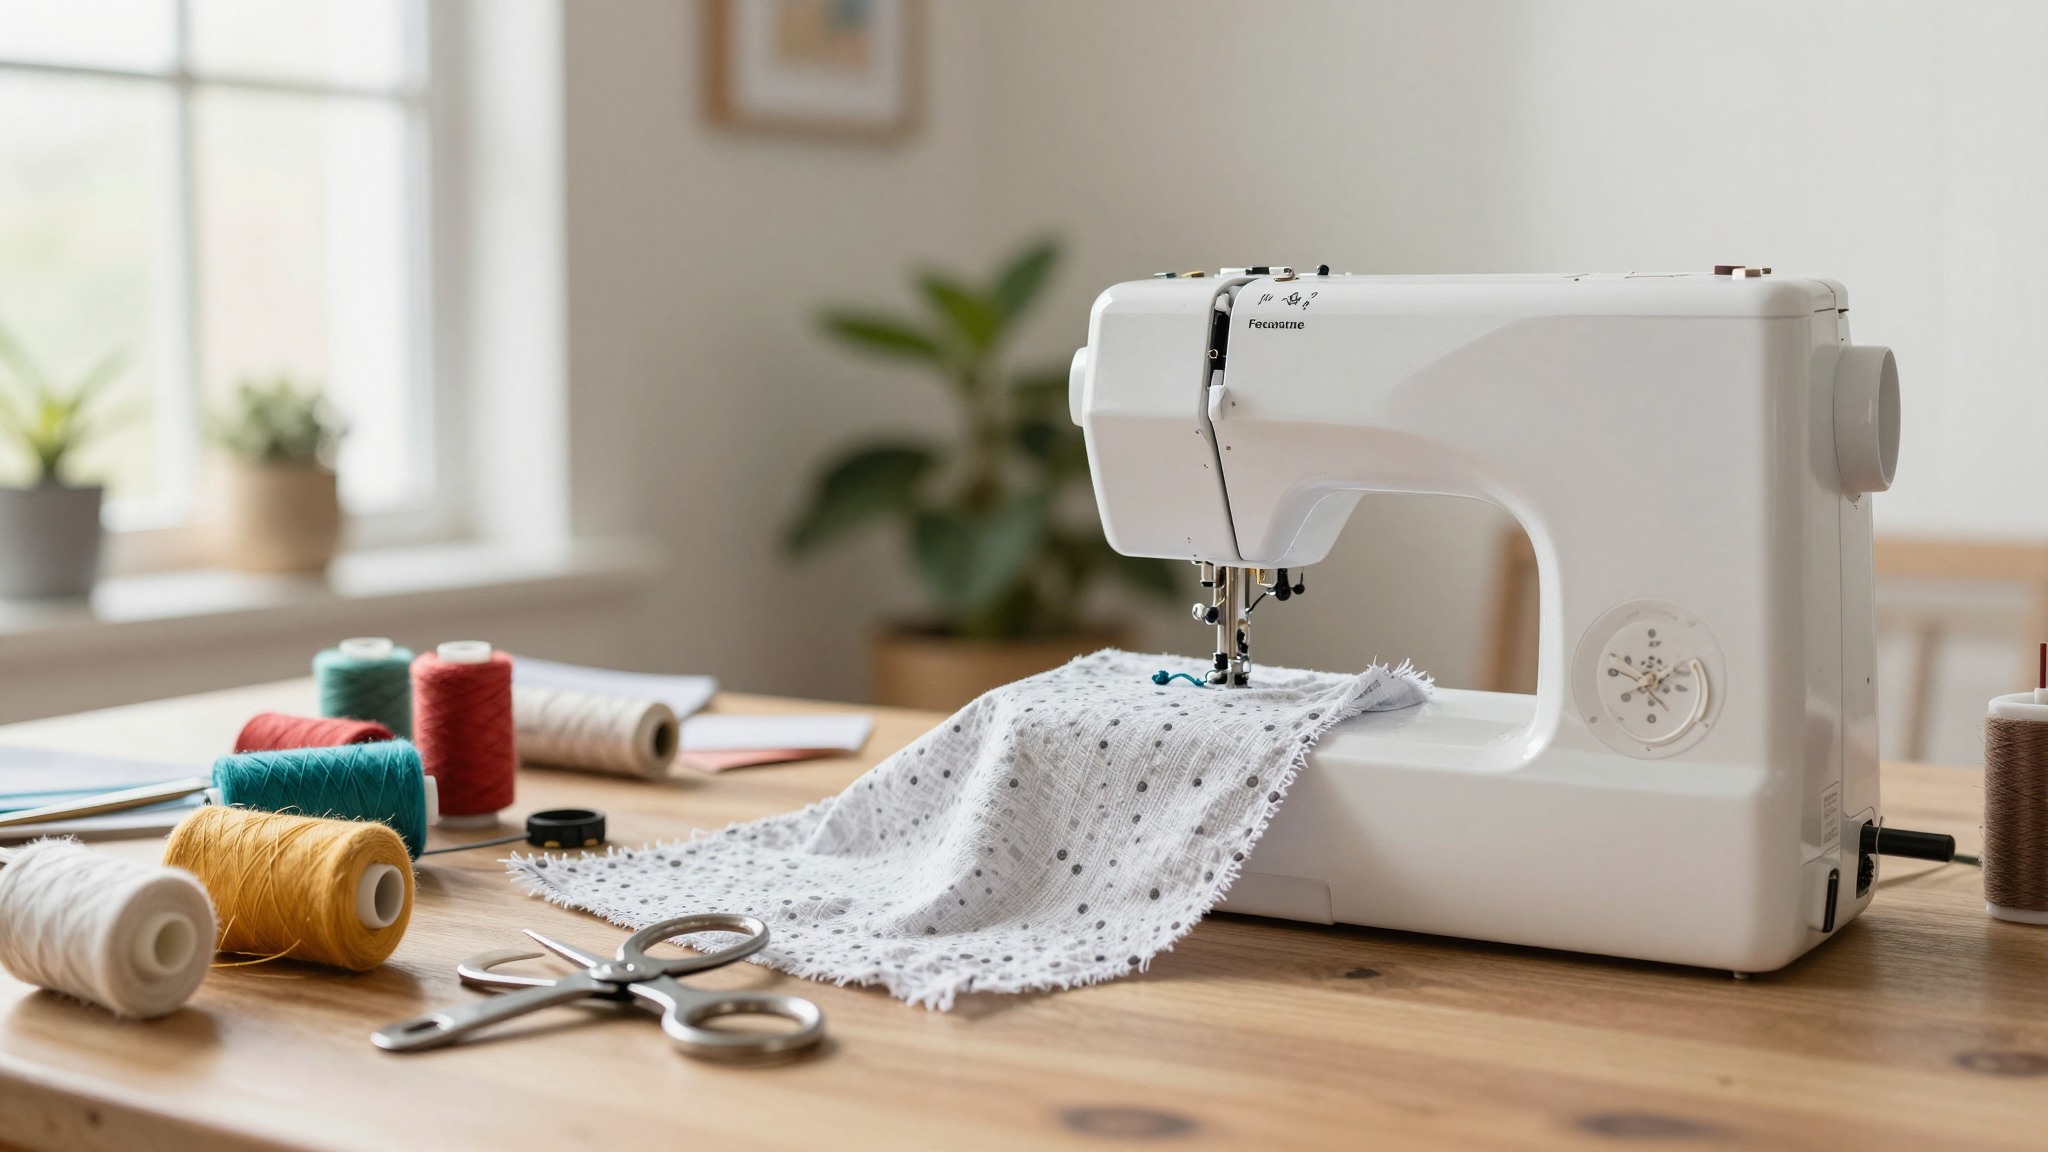
Your Starter Toolkit (No Fancy Stuff Required)
You don’t need a Pinterest-worthy craft room to begin. I started sewing at my kitchen table with my kids coloring nearby. Here’s what actually matters:
- A reliable sewing machine. You don’t need a top-of-the-line model,my Brother CS6000i has been a workhorse for years. It’s lightweight, affordable, and comes with enough stitches to keep you busy for months. (Pro tip: Skip the “decorative” stitches at first. Master the straight stitch and zigzag first.)
- Sharp fabric scissors. These are not the same as your paper-scissors. I learned this the hard way when I tried to cut through cotton with my kids’ safety scissors. (It did not end well.) Invest in a good pair,Fiskars or Gingher,and keep them only for fabric. Your future self will thank you.
- Glass-head pins and a magnetic pin cushion. The glass heads are a game-changer because you can see them in dark fabric (trust me, you’ll be grateful for this when you’re working with black or navy). I keep my pin cushion on my machine’s side so it’s always within reach.
- A tape measure and seam ripper. The tape measure is for obvious reasons, but the seam ripper? That’s your best friend when you inevitably sew something inside-out or crooked. (Yes, it will happen. No, it’s not the end of the world.)
Oh, and one more thing: read your machine’s manual. I know, I know,it sounds boring. But when I skipped this step, I spent an entire afternoon trying to figure out why my stitches were looping everywhere. Turns out, I had the bobbin thread tension set wrong. (The manual had a whole section on this. Oops.)
Fabric and Thread: What to Buy (and What to Avoid)
I made the mistake of grabbing the first “cute” fabric I saw at the store,it was a stretchy, slippery jersey knit. Let’s just say my first attempt at a tote bag looked more like a deflated balloon than a bag. Here’s what I’ve learned since then:
- Start with cotton. It’s stable, affordable, and forgiving. I love Joann Fabrics’ quilting cotton because it comes in endless prints, and the prices are reasonable. If you’re feeling adventurous, try linen next,it’s a little trickier but gives a gorgeous, textured finish.
- Pre-wash your fabric. I learned this one the hard way. I made a set of pillowcases, washed them, and,surprise!,they shrank and bled dye all over my white sheets. (My husband was not amused.) Always pre-wash fabric before cutting into it.
- Match your thread weight to the fabric. Thicker fabrics (like denim or canvas) need heavier thread, while lightweight fabrics (like chiffon or batiste) do better with finer thread. I keep a small notebook by my machine to jot down what works for each project.
As for thread, I stick with Gütermann or Coats & Clark. They’re affordable, reliable, and won’t snap on you mid-project (unlike the bargain-bin thread I tried once,total disaster).
Setting Up Your Space (Without Going Overboard)
You don’t need a dedicated sewing room. I started at my kitchen table, and these days, I sew in the corner of my living room while the kids watch TV. Here’s what makes it work:
- A flat surface for cutting. I use a large cutting mat (I got mine from Hobby Lobby), but a clean table or even a large piece of cardboard works in a pinch. Just make sure it’s big enough to lay out your fabric without it dragging on the floor.
- A comfortable chair. You’ll be sitting for a while, so don’t skimp on this. I use a simple office chair with good back support. (My lower back thanked me after my first marathon sewing session.)
- Storage for your supplies. I keep my thread, needles, and notions in a small wooden box I picked up at a thrift store. It’s not pretty, but it keeps everything organized and within reach.
Oh, and one more tip: practice on scrap fabric first. I wasted so much money buying “perfect” fabric for my first projects, only to mess up the seams. Now, I always test stitches on scraps before committing to a project. It saves time, money, and frustration.
Beginner Sewing Basics: Stitches, Seams, and Why Your Machine Hates You (At First)
I’ll be honest: the first time I tried to sew a straight line, my stitches looked like a drunkard’s path. But here’s the thing,everyone starts there. The key is to break it down into small, manageable steps and not get discouraged when things go wrong (and they will go wrong).
Learning Stitches: Start Simple, Then Build
I made the mistake of jumping straight to zigzag stitches because they looked “fancy.” Big mistake. My seams were uneven, and the fabric puckered like a prune. Here’s what I wish I’d known:
- Master the straight stitch first. It’s the foundation of almost every project. Practice on scrap fabric until your stitches are even and consistent. (Mine took about 20 minutes of practice before they looked decent.)
- Try the backstitch for stronger seams. This one took me a while to get the hang of, but it’s worth it for projects that need durability, like tote bags or pillowcases. It’s basically a straight stitch, but you go backward at the end of each stitch to lock it in place.
- Hold your needle like a pencil. This gives you more control, especially when you’re starting out. I used to grip it like a dagger, and my stitches were all over the place.
Pro tip: If your stitches are uneven, it’s usually a tension issue. I spent hours fiddling with my machine’s tension settings before I realized I just needed to re-thread it properly. (Again, read the manual.)
Seam Allowances and Patterns: The Secrets to Neat Finishes
I once sewed a pillowcase with a ½-inch seam allowance… on one side. The other side? A whopping ⅝ inch. The result? A lopsided pillow that looked like it had been chewed by a dog. Here’s how to avoid my mistakes:
- Most patterns use a ½-inch seam allowance. This is a good default for beginners. If you’re not using a pattern, use a seam gauge or washi tape to mark your ½-inch line on the fabric before cutting.
- Press your seams open with an iron. This is a game-changer for neat finishes. I used to skip this step, and my projects always looked a little… well, homemade. Now, I press seams open as I go, and my work looks way more professional.
- Match notches and pins carefully. Notches are those little triangles or marks on pattern pieces,they help you align seams correctly. I used to pin pieces together and hope for the best. Now, I match notches first, then pin. It makes a huge difference.
Oh, and one more thing: always measure twice, cut once. I can’t tell you how many times I’ve cut fabric wrong because I was in a hurry. Now, I double-check my measurements before I pick up the scissors.
Hand Sewing vs. Machine Sewing: When to Use Each
I’ll admit it: I resisted hand sewing for the longest time. I thought it was “old-fashioned” and that machines were the only way to go. But then I had to mend a tear in my favorite jeans, and hand sewing saved the day. Here’s when to use each method:
Hand Sewing: Slower, but More Control
I use hand sewing for small repairs, embroidery, and projects where I need precision. It’s also great for sewing on buttons or hemming delicate fabrics. Here’s what I’ve learned:
- Use shorter threads to prevent tangling. I used to thread my needle with a foot-long piece of thread, and it would knot up every five minutes. Now, I use 8-10 inch threads, and it’s much easier to manage.
- Rotate your fabric frequently. This prevents your stitches from getting too tight or loose in one spot. I used to hold my fabric in one position and wonder why my stitches looked wonky.
- Anchor your knots discreetly. I used to just tie a big knot and call it a day. Now, I hide my knots by stitching over them a few times. It’s a small detail, but it makes a big difference in the finished look.
Hand sewing takes patience, but it’s oddly meditative. I often hand sew while watching TV or listening to a podcast. It’s a great way to unwind after a long day.
Machine Sewing: Faster, but Requires Practice
I use my machine for everything from quilting to making tote bags. It’s faster and more consistent, but it takes practice to get the hang of it. Here’s what I’ve learned:
- Practice speed control on scrap fabric. I used to gun it on my first project, and the fabric bunched up under the presser foot. Now, I start slow and gradually increase my speed as I get comfortable.
- Pivot at 90-degree angles for crisp corners. This took me a while to master. I used to just yank the fabric around, and my corners looked like they’d been hit by a tornado. Now, I stop with the needle down, lift the presser foot, pivot the fabric, and lower the foot again. It makes a huge difference.
- Clean lint after every session. I used to skip this step, and my machine would start skipping stitches or jamming. Now, I clean the lint trap and brush out the bobbin area after every project. It takes two minutes and saves a ton of frustration.
Pro tip: If you’re new to machine sewing, try basting stitches first. These are long, loose stitches that hold layers together temporarily. I use them to test fit before sewing the final seams. It’s a great way to avoid mistakes.
Easy Sewing Projects to Build Your Skills (Without the Stress)
I started with pillowcases because they’re simple and practical. My first one was a disaster, but I learned so much from it,like how to press seams and why you should always test your stitches on scrap fabric first. Here are the projects I recommend for beginners:
Top Starter Projects (That Actually Teach You Something)
These projects are simple, practical, and will teach you key skills without overwhelming you:
| Project | Materials | Why It’s Great for Beginners |
|---|---|---|
| Drawstring Bags | Cotton fabric, ¼-inch elastic cord or ribbon | Teaches you straight seams, hemming, and casings. I made a bunch of these to organize my craft supplies, and they’re still holding up years later. |
| Felt Coasters | Wool blend felt, fabric glue or hand-sewing needle | No sewing machine required! This is a great hand-sewing project that teaches you basic stitches and how to work with felt. I made a set for my mom, and she still uses them daily. |
| Pillowcases | Cotton fabric, matching thread | Teaches you seams, hemming, and how to handle larger pieces of fabric. My first pillowcase was crooked, but I learned so much from it. |
| Tote Bags | Sturdy cotton or canvas, interfacing (optional) | Teaches you reinforced seams and handling thicker fabrics. I use mine for grocery runs, and they’re way sturdier than the flimsy plastic bags from the store. |
Here’s a tip I wish I’d known earlier: don’t skip the practice projects. I was so eager to jump into “real” sewing that I skipped the basics. Now, I tell my kids (and myself) to complete at least three small projects before tackling anything complex. It builds confidence and helps you learn the basics.
How to Customize Patterns (Without Messing Up)
I love taking patterns and making them my own. For example, I turned a simple tote bag pattern into a reusable produce bag by adding a drawstring and using a pretty floral fabric. Here’s how I do it:
- Swap fabrics. If a pattern calls for linen, but you love cotton, go for it! Just make sure the fabric weights are similar. I once tried to use a lightweight chiffon for a tote bag, and it was a disaster.
- Adjust sizes. Want a bigger pillowcase? Lengthen the pattern pieces before cutting. I do this all the time,I’m 5’10”, so I usually add an extra inch to hems and cuffs.
- Add embellishments. Buttons, patches, or fabric paint can take a simple project to the next level. I added embroidered flowers to a plain tote bag, and it turned into a one-of-a-kind piece.
Pro tip: If you’re modifying a pattern, trace the original pieces onto tracing paper first. This way, you can experiment with changes without ruining your original pattern. I keep a stack of tracing paper by my cutting mat for this exact reason.
Tips and Tricks to Save You Time (and Sanity)
Sewing is rewarding, but it can also be frustrating,especially when you’re starting out. Here are the tricks I’ve learned to make the process smoother (and less likely to make you want to throw your machine out the window).
Handy Hacks for Cleaner Finishes
I’ve picked up a few life hacks over the years that make sewing easier and more enjoyable:
- Use washi tape as a hem guide. I discovered this trick on a YouTube tutorial, and it’s a game-changer. Stick washi tape along your ½-inch seam allowance on the machine bed, and it keeps your fabric aligned perfectly. No more wonky hems!
- Rub your needles with beeswax. This reduces thread friction and prevents tangling. I keep a small block of beeswax in my sewing kit, and it’s saved me from so many headaches.
- Use binder clips for thick layers. Pins can shift when you’re working with multiple layers of fabric. Binder clips hold everything in place without slipping. I keep a handful in my sewing basket for this exact purpose.
Oh, and one more thing: store your thread in ziplock bags with silica gel. I learned this the hard way when my thread got damp and turned into a sticky mess. Now, I keep my thread organized in ziplock bags with a silica gel packet to absorb moisture.
Mastering Straight Seams and Turning Corners
I used to struggle with straight seams and corners. My first attempt at a pillowcase looked like it had been sewn by a sleep-deprived toddler. Here’s how I finally got the hang of it:
- Keep even pressure on the fabric. Don’t push or pull the fabric as you sew. Let the machine feed it through at a steady pace. I used to grip the fabric too tightly, and my seams would pucker.
- Use tape markers for alignment. I stick washi tape along the edge of my machine bed to mark my ½-inch seam allowance. It’s a simple trick, but it keeps my seams straight every time.
- Pivot at corners. Stop with the needle down in the fabric, lift the presser foot, pivot the fabric, and lower the foot again. It takes practice, but it makes a huge difference in the finished look.
If your seams aren’t straight, don’t panic. It’s usually a tension issue or an alignment problem. I keep a troubleshooting cheat sheet by my machine to remind me of common fixes.
Troubleshooting Stitching Issues (Without Losing Your Mind)
Even experienced sewers run into problems. Here are the most common issues I’ve faced,and how I fixed them:
| Problem | Quick Fix | Preventative Tip |
|---|---|---|
| Uneven stitches | Re-thread the machine and check the bobbin tension. | Clean the bobbin area weekly and use quality thread. |
| Fabric puckering | Adjust the thread tension or try a different needle size. | Test stitches on scrap fabric before cutting into your project. |
| Breaking threads | Replace the needle and check for lint buildup in the machine. | Use sharp needles and avoid pulling the thread taut. |
| Skipped stitches | Clean the feed dogs and replace the needle. | Oil your machine monthly and replace needles every 8-10 hours of use. |
If you’re still having issues, don’t hesitate to look up a tutorial or ask for help in a sewing group. I’ve learned so much from watching YouTube videos and asking questions in Facebook sewing communities. Don’t be afraid to reach out!
Essential Sewing Machine Setup and Maintenance (So It Doesn’t Betray You)
I’ll be honest: I neglected my sewing machine for the first year I had it. I didn’t oil it, I didn’t clean the lint, and I ignored the manual. Big mistake. My machine started jamming, skipping stitches, and generally acting like a diva. Here’s what I’ve learned about keeping it happy:
Threading and Routine Care Basics
Threading your machine correctly is everything. I used to rush through it, and my stitches would loop everywhere. Here’s how I do it now:
- Raise the presser foot to engage the tension discs.
- Follow the numbered guides from the spool to the needle. (Yes, I still double-check this every time.)
- Pull the thread through the needle’s eye from front to back. This is a common mistake,I used to thread it backward and wonder why my stitches looked weird.
Oh, and one more thing: always test your stitches on scrap fabric before starting a project. I can’t tell you how many times I’ve sewn a whole project only to realize the tension was off. Now, I test on scraps first, and it saves me so much time and frustration.
Cleaning and Oiling Your Machine
I used to skip cleaning my machine, and it would start acting up after just a few projects. Now, I clean the lint trap and brush out the bobbin area after every session. It takes two minutes and prevents so many issues.
| Maintenance Task | Frequency | Tool Needed |
|---|---|---|
| Clean lint from feed dogs and bobbin area | After every 3 projects | Small brush (usually included with your machine) |
| Replace the needle | Every 8-10 hours of use | Universal #14 needle (my go-to for most fabrics) |
| Oil the machine | Monthly (if your manual recommends it) | Sewing-grade oil (like Janome Oil) |
Pro tip: consult your machine’s manual for fabric-specific settings. Different fabrics require different stitch lengths, presser foot pressure, and tension settings. I keep my manual bookmarked on my tablet for quick reference.
Oh, and one more thing: don’t skip the oiling. I used to think it was unnecessary, but my machine started making weird noises and skipping stitches. Now, I oil it monthly, and it runs like a dream.
Your First Project: Let’s Get Started!
Alright, let’s cut to the chase. You’re ready to start sewing, but where do you begin? Here’s what I did on my first day:
- Gather your supplies. I grabbed my machine, a pair of sharp scissors, some cotton fabric, thread, and a seam ripper (just in case). I also set up my workspace with good lighting and a comfortable chair.
- Practice stitches on scrap fabric. I spent about 20 minutes practicing straight stitches and backstitches. It’s boring, but it’s worth it.
- Pick a simple project. I started with a pillowcase because it’s just a big rectangle with a hem. No complicated seams or fit issues.
- Take your time. Don’t rush. I sewed my first pillowcase in about an hour, and it was a little crooked, but I was proud of it.
Here’s the thing: your first project won’t be perfect. Mine wasn’t. But that’s okay! Every stitch you make is a step forward. And who knows? Maybe your first project will turn into something you use every day,like my lopsided pillowcase, which I still sleep with every night.
So grab your supplies, pick a project, and start stitching. And if you make a mistake? Don’t worry. I’ve sewn entire projects inside-out, and I’m still here to tell the tale. Happy sewing!